【好玩的开源项目】Windows 12网页版的部署与使用体验
- 一、Windows 12网页版介绍
- 1.1 Windows 12网页版简介
- 1.2 项目地址
- 二、本次实践介绍
- 2.1 本地环境规划
- 2.2 本次实践介绍
- 三、安装httpd软件
- 3.1 检查yum仓库
- 3.2 安装httpd软件
- 3.3 启动httpd服务
- 3.4 查看httpd服务
- 3.5 防火墙和selinux设置
- 3.6 浏览器测试web服务
- 四、访问Windows 12网页版
- 4.1 下载Windows 12网页版源码
- 4.2 重启httpd服务
- 4.3 访问Windows 12网页版
- 五、Windows 12网页版使用体验
- 5.1 打开记事本
- 5.2 浏览器功能
- 5.3 Python编辑器
- 5.4 VsCode工具
一、Windows 12网页版介绍
1.1 Windows 12网页版简介
-
Windows 12网页版是一名初三学生用前端开发三件套 HTML+CSS+JavaScript 实现了一个网页版的 Windows 12
-
这个项目的灵感来源于作者之前看到 Windows 12 概念版后深受启发,于是决定做一个Windows12网页版(就像之前的 Windows 11 网页版一样),可以让用户在网络上预先体验 Windows 12。
-
这个项目是一个前端开源项目,而且由标准前端技术(HTML,JS,CSS)来实现,下载代码,无需安装,打开desktop.html即可。
1.2 项目地址
github地址 :https://github.com/tjy-gitnub/win12
体验地址:Windows 12 网页版 (tjy-gitnub.github.io)
二、本次实践介绍
2.1 本地环境规划
本次实践为个人测试环境,操作系统版本为centos7.6。
| hostname | IP地址 | 操作系统版本 | 内核版本 |
|---|---|---|---|
| jeven | 192.168.3.166 | centos 7.6 | 3.10.0-957.el7.x86_64 |
2.2 本次实践介绍
1.本次实践部署环境为个人测试环境;
2.在centos7.6环境下使用体验Windows 12网页版。
三、安装httpd软件
3.1 检查yum仓库
如果没有镜像源,可以使用阿里云的镜像源。
curl -o /etc/yum.repos.d/CentOS-Base.repo https://mirrors.aliyun.com/repo/Centos-7.repo
sed -i -e '/mirrors.cloud.aliyuncs.com/d' -e '/mirrors.aliyuncs.com/d' /etc/yum.repos.d/CentOS-Base.repo
检查yum仓库状态,确保各镜像源正常。
[root@jeven ~]# yum repolist enabled
Loaded plugins: fastestmirror, langpacks
Determining fastest mirrors* epel: mirrors.bestthaihost.com
repo id                                                                       repo name                                                                                  status
!base/7/x86_64                                                                CentOS-7 - Base - mirrors.aliyun.com                                                       10,072
!epel/x86_64                                                                  Extra Packages for Enterprise Linux 7 - x86_64                                             13,767
!extras/7/x86_64                                                              CentOS-7 - Extras - mirrors.aliyun.com                                                        518
!mongodb-org                                                                  MongoDB Repository                                                                            342
!mysql-connectors-community/x86_64                                            MySQL Connectors Community                                                                    227
!mysql-tools-community/x86_64                                                 MySQL Tools Community                                                                         100
!mysql57-community/x86_64                                                     MySQL 5.7 Community Server                                                                    678
!updates/7/x86_64                                                             CentOS-7 - Updates - mirrors.aliyun.com                                                     5,176
repolist: 30,880
3.2 安装httpd软件
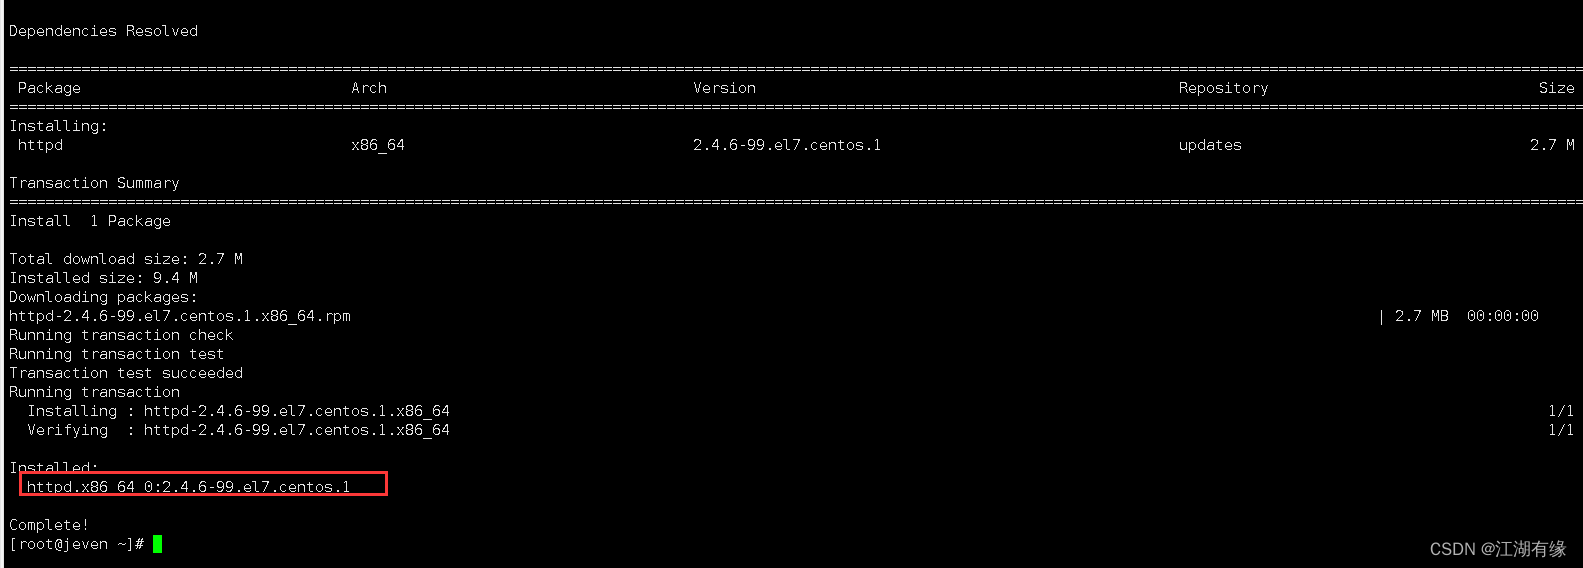
直接使用yum安装httpd软件。
yum -y install httpd
3.3 启动httpd服务
启动httpd服务,并使开机自启。
systemctl start httpd
systemctl enable  httpd
3.4 查看httpd服务
查看httpd服务,确保httpd服务正常。
[root@jeven ~]# systemctl status httpd
● httpd.service - The Apache HTTP ServerLoaded: loaded (/usr/lib/systemd/system/httpd.service; enabled; vendor preset: disabled)Active: active (running) since Sun 2023-09-24 22:44:38 CST; 1min 33s agoDocs: man:httpd(8)man:apachectl(8)Main PID: 73038 (httpd)Status: "Total requests: 0; Current requests/sec: 0; Current traffic:   0 B/sec"CGroup: /system.slice/httpd.service├─73038 /usr/sbin/httpd -DFOREGROUND├─73044 /usr/sbin/httpd -DFOREGROUND├─73045 /usr/sbin/httpd -DFOREGROUND├─73046 /usr/sbin/httpd -DFOREGROUND├─73047 /usr/sbin/httpd -DFOREGROUND└─73048 /usr/sbin/httpd -DFOREGROUNDSep 24 22:44:33 jeven systemd[1]: Starting The Apache HTTP Server...
Sep 24 22:44:38 jeven systemd[1]: Started The Apache HTTP Server.
3.5 防火墙和selinux设置
- 设置selinux
sed -i 's/SELINUX=enforcing/SELINUX=disabled/' /etc/selinux/config
setenforce 0
- 关闭防火墙,如果想要开启防火墙,需放行80端口。
systemctl stop firewalld && systemctl disable firewalld
3.6 浏览器测试web服务
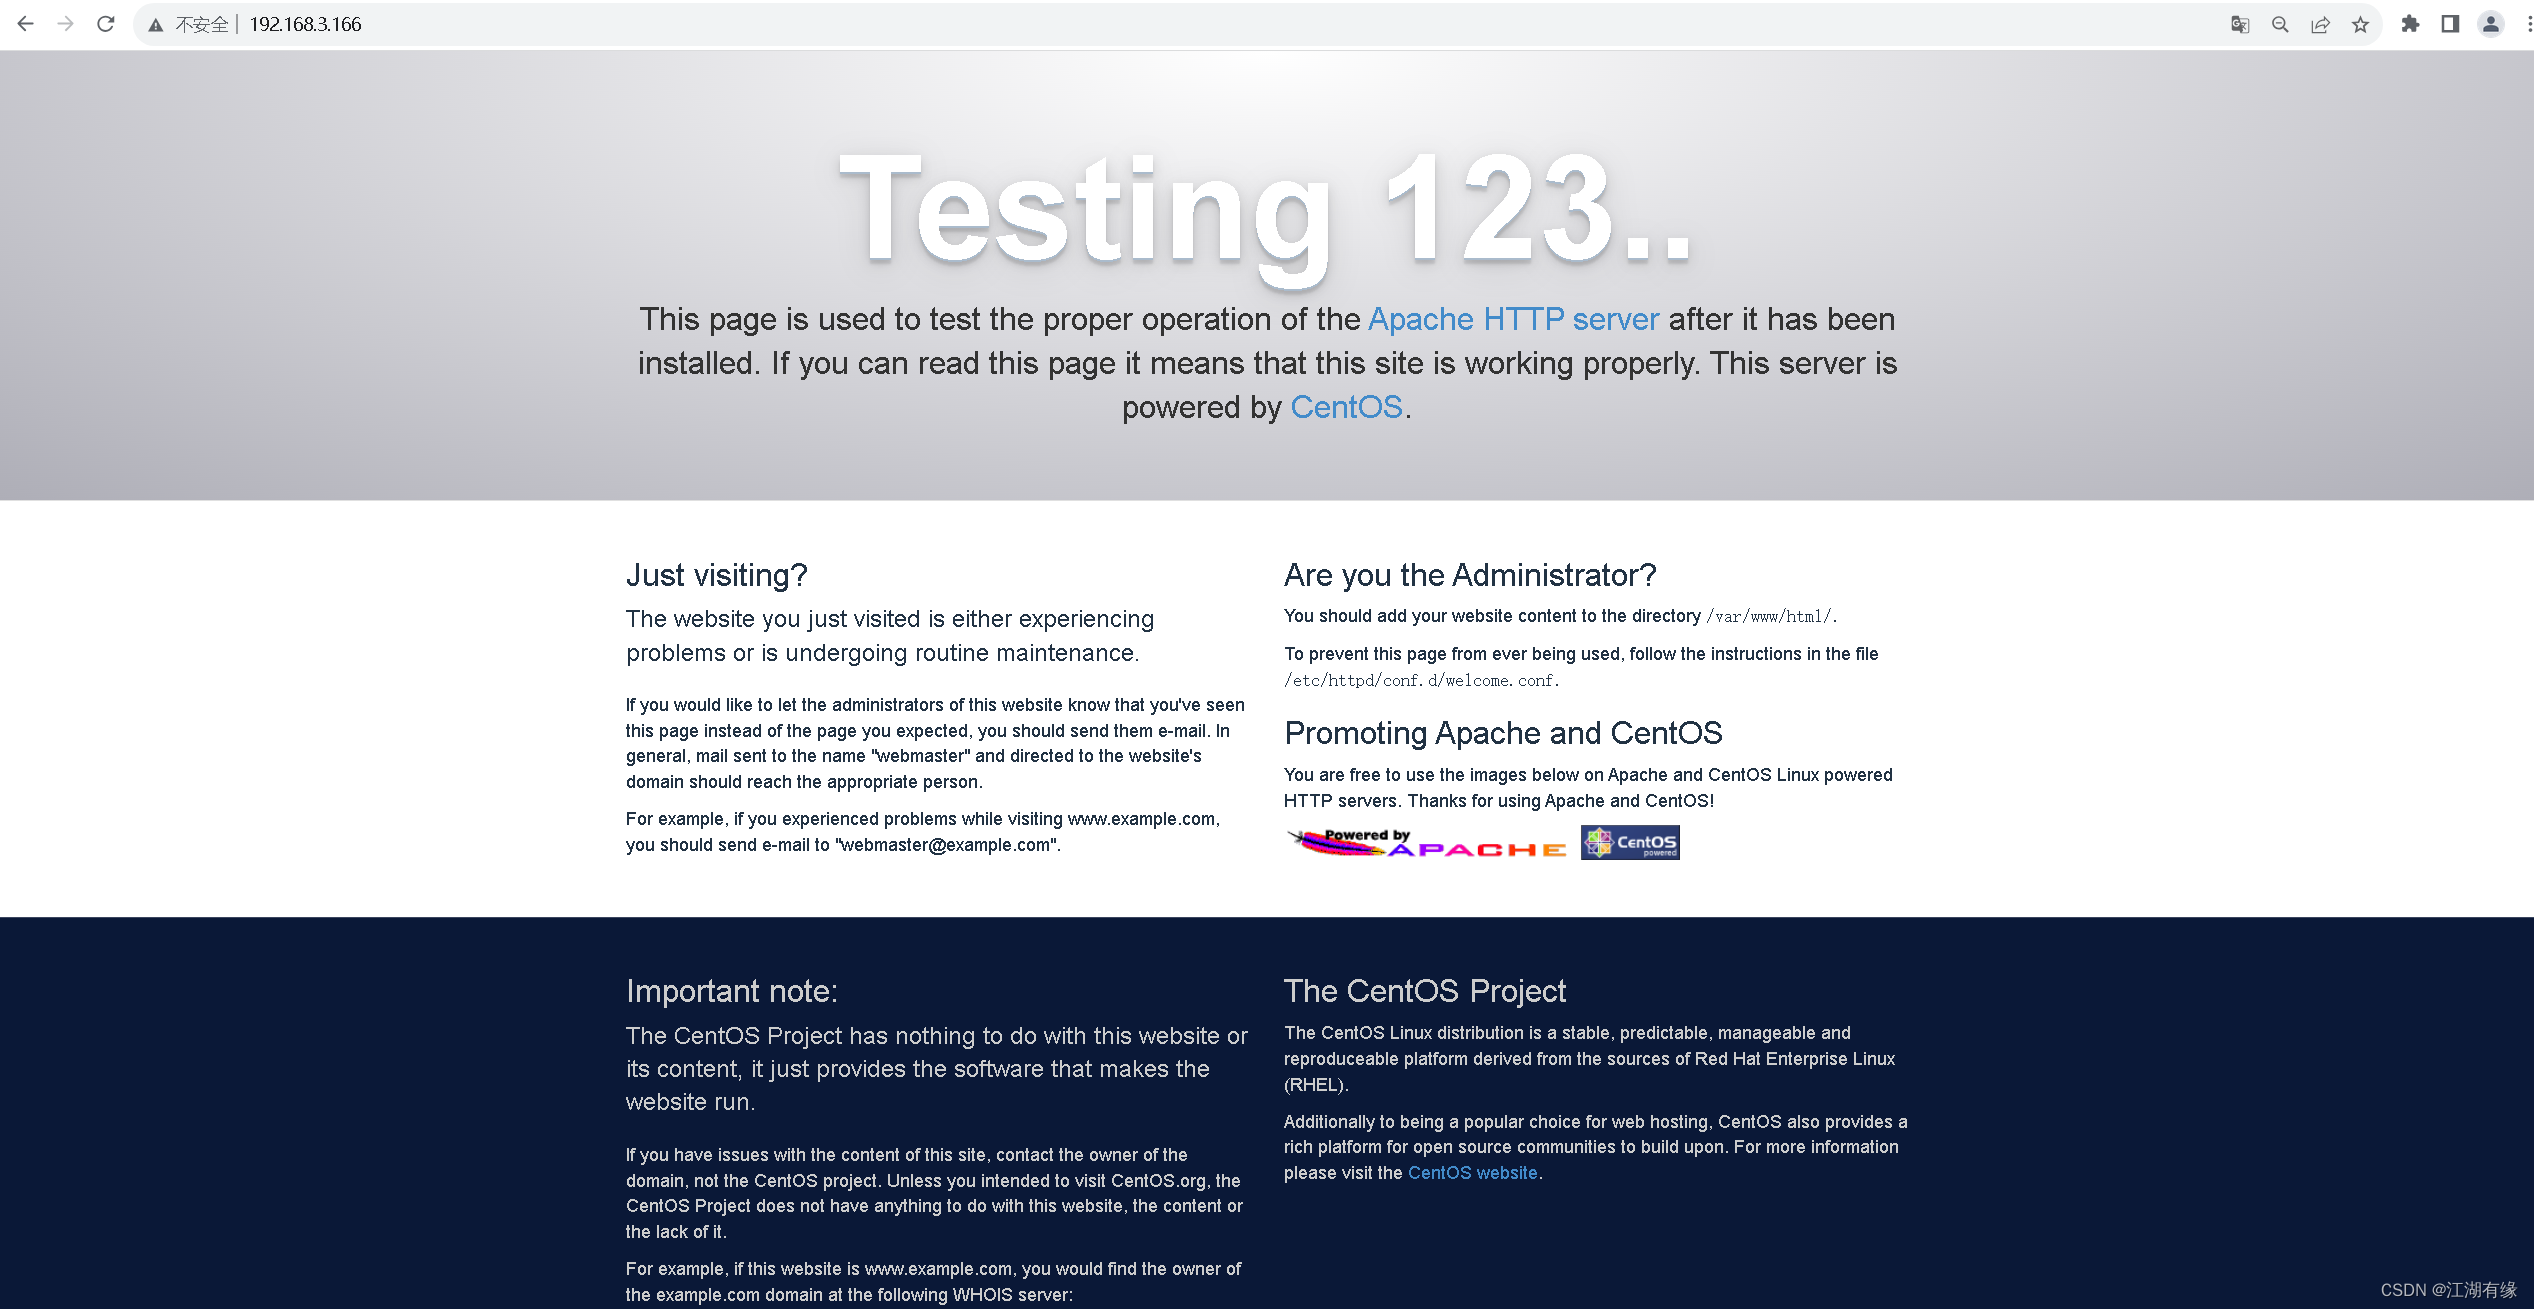
浏览器打开:http://192.168.3.166,将IP替换为自己服务器IP地址。
四、访问Windows 12网页版
4.1 下载Windows 12网页版源码
在github下载Windows 12网页版源码。
cd /var/www/html/ && git clone https://github.com/tjy-gitnub/win12.git

4.2 重启httpd服务
重启httpd服务
systemctl restart httpd
4.3 访问Windows 12网页版
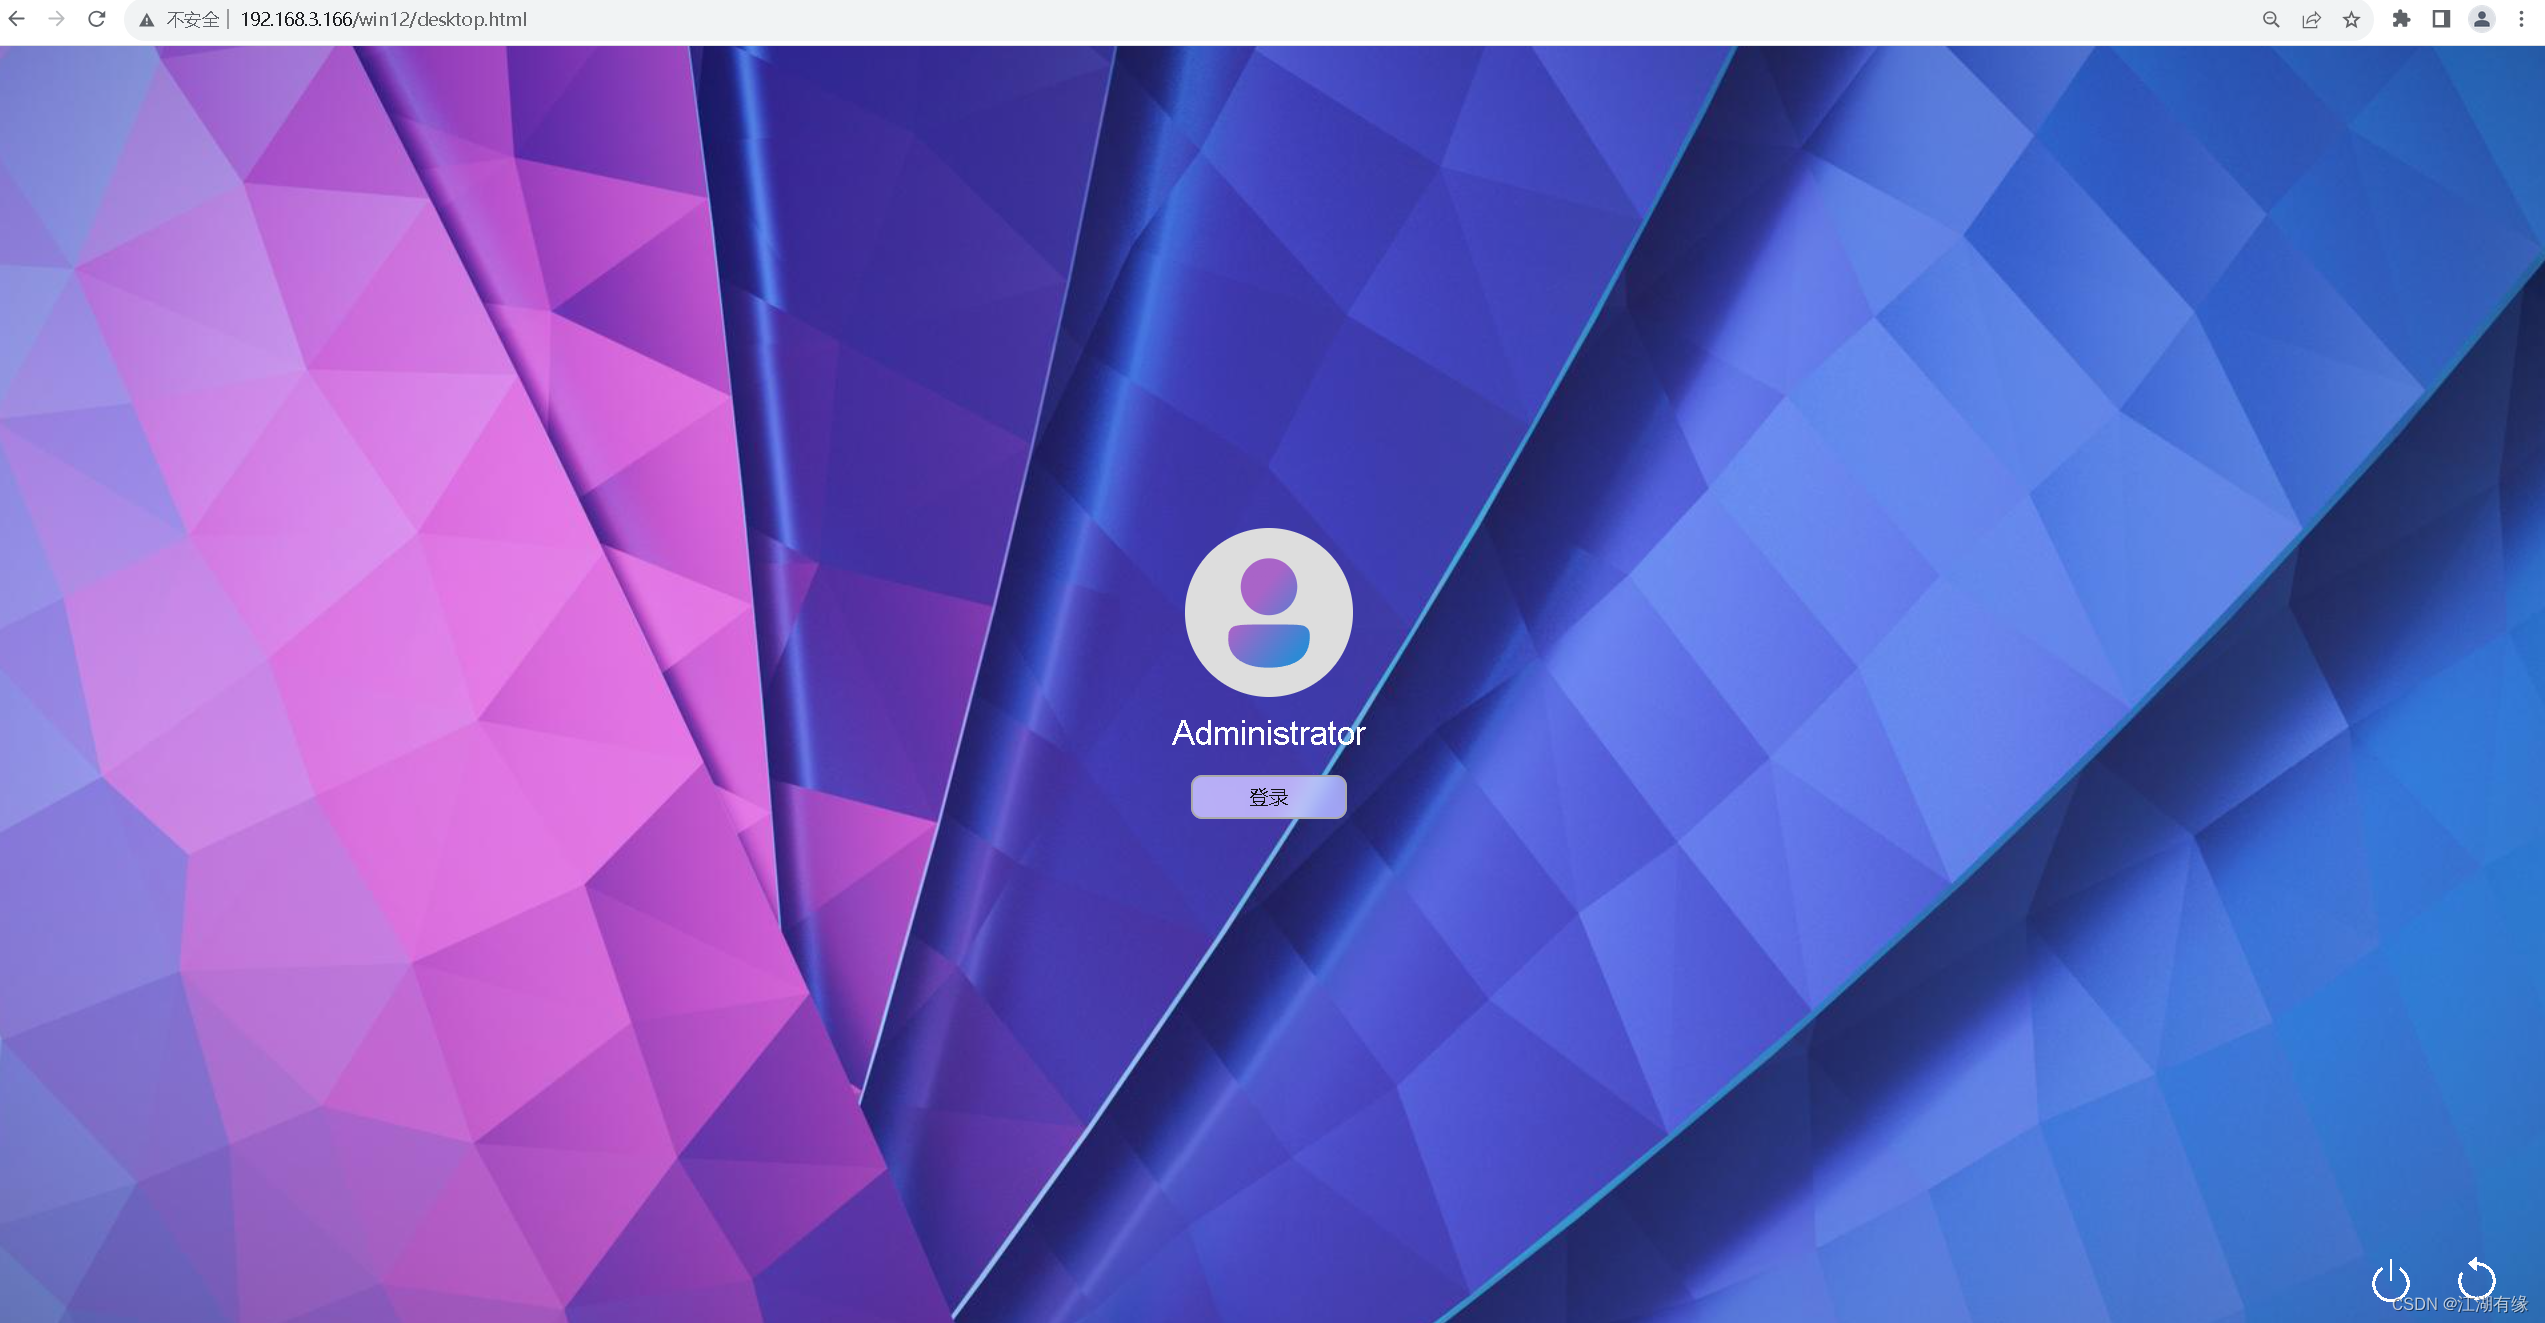
访问地址:http://服务器IP地址/ win12

五、Windows 12网页版使用体验
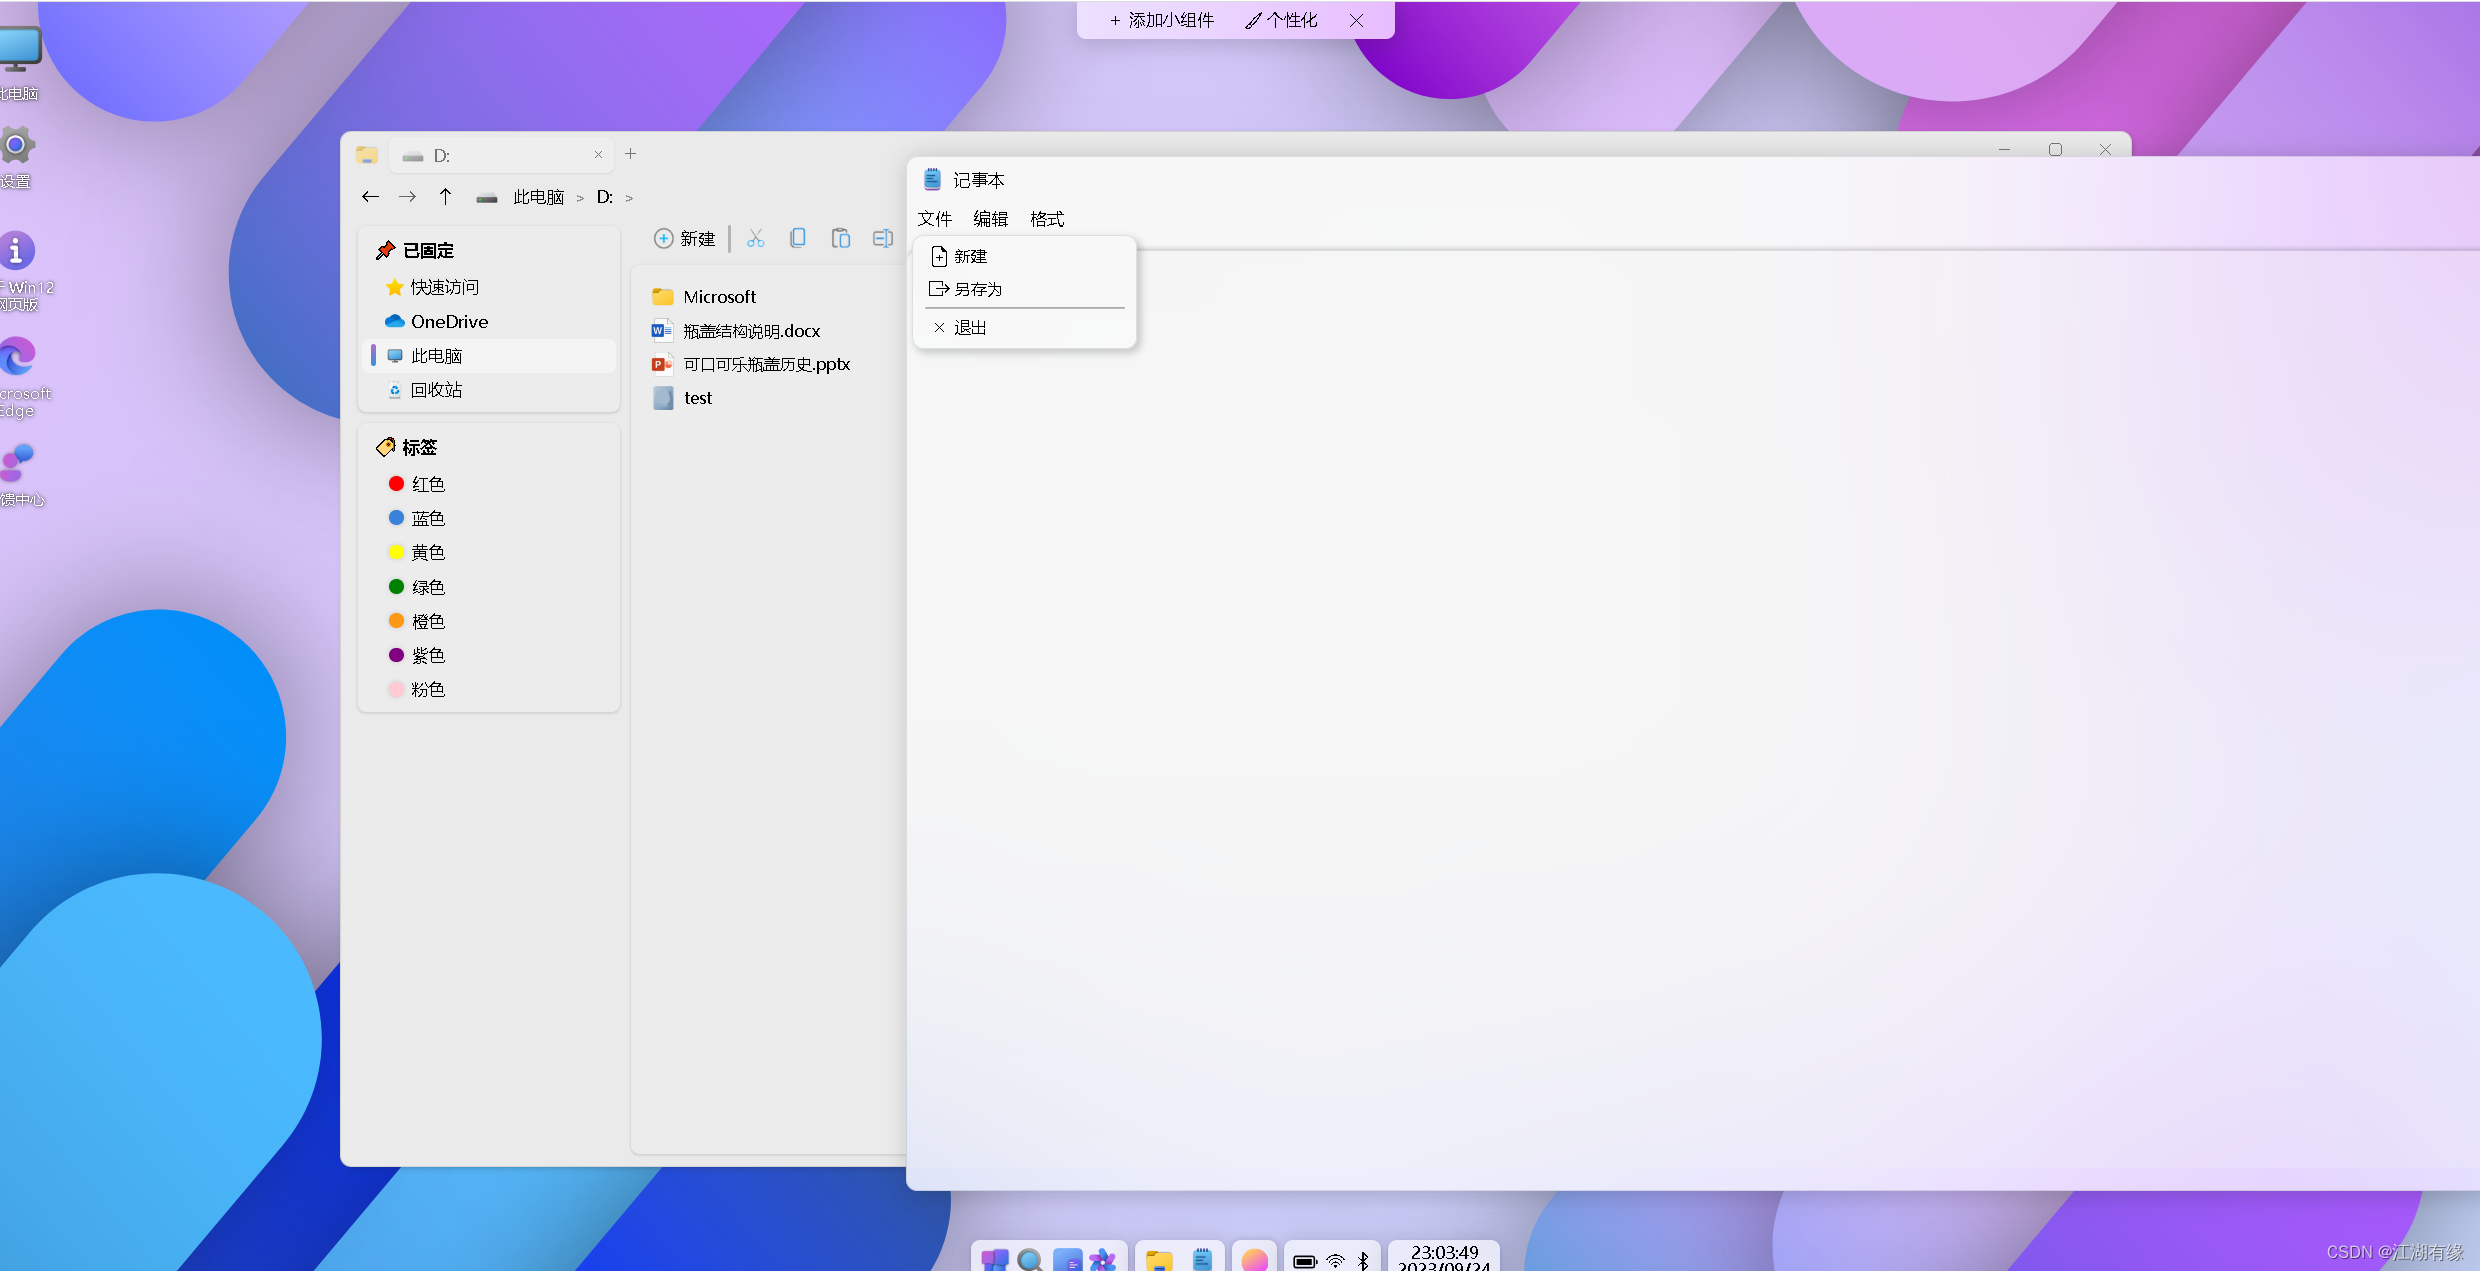
5.1 打开记事本
可以新建记事本,进行编辑,word等文档当前版本无法使用。
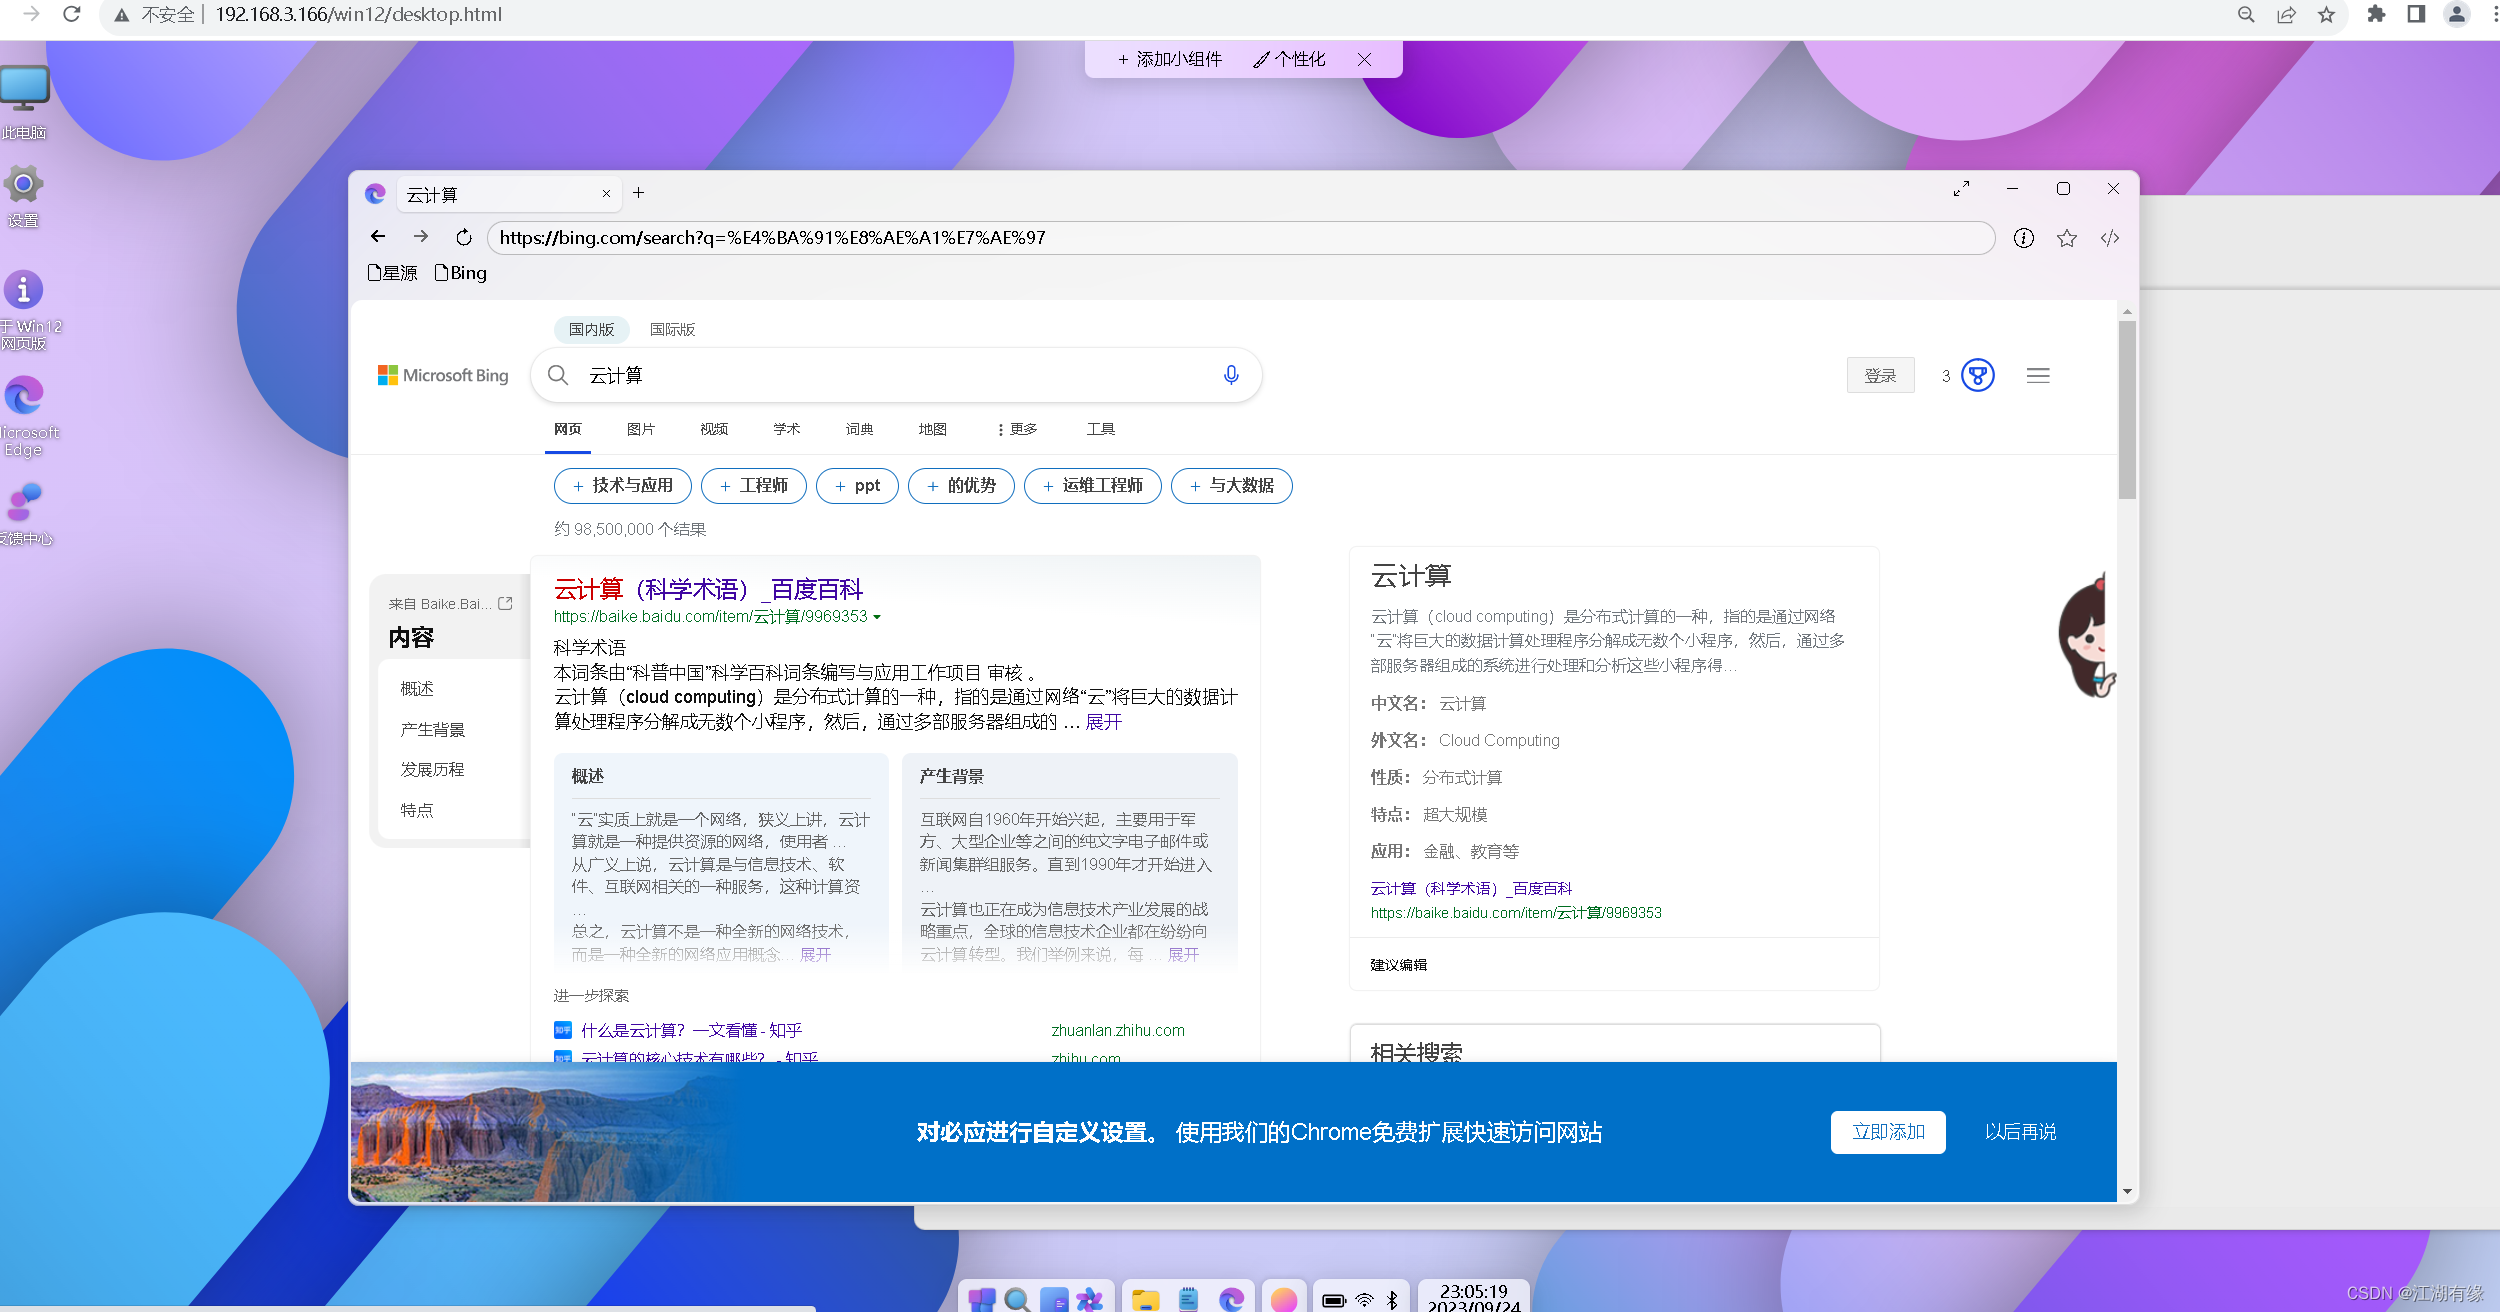
5.2 浏览器功能
使用Edge浏览器,可以正常浏览及搜索网页。
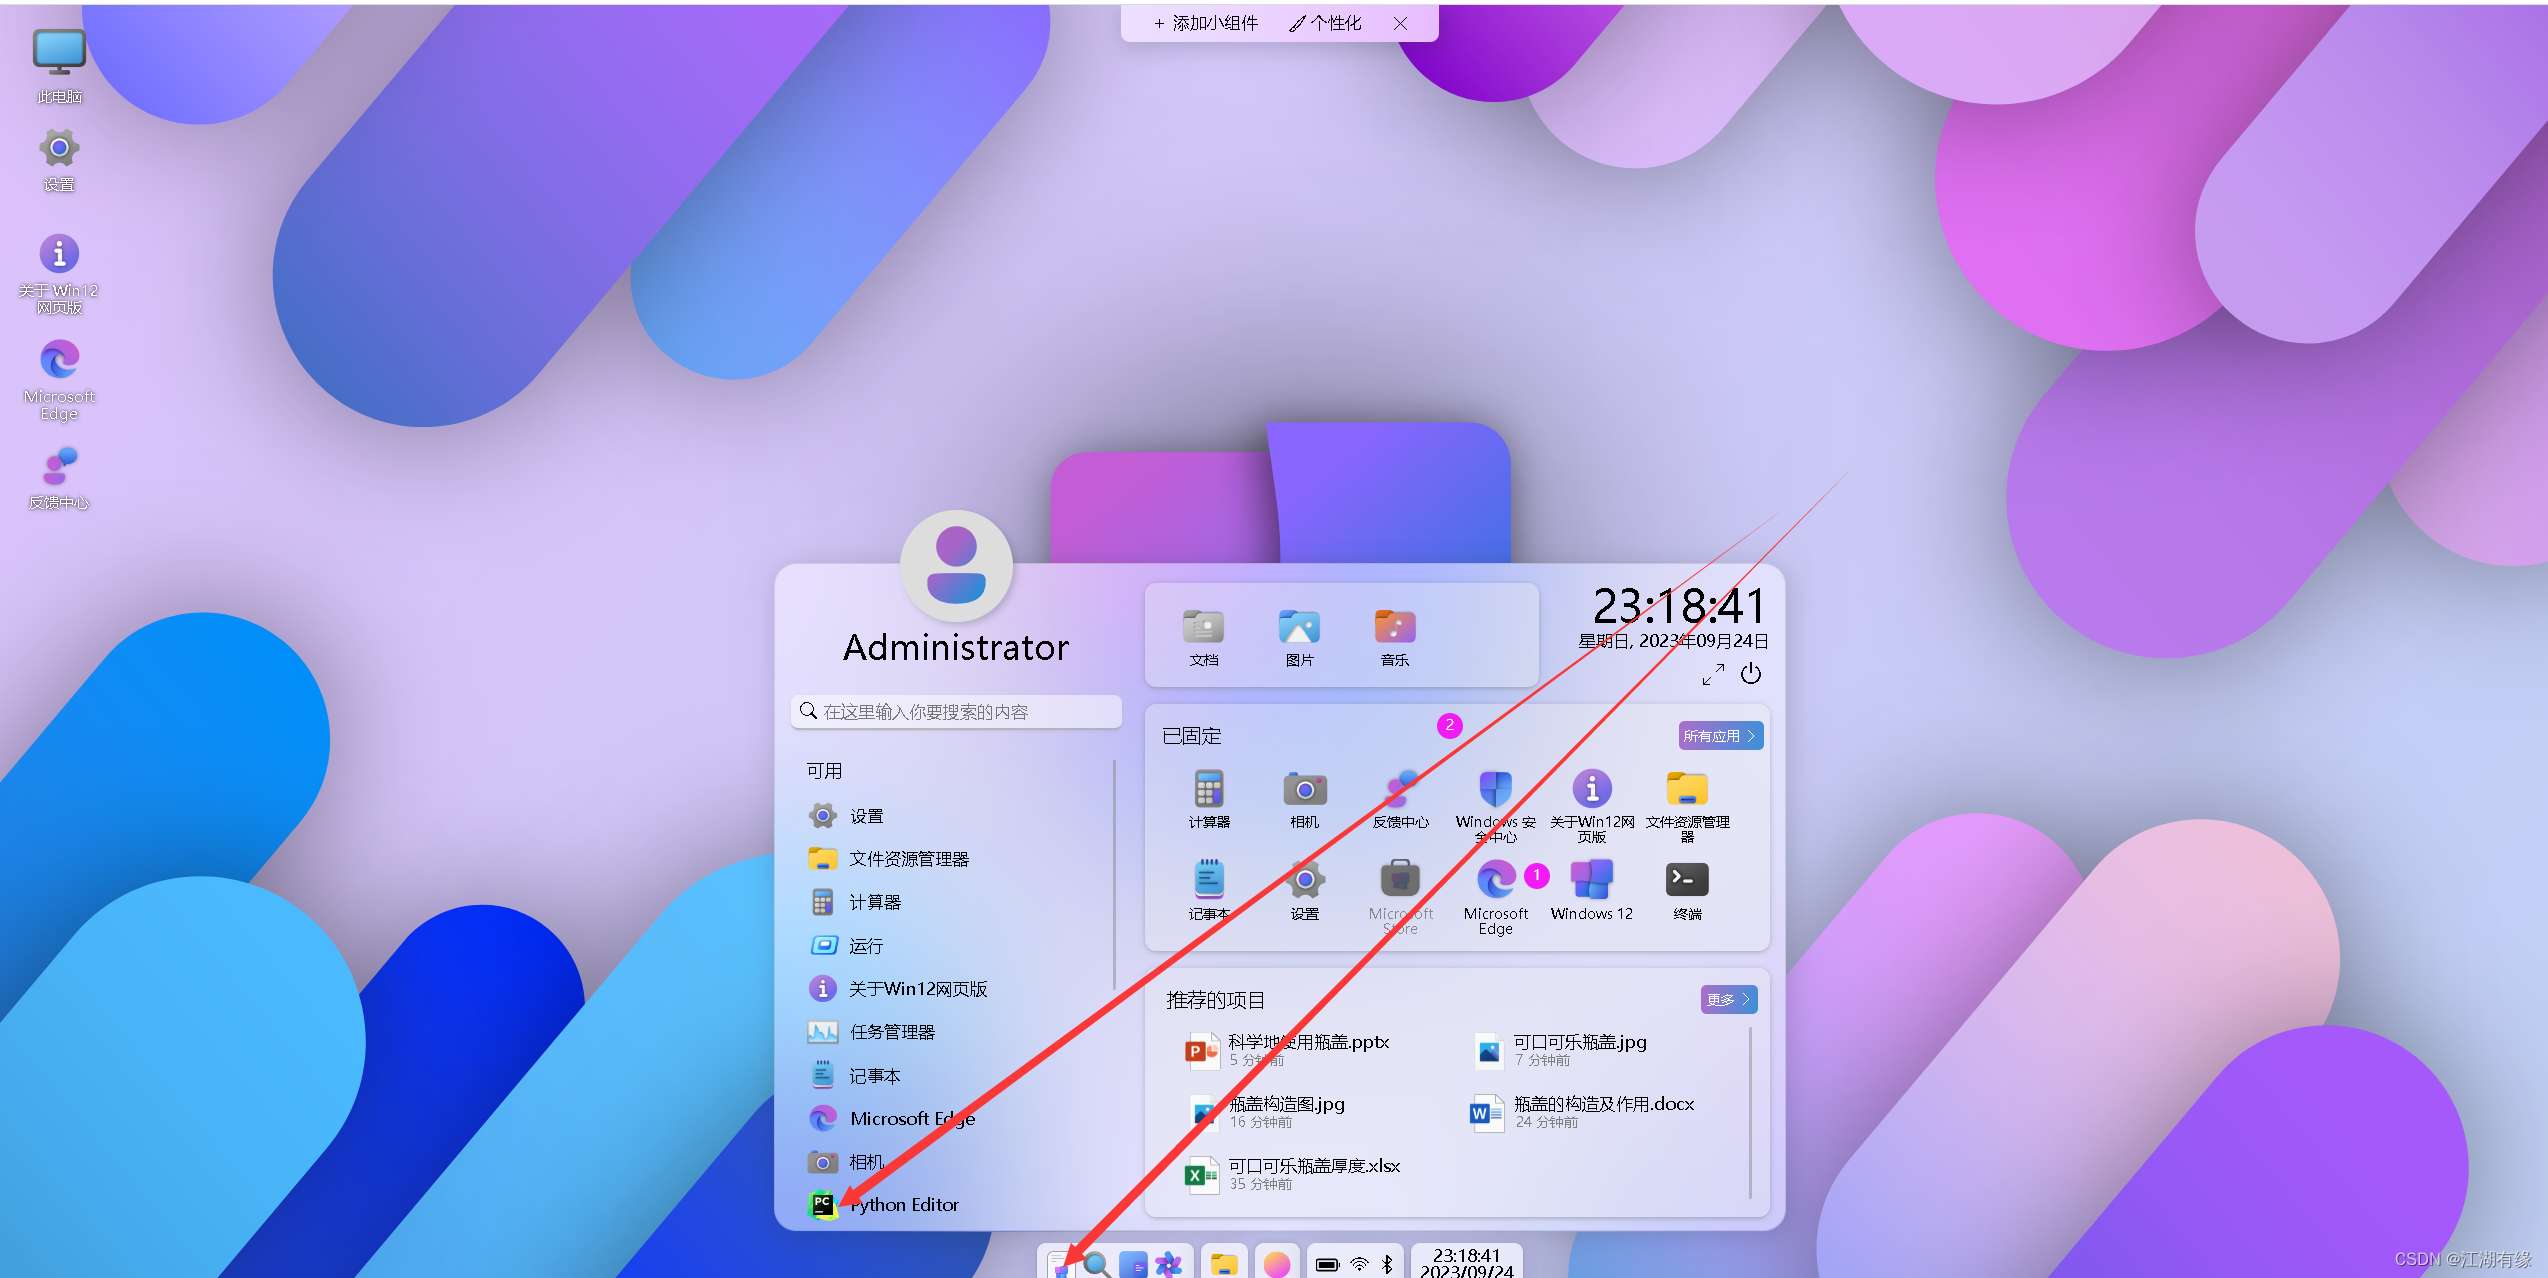
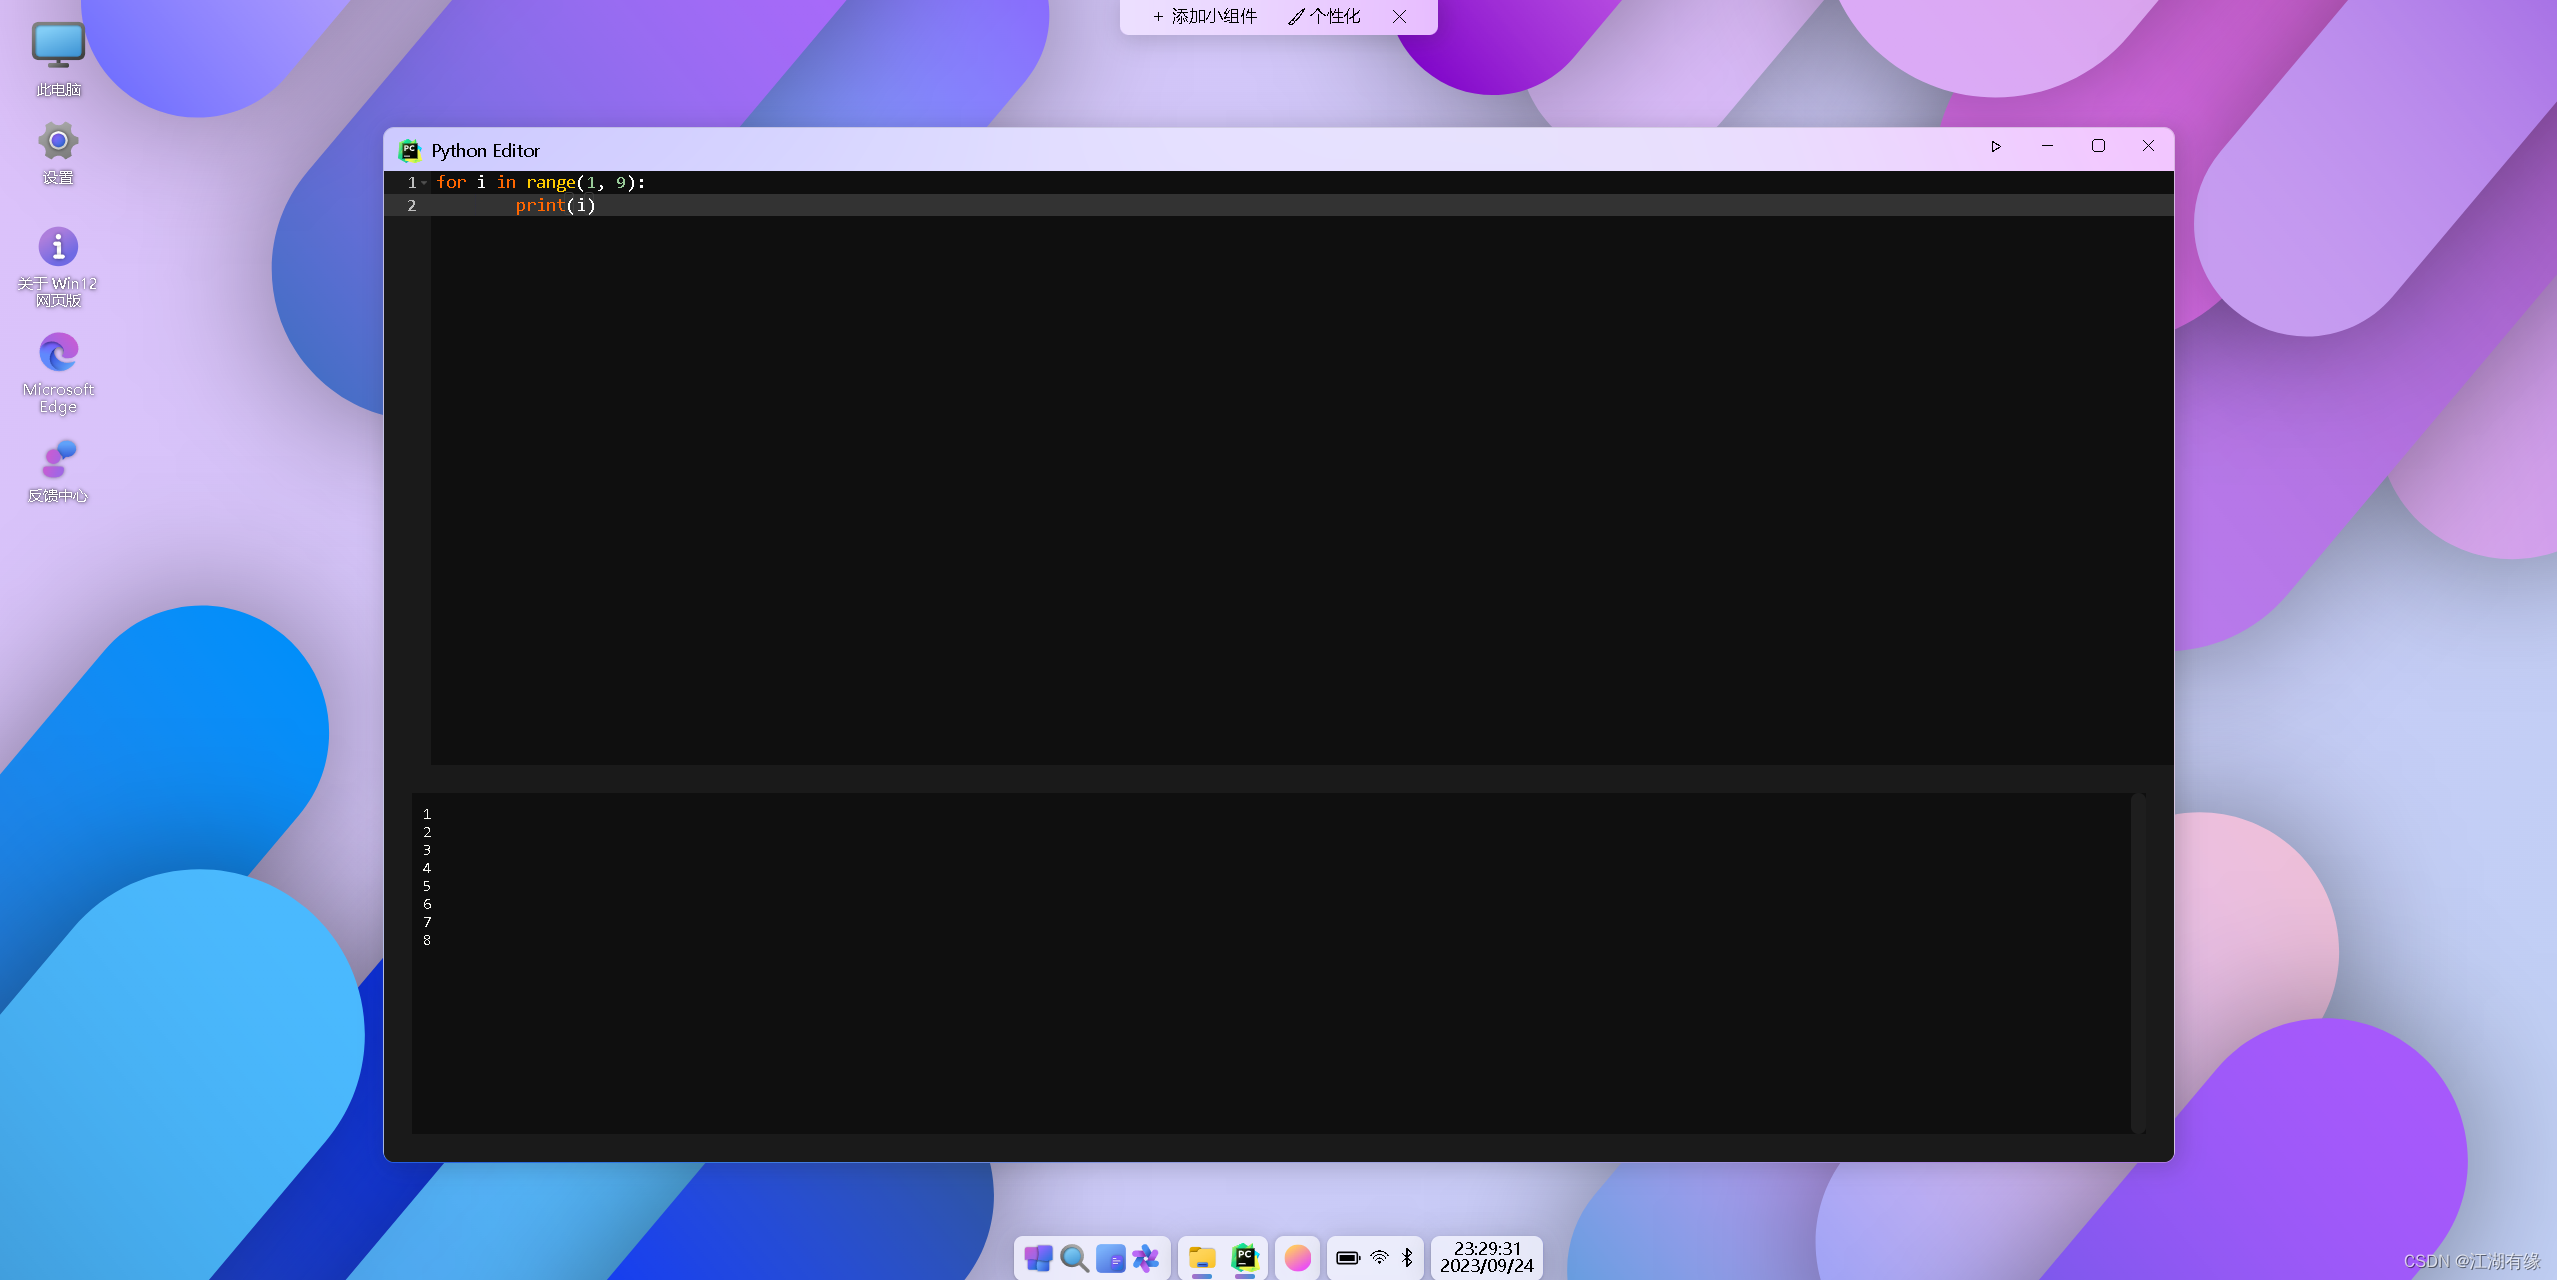
5.3 Python编辑器
在开始菜单,打开Python编辑器。
使用Python编辑器,编辑一个简单的python脚本。
5.4 VsCode工具
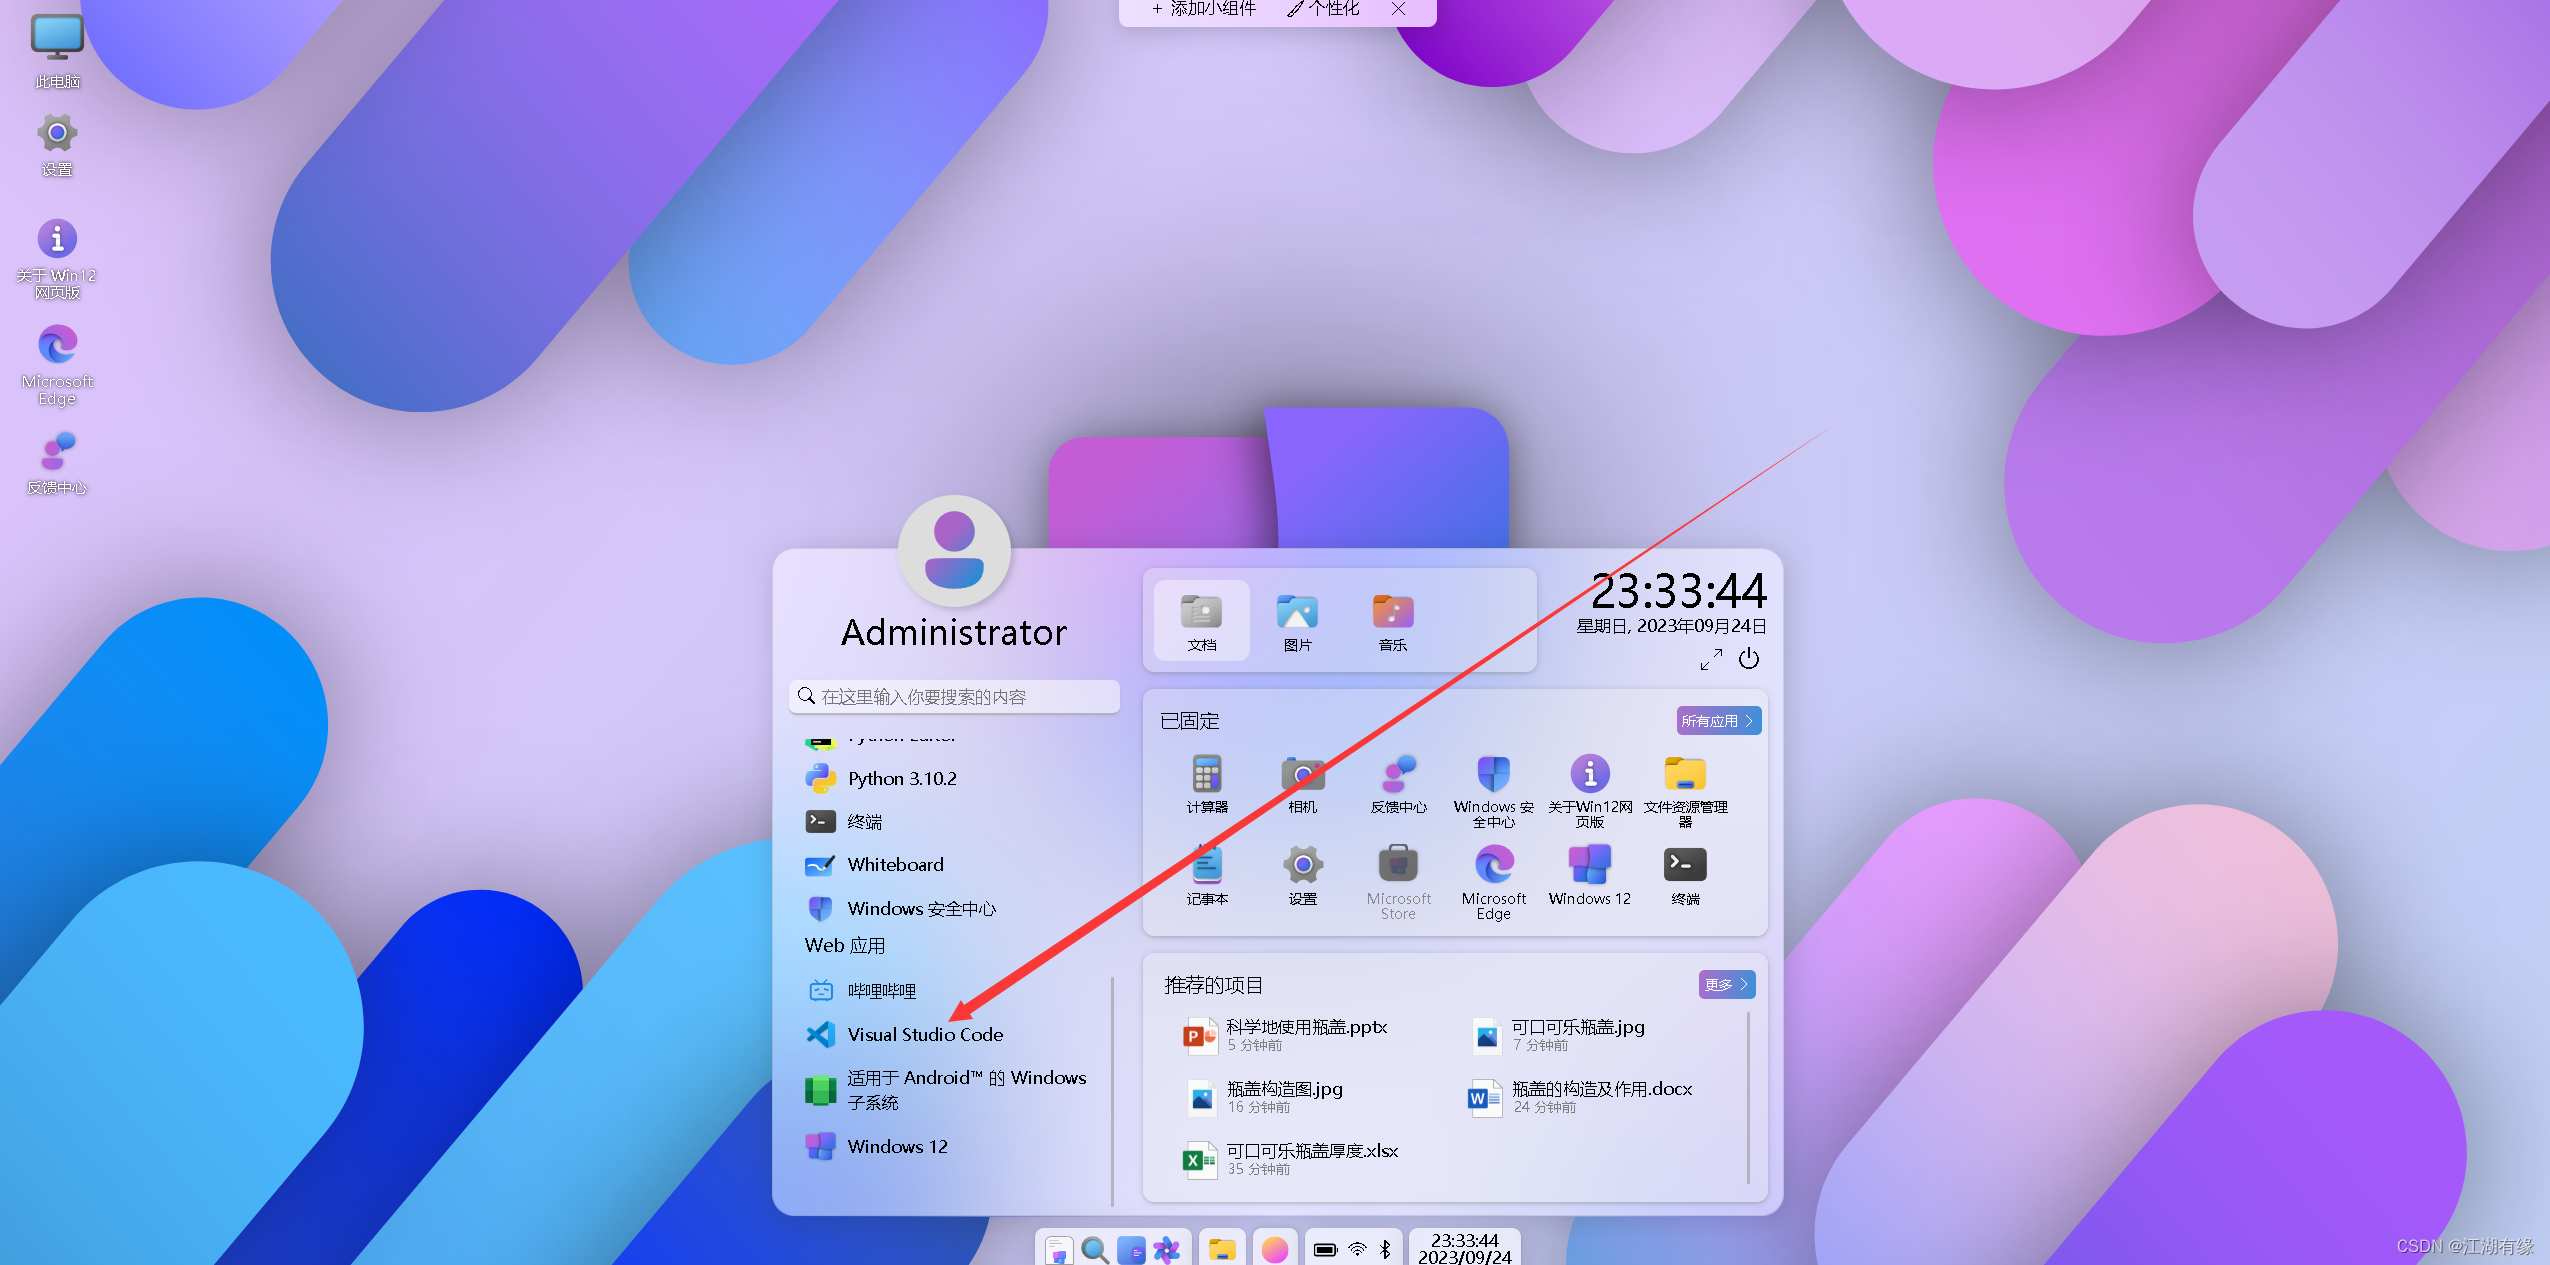
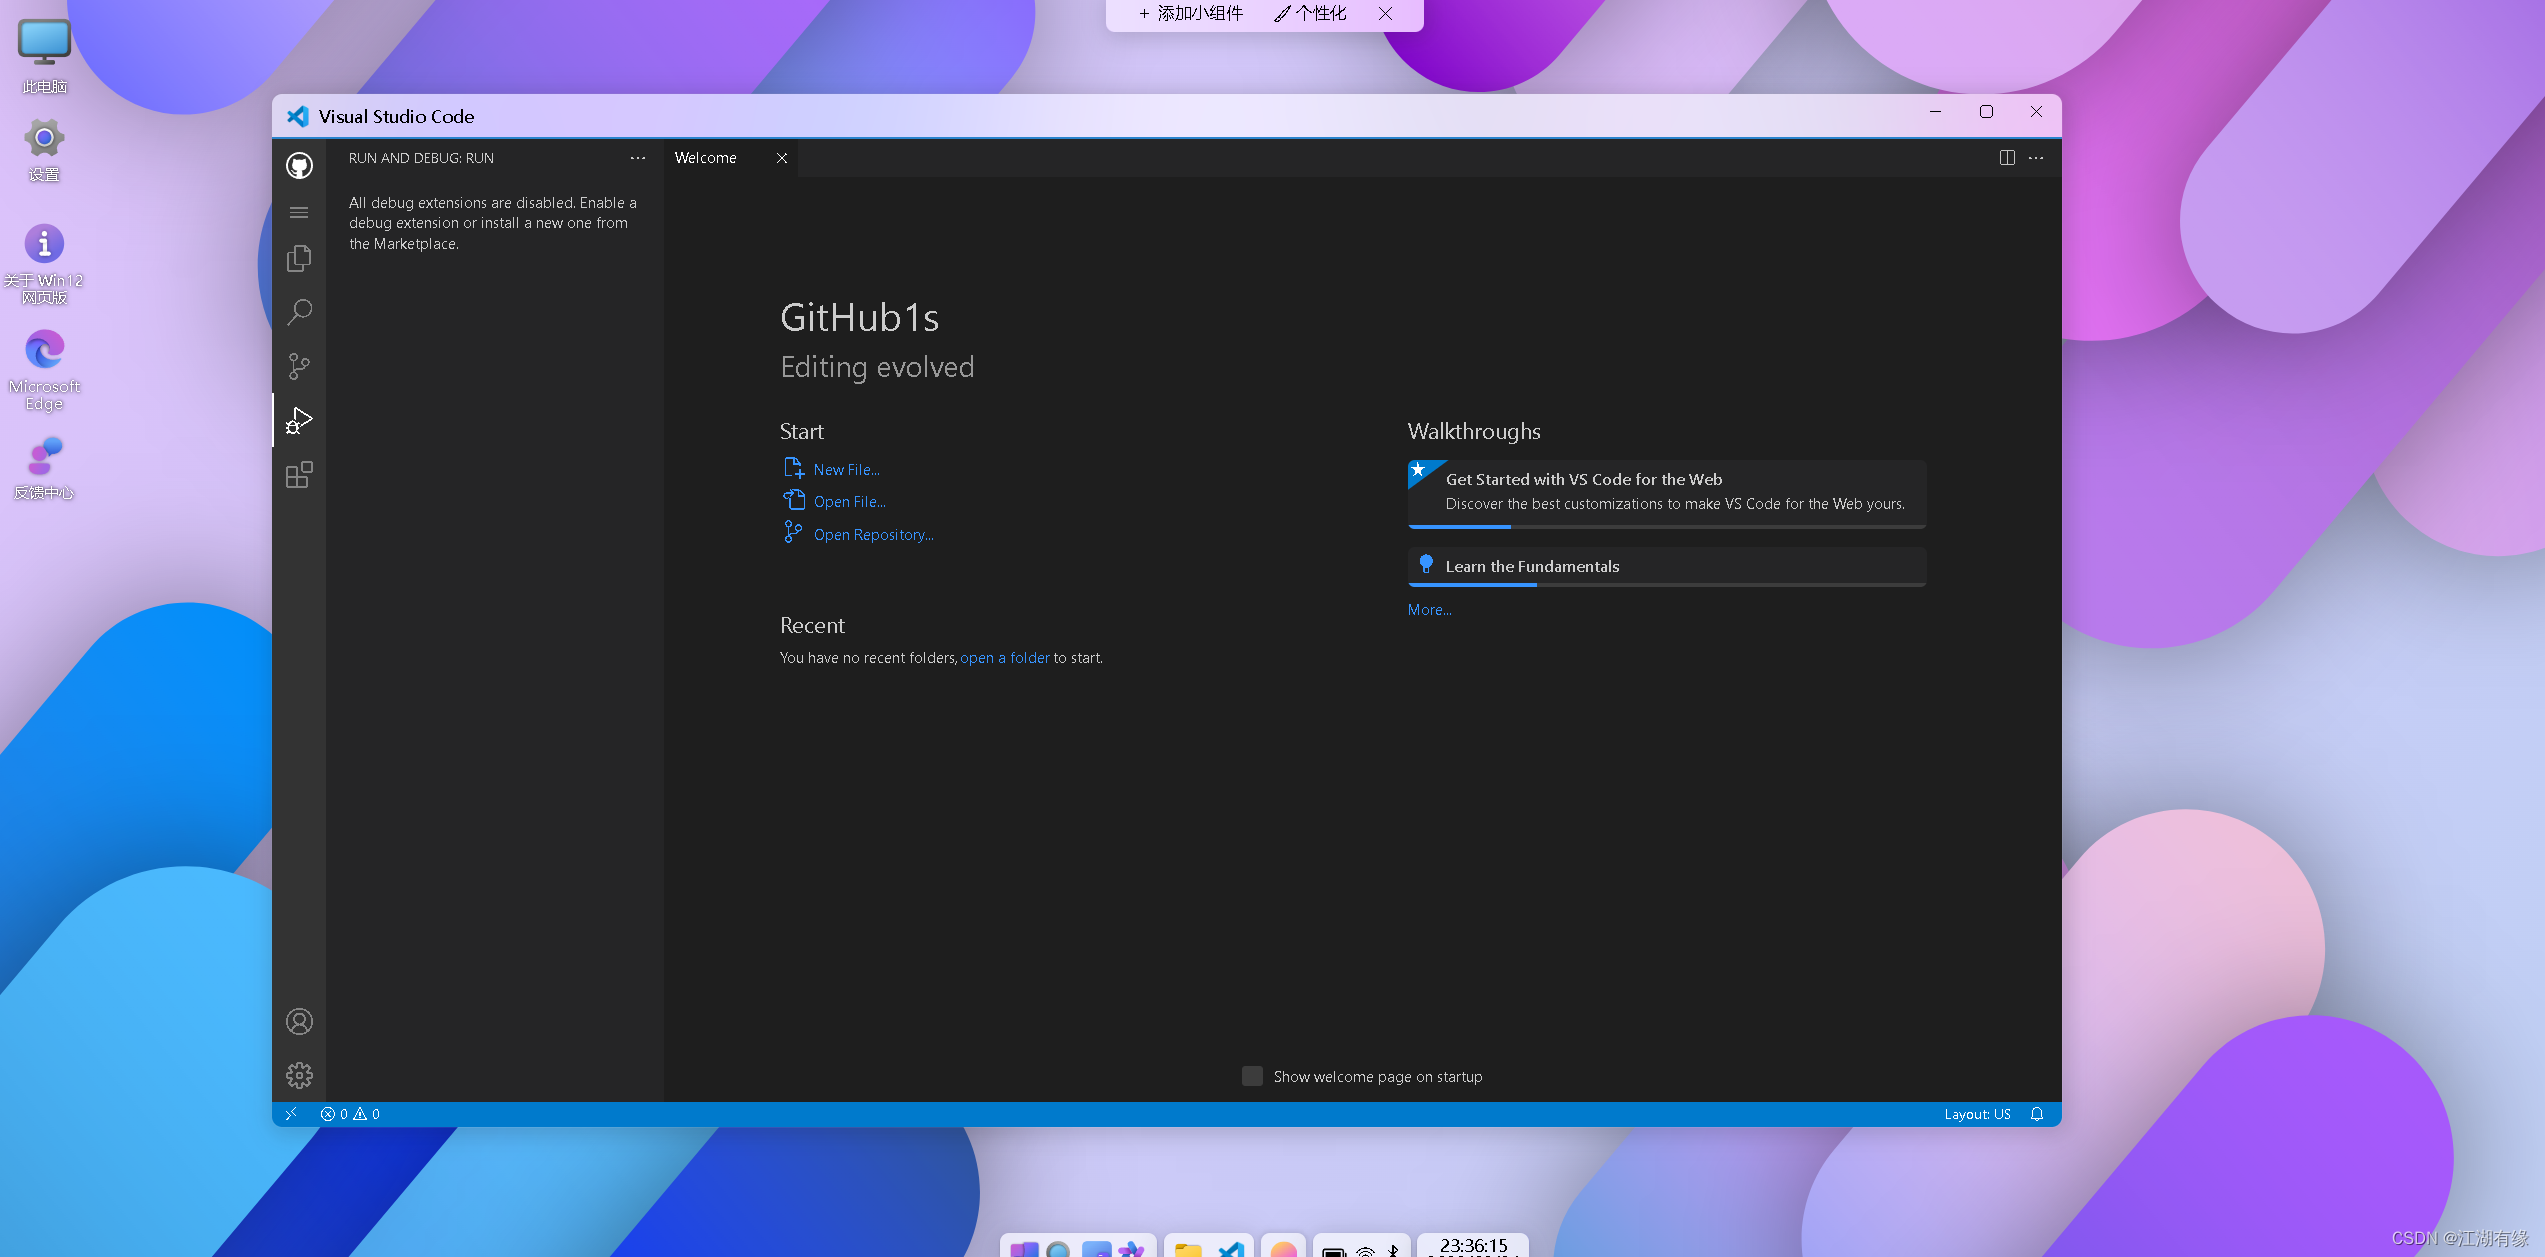
在开始菜单,点击 VsCode工具。
