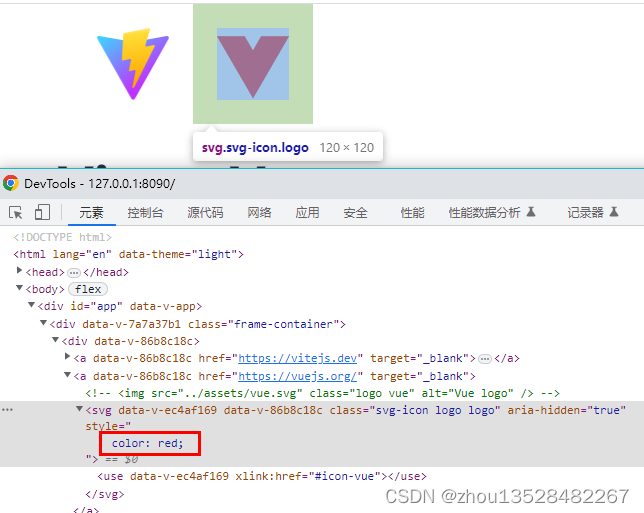
页面展示效果:

1、安装依赖插件vite-plugin-svg-icons和fast-glob
npm install vite-plugin-svg-icons --save
npm install fast-glob --save
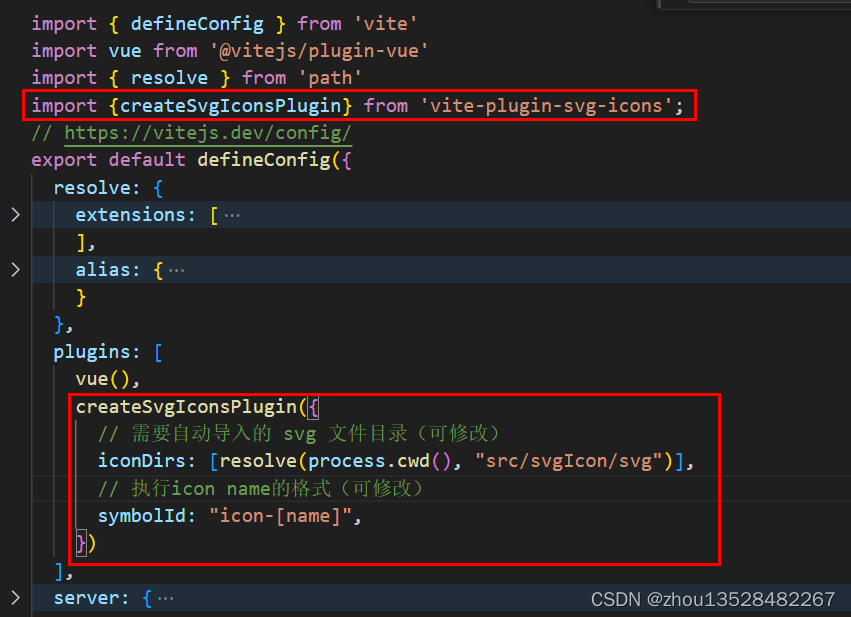
2、在vite.config.ts文件修改配置
import {createSvgIconsPlugin} from 'vite-plugin-svg-icons';
createSvgIconsPlugin({
// 需要自动导入的 svg 文件目录(可修改)
iconDirs: [resolve(process.cwd(), "src/svgIcon/svg")],
// 执行icon name的格式(可修改)
symbolId: "icon-[name]",
})
3、封装svg-icon图标
在src目录下面创建svgIcon文件夹,svg文件夹下放.svg图片;index.vue封装svg-icon组件;

<template><svg class="svg-icon" aria-hidden="true" v-bind="$attrs" v-on="$listeners"><use :xlink:href="symbolId" /></svg>
</template>
<script setup lang="ts">
import { computed, toRefs } from "vue";
const props = defineProps({name: {type: String},
});
const { name } = toRefs(props);
const symbolId = computed(() => `#icon-${name.value}`);
</script><style scoped lang="scss">
.svg-icon {width: 1em;height: 1em;vertical-align: middle;fill: currentColor;overflow: hidden;transition-duration: 0.3s;border-radius: 4px;box-sizing: border-box;
}</style>
3、在main.ts文件引用
import svgIcon from '@/svgIcon/index.vue'
import "virtual:svg-icons-register";
app.component('svg-icon',svgIcon)
import { createApp } from 'vue'
import App from './App.vue'
import svgIcon from '@/svgIcon/index.vue'
import "virtual:svg-icons-register";const app = createApp(App)
app.component('svg-icon',svgIcon)
app.mount('#app')
4、.vue文件引用组件
<svg-icon
class="logo"
name="vue"
></svg-icon>

填坑:svg-icon图标无法修改颜色问题;
svg图片里面固定设置fill属性;将fill属性都删除掉

