【前端实战】基于Three.js和Chart.js打造未来科技风AI监控仪表盘
本文通过AI辅助开发,详细记录了一个高级前端项目的完整实现过程。文章包含核心代码片段、技术要点及遇到的问题与解决方案。适合有一定前端基础的开发者学习参考。
1. 项目概述
本文详细介绍了一个名为"量子心灵AI"的监控仪表盘项目的完整开发过程。该项目使用HTML5、CSS3、JavaScript以及Three.js和Chart.js等库,实现了一个具有未来科技风格的可视化仪表盘,包含了3D量子核心、多种数据图表和动态交互效果。
技术栈:
- HTML5/CSS3
- JavaScript ES6+
- Three.js (3D渲染)
- Chart.js (数据可视化)
- FontAwesome (图标库)
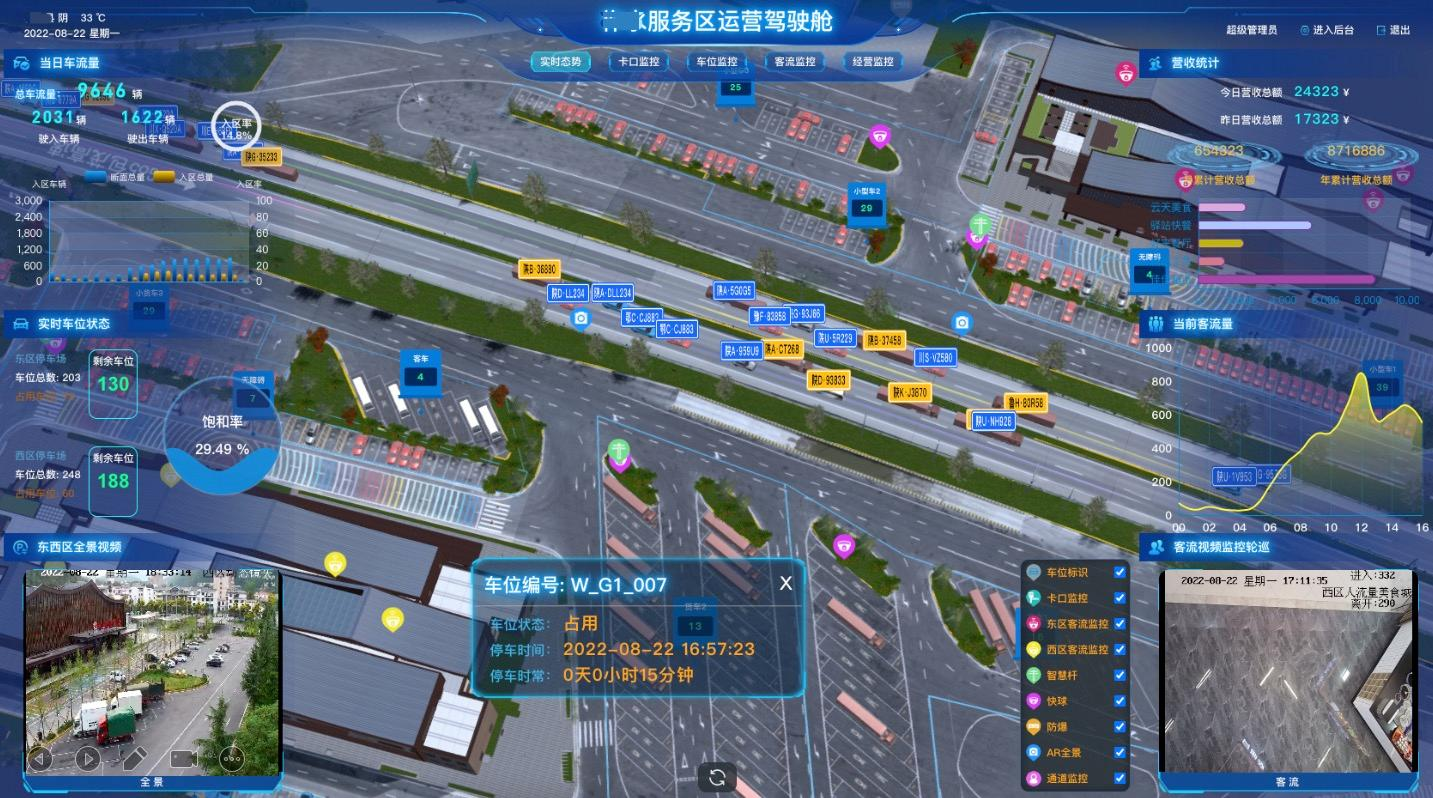
项目预览:

基于Three.js和Chart.js打造未来科技风AI监控
2. 项目结构设计
该项目采用模块化结构设计,主要分为以下几个功能区域:
量子心灵AI仪表盘
├── 顶部导航栏
├── 左侧面板
│   ├── AI系统状态卡片
│   ├── 性能指标卡片
│   └── AI能力分布图表
├── 中央面板
│   ├── 3D量子核心可视化
│   └── 最新事件日志
└── 右侧面板├── 能源分配监控├── 系统组件概览└── 快速操作区域
每个模块独立设计,通过CSS Grid实现整体布局,保证了代码的可维护性和扩展性。
3. 页面布局实现
3.1 响应式布局设计
项目使用CSS Grid配合媒体查询实现完全响应式设计。核心布局代码如下:
.dashboard {display: grid;grid-template-columns: 1fr;gap: 1rem;padding: 1rem;
}@media (min-width: 768px) {.dashboard {grid-template-columns: repeat(2, 1fr);}
}@media (min-width: 1024px) {.dashboard {grid-template-columns: repeat(3, 1fr);}
}
这种设计确保了界面在不同设备上的最佳显示效果:
- 移动设备:单列布局
- 平板设备:双列布局
- 桌面设备:三列布局
3.2 卡片组件设计
所有数据卡片采用统一的设计语言,通过CSS变量实现主题一致性:
:root {--bg-primary: #0a0a0f;--bg-secondary: #111827;--bg-card: #1f2937;--text-primary: #f9fafb;--text-secondary: #9ca3af;--accent-blue: #3b82f6;--accent-purple: #8b5cf6;--accent-green: #10b981;--accent-cyan: #00d5ff;--accent-yellow: #f59e0b;--accent-red: #ef4444;--border-color: #374151;
}.card {background-color: var(--bg-card);border-radius: 12px;border: 1px solid var(--border-color);padding: 1.5rem;position: relative;overflow: hidden;box-shadow: 0 4px 6px rgba(0, 0, 0, 0.1);transition: transform 0.3s, box-shadow 0.3s;
}.card:hover {transform: translateY(-5px);box-shadow: 0 10px 15px rgba(0, 0, 0, 0.2);
}
使用CSS变量的好处是可以轻松调整全局主题,实现暗黑/明亮模式切换。
4. 数据可视化实现
4.1 使用Chart.js创建图表
项目使用Chart.js库实现多种数据可视化效果。以系统性能折线图为例:
function initPerformanceChart() {const ctx = document.getElementById('performanceChart').getContext('2d');const data = {labels: ['周一', '周二', '周三', '周四', '周五', '周六', '周日'],datasets: [{label: '系统性能',data: [65, 59, 80, 81, 76, 92, 96],borderColor: '#00D5FF',backgroundColor: 'rgba(0, 213, 255, 0.1)',tension: 0.4,pointRadius: 0,borderWidth: 2,fill: true}]};const config = {type: 'line',data: data,options: {responsive: true,maintainAspectRatio: false,plugins: {legend: {display: false},tooltip: {enabled: true}},scales: {x: {display: false},y: {display: false,min: 0,max: 100}}}};new Chart(ctx, config);
}
技术要点:
- 使用tension属性创建曲线效果
- 禁用默认坐标轴,保持界面简洁
- 设置fill属性创建填充效果
- 设置responsive为true确保图表响应容器大小变化
4.2 环形图实现AI能力分布
function initCapabilitiesChart() {const ctx = document.getElementById('capabilitiesChart').getContext('2d');const data = {labels: ['自然语言', '视觉识别', '预测分析', '自动决策'],datasets: [{label: '能力分布',data: [35, 25, 20, 20],backgroundColor: ['#00D5FF', '#2563EB', '#8B5CF6', '#F43F5E'],borderColor: 'rgba(0, 0, 0, 0)',borderWidth: 2,hoverOffset: 10}]};const config = {type: 'doughnut',data: data,options: {responsive: true,maintainAspectRatio: false,plugins: {legend: {display: false}},cutout: '60%'}};new Chart(ctx, config);
}
技术要点:
- cutout属性定义环形图的内圆大小
- hoverOffset属性设置悬停时扇区的突出效果
- 自定义颜色数组创建鲜明的视觉区分
4.3 堆叠面积图展示能源分配
function initEnergyChart() {const ctx = document.getElementById('energyChart').getContext('2d');const data = {labels: ['00:00', '04:00', '08:00', '12:00', '16:00', '20:00', '24:00'],datasets: [{label: '太阳能',data: [0, 0, 40, 75, 50, 10, 0],backgroundColor: 'rgba(245, 158, 11, 0.5)',borderColor: 'rgba(245, 158, 11, 0)',fill: true},{label: '风能',data: [30, 25, 18, 20, 28, 35, 32],backgroundColor: 'rgba(59, 130, 246, 0.5)',borderColor: 'rgba(59, 130, 246, 0)',fill: true},{label: 'AI消耗',data: [20, 18, 22, 35, 30, 25, 19],backgroundColor: 'rgba(139, 92, 246, 0.5)',borderColor: 'rgba(139, 92, 246, 0)',fill: true}]};const config = {type: 'line',data: data,options: {responsive: true,maintainAspectRatio: false,plugins: {legend: {display: false}},scales: {y: {stacked: true}},elements: {line: {tension: 0.4},point: {radius: 0}}}};new Chart(ctx, config);
}
技术要点:
- 使用stacked: true配置创建堆叠效果
- 设置point.radius为0隐藏数据点,创造平滑曲线
- 使用半透明色彩增强层次感
5. 3D量子核心实现
本项目最大的亮点是使用Three.js实现的3D量子核心可视化。这一部分代码较为复杂,下面分步骤详细讲解。
5.1 初始化Three.js场景
let scene, camera, renderer, particles, geometry, materials = [], particleSystem;function init3DCore() {// 创建场景scene = new THREE.Scene();// 创建相机camera = new THREE.PerspectiveCamera(75, window.innerWidth / 300, 0.1, 1000);camera.position.z = 30;// 创建渲染器renderer = new THREE.WebGLRenderer({ antialias: true, alpha: true });renderer.setSize(window.innerWidth, 300);renderer.setClearColor(0x000000, 0);// 添加到DOMconst container = document.getElementById('quantum-core-container');container.appendChild(renderer.domElement);// 窗口大小变化时调整window.addEventListener('resize', () => {const width = container.clientWidth;const height = container.clientHeight;renderer.setSize(width, height);camera.aspect = width / height;camera.updateProjectionMatrix();});// 创建量子核心模型createQuantumCore();// 开始动画animate();
}
技术要点:
- 设置renderer的alpha参数为true,支持透明背景
- 添加resize事件监听器,确保3D场景响应容器大小变化
- 设置适当的camera参数,确保良好的视觉效果
5.2 创建粒子系统
function createQuantumCore() {// 清除之前的粒子系统if (particleSystem) {scene.remove(particleSystem);}// 创建量子核心 - 多层粒子云const particlesCount = 1000;const positions = new Float32Array(particlesCount * 3);const colors = new Float32Array(particlesCount * 3);const sizes = new Float32Array(particlesCount);const colorPalette = [new THREE.Color(0x00D5FF), // 青色new THREE.Color(0x3B82F6), // 蓝色new THREE.Color(0x8B5CF6), // 紫色new THREE.Color(0x10B981)  // 绿色];for (let i = 0; i < particlesCount; i++) {// 创建螺旋式分布const angle = Math.random() * Math.PI * 2;const radius = Math.random() * 20;const height = (Math.random() - 0.5) * 10;// 添加一些随机性使其看起来更自然const wiggle = (Math.random() - 0.5) * 5;positions[i * 3] = Math.cos(angle) * radius + wiggle;positions[i * 3 + 1] = height + wiggle;positions[i * 3 + 2] = Math.sin(angle) * radius + wiggle;// 随机颜色const color = colorPalette[Math.floor(Math.random() * colorPalette.length)];colors[i * 3] = color.r;colors[i * 3 + 1] = color.g;colors[i * 3 + 2] = color.b;// 随机大小sizes[i] = Math.random() * 0.5 + 0.2;}geometry = new THREE.BufferGeometry();geometry.setAttribute('position', new THREE.BufferAttribute(positions, 3));geometry.setAttribute('color', new THREE.BufferAttribute(colors, 3));geometry.setAttribute('size', new THREE.BufferAttribute(sizes, 1));// 创建粒子材质const material = new THREE.PointsMaterial({size: 0.5,vertexColors: true,transparent: true,opacity: 0.8,blending: THREE.AdditiveBlending,});// 创建粒子系统particleSystem = new THREE.Points(geometry, material);scene.add(particleSystem);// 添加辉光球体const sphereGeometry = new THREE.SphereGeometry(4, 32, 32);const sphereMaterial = new THREE.MeshBasicMaterial({color: 0x00D5FF,transparent: true,opacity: 0.3});const sphere = new THREE.Mesh(sphereGeometry, sphereMaterial);scene.add(sphere);// 添加光环const ringGeometry = new THREE.RingGeometry(6, 7, 32);const ringMaterial = new THREE.MeshBasicMaterial({color: 0x3B82F6,transparent: true,opacity: 0.5,side: THREE.DoubleSide});const ring = new THREE.Mesh(ringGeometry, ringMaterial);ring.rotation.x = Math.PI / 2;scene.add(ring);const ring2Geometry = new THREE.RingGeometry(8, 8.5, 32);const ring2Material = new THREE.MeshBasicMaterial({color: 0x8B5CF6,transparent: true,opacity: 0.5,side: THREE.DoubleSide});const ring2 = new THREE.Mesh(ring2Geometry, ring2Material);ring2.rotation.x = Math.PI / 3;scene.add(ring2);
}
技术要点:
- 使用BufferGeometry而非传统Geometry,大幅提升性能
- 通过THREE.AdditiveBlending创建辉光效果
- 结合球体和环形几何体增强视觉效果
- 为粒子设置随机位置、颜色和大小,增加自然感
5.3 实现动画效果
function animate() {requestAnimationFrame(animate);// 旋转粒子系统if (particleSystem) {particleSystem.rotation.y += 0.002;particleSystem.rotation.z += 0.001;// 脉动效果const time = Date.now() * 0.001;const positions = geometry.attributes.position.array;for (let i = 0; i < positions.length; i += 3) {const x = positions[i];const y = positions[i + 1];const z = positions[i + 2];// 计算到中心的距离const distance = Math.sqrt(x * x + y * y + z * z);// 脉动因子const pulseFactor = Math.sin(time + distance) * 0.1;// 应用脉动positions[i] += x * pulseFactor / distance;positions[i + 1] += y * pulseFactor / distance;positions[i + 2] += z * pulseFactor / distance;}geometry.attributes.position.needsUpdate = true;}// 更新相机角度,使场景看起来在慢慢移动camera.position.x = Math.sin(Date.now() * 0.0005) * 5;camera.position.y = Math.cos(Date.now() * 0.0003) * 3;camera.lookAt(scene.position);renderer.render(scene, camera);
}
技术要点:
- 使用requestAnimationFrame实现平滑动画
- 实现脉动效果:根据粒子到中心的距离和时间计算位置偏移
- 动态调整相机位置,创造沉浸式体验
- 设置needsUpdate标志通知Three.js更新顶点位置
6. 动态效果与交互
6.1 粒子背景效果
function createParticles() {const container = document.getElementById('particles');const particleCount = 50;for (let i = 0; i < particleCount; i++) {const particle = document.createElement('div');particle.className = 'particle';// 随机位置const x = Math.random() * window.innerWidth;const y = Math.random() * window.innerHeight;// 随机大小const size = Math.random() * 3 + 1;// 随机颜色const colors = ['rgba(59, 130, 246, 0.5)', 'rgba(139, 92, 246, 0.5)', 'rgba(16, 185, 129, 0.5)'];const color = colors[Math.floor(Math.random() * colors.length)];// 设置样式particle.style.left = `${x}px`;particle.style.top = `${y}px`;particle.style.width = `${size}px`;particle.style.height = `${size}px`;particle.style.backgroundColor = color;// 添加漂浮动画particle.style.animation = `floating ${Math.random() * 5 + 3}s ease-in-out infinite alternate`;// 添加到容器container.appendChild(particle);}
}
6.2 动态数据更新
function updateQuantumEfficiency() {const efficiencyElement = document.getElementById('quantum-efficiency');let currentValue = parseFloat(efficiencyElement.textContent);let targetValue = (Math.random() * 15 + 80).toFixed(1); // 80-95%之间的随机值const increment = (targetValue - currentValue) / 50;const duration = 2000;const interval = duration / 50;let step = 0;const updateInterval = setInterval(() => {currentValue += increment;step++;if (step >= 50) {clearInterval(updateInterval);currentValue = targetValue;}// 更新显示值efficiencyElement.textContent = parseFloat(currentValue).toFixed(1) + '%';}, interval);
}
7. 性能优化策略
在开发过程中,发现了几个性能瓶颈,通过以下措施进行了优化:
7.1 3D渲染优化
- 使用BufferGeometry替代普通Geometry
- 限制粒子数量在1000个以内
- 使用requestAnimationFrame确保平滑动画
- 在视口外时暂停渲染
7.2 事件处理优化
// 添加节流函数
function throttle(func, delay) {let inThrottle;return function() {const args = arguments;const context = this;if (!inThrottle) {func.apply(context, args);inThrottle = true;setTimeout(() => inThrottle = false, delay);}};
}// 应用节流函数到窗口调整事件
window.addEventListener('resize', throttle(() => {const width = container.clientWidth;const height = container.clientHeight;renderer.setSize(width, height);camera.aspect = width / height;camera.updateProjectionMatrix();
}, 100));
7.3 资源加载优化
- 使用CDN加载第三方库
- 确保字体图标库只加载必要的图标
- 延迟加载非关键资源
8. 遇到的问题与解决方案
问题1:3D渲染在移动设备上性能不佳
解决方案:
- 根据设备性能动态调整粒子数量
- 在移动设备上降低渲染质量
// 检测设备性能并调整粒子数量
function getOptimalParticleCount() {const isMobile = /Android|webOS|iPhone|iPad|iPod|BlackBerry|IEMobile|Opera Mini/i.test(navigator.userAgent);return isMobile ? 500 : 1000;
}// 使用动态粒子数量
const particlesCount = getOptimalParticleCount();
问题2:Chart.js图表在暗色主题下标签不清晰
解决方案:
自定义Chart.js默认配置,适应暗色主题
Chart.defaults.color = 'rgba(255, 255, 255, 0.5)';
Chart.defaults.borderColor = 'rgba(255, 255, 255, 0.1)';
问题3:3D效果与CSS动画冲突导致页面卡顿
解决方案:
使用CSS will-change属性提前告知浏览器元素将会变化,优化渲染性能
.particle {will-change: transform;/* 其他样式 */
}.quantum-core-3d canvas {will-change: transform;/* 其他样式 */
}
9. 项目扩展思路
该项目还有很多可扩展的方向:
9.1 数据连接
可以通过WebSocket实现实时数据更新:
// 创建WebSocket连接
const socket = new WebSocket('wss://api.example.com/ai-stats');// 接收实时数据
socket.onmessage = function(event) {const data = JSON.parse(event.data);updateDashboardData(data);
};// 更新仪表盘数据
function updateDashboardData(data) {// 更新各图表数据// ...
}
9.2 交互增强
可以添加更多交互功能,如点击3D模型展示详情:
// 添加鼠标点击事件
window.addEventListener('click', onMouseClick, false);// 鼠标点击事件处理
function onMouseClick(event) {// 计算鼠标在归一化设备坐标中的位置const mouse = new THREE.Vector2();mouse.x = (event.clientX / window.innerWidth) * 2 - 1;mouse.y = -(event.clientY / window.innerHeight) * 2 + 1;// 创建射线投射器const raycaster = new THREE.Raycaster();raycaster.setFromCamera(mouse, camera);// 检测射线与物体的交点const intersects = raycaster.intersectObjects(scene.children);if (intersects.length > 0) {// 显示被点击物体的详情showObjectDetails(intersects[0].object);}
}
10. 总结
本文详细介绍了如何使用现代Web技术构建一个具有科技感的AI监控仪表盘。通过结合HTML5、CSS3、JavaScript以及Three.js和Chart.js等库,实现了丰富的可视化效果和交互体验。项目的亮点在于3D量子核心可视化和多种数据图表的实现。
开发过程中遇到了多个性能和兼容性问题,通过合理的优化策略和降级处理得到了解决。这种类型的界面设计在AI监控、大数据可视化等领域有广泛的应用前景。
通过本项目的开发,不仅展示了现代前端技术的强大能力,也为读者提供了实现类似效果的详细技术参考。希望本文对各位前端开发者有所帮助。
作者:trust Tomorrow
本文使用AI辅助编写
欢迎在评论区留言交流,分享您的想法和建议
如有问题或需要完整源码,请在评论区留言