配环境
我个人用的是Geowizard的环境:https://github.com/fuxiao0719/GeoWizard。
出于方便考虑,用的pytorch官方的docker容器,因此python版本(3.10)和原作者(3.9)不同,其余都是一样的。
https://hub.docker.com/r/pytorch/pytorch/tags?page=&page_size=&ordering=&name=2.0.1
安装的时候,把requirements.txt 里面开头的torch和torchvision删掉就行了(因为我们的docker容器里已经有了,版本也是一样的)。
如果遇到以下两个报错可以这样解决:
apt install libgl1-mesa-glx # ImportError: libGL.so.1: cannot open shared object file: No such file or dir
apt-get install libxrender1 # ImportError: libXrender.so.1: cannot open shared object file: No such file or directory
hugging face的下载问题
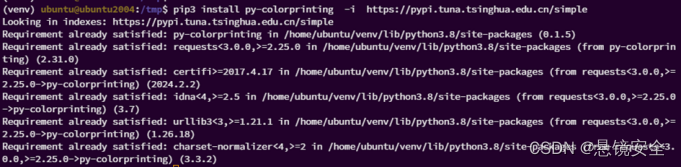
把原网站换成镜像,不然下不下来。
pip install -U huggingface_hub
export HF_ENDPOINT=https://hf-mirror.com
入门学习
网站
就用这个网站的tutorial就行:
https://huggingface.co/docs/diffusers/tutorials
打不开的话看这个镜像:把huggingface.co换成hf-mirror.com即可
https://hf-mirror.com/docs/diffusers/tutorials/autopipeline
注意,没有魔法的话,镜像中还是无法显示图片。但代码文字都有,所以也可以将就着用了。
学习内容
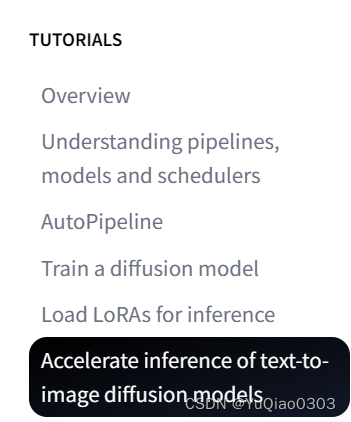
我看的2024.05.15版本是这些内容:
学习建议
- 我先开始用的还是pycharm。后来感觉还是jupyter notebook方便一点。
- 每个教程可能会用到不同的stable diffusion模型,比如"stabilityai/stable-diffusion-xl-base-1.0"。 每次下载模型都很大,费时且费存储空间。
- 如果只是学习的话,可以试试都用““CompVis/stable-diffusion-v1-4”, 如果报错了再试试"runwayml/stable-diffusion-v1-5",实在不行再换成教程里的。这样就不用老下载新模型了
- 建议先看好所有要学的教程,把里面的模型都load完,然后再一个个仔细看,因为模型下载真的很费时
学习总结
diffusers的用法
-
简单的说,可以直接使用一个pipeline。也可以用scheduler和model。
-
model一般包括一个最基本的UNet(输入current xt和t,输出predicted noise)
- 如果是latent diffusion的话还有VAE
- 如果是text conditioned的话还有tokenlizer和text_encoder
-
有的scheduler有noise scaler参数,比如这位:
https://huggingface.co/docs/diffusers/v0.27.2/en/api/schedulers/unipc#diffusers.UniPCMultistepScheduler -
AutoPipeline就是,指定模型(比如runwayml/stable-diffusion-v1-5)和任务(比如text2img, img2img, 或inpainting),自动给你找到那个pipeline对应的类
-
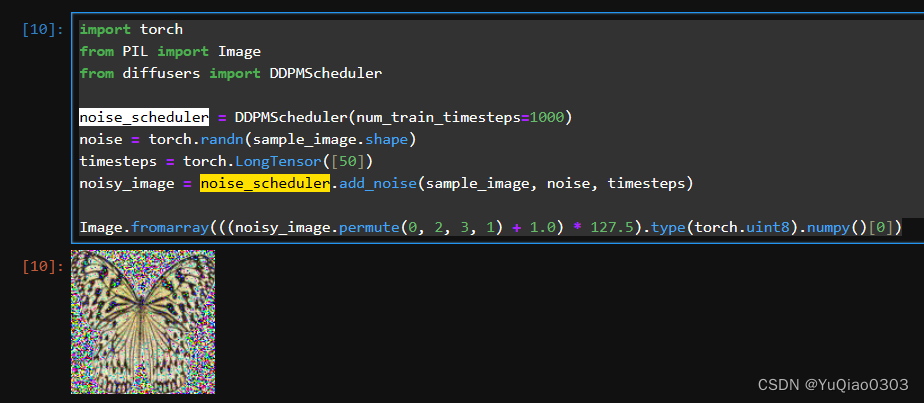
noise scheduler有一个add_noise方法,大概是下面这样:
其他
- 这个过程中会下载很多模型或数据集,默认的路径是:
~/.cache/huggingface/hub - 可能需要pip install datasets, 下载的路径还是~/.cache/
- 如果还没研究明白怎么把模型上传到huggingface,可以先把training config里面的push_to_hub设置为False
- jupyter里面的PIL Image可以直接显示(运行代码image即可);pycharm的话可以image.save(‘temp.png’), 然后看这个图
Understanding pipelines, models and schedulers
代码例子1:直接使用DDPM的pipeline
from diffusers import DDPMPipelineddpm = DDPMPipeline.from_pretrained("google/ddpm-cat-256", use_safetensors=True).to("cuda")
image = ddpm(num_inference_steps=25).images[0]
image
代码例子2:分解DDPM的pipeline:先load scheduler 和model,然后使用
from diffusers import DDPMScheduler, UNet2DModelscheduler = DDPMScheduler.from_pretrained("google/ddpm-cat-256")
model = UNet2DModel.from_pretrained("google/ddpm-cat-256", use_safetensors=True).to("cuda")
scheduler.set_timesteps(50)import torchsample_size = model.config.sample_size
noise = torch.randn((1, 3, sample_size, sample_size), device="cuda")input = noisefor t in scheduler.timesteps:with torch.no_grad():noisy_residual = model(input, t).sampleprevious_noisy_sample = scheduler.step(noisy_residual, t, input).prev_sampleinput = previous_noisy_sample
from PIL import Image
import numpy as npimage = (input / 2 + 0.5).clamp(0, 1).squeeze()
image = (image.permute(1, 2, 0) * 255).round().to(torch.uint8).cpu().numpy()
image = Image.fromarray(image)
image
代码例子2:stable diffusion的inference
https://hf-mirror.com/docs/diffusers/using-diffusers/write_own_pipeline
# https://huggingface.co/docs/diffusers/using-diffusers/write_own_pipelinefrom PIL import Image
import torch
from transformers import CLIPTextModel, CLIPTokenizer
from diffusers import AutoencoderKL, UNet2DConditionModel, PNDMScheduler'''Load Stuff'''
vae = AutoencoderKL.from_pretrained("CompVis/stable-diffusion-v1-4", subfolder="vae", use_safetensors=True)
tokenizer = CLIPTokenizer.from_pretrained("CompVis/stable-diffusion-v1-4", subfolder="tokenizer")
text_encoder = CLIPTextModel.from_pretrained("CompVis/stable-diffusion-v1-4", subfolder="text_encoder", use_safetensors=True
)
unet = UNet2DConditionModel.from_pretrained("CompVis/stable-diffusion-v1-4", subfolder="unet", use_safetensors=True
)from diffusers import UniPCMultistepSchedulerscheduler = UniPCMultistepScheduler.from_pretrained("CompVis/stable-diffusion-v1-4", subfolder="scheduler")torch_device = "cuda"
vae.to(torch_device)
text_encoder.to(torch_device)
unet.to(torch_device)'''Prepare and process input text'''
prompt = ["a photograph of an astronaut riding a horse"]
# prompt = ["a photograph of the cartoon character SpongeBob SqurePants"]
height = 512  # default height of Stable Diffusion
width = 512  # default width of Stable Diffusion
num_inference_steps = 25  # Number of denoising steps
guidance_scale = 7.5  # Scale for classifier-free guidance
generator = torch.manual_seed(1)  # Seed generator to create the initial latent noise
batch_size = len(prompt)text_input = tokenizer(prompt, padding="max_length", max_length=tokenizer.model_max_length, truncation=True, return_tensors="pt"
)with torch.no_grad():text_embeddings = text_encoder(text_input.input_ids.to(torch_device))[0]max_length = text_input.input_ids.shape[-1]
uncond_input = tokenizer([""] * batch_size, padding="max_length", max_length=max_length, return_tensors="pt")
uncond_embeddings = text_encoder(uncond_input.input_ids.to(torch_device))[0]text_embeddings = torch.cat([uncond_embeddings, text_embeddings])'''Diffuse'''
latents = torch.randn((batch_size, unet.config.in_channels, height // 8, width // 8),generator=generator
).to(torch_device)latents = latents * scheduler.init_noise_sigmafrom tqdm.auto import tqdmscheduler.set_timesteps(num_inference_steps)for t in tqdm(scheduler.timesteps):# expand the latents if we are doing classifier-free guidance to avoid doing two forward passes.latent_model_input = torch.cat([latents] * 2)latent_model_input = scheduler.scale_model_input(latent_model_input, timestep=t)# predict the noise residualwith torch.no_grad():noise_pred = unet(latent_model_input, t, encoder_hidden_states=text_embeddings).sample# perform guidancenoise_pred_uncond, noise_pred_text = noise_pred.chunk(2)noise_pred = noise_pred_uncond + guidance_scale * (noise_pred_text - noise_pred_uncond)# compute the previous noisy sample x_t -> x_t-1latents = scheduler.step(noise_pred, t, latents).prev_sample'''Decode the image: latent to rgb'''
# scale and decode the image latents with vae
latents = 1 / 0.18215 * latents
with torch.no_grad():image = vae.decode(latents).sample
image = (image / 2 + 0.5).clamp(0, 1).squeeze()
image = (image.permute(1, 2, 0) * 255).to(torch.uint8).cpu().numpy()
image = Image.fromarray(image)
image.save('temp.png')
结果
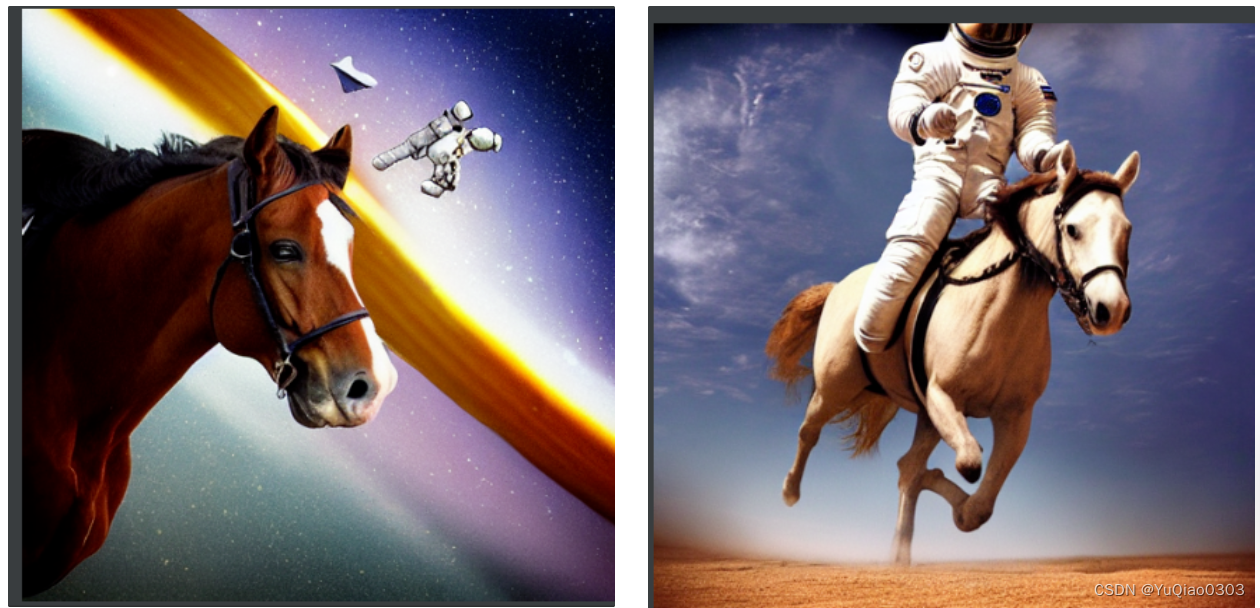
下面是我seed为0和1分别生成的结果:
prompt:a photograph of an astronaut riding a horse
AutoPipeline
task = 'img2img' # text2img, img2img, inpainting
if task == 'text2img':from diffusers import AutoPipelineForText2Imageimport torchpipeline = AutoPipelineForText2Image.from_pretrained("runwayml/stable-diffusion-v1-5", torch_dtype=torch.float16, use_safetensors=True).to("cuda")prompt = "peasant and dragon combat, wood cutting style, viking era, bevel with rune"image = pipeline(prompt, num_inference_steps=25).images[0]image.save('temp.png')if task == 'img2img':from diffusers import AutoPipelineForImage2Imageimport torchimport requestsfrom PIL import Imagefrom io import BytesIOpipeline = AutoPipelineForImage2Image.from_pretrained("runwayml/stable-diffusion-v1-5",torch_dtype=torch.float16,use_safetensors=True,).to("cuda")prompt = "a portrait of a dog wearing a pearl earring"url = "https://upload.wikimedia.org/wikipedia/commons/thumb/0/0f/1665_Girl_with_a_Pearl_Earring.jpg/800px-1665_Girl_with_a_Pearl_Earring.jpg"response = requests.get(url)image = Image.open(BytesIO(response.content)).convert("RGB")image.thumbnail((768, 768))image.save('1665_Girl_with_a_Pearl_Earring.png')image = pipeline(prompt, image, num_inference_steps=200, strength=0.75, guidance_scale=10.5).images[0]image.save('temp.png')if task == 'inpainting':from diffusers import AutoPipelineForInpaintingfrom diffusers.utils import load_imageimport torchpipeline = AutoPipelineForInpainting.from_pretrained(# "stabilityai/stable-diffusion-xl-base-1.0","runwayml/stable-diffusion-v1-5",torch_dtype=torch.float16, use_safetensors=True).to("cuda")img_url = "https://raw.githubusercontent.com/CompVis/latent-diffusion/main/data/inpainting_examples/overture-creations-5sI6fQgYIuo.png"mask_url = "https://raw.githubusercontent.com/CompVis/latent-diffusion/main/data/inpainting_examples/overture-creations-5sI6fQgYIuo_mask.png"init_image = load_image(img_url).convert("RGB")mask_image = load_image(mask_url).convert("RGB")init_image.save('init.png')mask_image.save('mask_image.png')prompt = "A majestic tiger sitting on a bench"image = pipeline(prompt, image=init_image, mask_image=mask_image, num_inference_steps=50, strength=0.80).images[0]image.save('temp.png')
结果
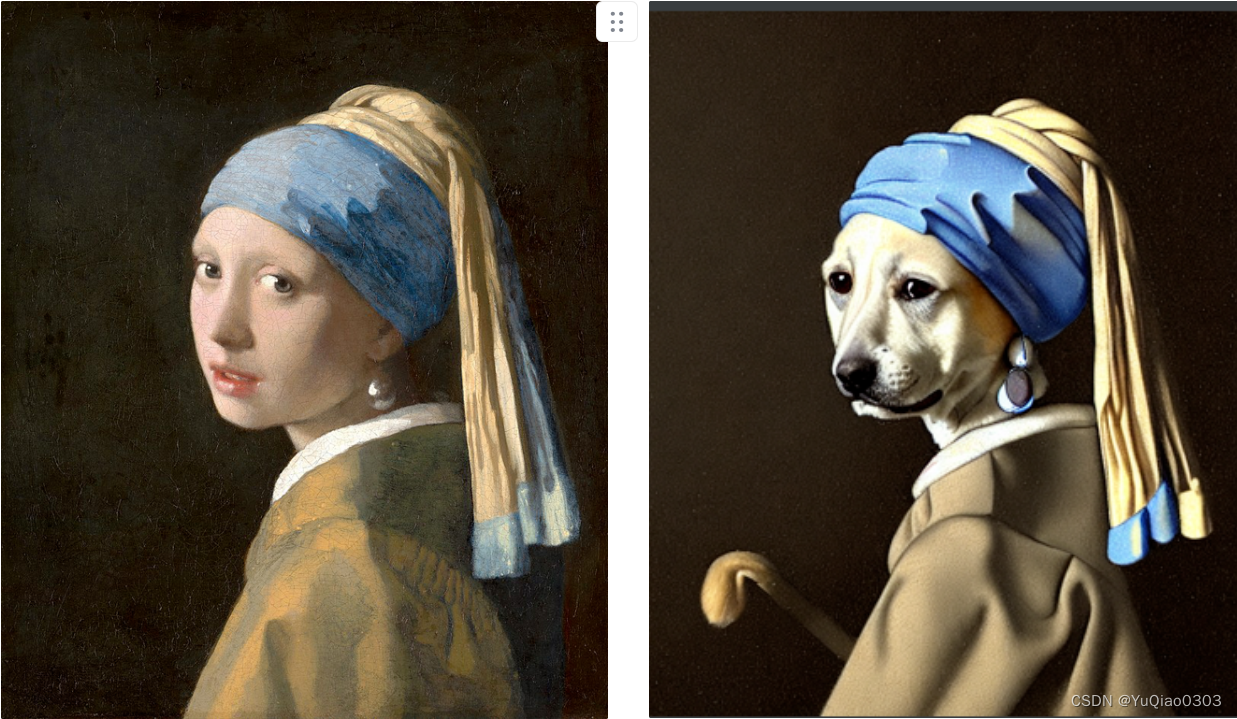
img2img: a portrait of a dog wearing a pearl earring
inpainiting的结果:A majestic tiger sitting on a bench
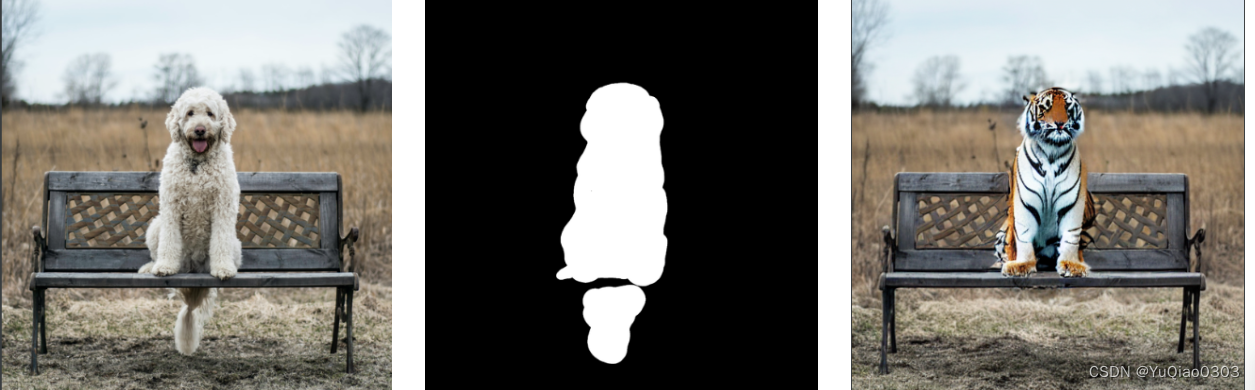
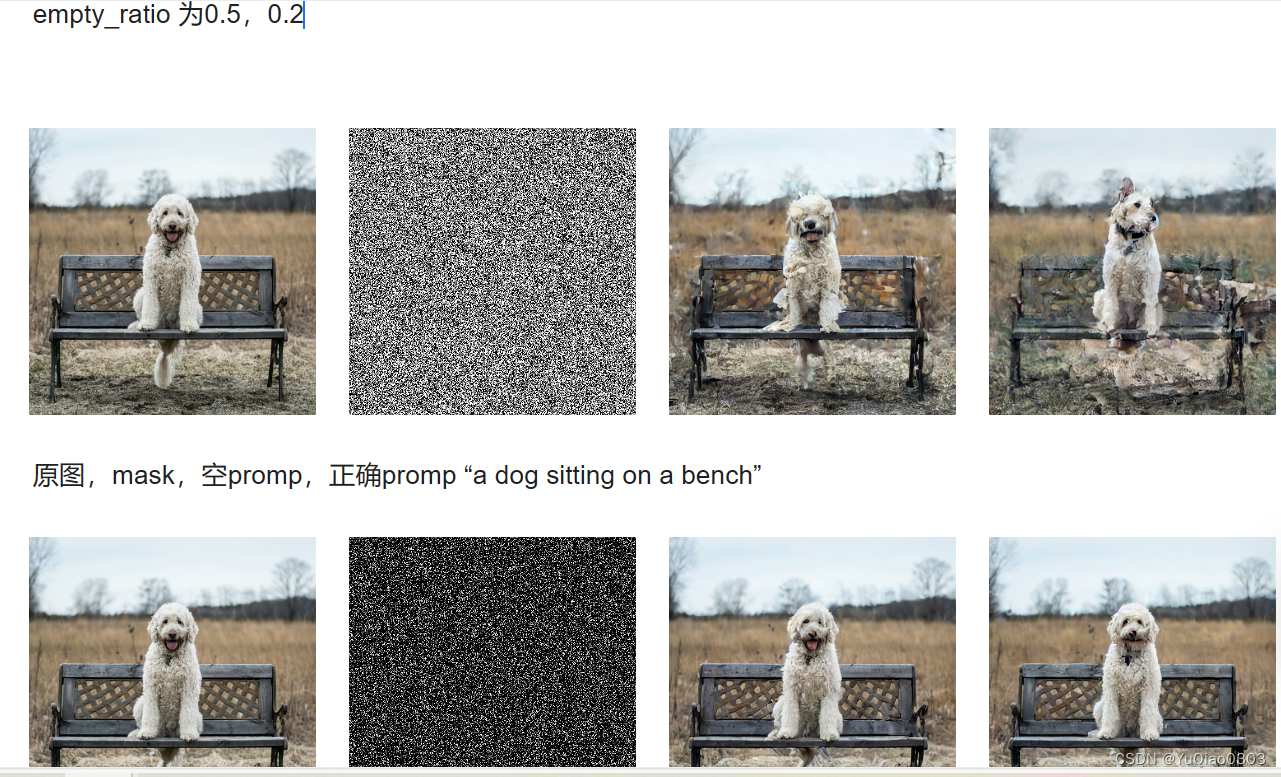
如果是随机mask来inpaint的结果:(注意,黑色是要保留的)
train a diffusion model
参考这个网站:
https://hf-mirror.com/docs/diffusers/tutorials/basic_training
注意,如果开头的config里面push_to_hub设置为True的话,则需要改一下hub_model_id, 同时需要前面的
from huggingface_hub import notebook_login
notebook_login()
我试了一下有点问题,就直接设置为false了。
建议先把trianing跑完了,再仔细看trianing的代码.
核心代码:
for step, batch in enumerate(train_dataloader):clean_images = batch["images"]# Sample noise to add to the imagesnoise = torch.randn(clean_images.shape, device=clean_images.device)bs = clean_images.shape[0]# Sample a random timestep for each imagetimesteps = torch.randint(0, noise_scheduler.config.num_train_timesteps, (bs,), device=clean_images.device,dtype=torch.int64)# Add noise to the clean images according to the noise magnitude at each timestep# (this is the forward diffusion process)noisy_images = noise_scheduler.add_noise(clean_images, noise, timesteps)with accelerator.accumulate(model):# Predict the noise residualnoise_pred = model(noisy_images, timesteps, return_dict=False)[0]loss = F.mse_loss(noise_pred, noise)accelerator.backward(loss)accelerator.clip_grad_norm_(model.parameters(), 1.0)optimizer.step()lr_scheduler.step()optimizer.zero_grad()progress_bar.update(1)logs = {"loss": loss.detach().item(), "lr": lr_scheduler.get_last_lr()[0], "step": global_step}progress_bar.set_postfix(**logs)accelerator.log(logs, step=global_step)global_step += 1
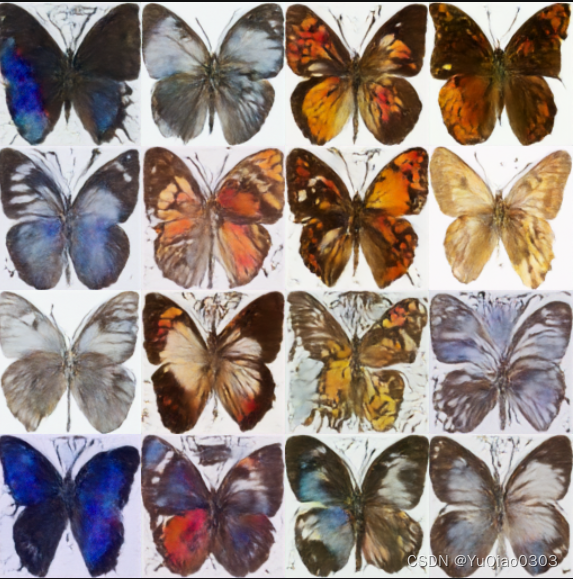
结果: