在网页设计中,“溢出”是一个常见且重要的概念。它涉及到如何处理那些超出预定范围的内容,以确保网页的布局和视觉效果达到预期。
一、什么是溢出?
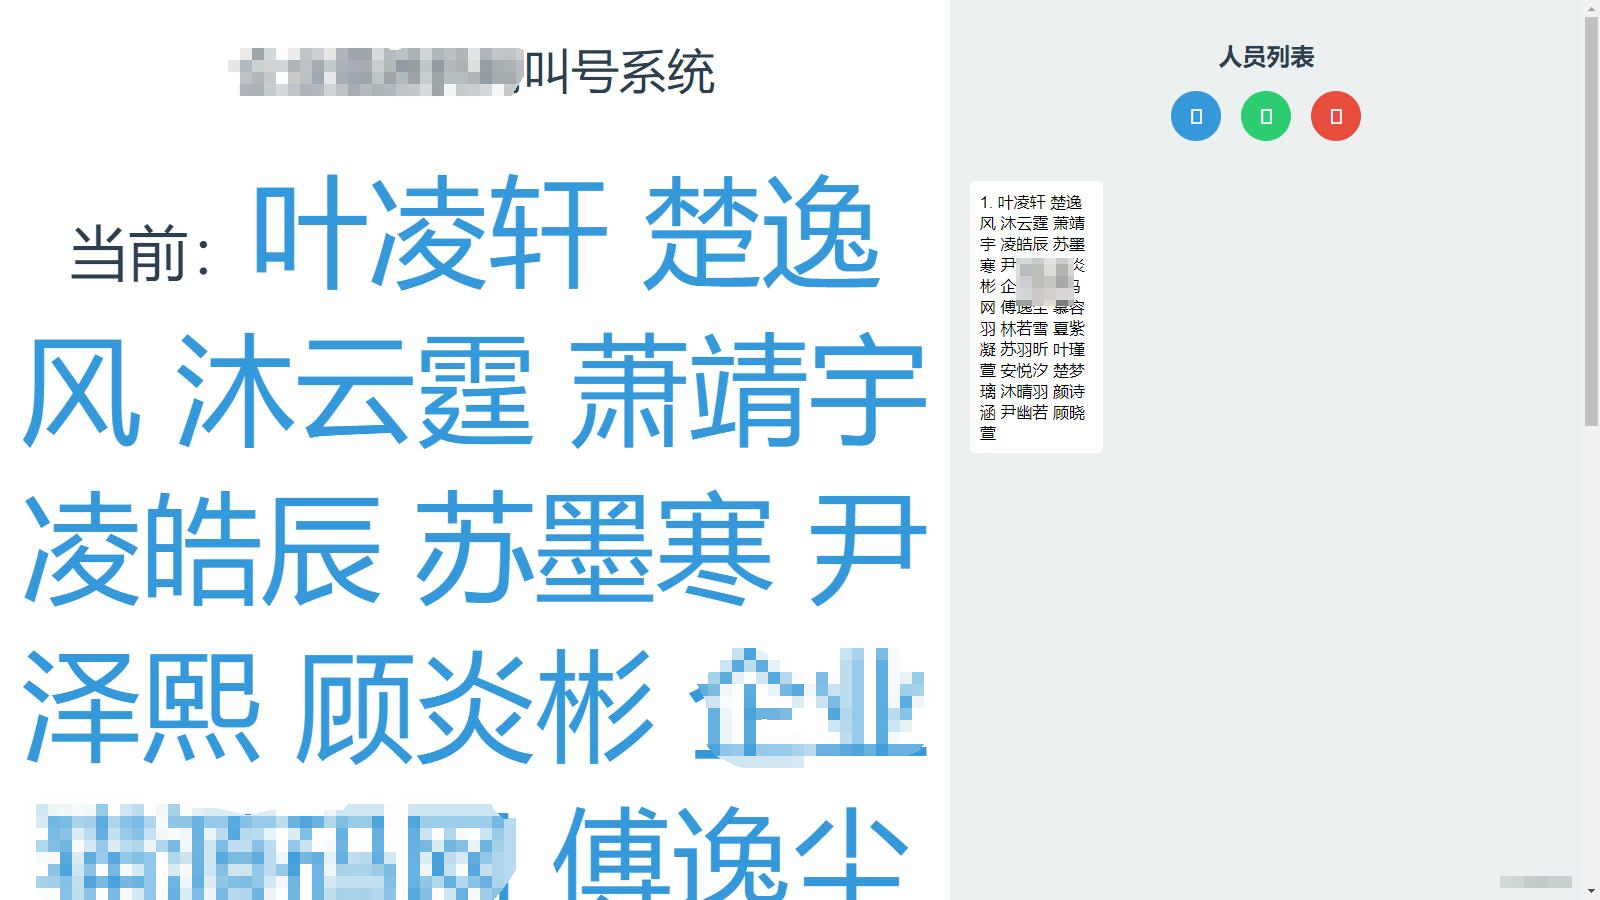
在 CSS 中,“溢出”(overflow)指的是内容超出其包含块的边界时的处理方式。当一个元素的内容超出其设定的宽度或高度时,我们需要采取措施来管理这些超出部分的内容。溢出可能会导致内容被遮挡、布局混乱或视觉效果不佳。
二、CSS 的 overflow 属性
CSS 提供了 overflow 属性来控制如何处理溢出的内容。该属性适用于块级元素,并允许你指定内容超出其容器边界时的显示方式。overflow 属性有四个主要值:
-
visible:默认值。溢出的内容会显示在容器之外,不进行裁剪。 -
hidden:溢出的内容会被裁剪,不会显示在容器之外。 -
scroll:溢出的内容会显示滚动条,允许用户滚动查看超出部分的内容。 -
auto:根据需要自动添加滚动条。如果内容超出容器,则显示滚动条;否则,不显示滚动条。
示例 1: visible
<!DOCTYPE html>
<html lang="en">
<head><meta charset="UTF-8"><meta name="viewport" content="width=device-width, initial-scale=1.0"><title>Overflow Visible Example</title><style>.container {width: 200px;height: 100px;border: 2px solid black;overflow: visible; /* 默认值 */}.content {width: 300px;height: 150px;background-color: lightblue;}</style>
</head>
<body><div class="container"><div class="content">这是一个超出容器边界的内容示例。</div></div>
</body>
</html>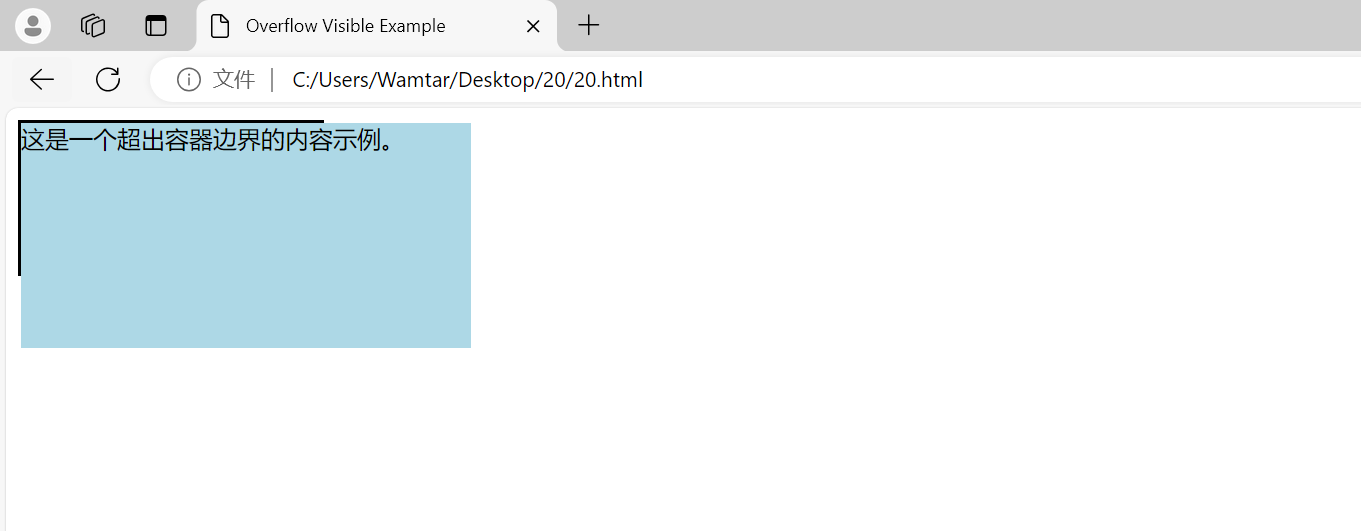
.content 元素的宽度和高度超出了 .container 元素的边界。由于 overflow 属性设置为 visible,超出的内容会在容器之外显示。
示例 2: hidden
<!DOCTYPE html>
<html lang="en">
<head><meta charset="UTF-8"><meta name="viewport" content="width=device-width, initial-scale=1.0"><title>Overflow Hidden Example</title><style>.container {width: 200px;height: 100px;border: 2px solid black;overflow: hidden; /* 裁剪溢出内容 */}.content {width: 300px;height: 150px;background-color: lightgreen;}</style>
</head>
<body><div class="container"><div class="content">这是一个超出容器边界的内容示例。</div></div>
</body>
</html>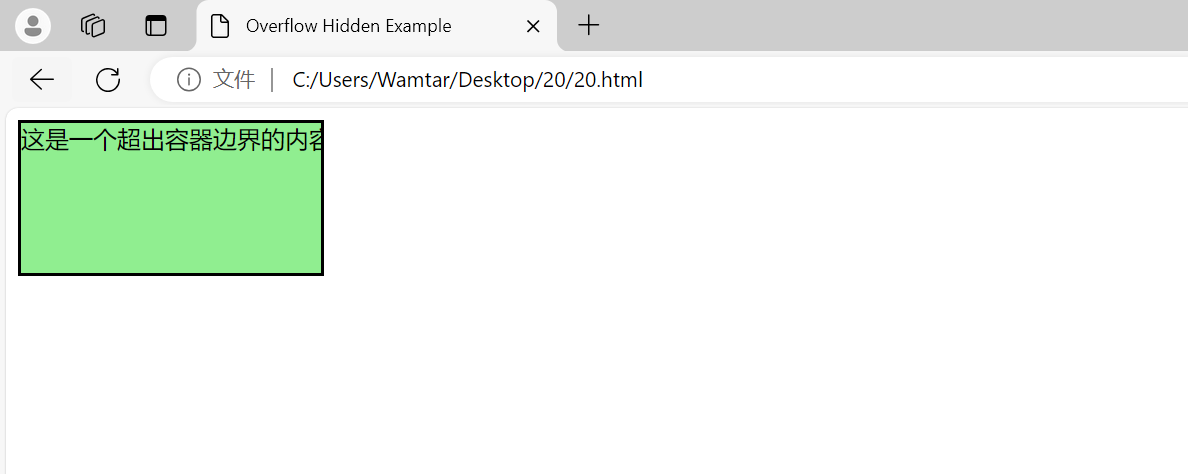
由于 overflow 属性设置为 hidden,溢出的内容被裁剪,不会显示在容器之外。
示例 3: scroll
<!DOCTYPE html>
<html lang="en">
<head><meta charset="UTF-8"><meta name="viewport" content="width=device-width, initial-scale=1.0"><title>Overflow Scroll Example</title><style>.container {width: 200px;height: 100px;border: 2px solid black;overflow: scroll; /* 显示滚动条 */}.content {width: 300px;height: 150px;background-color: lightcoral;}</style>
</head>
<body><div class="container"><div class="content">这是一个超出容器边界的内容示例。</div></div>
</body>
</html>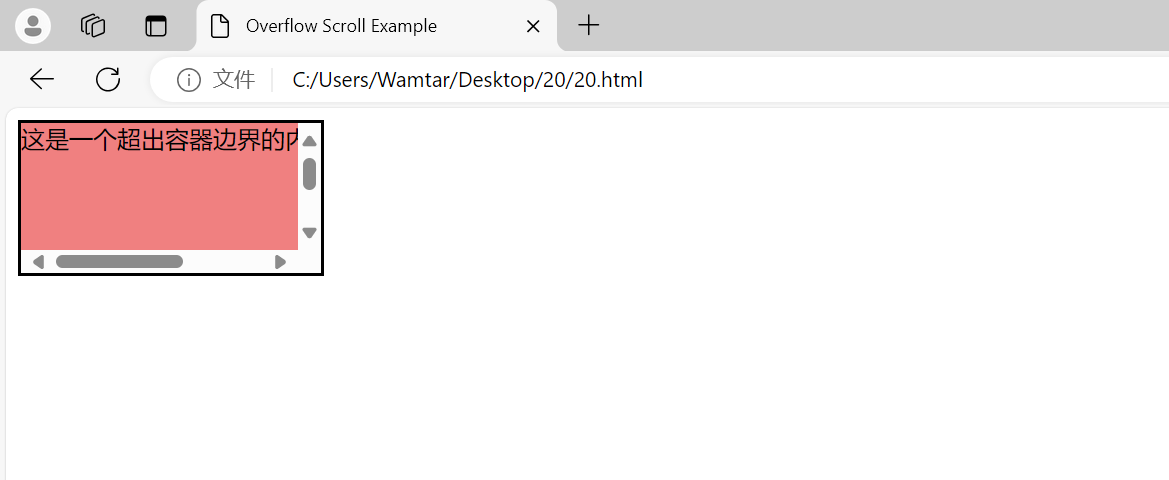
.container 元素的 overflow 属性设置为 scroll,因此即使内容超出了容器边界,用户也可以通过滚动条查看所有内容。
示例 4: auto
<!DOCTYPE html>
<html lang="en">
<head><meta charset="UTF-8"><meta name="viewport" content="width=device-width, initial-scale=1.0"><title>Overflow Auto Example</title><style>.container {width: 200px;height: 100px;border: 2px solid black;overflow: auto; /* 自动添加滚动条 */}.content {width: 300px;height: 150px;background-color: lightgoldenrodyellow;}</style>
</head>
<body><div class="container"><div class="content">这是一个超出容器边界的内容示例。</div></div>
</body>
</html>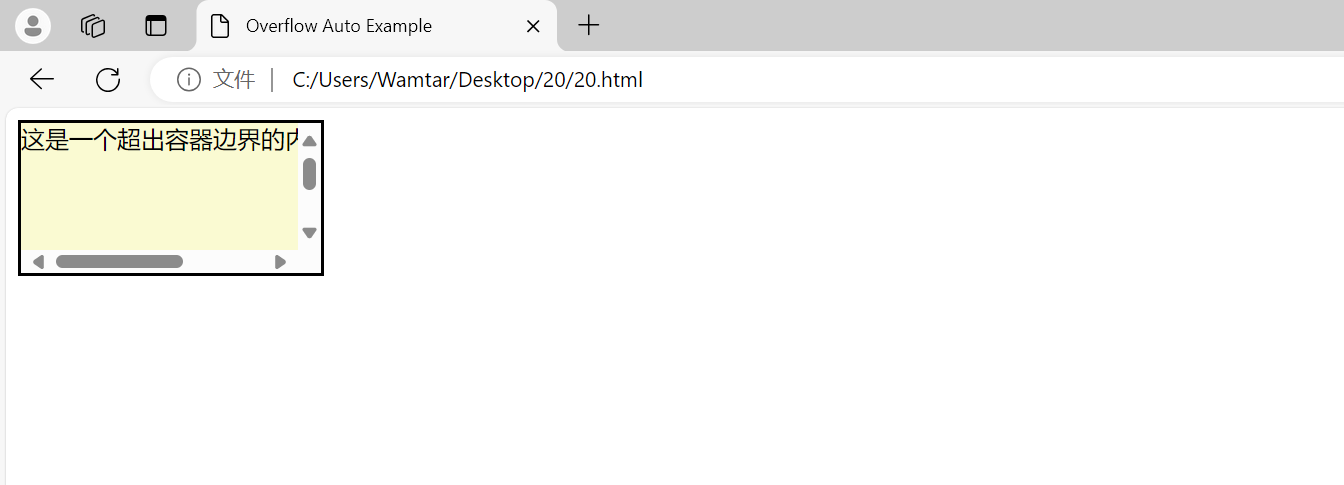
.container 元素的 overflow 属性设置为 auto,在内容超出容器边界时,自动显示滚动条。
三、溢出建立区块格式化上下文
区块格式化上下文(Block Formatting Context, BFC)是一个用于布局的概念,它帮助我们控制元素如何在页面上布局。在处理溢出时,理解 BFC 对于解决一些布局问题非常重要。
什么是 BFC?
BFC 是一个独立的布局区域,元素在 BFC 内部的布局不会影响外部的布局。BFC 的建立通常会影响到溢出处理。以下是一些建立 BFC 的常见方法:
- 设置
overflow 属性:当 overflow 属性值为 hidden、scroll 或 auto 时,元素会创建一个新的 BFC。 - 设置
display 属性为 flow-root:元素的 display 属性设置为 flow-root 也会创建一个新的 BFC。 - 设置
float 属性为 left 或 right:浮动元素也会创建一个新的 BFC。 - 设置
position 属性为 absolute 或 fixed:这些定位属性也会创建一个新的 BFC。
创建 BFC
<!DOCTYPE html>
<html lang="en">
<head><meta charset="UTF-8"><meta name="viewport" content="width=device-width, initial-scale=1.0"><title>BFC Example</title><style>.container {width: 200px;height: 100px;border: 2px solid black;overflow: hidden; /* 创建 BFC */}.content {width: 300px;height: 150px;background-color: lightpink;}.float-box {float: left; /* 创建 BFC */width: 100px;height: 100px;background-color: lightblue;}</style>
</head>
<body><div class="container"><div class="float-box"></div><div class="content">这是一个创建了 BFC 的容器。内容超出了容器边界,但由于创建了 BFC,浮动的 `.float-box` 不会影响到 `.content` 的布局。</div></div>
</body>
</html>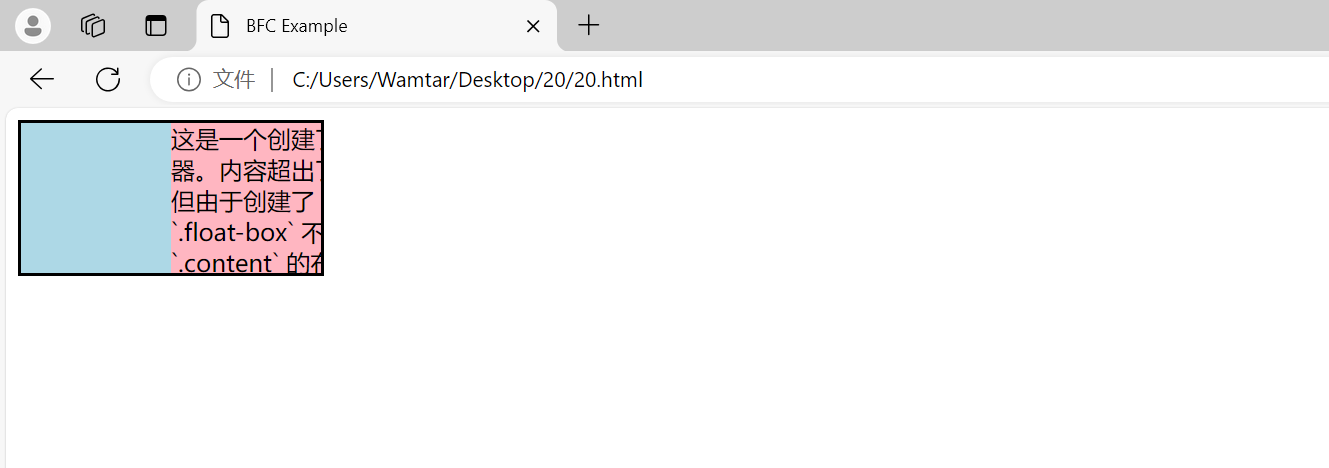
在这个例子中,.container 元素和 .float-box 元素创建了各自的 BFC,使得它们的布局相互独立,避免了浮动元素对溢出内容的影响。
四、网页设计中的溢出处理
在实际的网页设计中,处理溢出不仅仅是为了防止布局破坏,还涉及到用户体验和内容可读性。以下是一些常见的场景和最佳实践:
场景 1: 响应式设计
在响应式设计中,确保内容在不同屏幕尺寸下都能正确显示是至关重要的。使用 overflow 属性可以帮助你控制在屏幕尺寸变化时的内容显示。
<!DOCTYPE html>
<html lang="en">
<head><meta charset="UTF-8"><meta name="viewport" content="width=device-width, initial-scale=1.0"><title>Responsive Overflow Example</title><style>.container {width: 100%;max-width: 600px;height: 200px;border: 2px solid black;overflow: auto; /* 自动显示滚动条 */}.content {width: 120%;height: 100%;background-color: lightgray;}</style>
</head>
<body><div class="container"><div class="content">这是一个响应式设计的示例。当容器的宽度小于内容的宽度时,会显示滚动条。</div></div>
</body>
</html>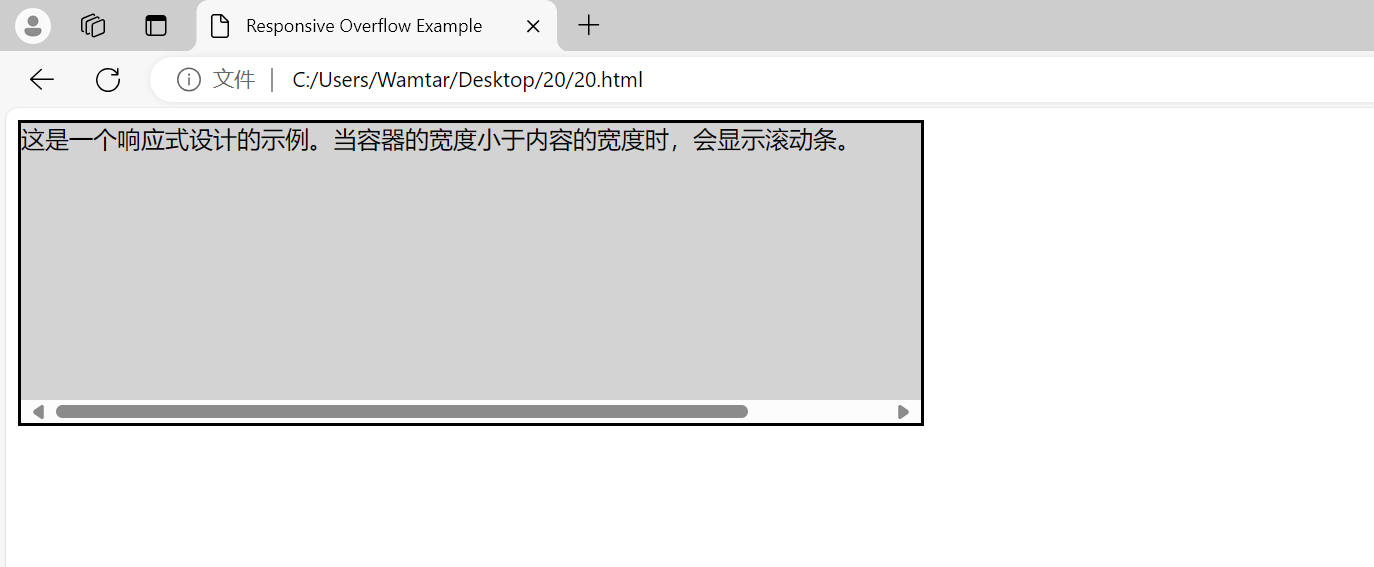
.container 元素设置了 overflow: auto,确保当内容超出容器宽度时,用户可以通过滚动条查看所有内容。
场景 2: 图片和视频
处理图片和视频等多媒体内容时,确保它们在容器中适当显示是非常重要的。使用 overflow 属性可以帮助你控制这些元素的显示方式。
<!DOCTYPE html>
<html lang="en">
<head><meta charset="UTF-8"><meta name="viewport" content="width=device-width, initial-scale=1.0"><title>Media Overflow Example</title><style>.container {width: 400px;height: 300px;border: 2px solid black;overflow: hidden; /* 裁剪超出内容 */position: relative;}.media {width: 100%;height: auto;}</style>
</head>
<body><div class="container"><img src="https://via.placeholder.com/600x400" alt="Example Image" class="media"></div>
</body>
</html>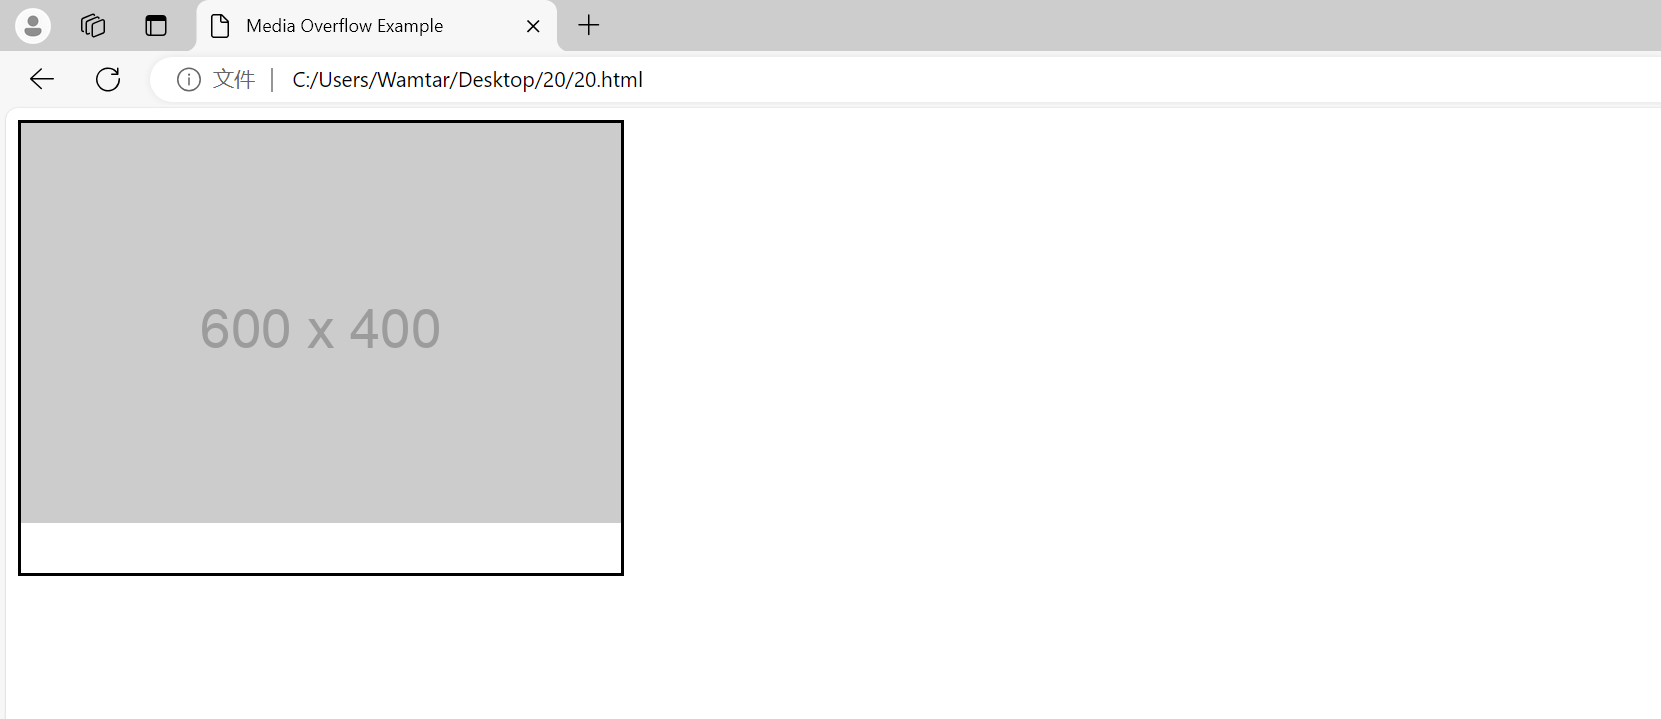
.container 元素设置了 overflow: hidden,确保超出容器边界的图片部分不会显示。
场景 3: 表单和交互式元素
在表单和交互式元素中,处理溢出可以提高用户体验。例如,在长列表或表单字段中使用滚动条,可以避免页面变得过于冗长。
<!DOCTYPE html>
<html lang="en">
<head><meta charset="UTF-8"><meta name="viewport" content="width=device-width, initial-scale=1.0"><title>Form Overflow Example</title><style>.form-container {width: 300px;height: 200px;border: 2px solid black;overflow-y: scroll; /* 垂直方向显示滚动条 */padding: 10px;}.form-element {margin-bottom: 10px;}</style>
</head>
<body><div class="form-container"><form><div class="form-element"><label for="input1">输入框 1:</label><input type="text" id="input1"></div><div class="form-element"><label for="input2">输入框 2:</label><input type="text" id="input2"></div><div class="form-element"><label for="input3">输入框 3:</label><input type="text" id="input3"></div><div class="form-element"><label for="input4">输入框 4:</label><input type="text" id="input4"></div><div class="form-element"><label for="input5">输入框 5:</label><input type="text" id="input5"></div><div class="form-element"><label for="input6">输入框 6:</label><input type="text" id="input6"></div><!-- 更多输入框 --></form></div>
</body>
</html>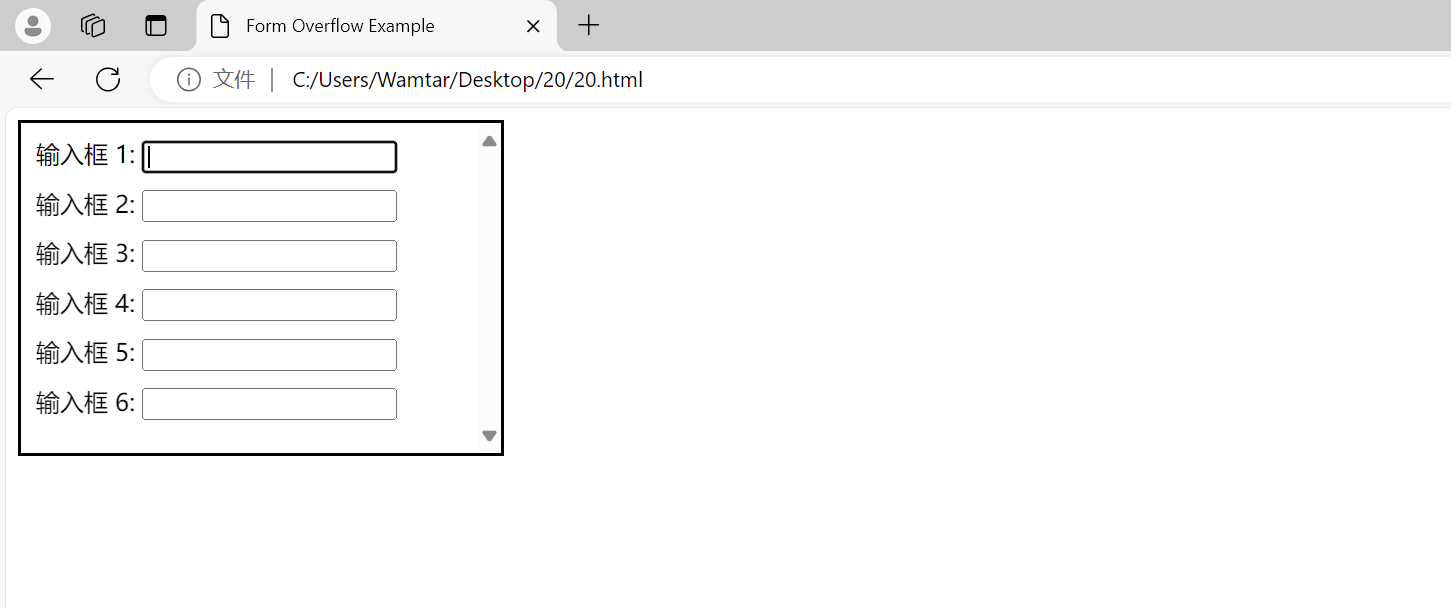
.form-container 元素设置了 overflow-y: scroll,允许在表单内容超出容器时显示垂直滚动条。

