Qt天气预报系统设计
- 1、第四部分左边的第一部分
- 1.1添加控件
- 1.2修改控件名字
- 2、第四部分左边的第二部分
- 2.1添加控件
- 2.2修改控件名字
- 3、第四部分左边的第三部分
- 3.1添加控件
- 3.2修改控件名字
- 4、对整个widget04l调整
1、第四部分左边的第一部分
1.1添加控件
拖入一个widget,改名为widget04作为第四部分 |
拖入一个widget,改名为widget04l,作为第四部分的左边部分 |
往widget04l再拖入一个widget,改名为widget0401,作为第四部分的第一部分 |

往widget0401里面拖入一个Label,改变它的样式表,代码如下 |
color: rgb(230, 230, 230);
background-color: rgb(57, 173, 173);
border-radius: 7px;
border-bottom-right-radius:0px;
border-bottom-left-radius:0px;
下面是上面这段代码的解释
| color: rgb(230, 230, 230); 设置文本的颜色 background-color: rgb(57, 173, 173);· 定义了元素背景颜色 border-radius: 7px; 创建圆角边框,所有四个角的曲率半径都是7像素 border-bottom-right-radius:0px; 设置了右下角的圆角为0像素,意味着这个角将 不会是圆角而是直角 border-bottom-left-radius:0px; 设置左下角的圆角为0像素,使得这个角也是直角 |
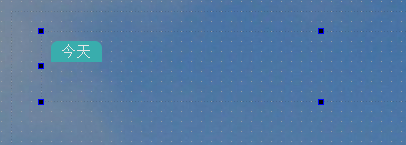
再拖入一个Label,改变样式表,代码如下
color: rgb(230, 230, 230);
background-color: rgb(57, 173, 173);
border-radius: 7px;
border-top-right-radius:0px;
border-top-left-radius:0px;
解释如下
| color: rgb(230, 230, 230); 设置文本的颜色 background-color: rgb(57, 173, 173);· 定义了元素背景颜色 border-radius: 7px; 创建圆角边框,所有四个角的曲率半径都是7像素 border-top-right-radius: 0px; 设置了右上角的圆角为0像素,意味着这个角将 不会是圆角而是直角 border-top-left-radius: 0px; 设置左上角的圆角为0像素,使得这个角也是直角 |

| 再粘贴复制六个出来 |

对整个widget0401进行进行栅格布局 |
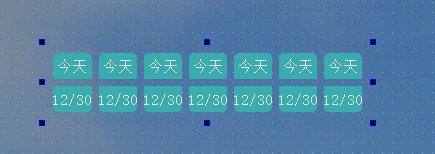
选中widget0401这个布局,把layoutVerticalSpacing改为0 |

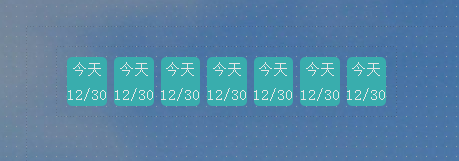
把整个今天标签的文字垂直方向居下 |
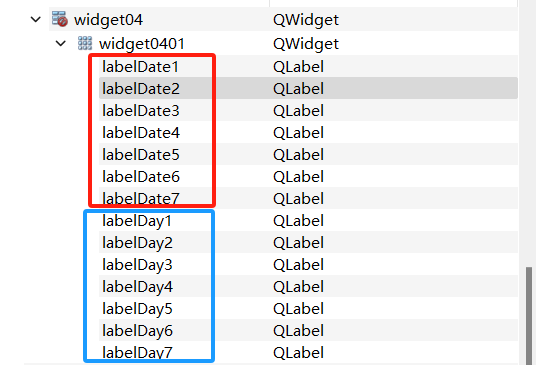
1.2修改控件名字
| 修改控件的名字,方便后面的编程 |
2、第四部分左边的第二部分
2.1添加控件
拖入一个widget改名为widget0402,再拖入一个Label |
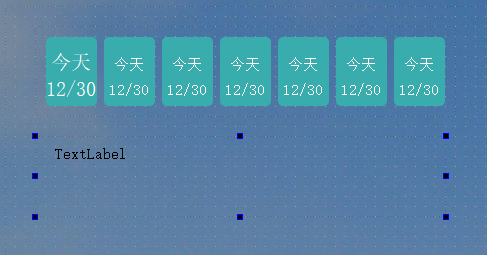
改变Label的样式表,跟上面今天那个Label一样,但背景色删掉,把图片添加进来 |

再拖入一个Label,样式表改的像日期那个标签一样,也不要背景色,然后把文字居中 |

再添加6个同样的Label组合 |

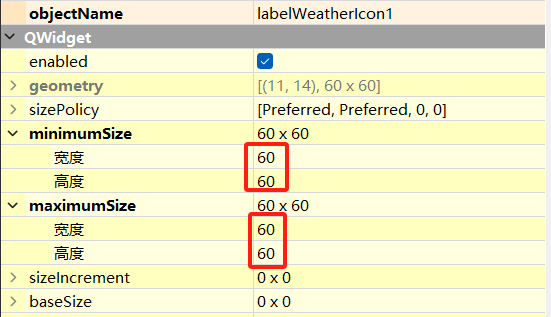
把上面那个图片标签的高度和宽度固定住 |
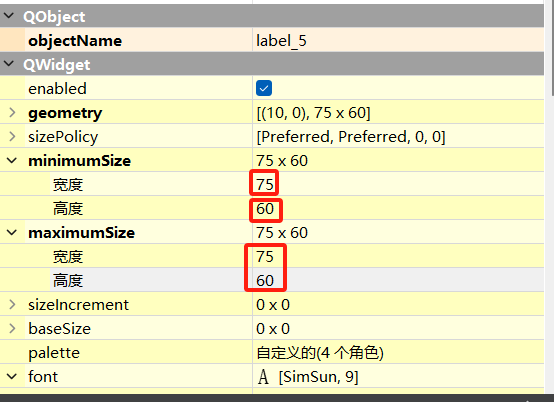
对整个widget0402进行栅格布局 |

2.2修改控件名字
| 修改控件名字,方便后面编程 |

3、第四部分左边的第三部分
3.1添加控件
拖入一个widget,改名为widget0403和拖入一个Label |

改变标签样式表 |
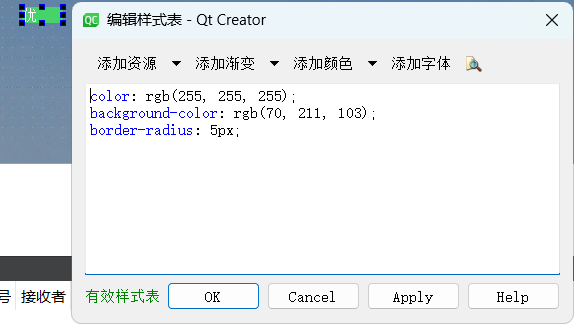
代码如下:
color: rgb(255, 255, 255);
background-color: rgb(70, 211, 103);
border-radius: 5px;
| color: rgb(255, 255, 255); 设置文本颜色 background-color: rgb(70, 211, 103); 设置背景颜色 border-radius: 5px; 设置边框圆角半径为5像素,使元素的四个角稍微变圆 |
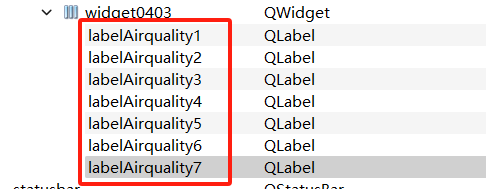
再粘贴,复制六个一样的Label,然后修改样式表和文字 |

对整个widget0403进行水平布局和把文字居中 |

3.2修改控件名字
4、对整个widget04l调整
对整个widgwet04l进行垂直布局 |

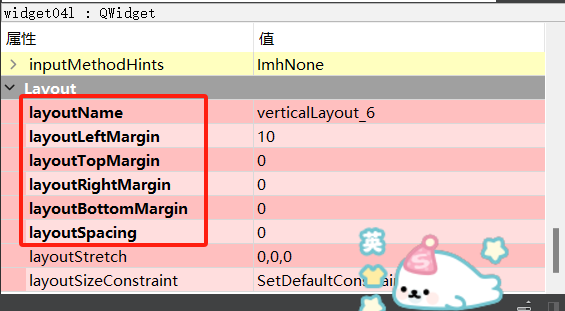
改变一下widgwet04l的边距 |
改变一下天气图片的大小 |
整体界面如下图所示:
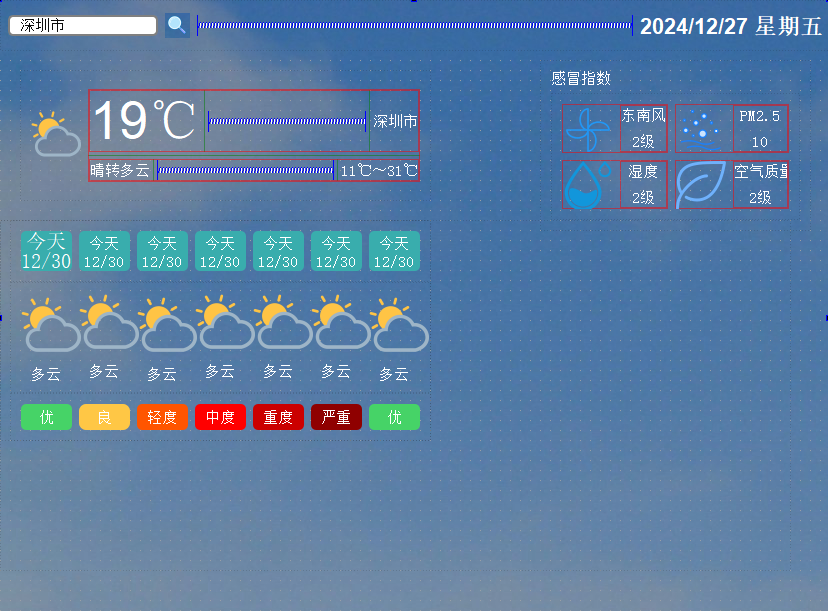
第四部分左边完成!


![[2474].第04节:Activiti官方画流程图方式](https://i-blog.csdnimg.cn/direct/05681a3a4a5b43ae8a28f693129e90a4.png)


