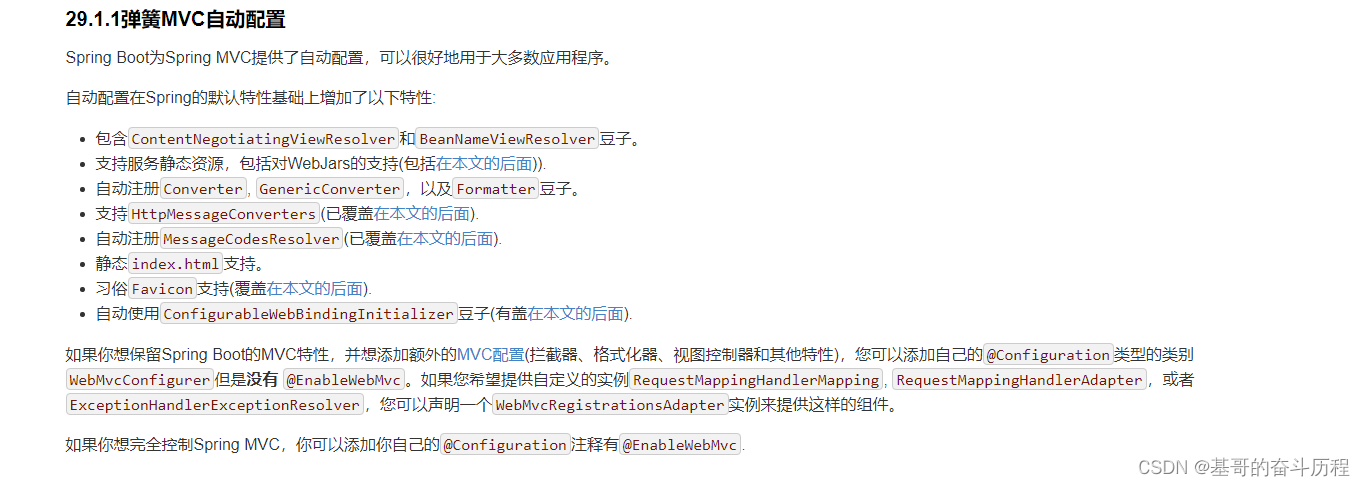
如果你想保存springboot的mvc配置并且还想自己添加自己的配置就用这个。
视图解析器原理,它会从IOC容器里获取配置好视图解析器的配置类里的视图解析器集合,
然后遍历集合,生成一个一个的视图对象,放入候选 视图里,然后返回这个候选视图。
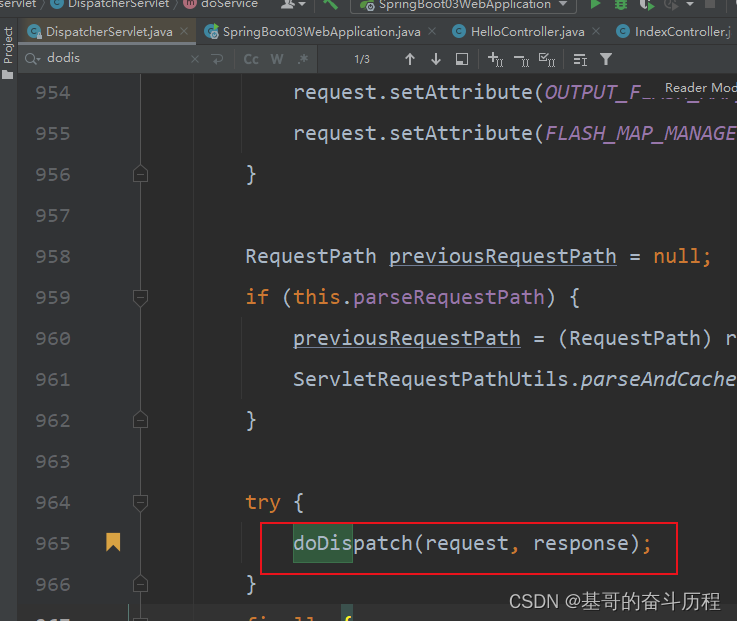
DispatcherServlet 所有的请求都会走 diDispatch() 方法
package com.kuang.config;import org.springframework.context.annotation.Bean;
import org.springframework.context.annotation.Configuration;
import org.springframework.web.servlet.View;
import org.springframework.web.servlet.ViewResolver;
import org.springframework.web.servlet.config.annotation.EnableWebMvc;
import org.springframework.web.servlet.config.annotation.WebMvcConfigurer;import java.util.Locale;//扩展WebMvc  所有请求会经过dispatcherServlet
//1.这是一个配置类
@Configuration
//2.实现WebMvcConfigurer这个接口
//记住不要标注它,@EnableWebMvc,一旦标注代表MVC全面被你接管,springboot自动配置不生效,很多东西系统配置好了,全面接管就是重新写
public class MyMvcConfig implements WebMvcConfigurer {//ViewResolver 实现了视图解析器接口的类,我们就可以把它看作视图解析器//把自定义视图解析器放入IOC容器里调用@Beanpublic ViewResolver viewResolver(){return new MyViewResolver();}//自定义了一个自己的视图解析器ViewResolverpublic static class MyViewResolver implements ViewResolver{@Overridepublic View resolveViewName(String viewName, Locale locale) throws Exception {return null;}}}
只要实现ViewResolver接口,然后把这个对象,放入IOC容器里,DispatcherServlet就会自动扫描并且装配上去,//如果。你想diy一些定制化的功能,只要写这个组件,然后将它交给springboot,springboot就会帮我们自动装配!
@Configuration
public class WebConfig implements WebMvcConfigurer {@Overridepublic void addResourceHandlers(ResourceHandlerRegistry registry) {// 这种方式也会覆盖掉默认的web静态资源目录registry.addResourceHandler("/**").addResourceLocations("classpath:static/","classpath:templates/");}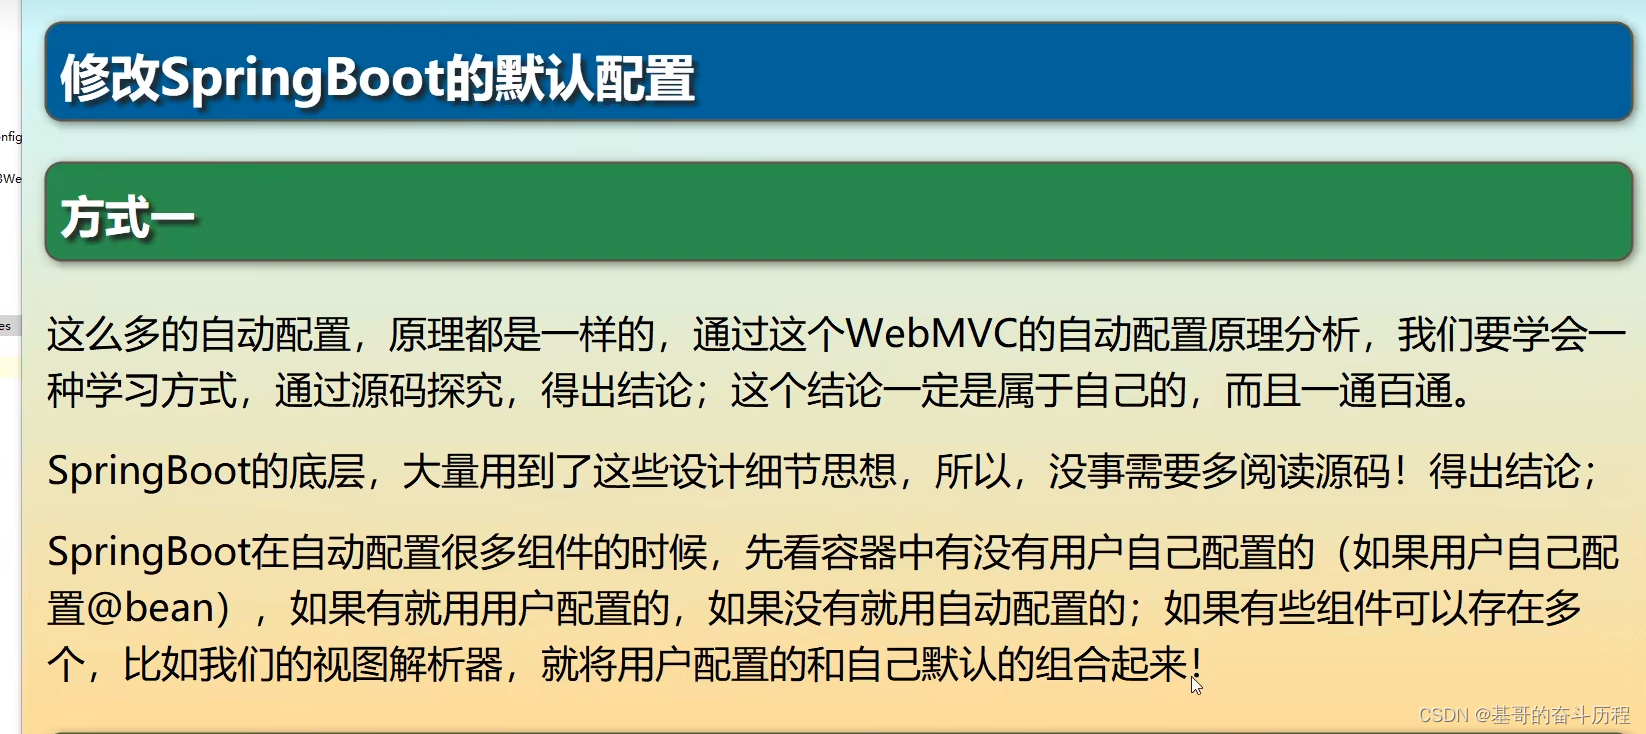
package com.kuang.config;import org.springframework.context.annotation.Bean;
import org.springframework.context.annotation.Configuration;
import org.springframework.web.servlet.View;
import org.springframework.web.servlet.ViewResolver;
import org.springframework.web.servlet.config.annotation.EnableWebMvc;
import org.springframework.web.servlet.config.annotation.ViewControllerRegistry;
import org.springframework.web.servlet.config.annotation.WebMvcConfigurer;import java.util.Locale;//扩展WebMvc  所有请求会经过dispatcherServlet
//1.这是一个配置类
@Configuration
//2.实现WebMvcConfigurer这个接口
//记住不要标注它,@EnableWebMvc,一旦标注代表MVC全面被你接管,springboot自动配置不生效,很多东西系统配置好了,全面接管就是重新写
public class MyMvcConfig implements WebMvcConfigurer {//    //ViewResolver 实现了视图解析器接口的类,我们就可以把它看作视图解析器
//
//    //把自定义视图解析器放入IOC容器里调用
//    @Bean
//    public ViewResolver viewResolver(){
//        return new MyViewResolver();
//    }
//
//
//    //自定义了一个自己的视图解析器ViewResolver
//    public static class MyViewResolver implements ViewResolver{
//        @Override
//        public View resolveViewName(String viewName, Locale locale) throws Exception {
//            return null;
//        }
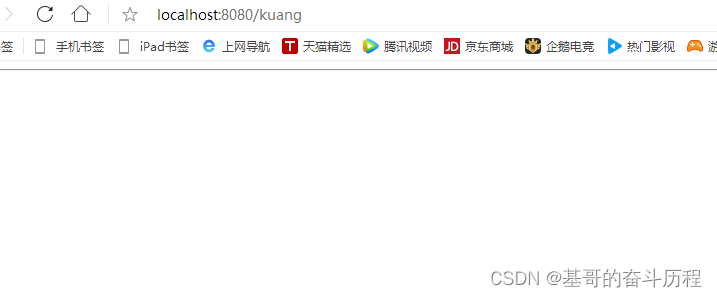
//    }//    视图跳转@Overridepublic void addViewControllers(ViewControllerRegistry registry) {registry.addViewController("/kuang").setViewName("test");}
}
视图跳转,通过转发又走Thymeleaf模板的视图解析器,转发到 /template/test.html 来拼接 网页进入到这个网页
结论:如果我们要扩展一个配置,官方建议我们 去实现一个XXXConfigurer 接口,来自己配置部分设置,剩下不配的交给springboot来自动配置。
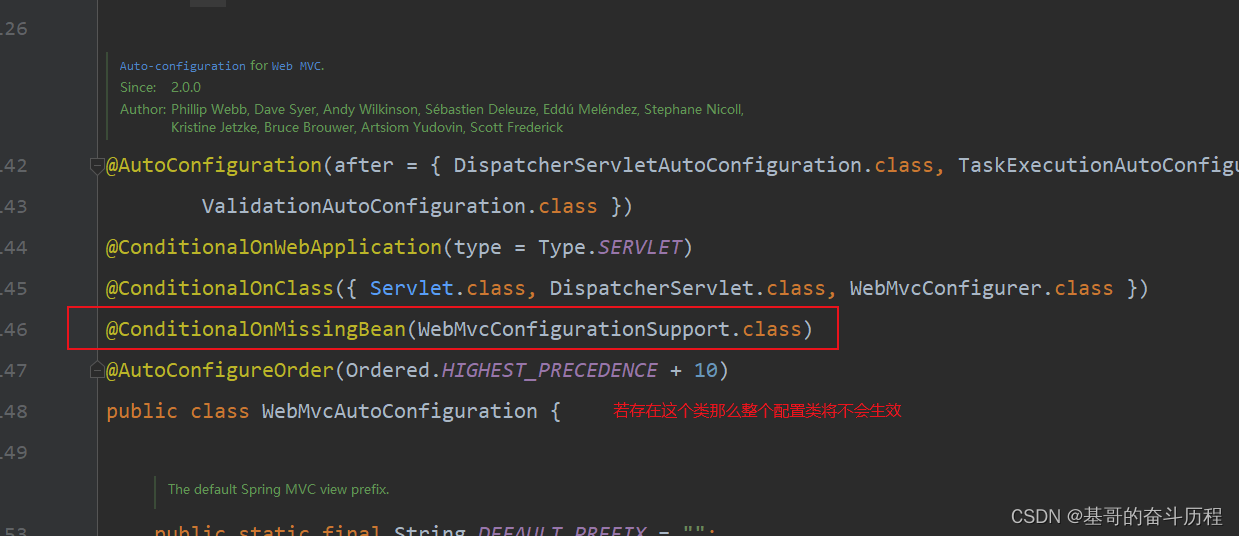
@EnableWebMvc
导入了一个类:
DelegatingWebMvcConfiguration.class 这个类继承了它,所以相当于使全部配置失效


