Matplotlib
1、subplot()
matplotlib.pyplot模块提供了一个 subplot() 函数,它可以均等地划分画布,该函数的参数格式如下:
plt.subplot(nrows, ncols, index)
nrows 与 ncols 表示要划分几行几列的子区域(nrows*nclos表示子图数量),index 的初始值为1,用来选定具体的某个子区域。
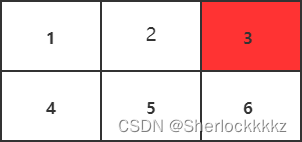
例如: subplot(233)表示在当前画布的右上角创建一个两行三列的绘图区域(如下图所示),同时,选择在第 3 个位置绘制子图。
## subplot()
import matplotlib.pyplot as plt
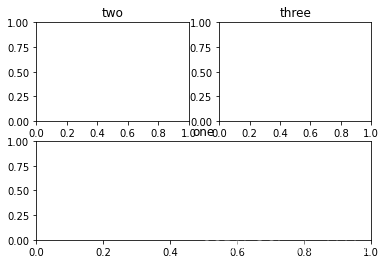
ax1 = plt.subplot(212, title="one")  ## 该写法等于ax1 = plt.subplot(2,1,2);即先把画布分成两行,第一个子图占了第二行;
ax2 = plt.subplot(221, title="two")  ## 把画布分成四份,第二个子图占了左上角第一份
ax3 = plt.subplot(222, title="three")
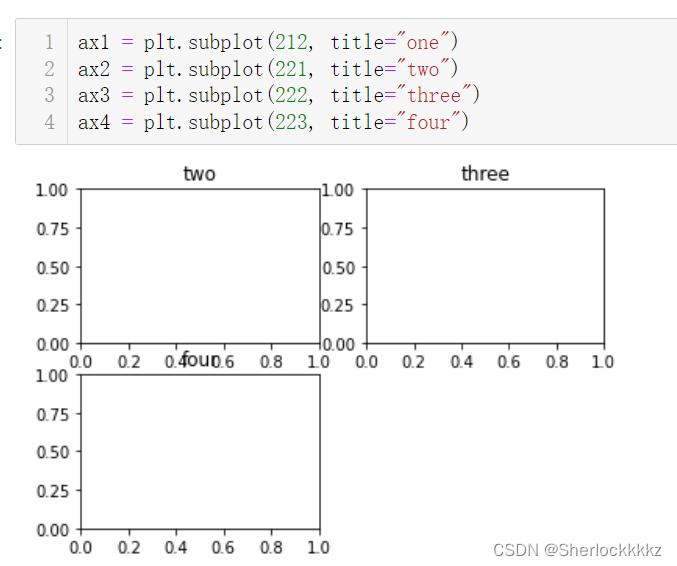
## 如果新建的子图与现有的子图重叠,那么重叠部分的子图将会被自动删除,因为它们不可以共享绘图区域。
## 如果没有重叠,则可以直接显示。
运行结果(没有子图重叠):
有子图重叠:
2、add_subplot()
add_subplot()的使用方法和subplot()类似,不同的是,add_subplot()函数先产生figure对象,然后在该对象的基础上依次添加子图
add_subplot(nrows, ncols, index, **kwargs)
## add_subplot()
import matplotlib.pyplot as plt
fig = plt.figure()
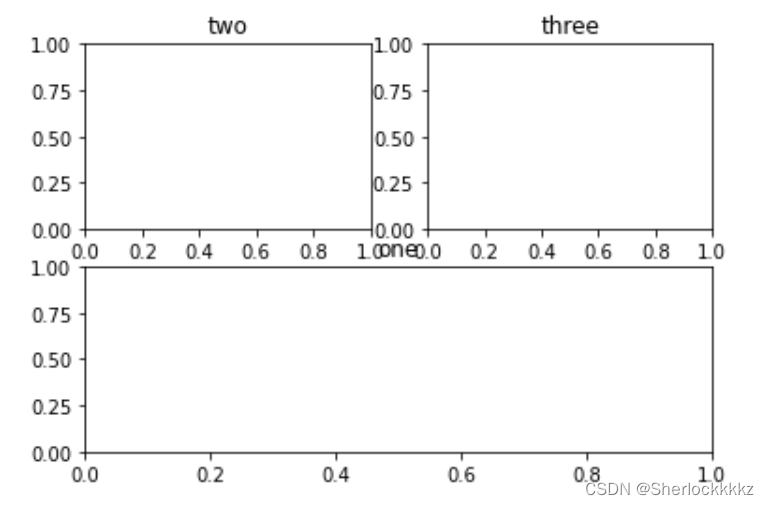
ax1 = fig.add_subplot(212, title="one")
ax2 = fig.add_subplot(221, title="two")
ax3 = fig.add_subplot(222, title="three")
运行结果:
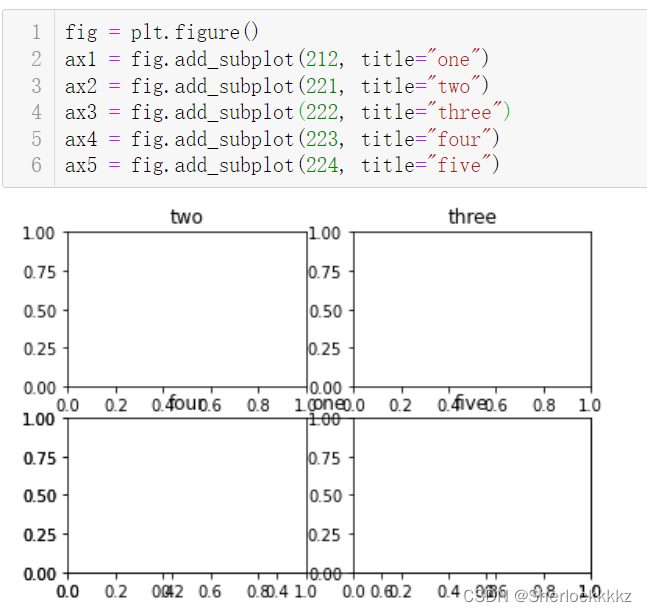
当有子图重叠时,不会被覆盖:
3、subplots()
subplots()函数是常见的用于绘制子图的函数。
它的使用方法和 subplot() 函数类似。其不同之处在于,subplots() 既创建了一个包含子图区域的画布,又创建了一个 figure 图形对象,而 subplot() 只是创建一个包含子图区域的画布。
fig , ax = plt.subplots(nrows, ncols, sharex, sharey)
sharex 参数用来设定是否共享 X 轴;该函数会返回一个数组坐标对象,该对象用于每个子图的单独绘制。
## subplots()
import matplotlib.pyplot as plt
fig, axs = plt.subplots(2, 3, sharex = True, sharey = True)
# axs[0,0].text(0.3, 0.3, "subplots(0,0)")
# axs[0,1].text(0.5, 0.5, "subplots(0,1)")
# axs[0,2].text(0.5, 0.5, "subplots(0,2)")
# axs[1,0].text(0.5, 0.5, "subplots(1,0)")
# axs[1,1].text(0.5, 0.5, "subplots(1,1)")
# axs[1,2].text(0.5, 0.5, "subplots(1,2)")
axs[0][0].set_title('subplots(0,0)')
axs[0][1].set_title('subplots(0,1)')
axs[0][2].set_title('subplots(0,2)')
axs[1][0].set_title('subplots(1,0)')
axs[1][1].set_title('subplots(1,1)')
axs[1][2].set_title('subplots(1,2)')
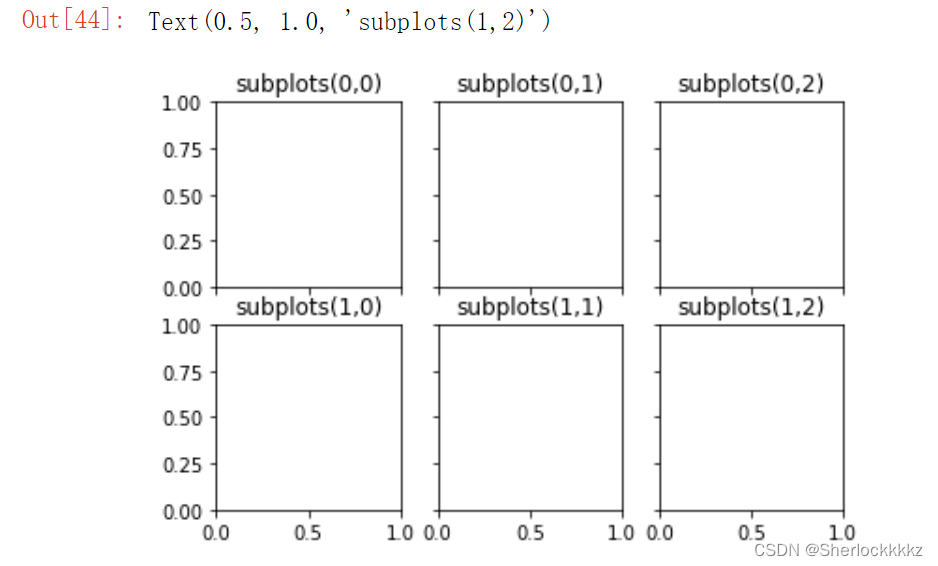
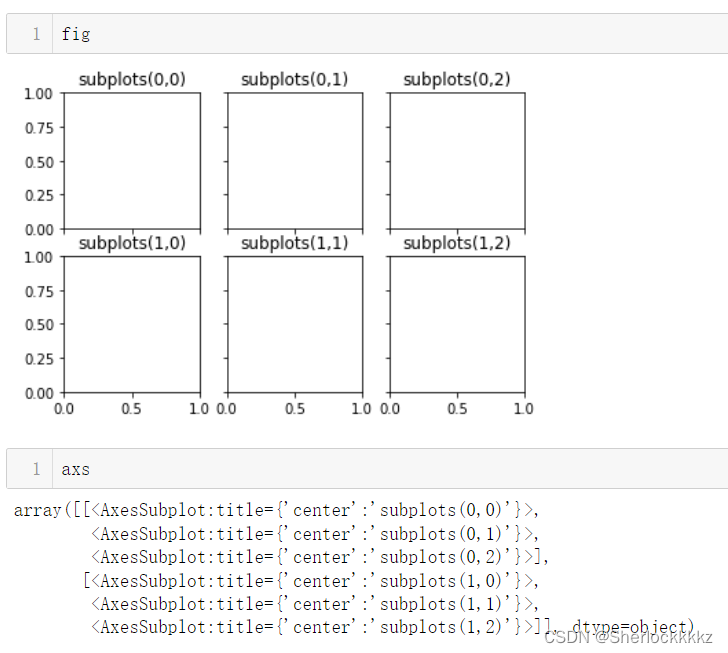
4、axes()
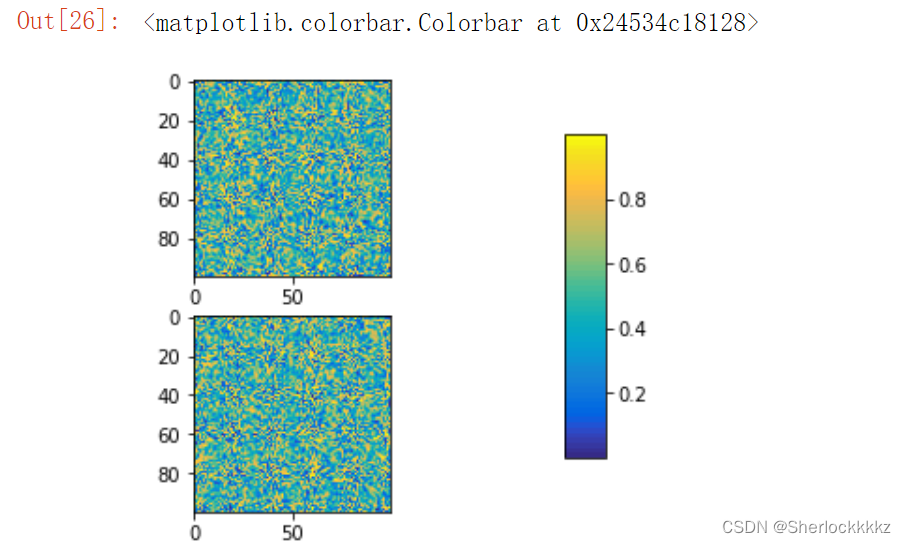
axes()函数的主要功能是为当前画布(figure)对象添加坐标图形(axes)对象,使其成为当前坐标图形(axes)对象。需要提供rect参数(一个四元组”left、bottom、width、height)。常见用法是对当前画布对象坐标图形对象添加颜色和大小映射等,或在已有的坐标图形对象上添加另一个坐标图形对象。
import numpy as np
import matplotlib.pyplot as plt
from colormaps import parula
np.random.seed(23333)
plt.subplot(211)
plt.imshow(np.random.random((100,100)), cmap = parula)
plt.subplot(212)
plt.imshow(np.random.random((100,100)), cmap = parula)
plt.subplots_adjust(bottom = 0.1, right = 0.8, top = 0.9)  ## 调整子图的布局参数
cax = plt.axes([0.8, 0.2, 0.05, 0.6])  ## 设置子图的位置与大小,[左, 下, 宽, 高] 规定的矩形区域
plt.colorbar(cax = cax)  ## 在已有的 axes 上绘制一个Colorbar,颜色条。
5、subplot2grid()
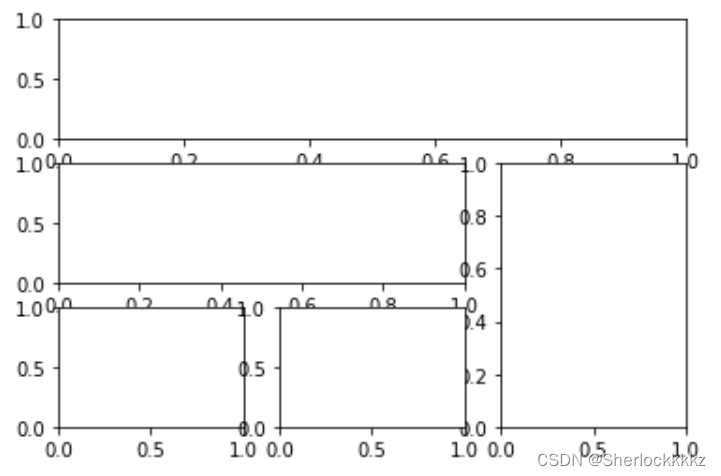
subplot2grid()函数可以实现不规则多子图绘制。
subplot2grid(shape, loc, rowspan=1/colspan=1)
shape 规定了网格的行数和列数,location 决定子图在网格内的行和列 rowspan或colspan分别规定了每个子图向下跨越的行数和向右跨越的列数。
import matplotlib.pyplot as plt
fig = plt.figure()
ax1 = plt.subplot2grid((3,3), (0,0), colspan = 3)
ax2 = plt.subplot2grid((3,3), (1,0), colspan = 2)
ax3 = plt.subplot2grid((3,3), (1,2), rowspan = 2)
ax4 = plt.subplot2grid((3,3), (2,0))
ax5 = plt.subplot2grid((3,3), (2,1))
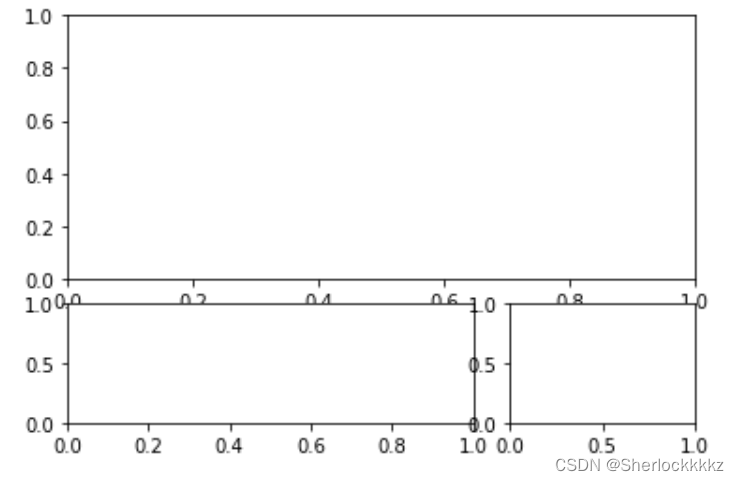
import matplotlib.pyplot as plt
fig = plt.figure()
ax1 = plt.subplot2grid((3,3), (0,0), colspan = 3, rowspan = 2)
ax2 = plt.subplot2grid((3,3), (2,0), colspan = 2)
ax3 = plt.subplot2grid((3,3), (2,2))
6、gridspec.GridSpec()
用于指定放置子图的网格的几何形状。
gridspec.GridSpec(nrows, ncols, figure=None, left=None, bottom=None, right=None, top=None)
(nrows, ncols)这两个参数一定要有,最后用subplot()具体子图的选择和定制化操作。
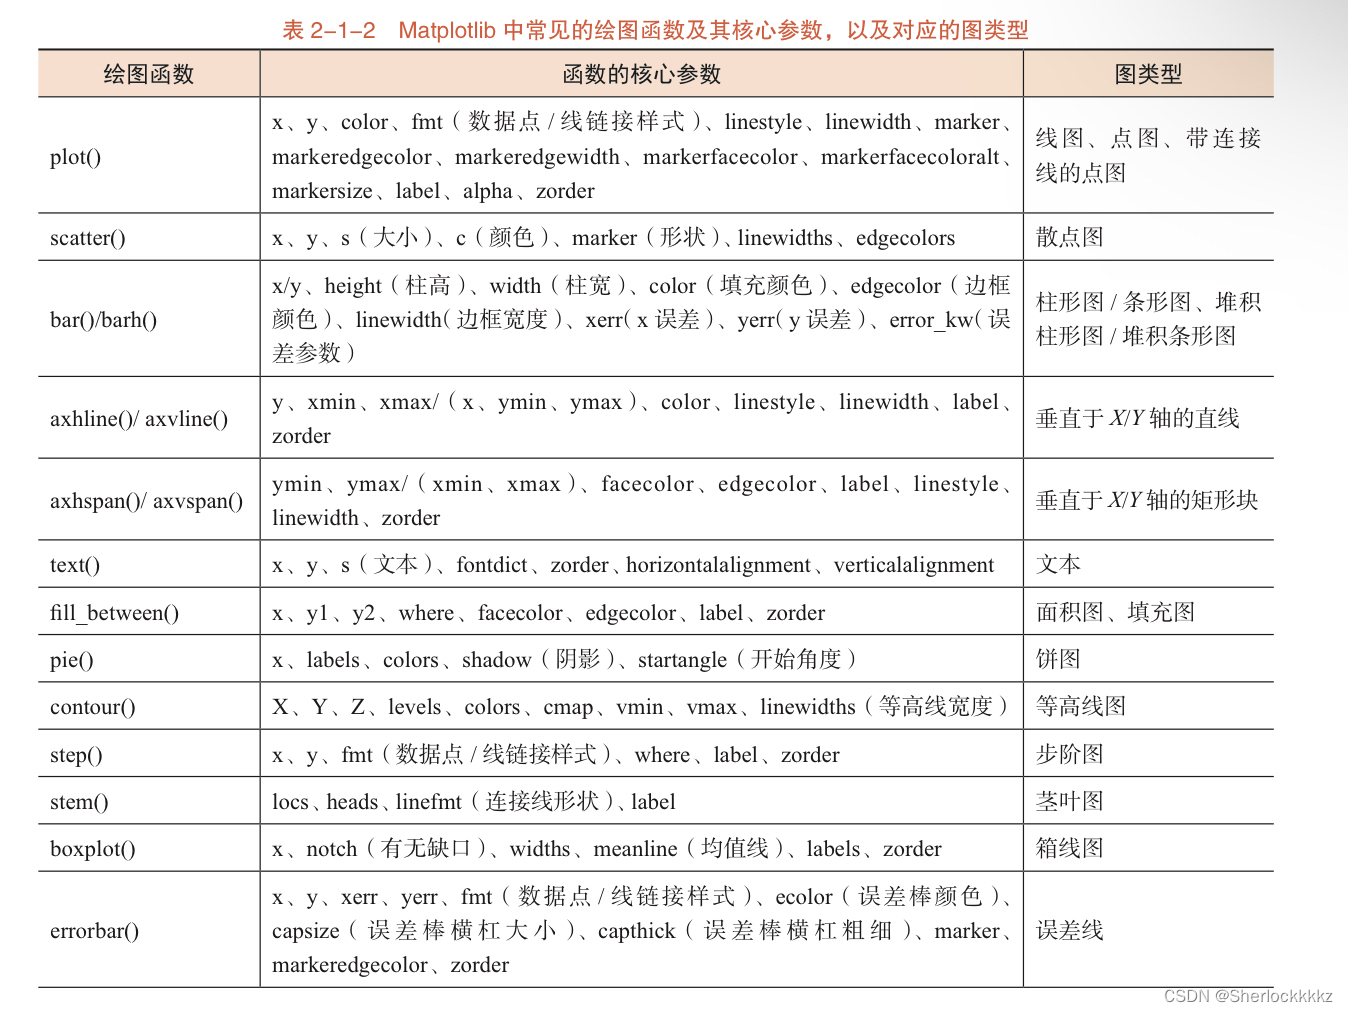
常见的图类型
