文章目录
- Nginx日志格式修改
- 配置logstash收集nginx日志
- 引入Redis
- 收集日志写入redis
- 从redis中读取日志
- 引入Filebeat
- Filebeat简介
- Filebeat安装和配置
- 配置nginx转发ES和kibana
- ELK设置账号和密码
书接上回:《ELK中Logstash的基本配置和用法》
Nginx日志格式修改
默认情况下,Nginx的日志记录的是下面的格式:
127.0.0.1 - - [21/Aug/2023:10:55:30 +0800] "POST /url/index HTTP/1.1" 200 39801 "http://test.cc/" "Mozilla/5.0 (X11; Linux x86_64) AppleWebKit/537.36 (KHTML, like Gecko) Chrome/115.0.0.0 Safari/537.36"
在 nginx.conf 中也可以看到相关配置信息:
#log_format main '$remote_addr - $remote_user [$time_local] "$request" '# '$status $body_bytes_sent "$http_referer" '# '"$http_user_agent" "$http_x_forwarded_for"';
现在为了方便收集日志,我们把这里的格式改为 json格式,在 nginx.conf 中加入下面的内容:
log_format json '{"@timestamp": "$time_iso8601", ''"remote_addr": "$remote_addr", ''"remote_user": "$remote_user", ''"body_bytes_sent": "$body_bytes_sent", ''"request_time": "$request_time", ''"status": "$status", ''"request_uri": "$request_uri", ''"request_method": "$request_method", ''"http_referrer": "$http_referer", ''"http_x_forwarded_for": "$http_x_forwarded_for", ''"http_user_agent": "$http_user_agent"}';access_log logs/access.log json;
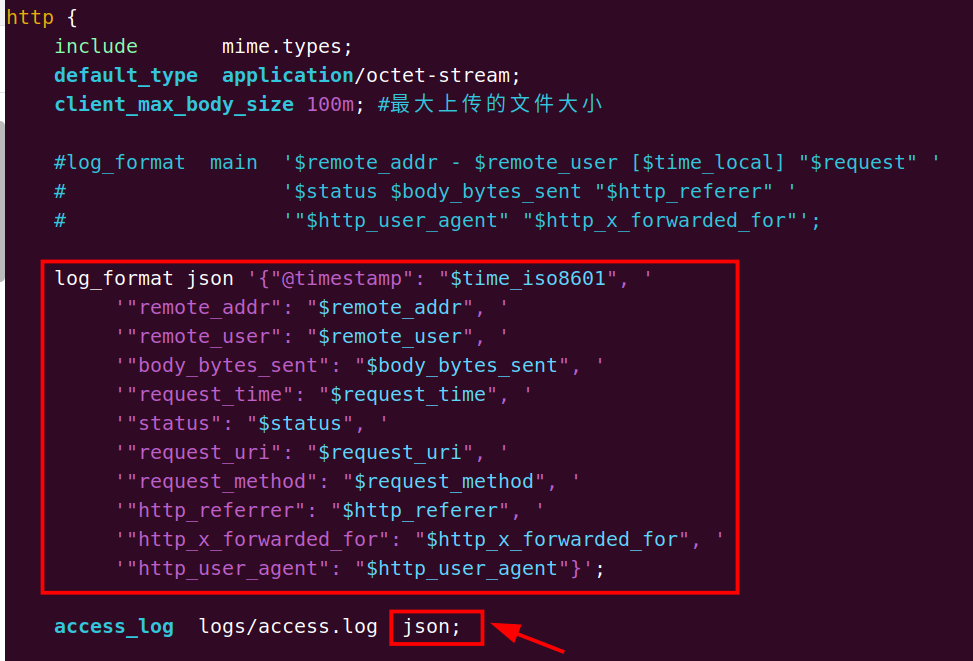
以上配置是手动组装了一个json格式的配置信息。相关字段说明如下:
- $time_iso8601:格式化时间格式
- $remote_addr #记录访问网站的客户端ip地址
- $remote_port # 客户端的port
- $remote_user # 如果nginx有配置认证,该变量代表客户端认证的用户名
- $time_local #记录访问时间与时区
- $request #用户的http请求起始行信息,包括方法名、请求地址、http版本
- $status #http状态码,记录请求返回的状态码,例如:200、301、404等
- $body_bytes_sent #服务器发送给客户端的响应body字节数
- $http_referer #记录此次请求是从哪个连接访问过来的,可以根据该参数进行防盗链设置。
- $http_user_agent #记录客户端访问信息,例如:浏览器、手机客户端等
- $http_x_forwarded_for #当前端有代理服务器时,设置web节点记录客户端地址的配置,此参数生效的前提是代理服务器也要进行相关的x_forwarded_for设置
- $request_body # post上传的数据
- $request_time # 整个请求的总时间
- $upstream_response_time # 请求过程中,和php-fpm的交互时间
- $args # 请求中的参数,如www.123.com/1.php?a=1&b=2的 $args就是a=1&b=2
- $content_length # HTTP请求信息里的”Content-Length”
- $conten_type # HTTP请求信息里的”Content-Type”
- $document_root # nginx虚拟主机配置文件中的root参数对应的值
- $document_uri 或 $uri # 当前请求中不包含指令的URI,如www.123.com/1.php?a=1&b=2的
- $document_uri就是1.php,不包含后面的参数
- $request_uri # 请求的链接,包括和args
- $host # 主机头,也就是域名
- $http_cookie # 客户端的cookie信息
- $request_body_file # 做反向代理时发给后端服务器的本地资源的名称
- $request_method # 请求资源的方式,GET/PUT/DELETE等
- $request_filename # 当前请求的资源文件的路径名称,相当于是document_uri的组合
- $scheme # 请求的协议,如ftp,http,https
- $server_protocol # 客户端请求资源使用的协议的版本,如HTTP/1.0,HTTP/1.1,HTTP/2.0等
- $server_addr # 服务器IP地址
- $server_name # 服务器的主机名
- $server_port # 服务器的端口号
记得把 相关log 的后面的main改成json,还有需要修改的虚拟主机的log。
修改后记录的log格式如下:
{"@timestamp": "2023-08-21T11:24:00+08:00", "remote_addr": "127.0.0.1", "remote_user": "-", "body_bytes_sent": "11277", "request_time": "5.926", "status": "200", "request_uri": "/url/index", "request_method": "POST", "http_referrer": "http://test.cc/", "http_x_forwarded_for": "-", "http_user_agent": "Mozilla/5.0 (X11; Linux x86_64) AppleWebKit/537.36 (KHTML, like Gecko) Chrome/115.0.0.0 Safari/537.36"}
配置logstash收集nginx日志
写入文件 logstash/config/logstash-to-es.conf:
input {file {path => ["/home/rx/mywebsite.log"]type => "mywebsite"tags => ["mywebsite","prod"]start_position => "beginning"}
}filter {json {source => "message"}
}output {elasticsearch {hosts => ["http://localhost:9200"]index => "mywebsite-prod-log-%{+YYYY.MM.dd}"user => "elastic"password => "mypassword"}
}
然后启动logstash即可开始收集:
./bin/logstash -r -f ./config/logstash-to-es.conf
引入Redis
如果服务器比较多,写入的日志落在不同的机器上,那么可以使用redis或者kafka作为中间件,收集多台机器的日志进行汇总处理。处理顺序:logstash收集日志 -> redis/kafka -> logstash过滤日志 -> ES ->kibana。流程图如下:

由于我在测试的过程中没有设置redis的密码,导致运行logstash失败

因此这里给redis设置一个密码:
redis-cli
127.0.0.1:6379> config get requirepass
1) "requirepass"
2) ""
127.0.0.1:6379> config set requirepass 123456
OK
127.0.0.1:6379> config get requirepass
1) "requirepass"
2) "123456"
收集日志写入redis
添加配置文件vim logstash-7.1.0/config/my_config/logstash-to-redis.conf,内容如下:
input {file {path => ["/var/log/syslog"]type => "system"tags => ["syslog","test"]start_position => "beginning"}file {path => ["/var/log/auth.log"]type => "system"tags => ["auth","test"]start_position => "beginning"}
}filter {}output {redis {host => ["127.0.0.1:6379"]password => "123456"db => "5"data_type => "list"key => "logstash"}
}
上面redis部分的配置,host是个数组,可以配置多个redis服务;db表示redis的第几个数据库;data_type这里用list类型模拟消息队列;key表示将来存储的redis数据的key的名称。
然后启动logstash,指定上面的配置信息:./bin/logstash -f ./config/my_config/logstash-to-redis.conf
然后打开redis客户端看看是否有数据:

可以看到redis中的消息队列已经存储了很多数据,接下来消费它。
从redis中读取日志
在logstash的配置文件中添加配置文件 vim logstash-7.1.0/config/my_config/logstash-from-redis.conf,内容如下:
input {redis {host => "127.0.0.1"port => 6379password => "123456"db => "5"data_type => "list"key => "logstash"}
}filter {}output {if [type] == "system" {if [tags][0] == "syslog" {elasticsearch {hosts  => ["http://127.0.0.1:9200"]index  => "logstash-system-syslog-%{+YYYY.MM.dd}"}stdout { codec=> rubydebug }}else if [tags][0] == "auth" {elasticsearch {hosts  => ["http://127.0.0.1:9200"]index  => "logstash-system-auth-%{+YYYY.MM.dd}"}stdout { codec=> rubydebug }}}
}
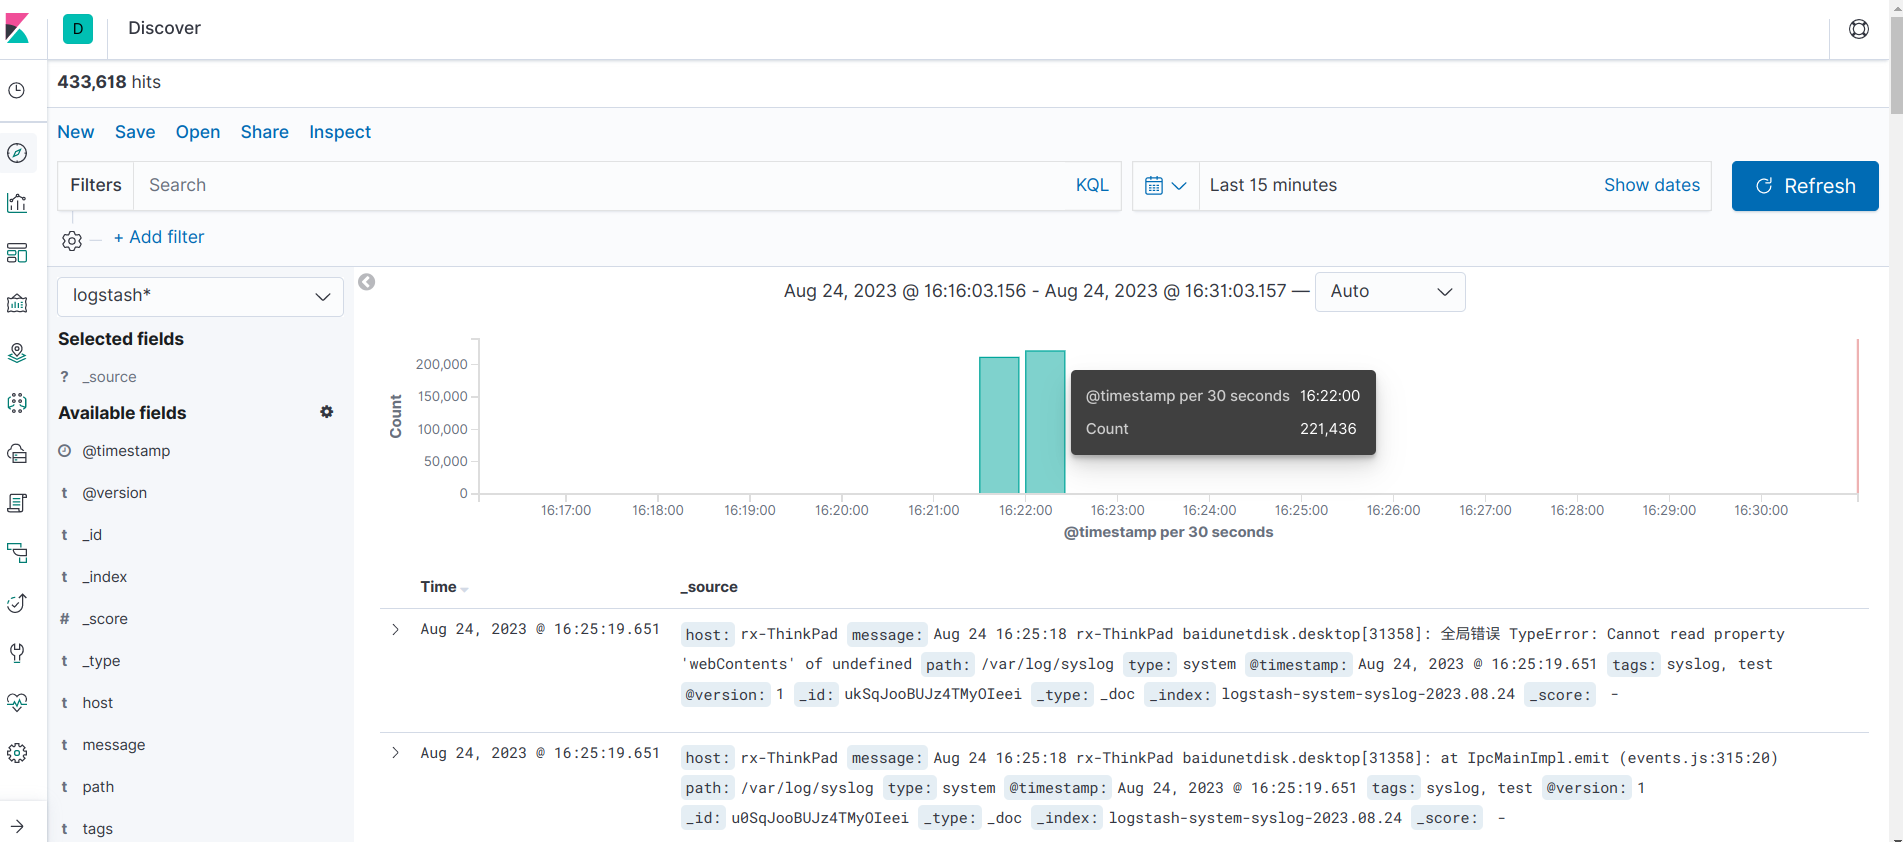
然后启动logstash,指定上面的配置信息:./bin/logstash -f ./config/my_config/logstash-from-redis.conf
启动后就开始消费redis里面的数据并写入ES中。
引入Filebeat
Filebeat简介
- Filebeat 是使用 Golang 实现的轻量型日志采集器,也是 Elasticsearch stack 里面的一员。Filebeat是用于转发和集中日志数据的轻量级传送工具。Filebeat监视您指定的日志文件或位置,收集日志事件,并将它们转发到Elasticsearch或 Logstash进行索引。
- Filebeat的工作方式如下:启动Filebeat时,它将启动一个或多个输入,这些输入将在为日志数据指定的位置中查找。对于Filebeat所找到的每个日志,Filebeat都会启动收集器。每个收集器都读取单个日志以获取新内容,并将新日志数据发送到libbeat,libbeat将聚集事件,并将聚集的数据发送到为Filebeat配置的输出。
- logstash如果收集大量日志的时候,会占用很大的内存,使用Filebeat可以缓解这种情况。

Filebeat支持输出到多种存储介质:
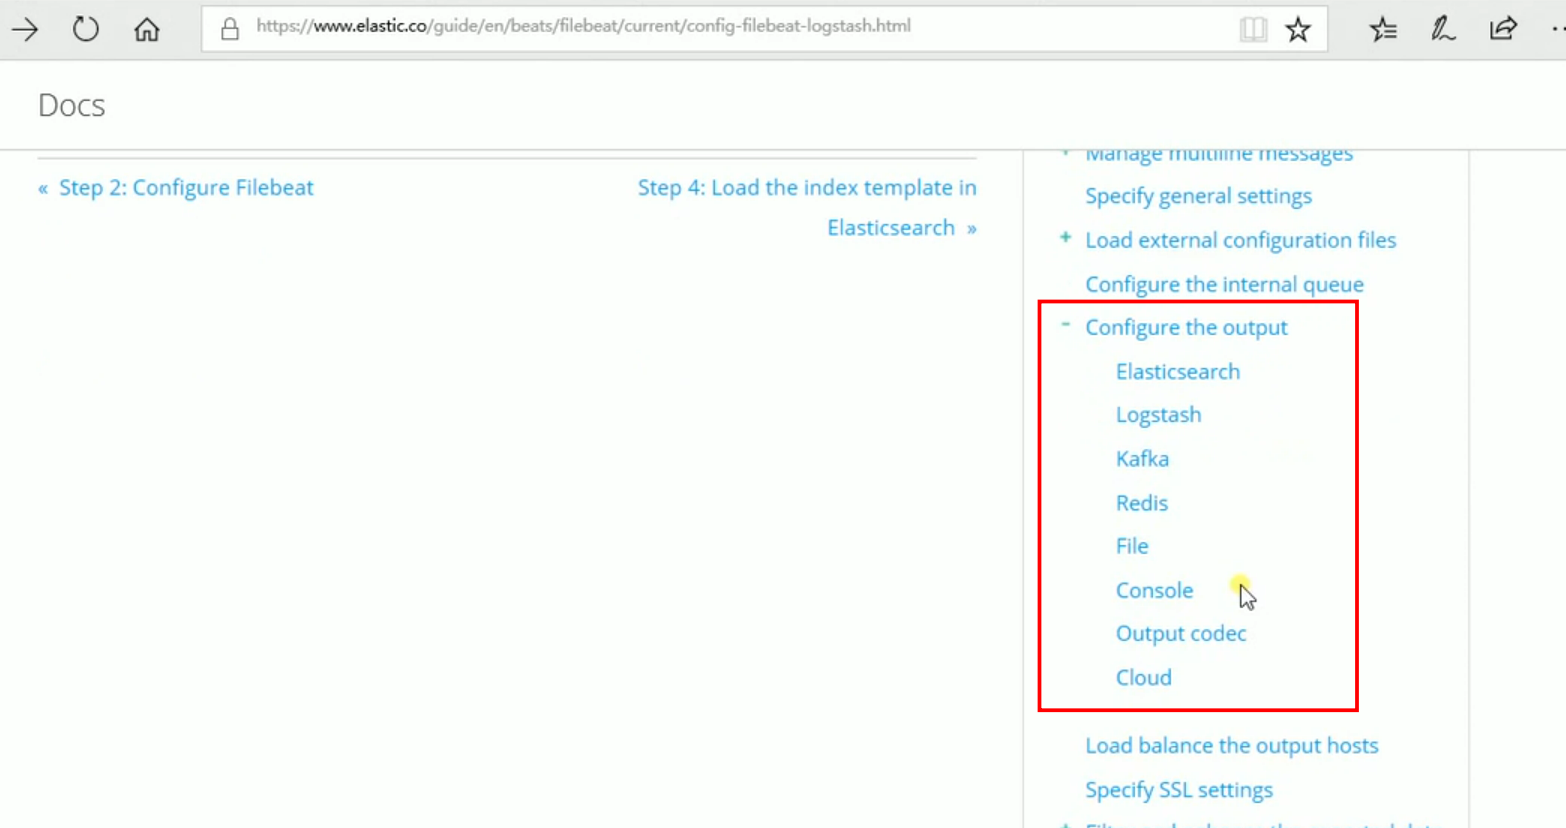
引入Filebeat后的流程图如下:

Filebeat安装和配置
在 这里 下载(我这里下载的5.6.9版本的,不同版本的配置文件不同),然后解压,可以根据需要修改配置文件filebeat.yml。更多内容参考:这里。
修改 filebeat 的配置文件,从nginx日志文件中读取内容,然后输出到redis:vim filebeat-5.6.9/filebeat.yml,内容如下:
filebeat.inputs:
- type: logpaths:- /usr/local/nginx/logs/access.log# tags: ["access"]fields:app: wwwtype: nginx-accessfields_under_root: true- type: logpaths:- /usr/local/nginx/logs/error.log# ags: ["error"]fields:app: wwwtype: nginx-errorfields_under_root: trueoutput.redis:hosts: ["192.168.0.1"]port: 6379password: "123456"key: "filebeat"db: 5datatype: list
启动filebeat:nohup ./filebeat -e -c filebeat.yml -d "publish" &
然后查看redis里面已经有了nginx的日志数据。
然后再消费者机器上配置logstash消费redis中的数据,vim logstash-7.17.12/config/logstash-from-redis.conf,配置内容如下:
input {redis {host => "192.168.0.1"port => 6379password => "123456"db => "5"data_type => "list"key => "filebeat"}
}filter {json {source => "message"}
}output {elasticsearch {hosts => ["http://localhost:9200"]index => "mywebsite-prod-log-%{+YYYY.MM.dd}"user => "elastic"password => "mypassword"}
}
配置nginx转发ES和kibana
如果需要使用80端口访问ES或kibana页面,可以在nginx中配置代理转发9200或5601端口,配置如下:
server {listen  80;server_name     es.xxxx.com;location / {proxy_pass      http://127.0.0.1:9200;}
}server {listen  80;server_name     kibana.xxxx.com;location / {proxy_pass      http://127.0.0.1:5601;}
}
上面配置后就可以直接通过域名来访问kibana的页面(需要添加hosts)。
ELK设置账号和密码
修改ES的配置文件vi config/elasticsearch.yml 添加如下内容
http.cors.enabled: true
http.cors.allow-origin: "*"
http.cors.allow-headers: Authorization
xpack.security.enabled: true
xpack.security.transport.ssl.enabled: true
保存后重启ES,然后执行:./bin/elasticsearch-setup-passwords interactive,需要设置以下六种账户的密码elastic、apm_system、kibana、logstash_system、beats_system、remote_monitoring_user
输入y开始设置,六种密码设置完成后,需要再次重启ES。
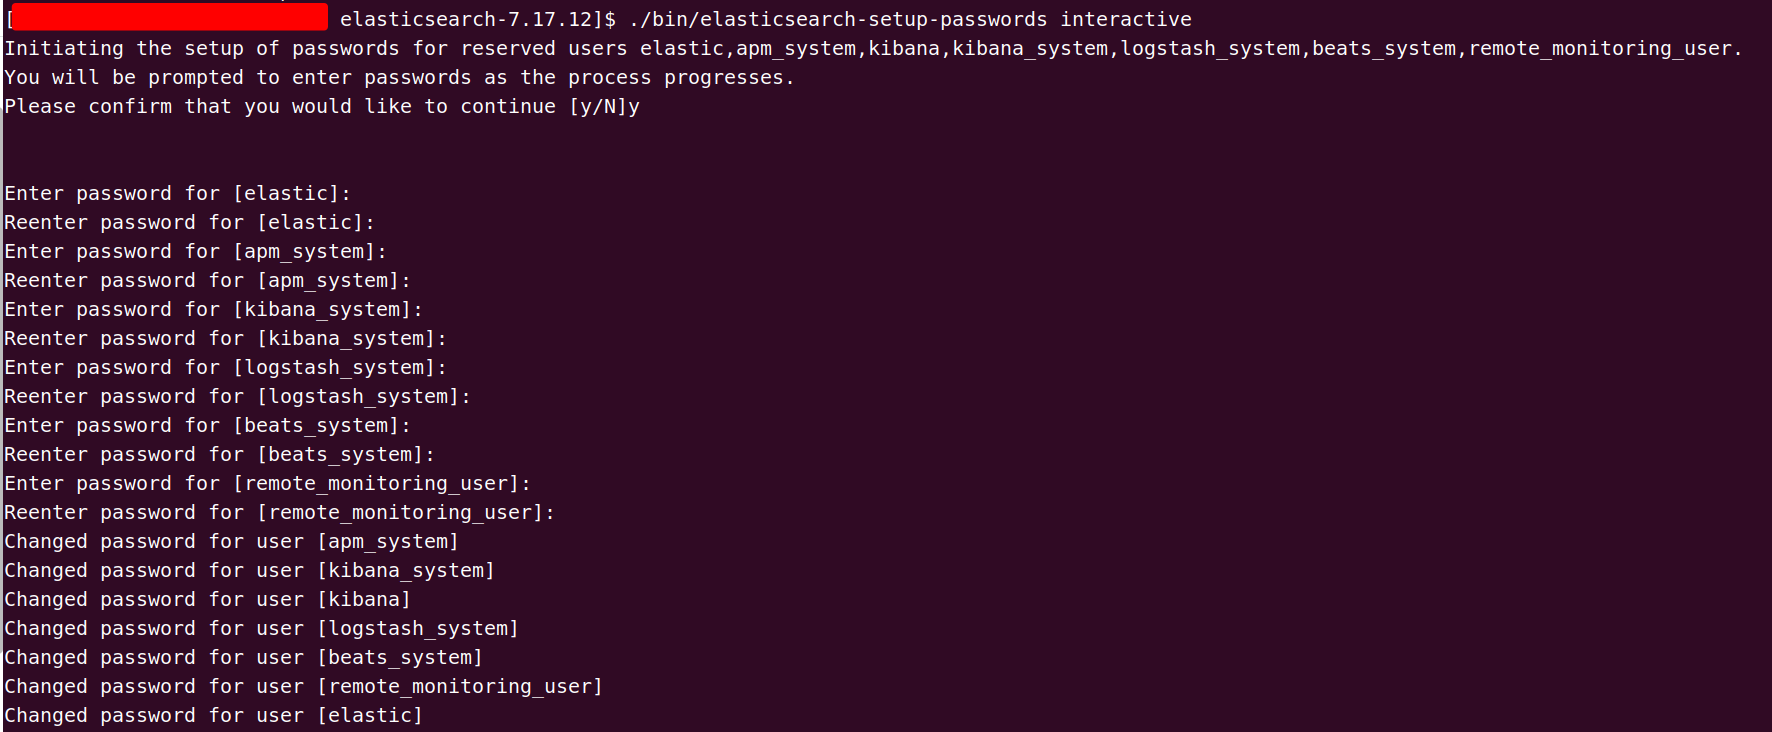
然后打开ES的页面,账号:elastic,密码就是你刚才设置的密码。
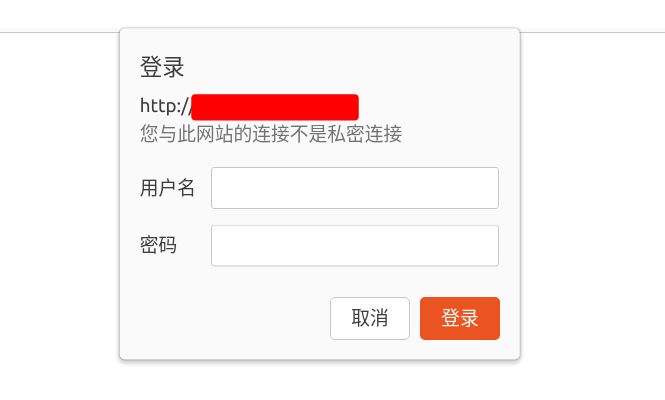
设置kibana的密码,vi config/kibana.yml,添加:
elasticsearch.username: "elastic"
elasticsearch.password: "你在es中设置的密码"
然后重新启动kibana,再次访问,需要输入账号和密码。
