动态网站和LNMP(Linux+Nginx+MySQL+PHP)都是用于建立和运行 web 应用程序的技术。
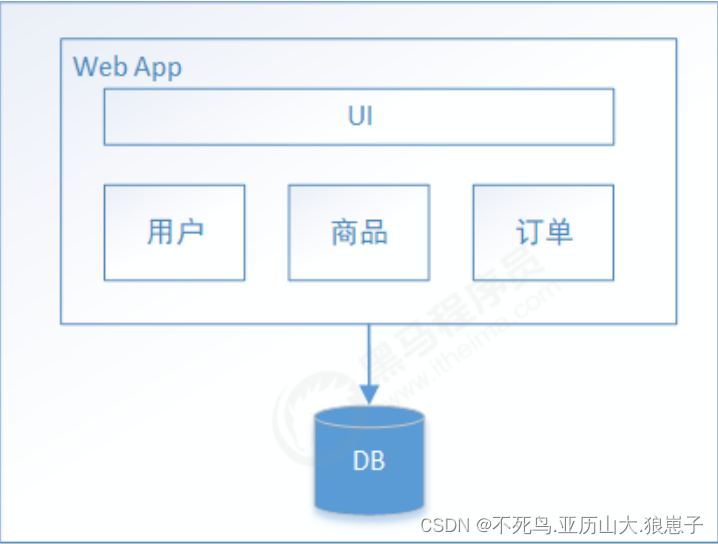
动态网站是通过服务器端脚本语言(如 PHP、Python、Ruby等)动态生成网页内容的网站。通过这种方式,动态网站可以根据用户的不同请求生成不同的网页。
LNMP是一种服务器端技术组合,它使用 Linux 操作系统,Nginx 作为 Web 服务器,MySQL 作为数据库,PHP 作为服务器端脚本语言。LNMP可以用于创建和运行各种类型的 web 应用程序,包括动态网站。
总的来说,动态网站和LNMP都是用于构建和运行 web 应用程序的技术,它们在创建和提供网页内容方面有着相似之处。
LNMP动态网站环境部署
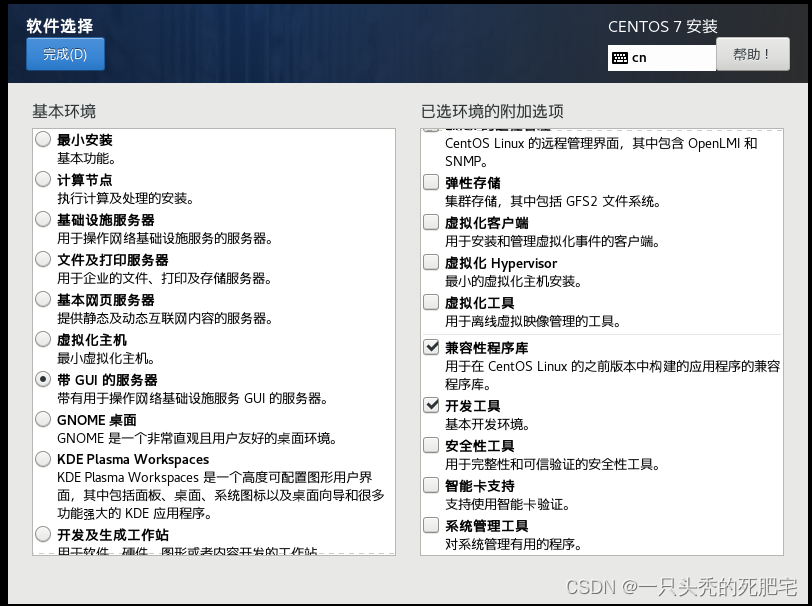
1.Linux环境部署
systemctl stop firewalld #关闭防火墙 setenforce 0 #关闭SElinux
2.Nginx部署
yum install yum-utils #安装yum-utils工具包 vim /etc/yum.repos.d/nginx.repo #编辑nginx存储库配置文件 [nginx-stable] name=nginx stable repo baseurl=http://nginx.org/packages/centos/$releasever/$basearch/ gpgcheck=1 enabled=1 gpgkey=https://nginx.org/keys/nginx_signing.key module_hotfixes=true [nginx-mainline] name=nginx mainline repo baseurl=http://nginx.org/packages/mainline/centos/$releasever/$basearch/ gpgcheck=1 enabled=0 gpgkey=https://nginx.org/keys/nginx_signing.key module_hotfixes=true yum install -y nginx #yum安装Nginx
3.php-fpm通过RPM部署
yum install -y php-fpm php-mysql php-gd #安装PHP相关的软件包
php-fpm:PHP FastCGI 进程管理器,用于处理 PHP 脚本。
php-mysql:PHP 的 MySQL 扩展,用于与 MySQL 数据库进行交互。
php-gd:PHP 的图形处理扩展,用于处理图像操作。
systemctl restart php-fpm #启动php-fpm
systemctl enable php-fpm #开机自启php-fpm
yum install -y net-tools #安装网络工具包
netstat -anpt | grep 9000 #查看进程信息 过滤出9000端口
vim /usr/share/nginx/html/index.php #测试php页面
<?php
phpinfo();
?>
vim /etc/nginx/conf.d/default.conf #添加php主页名称
server{
location / {
index index.php index.html;
}
}
vim /etc/nginx/conf.d/default.conf #启动nginx_fastcgi功能
server {
location / {
index index.php; #默认主页
}
location ~ \.php$ {
root /usr/share/nginx/html; #指定php文件的根目录
fastcgi_pass 127.0.0.1:9000; #指定本地地址,将请求传递到9000端口
fastcgi_index index.php; #指定默认的索引文件
fastcgi_param SCRIPT_FILENAME $document_root$fastcgi_script_name;
include fastcgi_params; #导入fastcgi_params文件,该文件包含fastcgl相关的配置参数
}
}
通过location指令,将所有以php为后缀的文件都交给127.0.0.1:9000来处理,而这里的IP地址和端口就是FastCGI进程监听的IP地址和端口。
fastcgi_param指令指定放置PHP动态程序的主目录,也就是$fastcgi_script_name前面指定的路径,这里是/usr/local/nginx/html目录,建议将这个目录与Nginx虚拟主机指定的根目录保持一致,当然也可以不一致。
fastcgi_params文件是FastCGI进程的一个参数配置文件,在安装Nginx后,会默认生成一个这样的文件,这里通过include指令将FastCGI参数配置文件包含了进来。
systemctl restart nginx #启动nginx服务
#访问服务器地址查看是否启动成功
4.Mysql 通过RPM部署
yum install -y mariadb-server mariadb #安装mysql服务
systemctl start mariadb #启动mysql服务器
systemctl enable mariadb #设置开机自启mysql服务器
mysqladmin password '123456' #修改mysql的root密码
create database wordpress; #准备数据库存放app
grant all on wordpress.* to phptest@'192.168.119.234' identified by '123456'; #授权phptest用户管理wordpress库
flush privileges; #刷新权限
vim /usr/share/nginx/html/index.php #修改主页测试数据库是否连接成功
<?php
$link=mysql_connect('192.168.100.10','phptest','123456');
if ($link)echo "Successfuly"; #成功
elseecho "Faile"; #失败
mysql_close(); #关闭数据库连接
?>
5.项目上线
wget https://cn.wordpress.org/wordpress-4.9.1-zh_CN.zip     #上传项目zip包
unzip wordpress-4.9.1-zh_CN.zip     #解压项目zip包
rm -rf /usr/share/nginx/html/index.php  #删除/usr/share/nginx/html目录下index.php文件
cp -rf  /root/wordpress/* /usr/share/nginx/html     #将wordpress目录下的所有文件和文件夹复制到默认网站发布目录/usr/share/nginx/html/下
chown -R nginx.nginx /usr/share/nginx/html/*    #将 /usr/share/nginx/html 目录下的所有文件和文件夹的所有权更改为 nginx 用户和组
chmod 777 /usr/share/nginx/html/    #将 /usr/share/nginx/html 目录的权限设置为777,即所有用户对该目录具有读、写和执行权限
6.访问服务器地址
http://192.168.119.234


