目录
1.toio™介绍
2、创意分析
2.1 创意设计
2.2 创意落地
3、创意实现
3.1 环境安装
3.2 核心玩法
总结
1.toio™介绍
索尼的toio™是一款启发创意的机器人产品,旨在通过与真实世界的互动,为各年龄段的用户提供娱乐体验。这款产品具有高度的灵活性和可定制性,可满足编程初学者、高级用户和专业开发者的多样STEAM学习和编程需求。
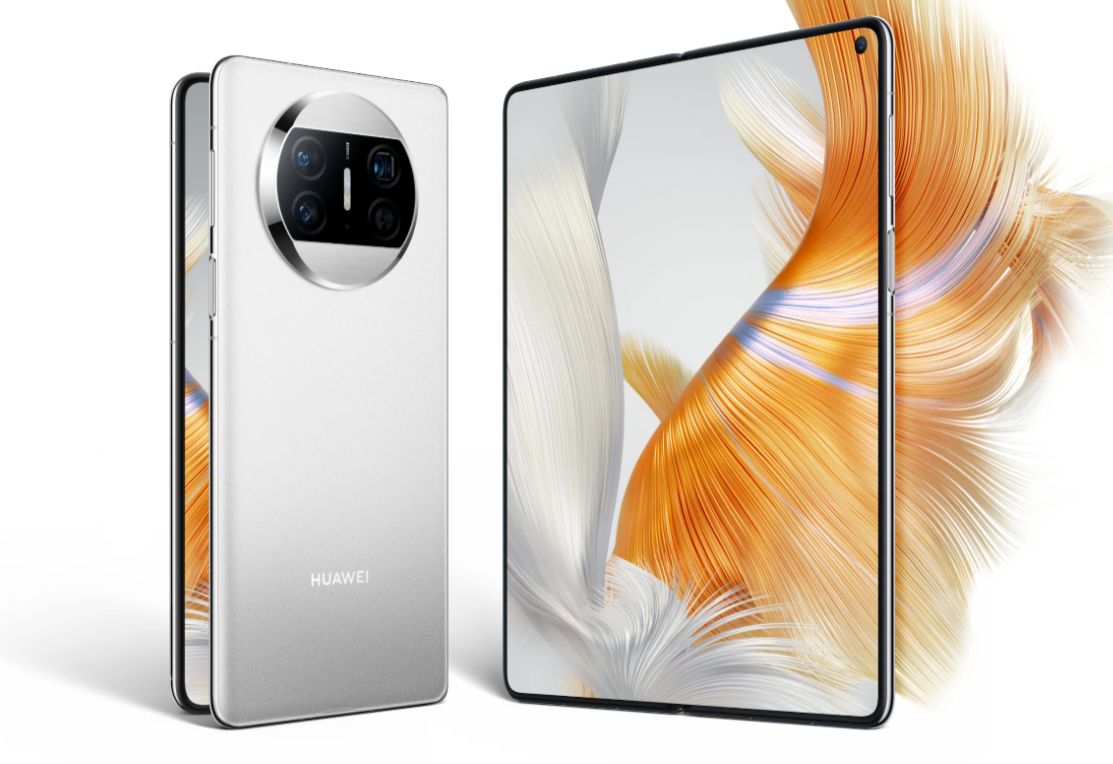
toio™核心Q宝是一款仅有乒乓球大小的白色立方体,但它能够创造各种广泛的应用和娱乐方式。这个开源机器人的规格和应用程序接口都是公开的,可以通过多种编程语言和平台,如JavaScript、Python、Unity和可视化编程等,来创作各种丰富的应用和创意作品。通过toio™开发者们能够以更加直观的方式与数字世界互动,通过身体动作、手势、声音等多种方式来打造创新而沉浸式的体验。
资料地址:
Python教程:https://github.com/toio/toio.py/blob/main/SETUP_GUIDE.zh.md
CSDN报道:开发创想,灵感跃动,索尼 toio™应用创意开发征集活动即将开启_CSDN资讯的博客-CSDN博客
官方网站:索尼toio™教育方案

2、创意分析
2.1 创意设计
基于toio™自动浇花系统,我们可以进一步扩展创意,打造一个智能植物养护系统。该系统可以通过传感器监测土壤湿度、空气温度以及光照强度,并根据设定的条件进行智能化的植物养护。系统可以收集并分析植物生长的数据,比如土壤湿度、光照强度和温度等。通过机器学习算法,系统可以逐渐学习不同植物的生长模式,并根据实际情况进行优化调整,以提供更加个性化的养护方案。
2.2 创意落地
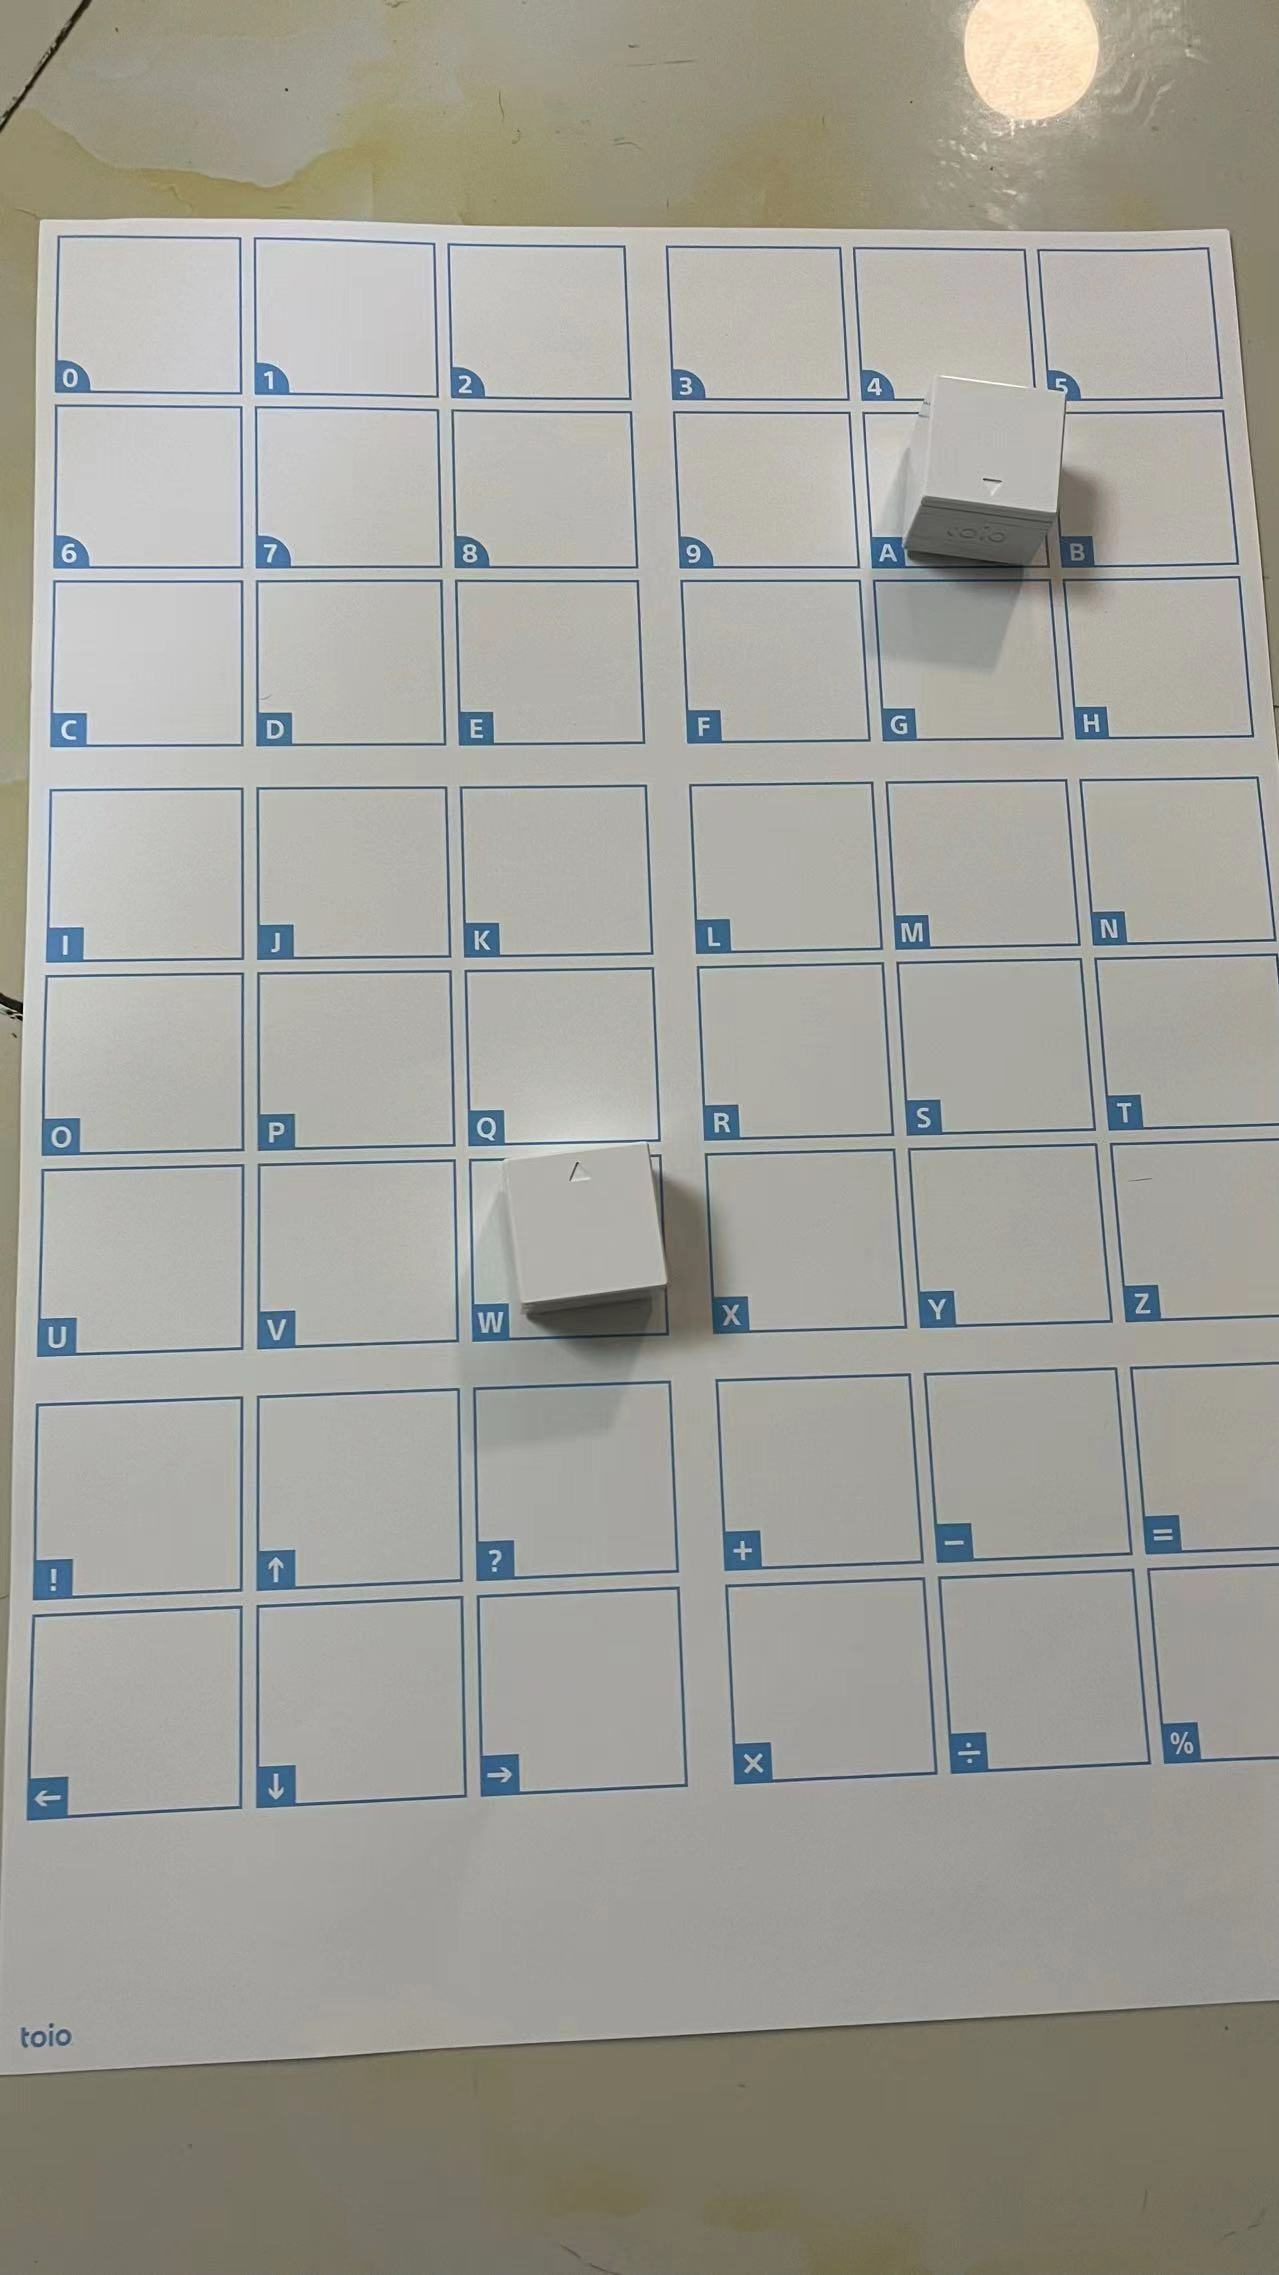
在查看资料之后发现Q宝真是个玩具,没有外接接口无法接收传感器的信息,这里只能选择模拟行为。我这里直接使用Python做一个随时间衰减的土壤密度函数,等土壤密度达到临界值Q宝会发出提醒并重置土壤密度函数。总共使用两个Q宝,一个Q宝做检测土壤密度,待达到临界之后Q宝会亮起红灯,一个Q宝移动过去重置,发信息交互之后重置检测函数,后期再研究之后看是否能通过蓝牙接收真实传感器数据。
3、创意实现
3.1 环境安装
环境安装主要是跟着Github资料进行安装,主要脚本如下:
setuptools
安装setuptools软件包,命令如下:
python -m pip install setuptools --upgradetoio.py
安装toio.py软件包,命令如下:
python -m pip install toio-py --upgradebleak
安装bleak软件包,命令如下:
python -m pip install bleakipykernel
安装ipykernel软件包,命令如下:
python -m pip install ipykernel确认
在命令提示符下执行以下命令进行验证,查看toio.py是否按照成功。
python -c "import toio.scanner; print('ok')"
若屏幕中显示“ok”,说明toio.py已成功安装。
若屏幕中显示“ImportError”,说明导入失败,请尝试重新安装.wh1文件,并确保已经进入到保存该文件的目录中。 若再次显示安装失败 请检查python的版本,确保python版本为3.11及以上。
3.2 核心玩法
核心代码:
import asyncio
from asyncio import sleepfrom toio import *green_cube_location = None
red_cube_arrived = True
wait_time = 30async def check():global green_cube_locationglobal red_cube_arrived# 获得位置def pos_handler(payload: bytearray):global green_cube_locationid_info = IdInformation.is_my_data(payload)if isinstance(id_info, PositionId):green_cube_location = id_info.centerdef move_handler(payload: bytearray):global red_cube_arrived,wait_timemotor_response = Motor.is_my_data(payload)if isinstance(motor_response, ResponseMotorControlTarget):print(motor_response)red_cube_arrived = Truewait_time = 30# 连接两个cubedev_list = await BLEScanner.scan(2)assert len(dev_list) == 2detector_cube = ToioCoreCube(dev_list[0].interface)change_detect = ToioCoreCube(dev_list[1].interface)print("连接成功")await asyncio.gather(detector_cube.connect(), change_detect.connect())red = IndicatorParam(duration_ms=0, color=Color(r=255, g=0, b=0))green = IndicatorParam(duration_ms=0, color=Color(r=0, g=255, b=0))await asyncio.gather(detector_cube.api.indicator.turn_on(green), change_detect.api.indicator.turn_on(red))print("展示吧小宝贝")while True:wait_time = wait_time -1# 时间到了,移动过去if wait_time == 0:await detector_cube.api.id_information.register_notification_handler(pos_handler)await change_detect.api.motor.register_notification_handler(move_handler)for _ in range(30):if green_cube_location is not None and red_cube_arrived:red_cube_arrived = Falseprint("change_detect: move to", str(green_cube_location))await change_detect.api.motor.motor_control_target(timeout=5,movement_type=MovementType.Linear,speed=Speed(max=100,speed_change_type=SpeedChangeType.AccelerationAndDeceleration,),target=TargetPosition(cube_location=green_cube_location,rotation_option=RotationOption.AbsoluteOptimal,),)await asyncio.sleep(1)await change_detect.api.motor.unregister_notification_handler(move_handler)await detector_cube.api.id_information.unregister_notification_handler(pos_handler)# 停一秒await sleep(1)print("结束,断开链接")await asyncio.gather(detector_cube.disconnect(), change_detect.disconnect())
# 启动
asyncio.run(check())
解决的问题
- 连接Q宝,进行程序上传
- Q宝进行通讯
- Q宝移动
- 土壤函数衰减和重置
- Q宝亮灯
上面代码基本上都是官方代码的拼凑,用起来还是比较简单的。
总结
1、在测试的过程中,Q宝的官网和github提供了足够的资料和翔实的代码实例,对于拥有变成经验的同学来说还是很方便的,只要稍微组合就可以开发出自己的玩法。
2、toio™当前作为小孩子的玩具是很好的,在可用的条件下做出一些有意思的事情,也能锻炼小孩的思考能力。
对于Q宝这类小机器人未来的方向应该是在于教育和培训,小型机器人可能成为教育领域的有力助手,通过个性化的教学方法和互动学习,提高孩子的学习兴趣,提升教育质量。
3、当前还是存在一些不方便的地方,比如不能联网限制了数据的获取,不能外接限制了扩展,还有就是价格略贵,作为教学工具还可以。但如果可以增加高级版本,在高级版本中可以增加一些拓展接口,这样Q宝会具有更多灵活性和扩展性,也会在未来发展的越来越好。

