这是0基础学three.js系列中的第二篇,在这篇里面我会带着大家把开发环境搭建起来,关于开发环境,方式很多,如果你没有基础,就跟着我的步骤一步一步来,保你不出错。
首先安装node环境,关于node是干啥的,先不要管,装上就行了,只需要这一个环境,别的都不需要。
安装node环境:Node.js 安装配置 | 菜鸟教程
安装好node环境之后,开始搭建three.js项目。
首先创建一个文件夹three_day01。然后在命令行界面打开该文件夹。然后在命令行界面运行npm init -y初始化文件,先不要管这个命令是干嘛的,运行就行了。运行完之后,会在day01文件夹下面生成一个package.json文件。先不要管这个文件是干嘛,别动他就行了。然后在回到命令行界面安装three.js环境。
npm install three//安装three环境。
运行命令
npm install -D parcel-bundler然后打开three_day01文件夹,首先创建index.html文件,在创建一个app.js文件,上述操作全部完成之后,文件夹内容如下

现在开始,首先编辑app.js文件,放入以下内容。
import * as THREE from 'three';const scene = new THREE.Scene();
const camera = new THREE.PerspectiveCamera(75, window.innerWidth / window.innerHeight, 0.1, 1000);
const renderer = new THREE.WebGLRenderer();renderer.setSize(window.innerWidth, window.innerHeight);
document.body.appendChild(renderer.domElement);const geometry = new THREE.BoxGeometry();
const material = new THREE.MeshBasicMaterial({ color: 0x00ff00 });
const cube = new THREE.Mesh(geometry, material);scene.add(cube);camera.position.z = 5;const animate = function () {requestAnimationFrame(animate);cube.rotation.x += 0.01;cube.rotation.y += 0.01;renderer.render(scene, camera);
};animate();
编辑index.html
<!DOCTYPE html>
<html>
<head><meta charset="utf-8"><title>My first three.js project</title><style>body { margin: 0; }canvas { display: block; }</style>
</head>
<body><script src="app.js"></script>
</body>
</html>
更新package.json,将package.json文件夹里面的代码替换如下
{"name": "three_day01","version": "1.0.0","description": "","main": "index.js","scripts": {"start": "parcel index.html"
},"keywords": [],"author": "","license": "ISC","dependencies": {"express": "^4.18.2","three": "^0.156.1"}
}
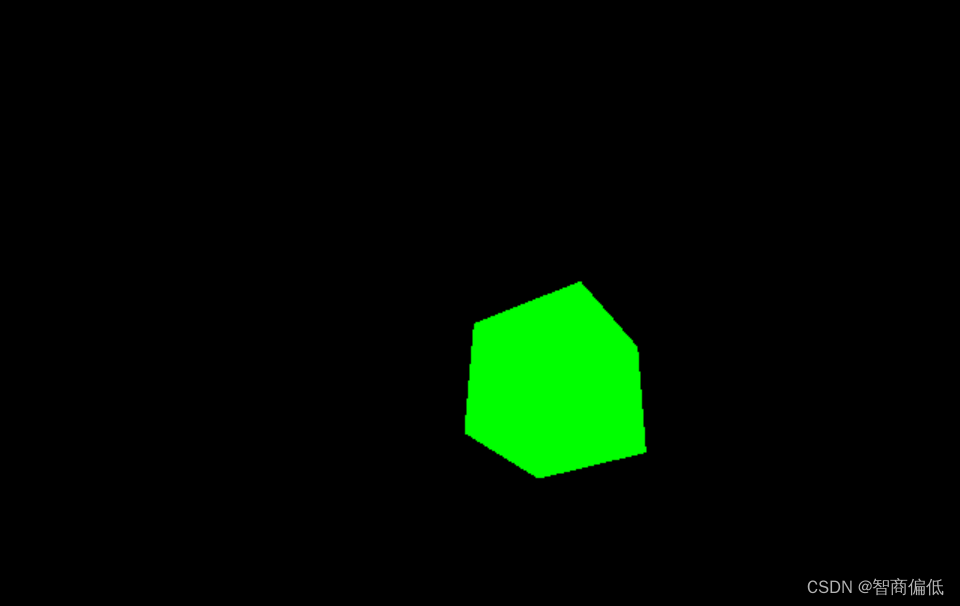
然后回到命令行运行npm start启动项目。至此项目搭建完毕,已经可以运行了,关于上面的代码先不要注重,先把环境搭建起来,后面每一行代码我都会详细的讲解的,关于上面的代码我也是从别的地方借鉴的,只要是运行起来,是一个绿色的正方体,项目就完成了。
代码链接:https://pan.baidu.com/s/1iRgFKpqab-WmpAoqr7RCSQ
提取码:xp0j
