我们从两个角度研究@EnableWebMvc:
- @EnableWebMvc的使用
- @EnableWebMvc的底层原理
@EnableWebMvc的使用
@EnableWebMvc需要和java配置类结合起来才能生效,其实Spring有好多@Enablexxxx的注解,其生效方式都一样,通过和@Configuration结合、使得@Enablexxxx中的配置类(大多通过@Bean注解)注入到Spring IoC容器中。
理解这一配置原则,@EnableWebMvc的使用其实非常简单。
我们还是使用前面文章的案例进行配置。
新增配置类
在org.example.configuration包下新增一个配置类:
@Configuration
@EnableWebMvc
@ComponentScan({"org.example.controller"})
public class MvcConfiguration{@Overridepublic void extendMessageConverters(List<HttpMessageConverter<?>> converters) {for(HttpMessageConverter httpMessageConverter:converters){if(StringHttpMessageConverter.class.isAssignableFrom(httpMessageConverter.getClass())){((StringHttpMessageConverter)httpMessageConverter).setDefaultCharset(Charset.forName("UTF-8"));}}}
}
配置类增加controller的包扫描路径,添加@EnableWebMvc注解,其他不需要干啥。
简化web.xml
由于使用了@EnableWebMvc,所以web.xml可以简化,只需要启动Spring IoC容器、添加DispatcherServlet配置即可
<?xml version="1.0" encoding="UTF-8"?>
<web-app xmlns:xsi="http://www.w3.org/2001/XMLSchema-instance"xmlns="http://xmlns.jcp.org/xml/ns/javaee"xsi:schemaLocation="http://xmlns.jcp.org/xml/ns/javaee http://xmlns.jcp.org/xml/ns/javaee/web-app_3_1.xsd"id="WebApp_ID" version="3.1">
<!--  1、启动Spring的容器--><context-param><param-name>contextConfigLocation</param-name><param-value>classpath:applicationContext.xml</param-value></context-param><listener><listener-class>org.springframework.web.context.ContextLoaderListener</listener-class></listener><servlet><servlet-name>dispatcherServlet</servlet-name><servlet-class>org.springframework.web.servlet.DispatcherServlet</servlet-class><init-param><param-name>contextConfigLocation</param-name><param-value>classpath:springmvc.xml</param-value></init-param><load-on-startup>1</load-on-startup></servlet><servlet-mapping><servlet-name>dispatcherServlet</servlet-name><url-pattern>/</url-pattern></servlet-mapping></web-app>
applicationContext.xml
Spring IoC容器的配置文件,指定包扫描路径即可:
<?xml version="1.0" encoding="UTF-8"?>
<beans xmlns="http://www.springframework.org/schema/beans"xmlns:xsi="http://www.w3.org/2001/XMLSchema-instance"xmlns:context="http://www.springframework.org/schema/context"xmlns:aop="http://www.springframework.org/schema/aop"xmlns:tx="http://www.springframework.org/schema/tx"xsi:schemaLocation="http://www.springframework.org/schema/aop http://www.springframework.org/schema/aop/spring-aop-4.3.xsdhttp://www.springframework.org/schema/beans http://www.springframework.org/schema/beans/spring-beans-4.3.xsdhttp://www.springframework.org/schema/tx http://www.springframework.org/schema/tx/spring-tx-4.3.xsdhttp://www.springframework.org/schema/context http://www.springframework.org/schema/context/spring-context-4.3.xsd"><context:component-scan base-package="org.example"><context:exclude-filter type="annotation"expression="org.springframework.stereotype.Controller" /></context:component-scan>
</beans>
Springmvc.xml
springmvc.xml文件也可以简化,只包含一个视图解析器及静态资源解析的配置即可,其他的都交给@EnableWebMvc即可:
<?xml version="1.0" encoding="UTF-8"?>
<beans xmlns="http://www.springframework.org/schema/beans"xmlns:mvc="http://www.springframework.org/schema/mvc"xmlns:context="http://www.springframework.org/schema/context"xmlns:xsi="http://www.w3.org/2001/XMLSchema-instance"xsi:schemaLocation="http://www.springframework.org/schema/beanshttp://www.springframework.org/schema/beans/spring-beans.xsdhttp://www.springframework.org/schema/mvchttp://www.springframework.org/schema/mvc/spring-mvc.xsdhttp://www.springframework.org/schema/contexthttp://www.springframework.org/schema/context/spring-context.xsd"><!-- 放行静态资源 --><mvc:default-servlet-handler /><!-- 视图解析器 --><bean id="viewResolver" class="org.springframework.web.servlet.view.InternalResourceViewResolver"><!-- 视图前缀 --><property name="prefix" value="/" /><!-- 视图后缀 --><property name="suffix" value=".jsp" /></bean></beans>
测试
添加一个controller:
@Controller
public class    HelloWorldController {@GetMapping(value="/hello")@ResponseBodypublic String hello(ModelAndView model){return "<h1>@EnableWebMvc 你好</h1>";}
}
启动应用,测试:
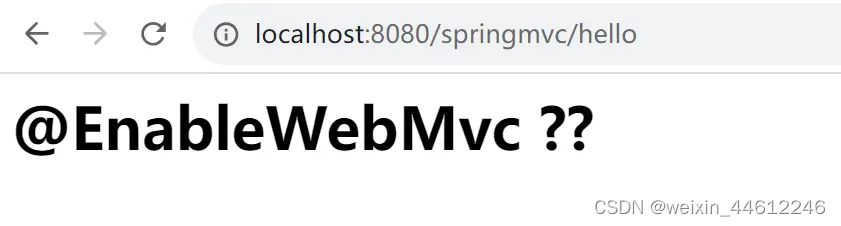
发现有中文乱码。
解决中文乱码
参考上一篇文章,改造一下MvcConfiguration配置文件,实现WebMvcConfigurer接口、重写其extendMessageConverters方法:
@Configuration
@EnableWebMvc
@ComponentScan({"org.example.controller"})
public class MvcConfiguration implements WebMvcConfigurer{public MvcConfiguration(){System.out.println("mvc configuration constructor...");}
//    通过@EnableWebMVC配置的时候起作用,@Overridepublic void extendMessageConverters(List<HttpMessageConverter<?>> converters) {for(HttpMessageConverter httpMessageConverter:converters){if(StringHttpMessageConverter.class.isAssignableFrom(httpMessageConverter.getClass())){((StringHttpMessageConverter)httpMessageConverter).setDefaultCharset(Charset.forName("UTF-8"));}}}}
重启系统,测试:
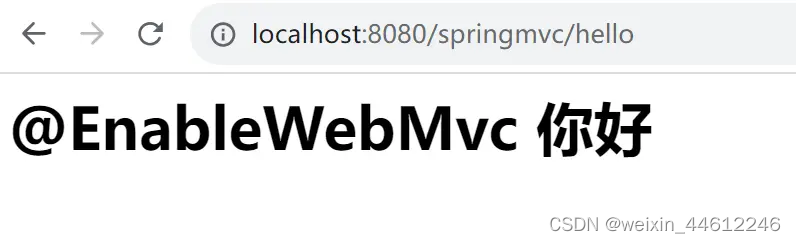
中文乱码问题已解决。
问题:@EnableWebMvc的作用?
上述案例已经可以正常运行可,我们可以看到web.xml、applicationContext.xml以及springmvc.xml等配置文件都还在,一个都没少。
那么@EnableWebMvc究竟起什么作用?
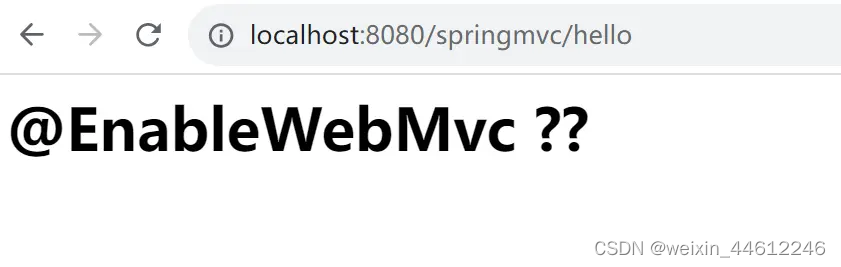
我们去掉@EnableWebMvc配置文件试试看:项目中删掉MvcConfiguration文件。
重新启动项目,访问localhost:8080/hello,报404!
回忆一下MvcConfiguration文件中定义了controller的包扫描路径,现在MvcConfiguration文件被我们直接删掉了,controller的包扫描路径需要以其他方式定义,我们重新修改springmvc.xml文件,把controller包扫描路径加回来。
同时,我们需要把SpringMVC的注解驱动配置加回来:
<!-- 扫描包 --><context:component-scan base-package="org.example.controller"/><mvc:annotation-driven />
以上两行加入到springmvc.xml配置文件中,重新启动应用:
应用可以正常访问了,中文乱码问题请参考上一篇文章,此处忽略。
因此我们是否可以猜测:@EnableWebMvc起到的作用等同于配置文件中的: <mvc:annotation-driven /> ?
@EnableWebMvc的底层原理
其实Spring的所有@Enablexxx注解的实现原理基本一致:和@Configuration注解结合、通过@Import注解引入其他配置类,从而实现向Spring IoC容器注入Bean。
@EnableWebMvc也不例外。
@Retention(RetentionPolicy.RUNTIME)
@Target(ElementType.TYPE)
@Documented
@Import(DelegatingWebMvcConfiguration.class)
public @interface EnableWebMvc {
}
@EnableWebMvc引入了DelegatingWebMvcConfiguration类。看一眼DelegatingWebMvcConfiguration类,肯定也加了@Configuration注解的:
@Configuration(proxyBeanMethods = false)
public class DelegatingWebMvcConfiguration extends WebMvcConfigurationSupport {...
DelegatingWebMvcConfiguration类扩展自WebMvcConfigurationSupport,其实DelegatingWebMvcConfiguration并没有创建bean、实际创建bean的是他的父类WebMvcConfigurationSupport。
WebMvcConfigurationSupport按顺序注册如下HandlerMappings:
- RequestMappingHandlerMapping ordered at 0 for mapping requests to annotated controller methods.
- HandlerMapping ordered at 1 to map URL paths directly to view names.
- BeanNameUrlHandlerMapping ordered at 2 to map URL paths to controller bean names.
- HandlerMapping ordered at Integer.MAX_VALUE-1 to serve static resource requests.
- HandlerMapping ordered at Integer.MAX_VALUE to forward requests to the default servlet.
并注册了如下HandlerAdapters:
- RequestMappingHandlerAdapter for processing requests with annotated controller methods.
- HttpRequestHandlerAdapter for processing requests with HttpRequestHandlers.
- SimpleControllerHandlerAdapter for processing requests with interface-based Controllers.
注册了如下异常处理器HandlerExceptionResolverComposite:
- ExceptionHandlerExceptionResolver for handling exceptions through org.springframework.web.bind.annotation.ExceptionHandler methods.
- ResponseStatusExceptionResolver for exceptions annotated with org.springframework.web.bind.annotation.ResponseStatus.
- DefaultHandlerExceptionResolver for resolving known Spring exception types
以及:
Registers an AntPathMatcher and a UrlPathHelper to be used by:
- the RequestMappingHandlerMapping,
- the HandlerMapping for ViewControllers
- and the HandlerMapping for serving resources
Note that those beans can be configured with a PathMatchConfigurer.
Both the RequestMappingHandlerAdapter and the ExceptionHandlerExceptionResolver are configured with default instances of the following by default:
- a ContentNegotiationManager
- a DefaultFormattingConversionService
- an org.springframework.validation.beanvalidation.OptionalValidatorFactoryBean if a JSR-303 implementation is available on the classpath
- a range of HttpMessageConverters depending on the third-party libraries available on the classpath.
因此,@EnableWebMvc确实与 <mvc:annotation-driven /> 起到了类似的作用:注册SpringWebMVC所需要的各种特殊类型的bean到Spring容器中,以便在DispatcherServlet初始化及处理请求的过程中生效!
上一篇 Spring MVC 十一:中文乱码