1.自定义组件生命周期函数:
Component({data: {},attached() {console.log("自定义组件生命周期函数 attached--先执行");this.getPos();},ready() {console.log("ready生命周期函数---在attached之后执行")},methods: {getPos() {var that = this;console.log("ssss")wx.getLocation({type: "wgs84",isHighAccuracy: true,success: function (res) {console.log('纬度' + res.latitude);console.log('经度' + res.longitude);that.setData({latitude: res.latitude,longitude: res.longitude,})}})}}
})
2.使用ColorUI定义的列表样式:
<view class="cu-list menu"><view class="cu-item"><view class="content"><text class="cuIcon-locationfill text-grey"></text><text class="text-black">地址</text><text class="text-grey text-xs detailPos">详细地址</text></view></view></view>
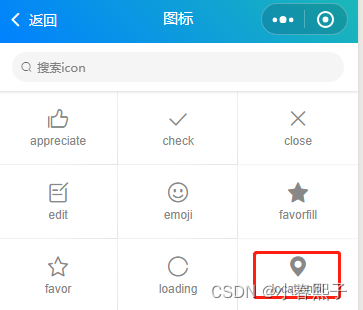
3.使用ColorUI定义的图标样式:
<text class="cuIcon-locationfill text-grey"></text>
4.可上下滚动的列表:
(1).wxml:
<view class="posList"><scroll-view scroll-y="true" style="height: 100%" bindscrolltoupper="upper" bindscrolltolower="lower" bindscroll="scroll" scroll-into-view="{{toView}}" scroll-top="{{scrollTop}}"><view class="cu-list menu"><view class="cu-item" wx:for="{{itemsPos}}" wx:for-item="item" wx:key="index"><view class="content"><text class="cuIcon-locationfill text-grey"></text><text class="text-black">{{item.pos}}</text><text class="text-grey text-xs detailPos">{{item.detailPos}}</text></view></view></view></scroll-view></view>(2).js文件:
scrollToTop() {this.setAction({scrollTop: 0})},upper(e) {// console.log(e)},lower(e) {// console.log(e)},scroll(e) {// console.log(e)},tap() {for (let i = 0; i < order.length; ++i) {if (order[i] === this.data.toView) {this.setData({toView: order[i + 1],scrollTop: (i + 1) * 200})break}}},tapMove() {this.setData({scrollTop: this.data.scrollTop + 10})},(3).wsxx文件:
.posList {position: fixed;left: 0%;top: 16%;width: 100%;height: 90%;background-color: rgb(215, 253, 0);
}.scroll-view_H {white-space: nowrap;
}.scroll-view-item {height: 100%;
}.scroll-view-item_H {display: inline-block;width: 100%;height: 100%;
}