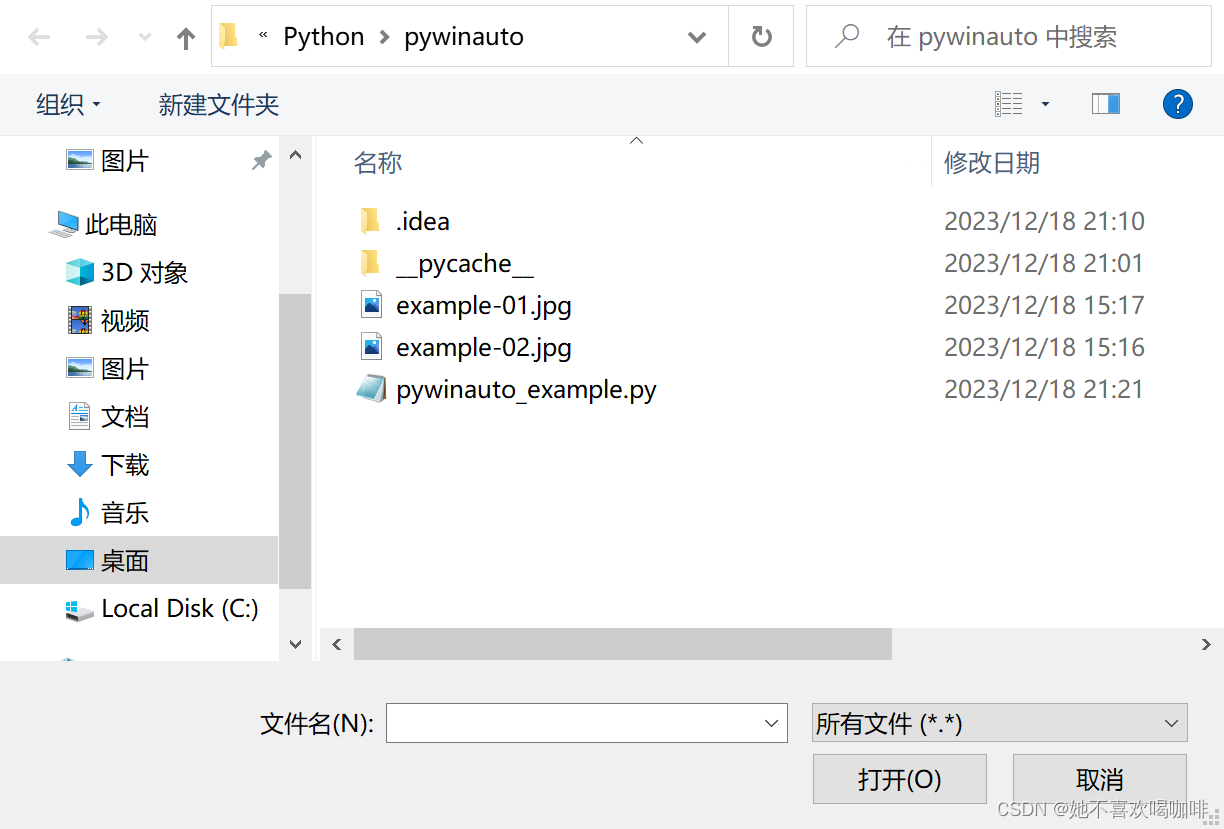
1,先展示一下整体的效果

2,接下来展示用户添加以及上传头像代码、添加用户界面

前端代码如下:
<div class="form-group">@Html.LabelFor(model => model.img, "头像:", htmlAttributes: new { @class = "control-label col-md-2" })<div class="col-md-10">@*@Html.EditorFor(model => model.img, new { htmlAttributes = new { @class = "form-control" } })*@<input class="width-main input" type="file" datatype="*" id="pic" name="pic" value="" accept="image/*" onchange="upload(event)"><input type="hidden" name="img" id="img" value="" /><div id="showImg"></div></div></div>JS代码
<script>//实现异步上传function upload(event) {var imgPath = $("#pic").val();console.log(imgPath);//判断上传文件的后缀名var strExtension = imgPath.substr(imgPath.lastIndexOf('.') + 1);if (strExtension != 'jpg' && strExtension != 'gif' && strExtension != 'png' && strExtension != 'bmp') {alert("请选择图片文件");return;}//实现文件上传操作if (event.target.files[0].type.search('image') !== -1) {//实现文件图片的上传var formData = new FormData($("#myForm")[0]);//用于创建一个文件流对象//formData.append('pic', $("#img")[0]); //添加文件流 (流名称,流)//console.log(formData);$.ajax({url: "/Upload/file",type: "post",cache: false,processData: false,contentType: false,data: formData,success: function (res) {console.log(res);if (res.trim() == "209") {alert("请选择图片!");return;}if (res.trim() == "300") {alert("上传的图片不能为空图片!");return;}if (res.trim() == "400") {alert("上传的图片失败!");return;}//alert("上传成功!");$("#showImg").html("<img src='" + res + "' width='50' height='50' /><p style='color:red;'>上传成功!</p>");//设置上传的图片地址var res = res.trim(); //去除图片的前后空白字符$("#img").val(res);},error: function (res) {alert("上传异常!");}});} else {alert('只支持上传图片');}}</script>控制器图片上传的方法
//图片上传[HttpPost]public ActionResult file(HttpPostedFileBase pic){try{if (pic != null){if (pic.ContentLength == 0){return Content("209"); //获取上传的图片}else{//判断文件的后缀名,是否符合条件string backFix = Path.GetExtension(pic.FileName);if (backFix != ".gif" && backFix != ".png" && backFix != ".jpg" && backFix != ".jpeg"){return Content("210"); //格式不对}string fileName = DateTime.Now.ToString("MMddHHmmss") + backFix;string strPath = Server.MapPath("~/Content/pic/" + fileName);pic.SaveAs(strPath);//返回路径return Content("/Content/pic/" + fileName);}}else{return Content("300"); //图片不能为空}}catch (Exception ){return Content("400"); //上传失败}}数据库保存的是文件的已经重新命名的路径,数据库保存的图片如下

在列表页面如何具体显示头像呢,代码如下所示:

以上就是头像图片的上传展示,谢谢.
