uniapp的强大是非常震撼的,一套代码可以编写到十几个平台。这个可以在官网上进行查询uni-app官网。主要还是开发小型的软件系统,使用起来非常的方便、快捷、高效。
uniapp中有很多自带的UI,在创建项目的时候,就可以自由选择。而EelementPlus是一个前端的框架,主要是开发web的,其实他们是可以放在一起使用的,因为都是基于vue.js的。
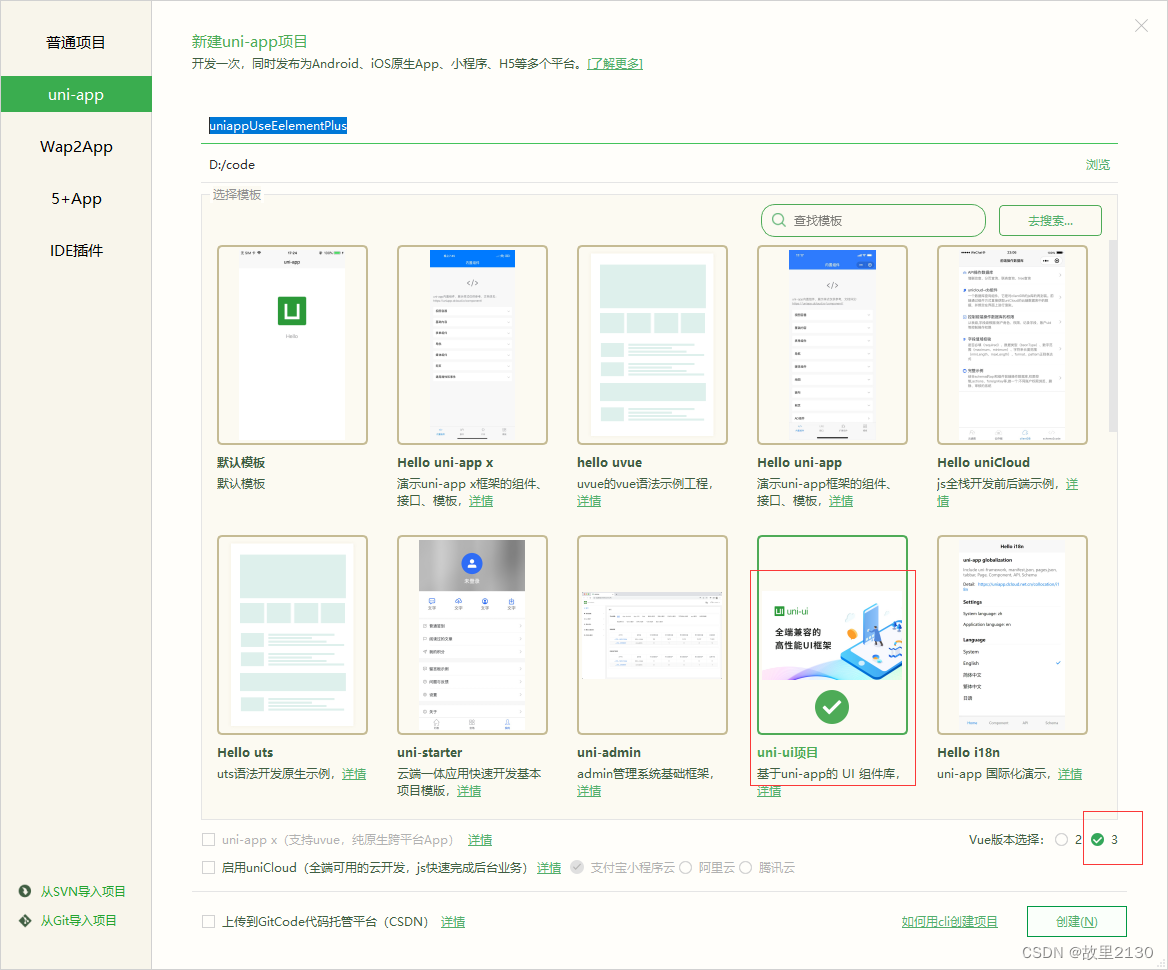
1.使用uniapp创建一个最简单的项目
本案例使用的是vue3进行演示
2.修改index.vue的代码
简单写一点uniapp原生的风格

3.启动效果
PC网页效果

手机效果

4.安装使用element-plus
npm install element-plus --save安装完成的标志

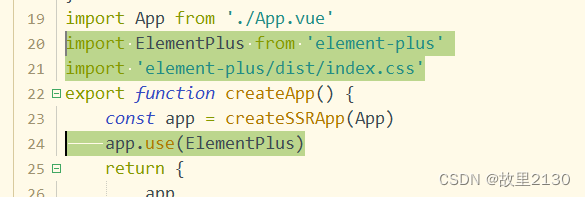
5.在main.js中进行修改
// #ifndef VUE3
import Vue from 'vue'
import App from './App'Vue.config.productionTip = falseApp.mpType = 'app'const app = new Vue({...App
})
app.$mount()
// #endif// #ifdef VUE3
import {createSSRApp
} from 'vue'
import App from './App.vue'
import ElementPlus from 'element-plus'
import 'element-plus/dist/index.css'
export function createApp() {const app = createSSRApp(App)app.use(ElementPlus)return {app}
}
// #endif
关键就三句话
6.在index.vue中修改代码

7.效果对比
PC网页效果

手机效果

对比可见,颜色的主题还是不一样的,此时我们就完成了在uniapp中使用element-plus的操作。
8.对于不同的平台,界面显示不同的控件
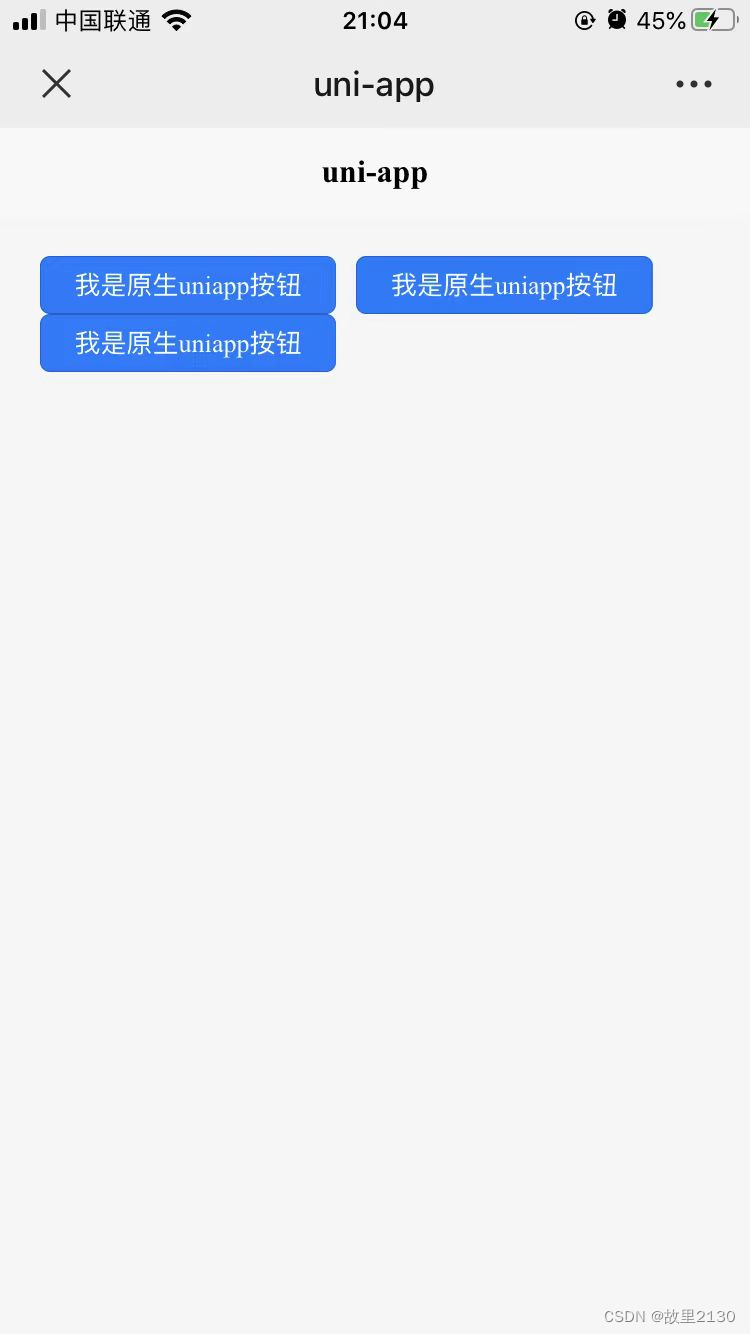
比如手机上打开的话,我们只显示原生的uniapp控件,电脑端打开的话,我们就显示element-plus的控件
这样,我们就需要修改index.vue的代码
采用vue3的setup语法
<template><view class="container"><button v-show="!isShow" type="primary" style="margin-right: 20rpx;" size="mini">我是原生uniapp按钮</button><button v-show="!isShow" type="primary" style="margin-right: 20rpx;" size="mini">我是原生uniapp按钮</button><button v-show="!isShow" type="primary" style="margin-right: 20rpx;" size="mini">我是原生uniapp按钮</button><el-button v-show="isShow" type="primary">我是element-plus按钮</el-button><el-button v-show="isShow" type="primary">我是element-plus按钮</el-button></view>
</template><script setup>import {onLoad} from '@dcloudio/uni-app'import {ref} from 'vue'const isShow = ref(false)onLoad(() => {console.log(uni.getSystemInfoSync().platform)if (uni.getSystemInfoSync().platform == "windows") {isShow.value = true}})
</script><style>.container {padding: 20px;font-size: 14px;line-height: 24px;}
</style>
9.不同平台的效果对比
PC网页效果

手机效果
有了上面的操作,今后我们进行开发时,移动和网页的混合开发,就非常的方便,加上权限控制,想怎么显示,就怎么显示了。
本文源码:
https://download.csdn.net/download/u012563853/88808938
来源:
uniapp中使用EelementPlus-CSDN博客
