在全局请求封装的基础上稍作完善
- 在响应拦截处判断返回接口状态
- 过期的话就执行:记录过期的接口 => 登录 => 重新发送请求
封装记录和重发请求逻辑
let requestsQueue = []; // 请求队列// 记录请求队列
export function recordRequests(config) {if (config.source) {requestsQueue.push(config)}
}// 请求重新发起
export async function retryRequest() {console.log("请求队列:", requestsQueue);requestsQueue.forEach((config) => {config.source(config.path, config.params, config.source, config.loading, config.method);})requestsQueue = [];
}
然后回到全局请求
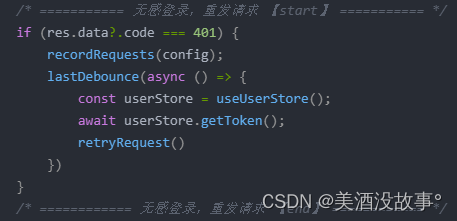
将刚封装的无感逻辑引入,并放入响应401拦截处。
注意source参数一定要传入,不然登录过期找不到接口发起源,重登后无法重发请求
import {lastDebounce // 为了防止多次登录的防抖逻辑
} from "@/utils/debounce.js"
import {useUserStore // 登录和获取用户资料
} from '@/store/index.js'
import {recordRequests, // 记录请求队列retryRequest    //重新发送请求
} from "./refreshToken.js"// 全局请求默认配置
const defaultConfig = {url: import.meta.env.VITE_BASE_URL,path: "",params: {},source: null, // 普通的接口一定要传入发起源,为了登录过期的重新发起loading: true,method: "POST"
}
// 登录过期不需要重发的接口
const noRetryAPIs = ["/user/myPage/userInfo", "/user/myPage/login"];export function http(config) {config = {...defaultConfig,...config}console.log('请求拦截:', config);if (!noRetryAPIs.includes(config.path) && !config?.source) {return uni.showToast({icon: "error",title: 'source 缺失'});}return new Promise((resolve, reject) => {if (config?.loading) {uni.showLoading({title: "加载中",mask: true});};uni.request({header: {Authorization: uni.getStorageSync("Authorization") || ""},url: (config?.url || defaultConfig.url) + config?.path,method: config?.method || defaultConfig.method,data: config?.params,async success(res) {uni.hideLoading();console.log('响应拦截:', res.data);/* =========== 无感登录,重发请求 【start】 =========== */if (res.data?.code === 401) {recordRequests(config);lastDebounce(async () => {const userStore = useUserStore();await userStore.getToken();retryRequest()})}/* ============ 无感登录,重发请求 【end】 ============ */if (res.data?.code !== 0 && res.data?.code !== 401) {uni.showToast({icon: "error",duration: 2000,title: res.data.msg});}resolve(res.data);},fail(err) {uni.hideLoading();uni.reLaunch({url: "/pages/status/service/error"})reject(err);},complete() {// uni.hideLoading();    // 在showToast之前执行会受影响}});});
};
主要就是这个:
lastDebounce 说明
为了防止多次登录,加入防抖逻辑:
// 防抖 - 后执行
let lastDebounceTimer;
export function lastDebounce(fn) {if (lastDebounceTimer) clearTimeout(lastDebounceTimer)lastDebounceTimer = setTimeout(() => {fn();lastDebounceTimer = null}, 500)
}
useUserStore 说明
pinia 封装的登录和获取登陆人信息的接口
import { http } from "@/request/index.js"
import { defineStore } from 'pinia'export const useUserStore = defineStore("user", {state: () => ({token: "",userInfo: {}}),actions: {// 获取tokengetToken() {const that = this;return new Promise(async (resolve, reject) => {wx.login({async success(e) {try {const response = await http({path: "/user/login",params: {code: e.code}});if (response.code !== 0) {return;}that.token = response.data.access_token;uni.setStorageSync("Authorization", response.data.access_token)await that.getUserInfo();resolve()} catch (err) {reject(err)}},fail() {reject()}})})},// 获取用户资料async getUserInfo() {return new Promise(async (resolve, reject) => {try {const response = await http({path: "/user/userInfo",loading: false})if (response.code !== 0) {return;}this.userInfo = response.data;uni.setStorageSync("user-info", response.data)// if (!response.data.phonenumber) {// uni.reLaunch({// 	url: "/pages/register/getPhoneNumber"// });// }resolve(response)} catch (err) {reject(err)}})},}
})
如果你的登录逻辑不是在pinia封装的,你就调用你封装的,反正就是登录就行。
以上全局请求封装完毕了,下面再看接口封装
接口封装
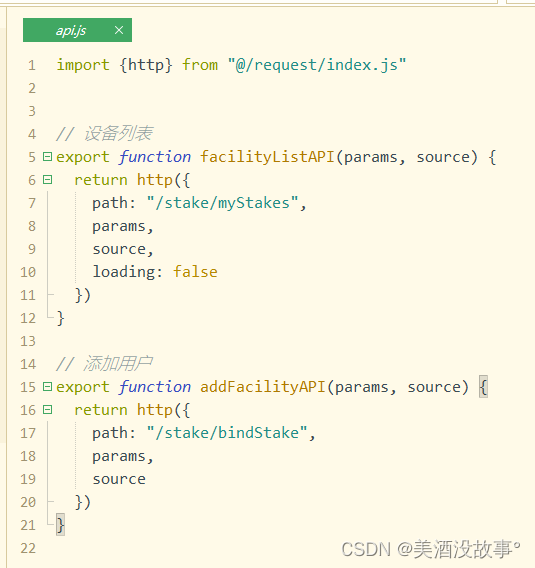
使用接口

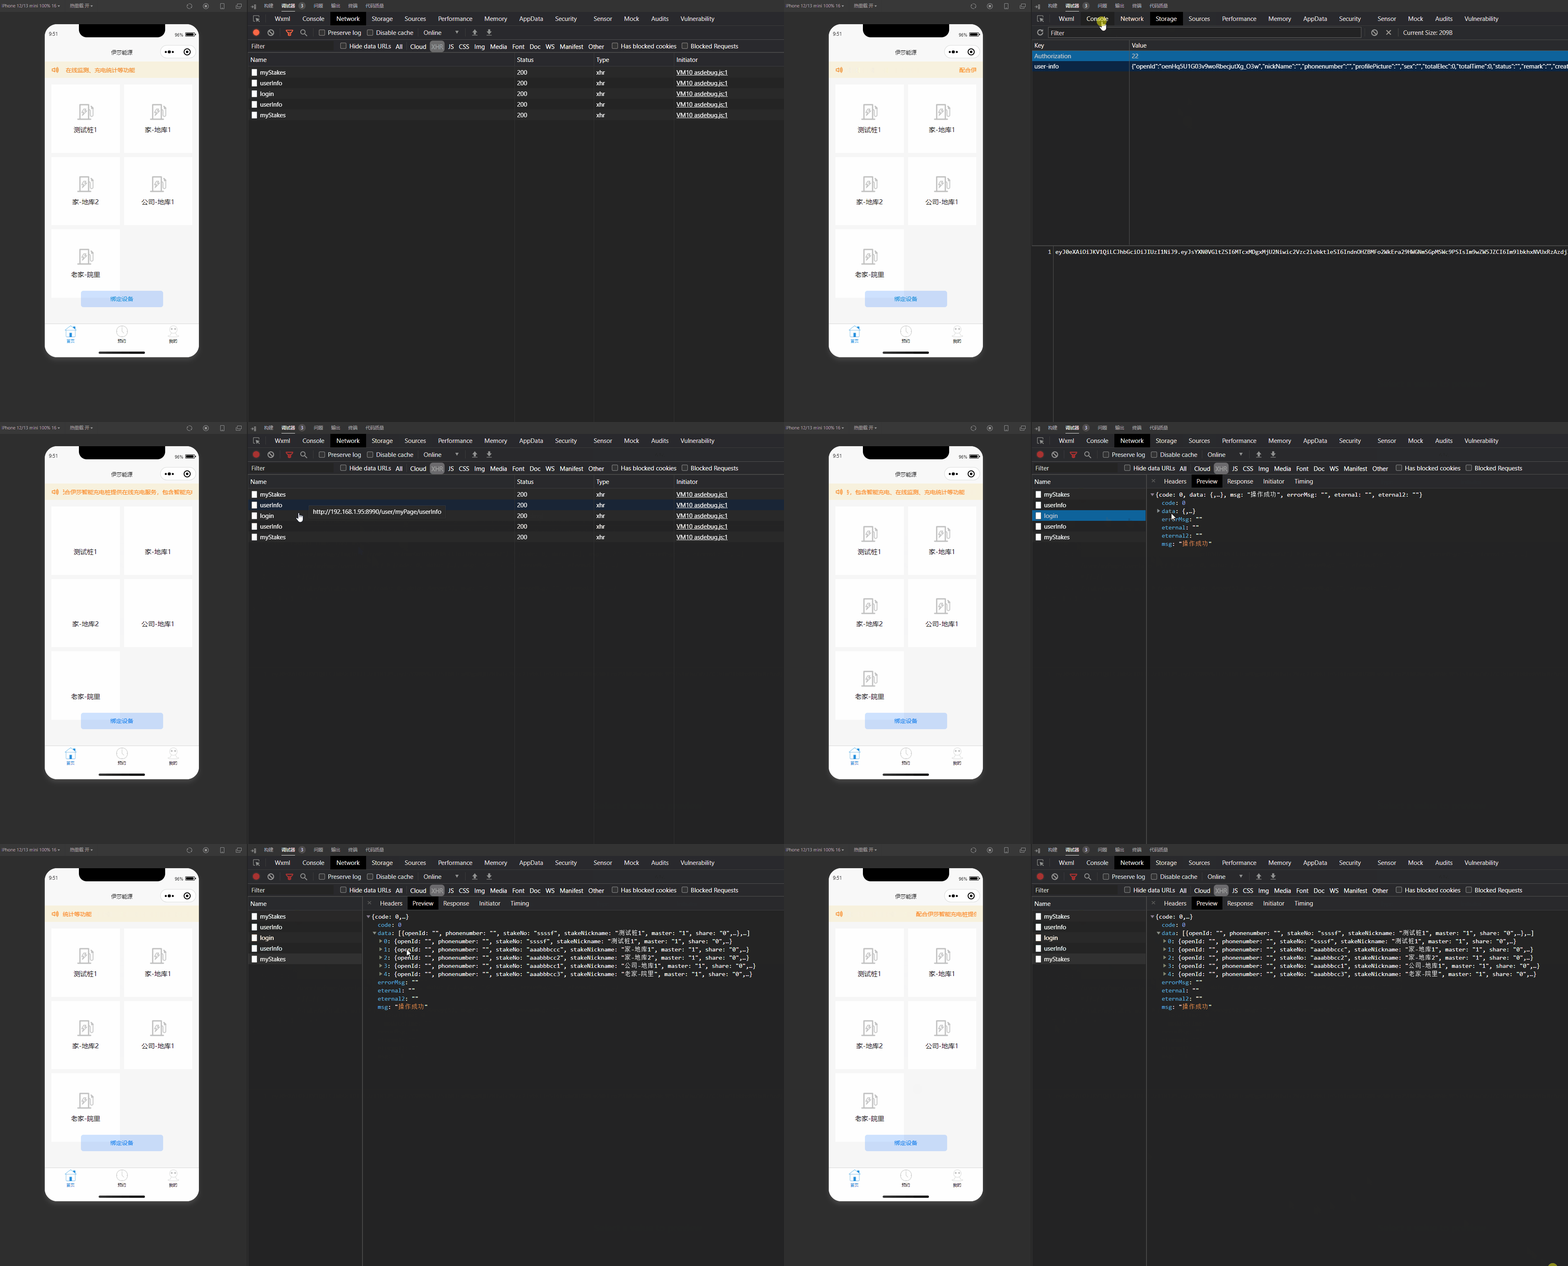
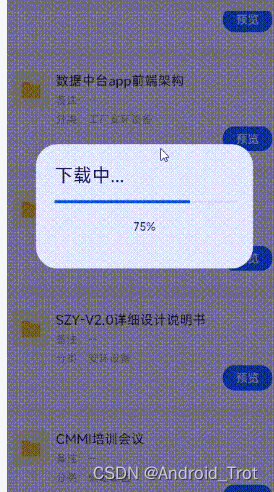
效果
看,本来请求的 myStakes 和 userInfo 接口登录过期了,待重新登录后再次发起了
