前置条件:非常重要!!!

npm:
npm create @quick-start/electron@latestyarn:
yarn create @quick-start/electron
然后进入目录,下载包文件,运行项目

到以上步骤,你已经成功运行起来一个 electron项目。
拓展知识:
接下来 我们可以给他删除不必要的文件,添加ui组件库,添加router管理,添加axios请求。
1:删除不需要的内容。
删除src/renderer/assets和components下面的所有内容
删除src/renderer/main.js的样式引入
删除App.vue文件的内容,写上测试内容


接着运行之后:

2:下载使用element-plus
打开官方ui文档:安装 | Element Plus
下载ui库
npm install element-plus --save在src/renderer/src/main.js添加代码
import { createApp } from 'vue'
import ElementPlus from 'element-plus'
import 'element-plus/dist/index.css'
import App from './App.vue'const app = createApp(App)app.use(ElementPlus)
app.mount('#app')
然后再App.vue文件中放入按钮进行测试

3:下载vue-router
官方地址:安装 | Vue Router
npm install vue-router@4在src/renderer/src下新建views文件夹 再里面新建两个测试文件vue,我这里新加了Home.vue和About.vue,写上测试内容方便观看。
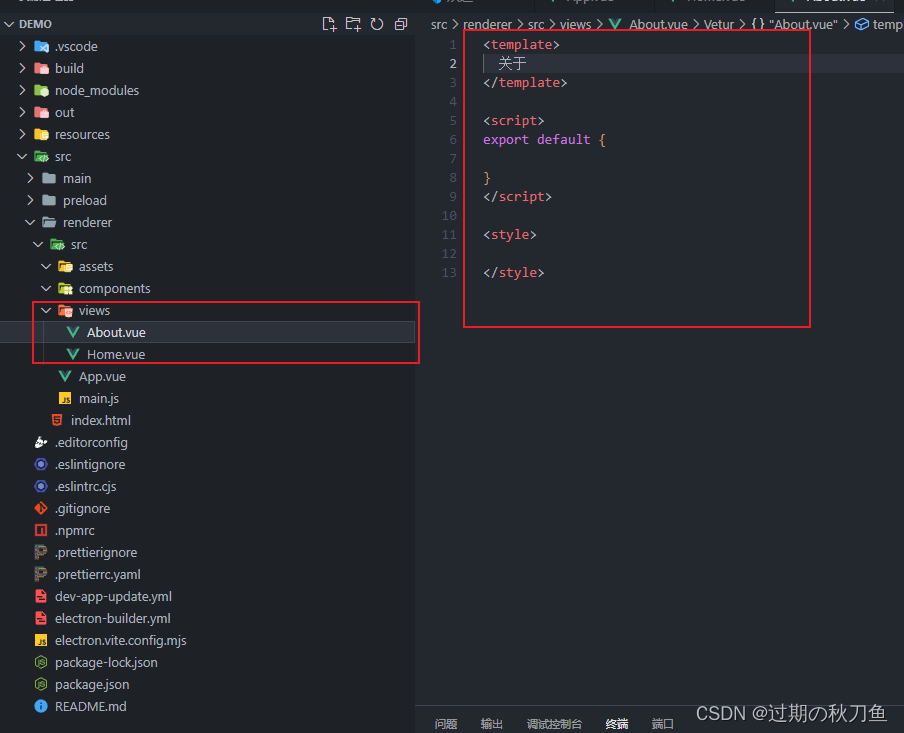
然后在 src/renderer/src新建router文件并且在下面设置index.js
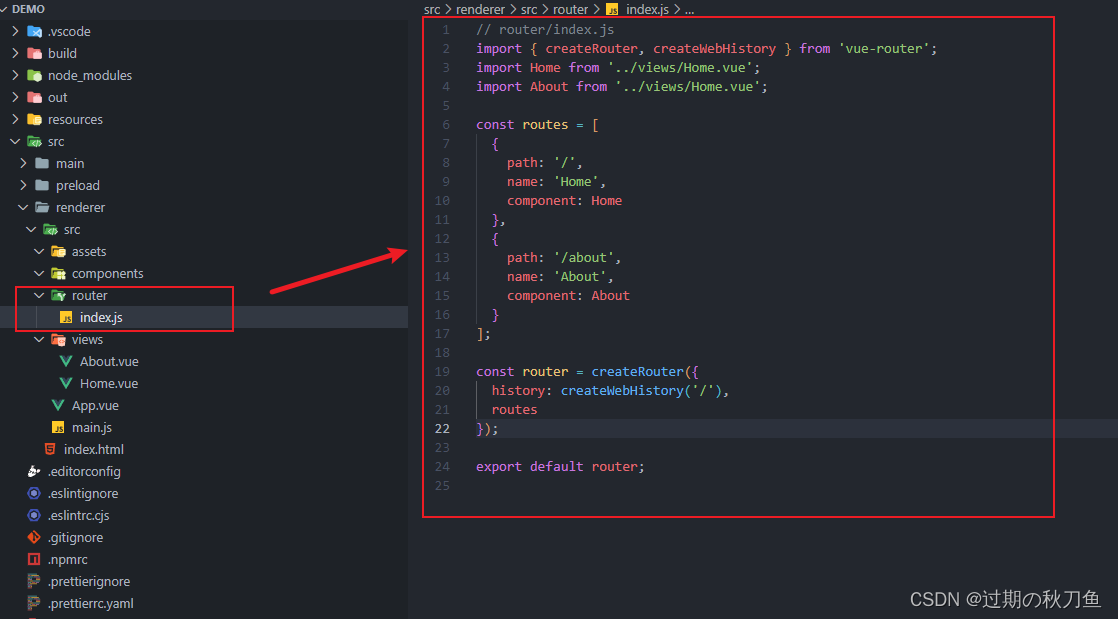
// router/index.js
import { createRouter, createWebHistory } from 'vue-router';
import Home from '../views/Home.vue';
import About from '../views/About.vue';const routes = [{path: '/',name: 'Home',component: Home},{path: '/about',name: 'About',component: About}
];const router = createRouter({history: createWebHistory('/'),routes
});export default router;
最后在src/renderer/src/main.js添加router
import { createApp } from 'vue'
import App from './App.vue'
import ElementPlus from 'element-plus'
import 'element-plus/dist/index.css'
import router from './router';
const app = createApp(App)app.use(ElementPlus)
app.use(router)
app.mount('#app')
在src/renderer/src/components下添加菜单组件
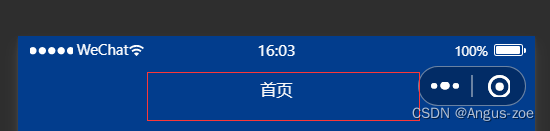
<template><el-menu:default-active="activeIndex"class="el-menu-demo"mode="horizontal":ellipsis="false"@select="handleSelect"><div class="flex-grow" /><el-menu-item index="1">首页</el-menu-item><el-menu-item index="2">关于</el-menu-item></el-menu></template><script lang="ts" setup>import { ref } from 'vue'import { useRouter } from 'vue-router'const router = useRouter() // 使用 useRouter() 函数获取 router 实例const activeIndex = ref('1')const handleSelect = (key: string, keyPath: string[]) => {if (key == '1') {router.push('/')} else {router.push('/about')}}</script><style>.flex-grow {flex-grow: 1;}</style>在App.vue添加控件测试路由是否正常
<template><navBar></navBar><router-view></router-view>
</template><script setup>
import navBar from './components/navBar.vue'
</script><style>
</style>
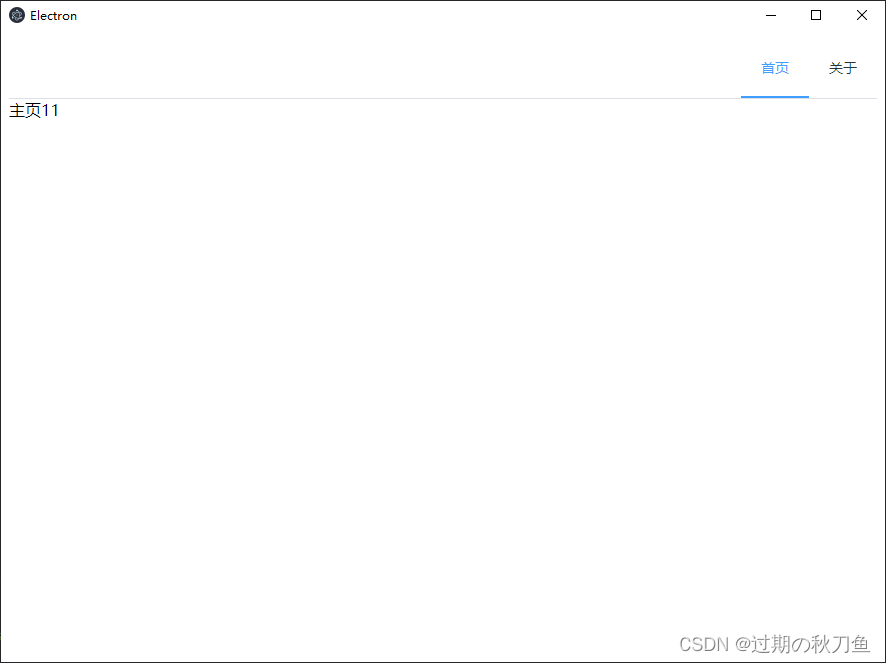
最后运行测试
4:下载axios
npm install axios主要是利用线程通信:
主线程与渲染线程互相通信(渲染线程可以理解为vue页面)
示例:
主线程:src/main/index.js引入axios 发送请求
import { app, shell, BrowserWindow, ipcMain } from 'electron'
import { join } from 'path'
import { electronApp, optimizer, is } from '@electron-toolkit/utils'
import icon from '../../resources/icon.png?asset'
import axios from 'axios'//引入axios
function createWindow() {// Create the browser window.const mainWindow = new BrowserWindow({width: 900,height: 670,show: false,autoHideMenuBar: true,...(process.platform === 'linux' ? { icon } : {}),webPreferences: {preload: join(__dirname, '../preload/index.js'),sandbox: false}})mainWindow.on('ready-to-show', () => {mainWindow.show()})mainWindow.webContents.setWindowOpenHandler((details) => {shell.openExternal(details.url)return { action: 'deny' }})// HMR for renderer base on electron-vite cli.// Load the remote URL for development or the local html file for production.if (is.dev && process.env['ELECTRON_RENDERER_URL']) {mainWindow.loadURL(process.env['ELECTRON_RENDERER_URL'])} else {mainWindow.loadFile(join(__dirname, '../renderer/index.html'))}
}// This method will be called when Electron has finished
// initialization and is ready to create browser windows.
// Some APIs can only be used after this event occurs.
app.whenReady().then(() => {// Set app user model id for windowselectronApp.setAppUserModelId('com.electron')// Default open or close DevTools by F12 in development// and ignore CommandOrControl + R in production.// see https://github.com/alex8088/electron-toolkit/tree/master/packages/utilsapp.on('browser-window-created', (_, window) => {optimizer.watchWindowShortcuts(window)})// IPC通信模块传给预加载脚本 调用接口 此接口可直接使用为测试接口 监听渲染线程发送的get-data事件然后返回数据ipcMain.on('get-data', async (event) => {try {//发送请求const response = await axios.get('http://jsonplaceholder.typicode.com/posts')if(response.data){//再把数据发送给渲染线程event.sender.send('dataList', response.data)}} catch (error) {console.error('Error fetching data:', error)event.sender.send('dataList', [])}})createWindow()app.on('activate', function () {// On macOS it's common to re-create a window in the app when the// dock icon is clicked and there are no other windows open.if (BrowserWindow.getAllWindows().length === 0) createWindow()})
})// Quit when all windows are closed, except on macOS. There, it's common
// for applications and their menu bar to stay active until the user quits
// explicitly with Cmd + Q.
app.on('window-all-closed', () => {if (process.platform !== 'darwin') {app.quit()}
})// In this file you can include the rest of your app"s specific main process
// code. You can also put them in separate files and require them here.
2:渲染线程,我这里是Home.vue页面
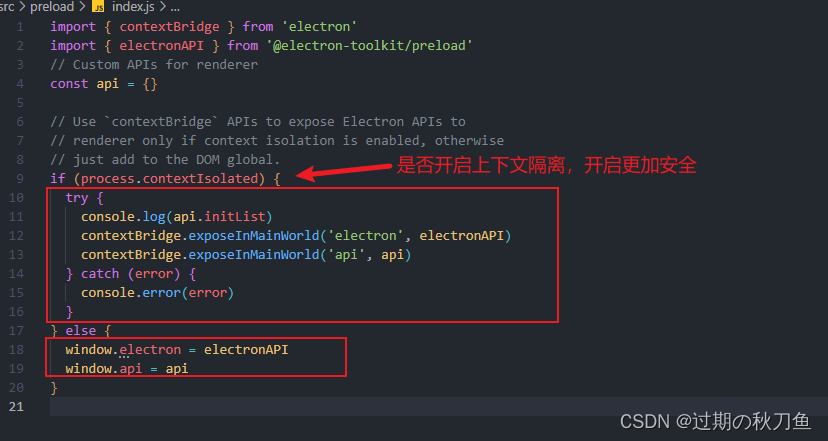
注意:window.electron这个api是在预渲染暴漏来的 大家记得检查(src/preload/index.js)
Home.vue页面
<template><div>主页11</div><!-- 显示接收到的数据 --><ul><li v-for="val in list" :key="val.id">{{ val.title }}</li></ul>
</template><script setup>
import { ref, onMounted } from 'vue'
let list = ref([])
// // 当组件挂载时发送数据请求
window.electron.ipcRenderer.send('get-data')// 监听来自主进程的数据
window.electron.ipcRenderer.on('dataList', (e, data) => {list.value = dataconsole.log(list.value);
})
</script><style></style>
最后运行项目

到这里就恭喜你添加axios请求成功。
5:根据文章量可能后期会加Pinia
原创不易,记得转发添加链接!!!