一、工程创建
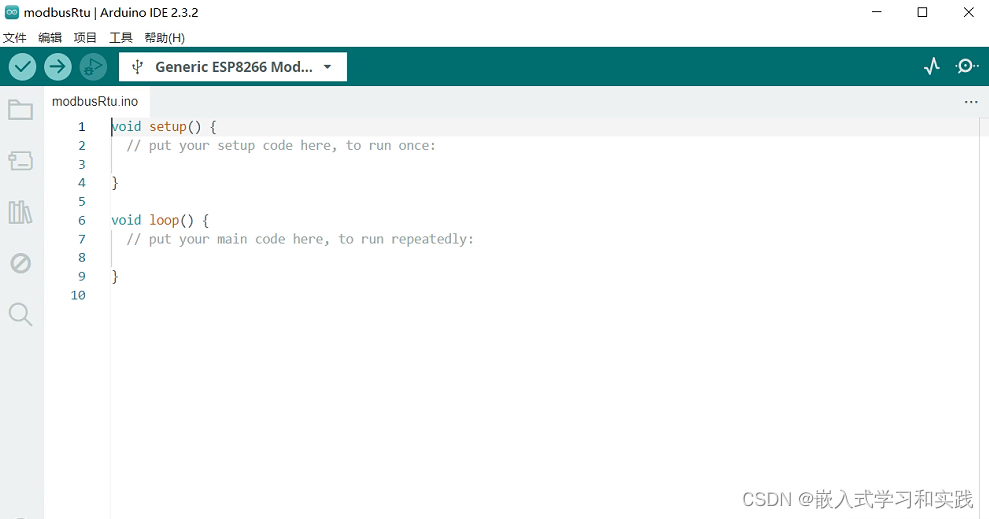
1.新建工程,工程另存为modbusRtu。
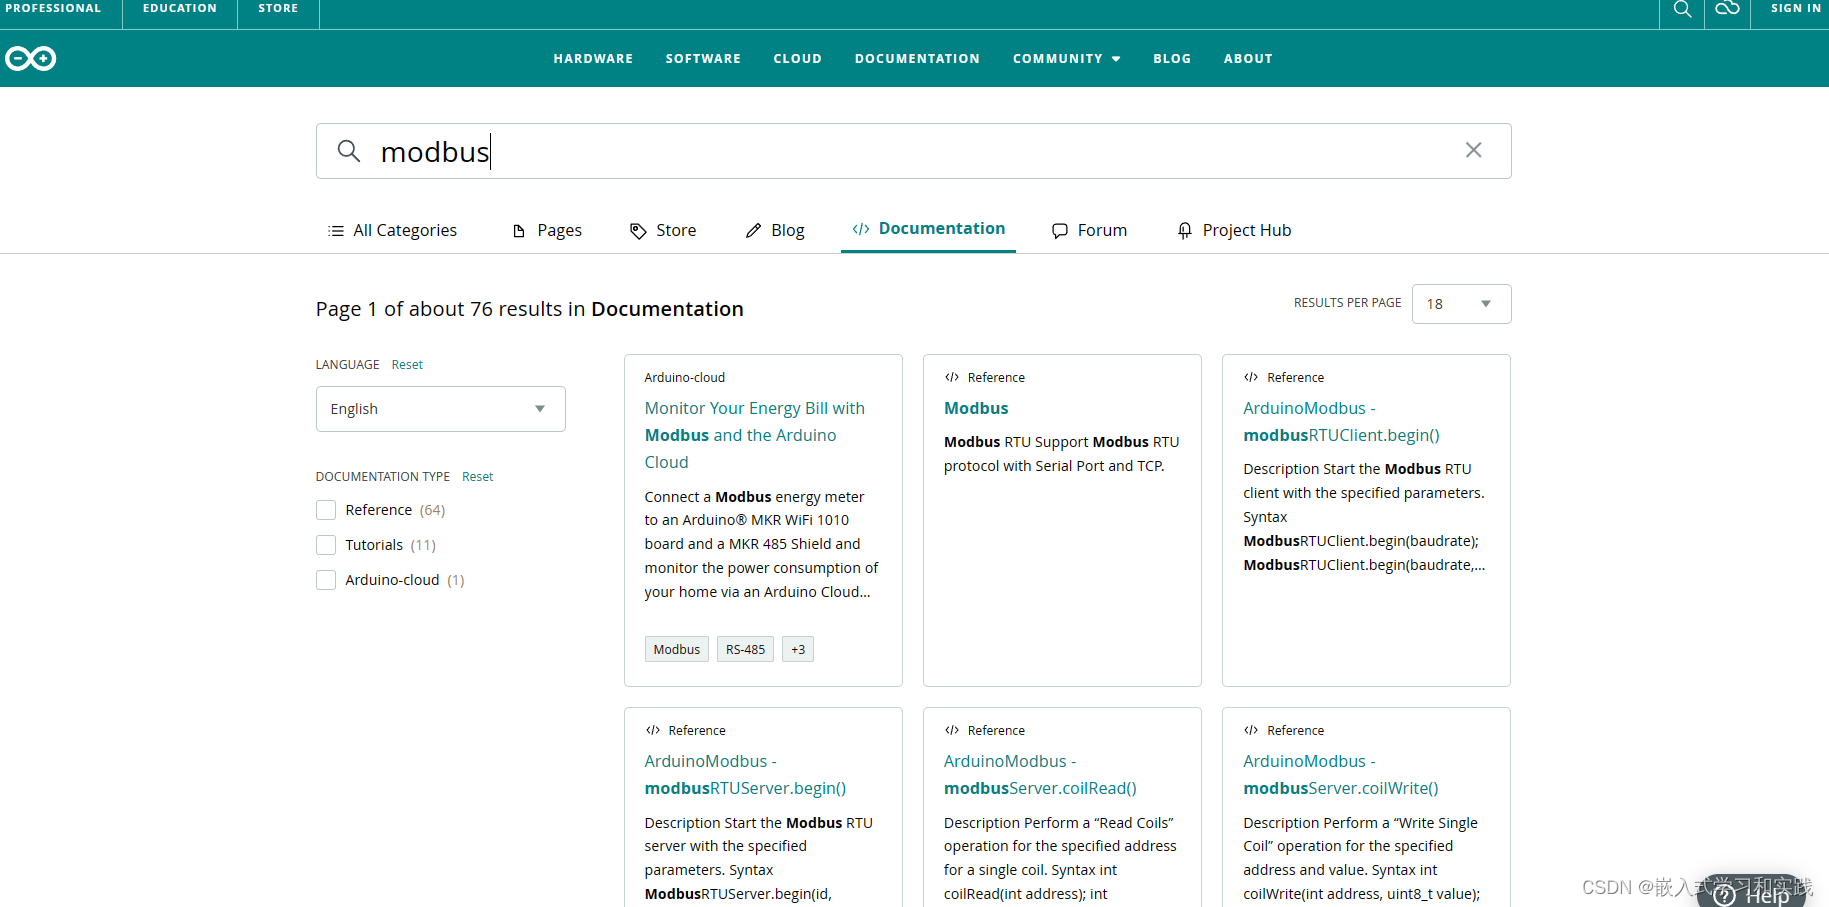
2.官网搜索modbus 相关库
https://www.arduino.cc/reference/en/libraries/
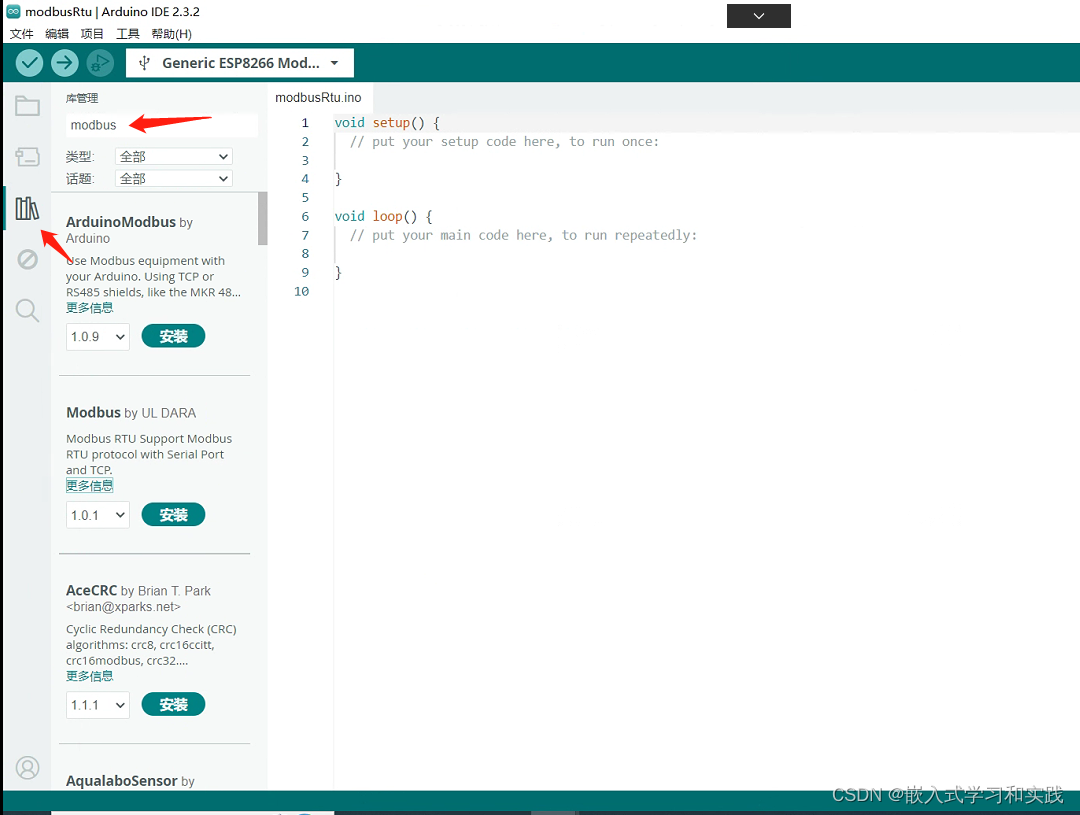
或者在Arduino IDE中库管理中搜索选择modbus库
安装完如下
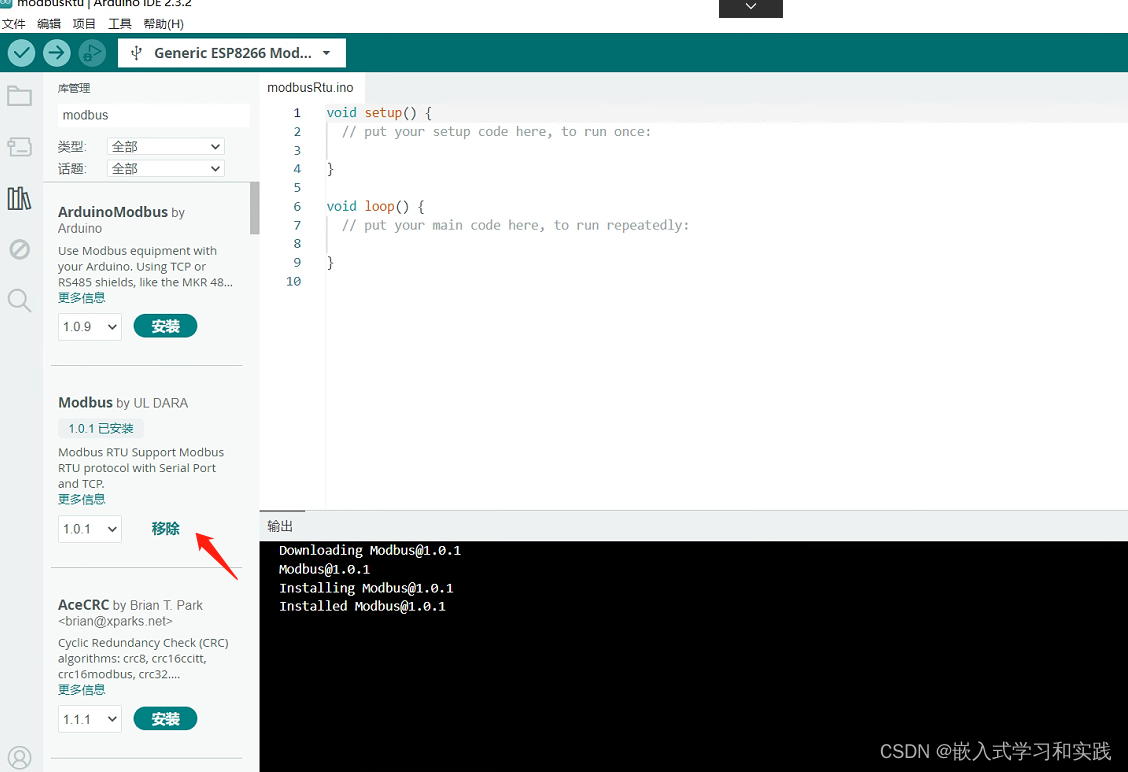
选择更多信息,会跳到库的代码示例,可查看如何使用该库。
这里使用的是 ModbusMaster库
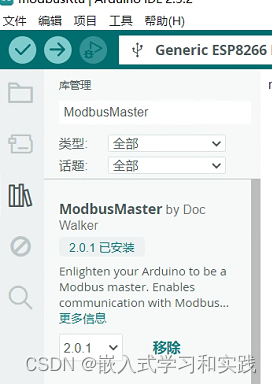
ModbusMaster 库文件的github网址如下:
https://github.com/4-20ma/ModbusMaster
该库支持RS232和RS485接口。
二、测试代码
官方提供的测试例程,代码如下:
/*Basic.pde - example using ModbusMaster libraryLibrary:: ModbusMasterAuthor:: Doc Walker <4-20ma@wvfans.net>Copyright:: 2009-2016 Doc WalkerLicensed under the Apache License, Version 2.0 (the "License");you may not use this file except in compliance with the License.You may obtain a copy of the License athttp://www.apache.org/licenses/LICENSE-2.0Unless required by applicable law or agreed to in writing, softwaredistributed under the License is distributed on an "AS IS" BASIS,WITHOUT WARRANTIES OR CONDITIONS OF ANY KIND, either express or implied.See the License for the specific language governing permissions andlimitations under the License.*/#include <ModbusMaster.h>// instantiate ModbusMaster object
ModbusMaster node;void setup()
{// use Serial (port 0); initialize Modbus communication baud rateSerial.begin(19200);// communicate with Modbus slave ID 2 over Serial (port 0)node.begin(2, Serial);
}void loop()
{static uint32_t i;uint8_t j, result;uint16_t data[6];i++;// set word 0 of TX buffer to least-significant word of counter (bits 15..0)node.setTransmitBuffer(0, lowWord(i));// set word 1 of TX buffer to most-significant word of counter (bits 31..16)node.setTransmitBuffer(1, highWord(i));// slave: write TX buffer to (2) 16-bit registers starting at register 0result = node.writeMultipleRegisters(0, 2);delay(1000);// slave: read (6) 16-bit registers starting at register 2 to RX bufferresult = node.readHoldingRegisters(2, 6);// do something with data if read is successfulif (result == node.ku8MBSuccess){for (j = 0; j < 6; j++){ data[j] = node.getResponseBuffer(j);}delay(5000);}
}
串口波特率为19200,其余默认配置:8位数据位,1位停止位,无校验位。
从站地址为2,功能码为0x03即Holding Register保持寄存器。
写地址为0,寄存器长度为2。
读地址为2,寄存器长度为6。
将代码下载到野火esp8266模块,开启测试软件进行配置。打开软件的通信log,可看到数据写和读。

三、库安装的方法
1.直接通过Arduino IDE进行安装

2.官网下载库,将库导入到Arduino IDE软件。
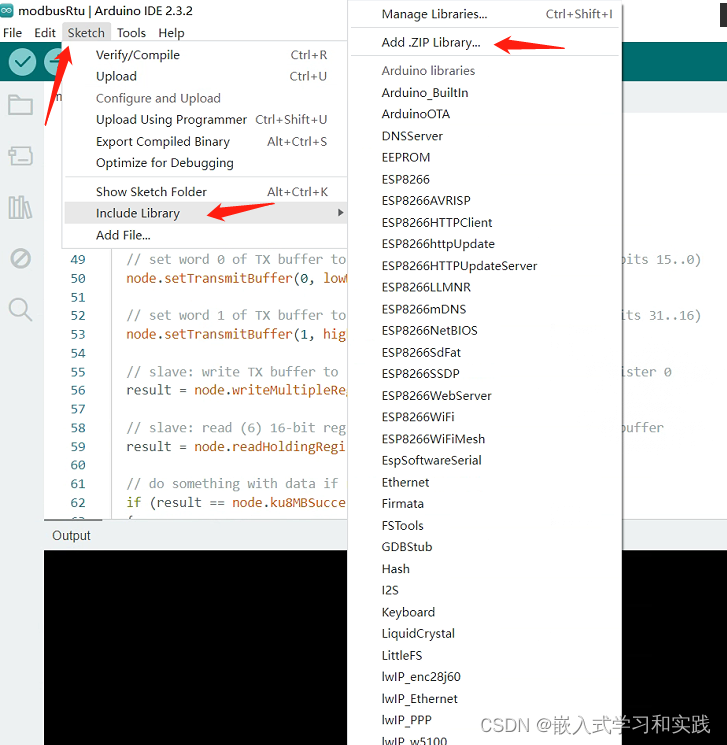
在 Arduino IDE 中,导航到
Sketch > Include Library > Add .ZIP Library。
系统将提示您选择要添加的库。导航到 .zip 文件的位置并将其打开。
注意:库通常以 ZIP 文件或文件夹的形式分发。文件夹的名称是库的名称。文件夹内将包含一个 .cpp 文件、一个 .h 文件,通常还有一个 keywords.txt 文件、examples 文件夹和库所需的其他文件。从版本 1.0.5 开始,可以在 IDE 中安装第三方库。不要解压缩下载的库,请保持原样。

参考:
库安装方法:
https://docs.arduino.cc/software/ide-v1/tutorials/installing-libraries/
库文件:
https://www.arduino.cc/reference/en/libraries/






![【洛谷 P8715】[蓝桥杯 2020 省 AB2] 子串分值 题解(组合数学+乘法原理)](https://img-blog.csdnimg.cn/direct/da89b1d9b1bf45a483eb64b7821fb333.jpeg)
