Vue3+ElementPlus+Pinia开发小兔鲜电商项目完整教程(附代码资料)主要内容讲述:认识Vue3,使用create-vue搭建Vue3项目1. Vue3组合式API体验,2. Vue3更多的优势,1. 认识create-vue,2. 使用create-vue创建项目,1. setup选项的写法和执行时机,2. setup中写代码的特点。什么是pinia,创建空Vue项目并安装Pinia1. 安装elementPlus和自动导入插件,2. 配置自动按需导入,3. 测试组件,1. 安装sass,2. 准备定制化的样式文件,3. 自动导入配置。静态结构搭建和分类实现,banner轮播图实现1. 整体结构创建,2. 分类实现,1. 熟悉组件,2. 获取数据渲染组件,1. 纯静态结构,2. 完整代码。静态结构搭建和路由配置,面包屑导航渲染1. 准备分类组件,2. 配置路由,3. 配置导航区域链接,1. 认识组件准备模版,2. 封装接口,3. 渲染面包屑导航。整体认识和路由配置,渲染基础数据1. 准备组件模版,2. 配置路由,3. 绑定模版测试跳转,1. 封装接口,2. 获取数据渲染模版,1. 渲染基础热榜数据。整体认识和路由配置,表单校验实现1. 准备模版,2. 配置路由跳转,1. 校验要求,2. 代码实现。本地购物车,接口购物车1. 添加购物车,2. 头部购物车,3. 列表购物车-基础内容渲染,4. 列表购物车-单选功能实现,5. 列表购物车-全选功能实现,6. 列表购物车-统计数据功能实现。路由配置和基础数据渲染,切换地址-打开弹框交互1. 准备组件模版,2. 配置路由,3. 封装接口,4. 渲染数据,1. 准备弹框模版,2. 控制弹框打开。

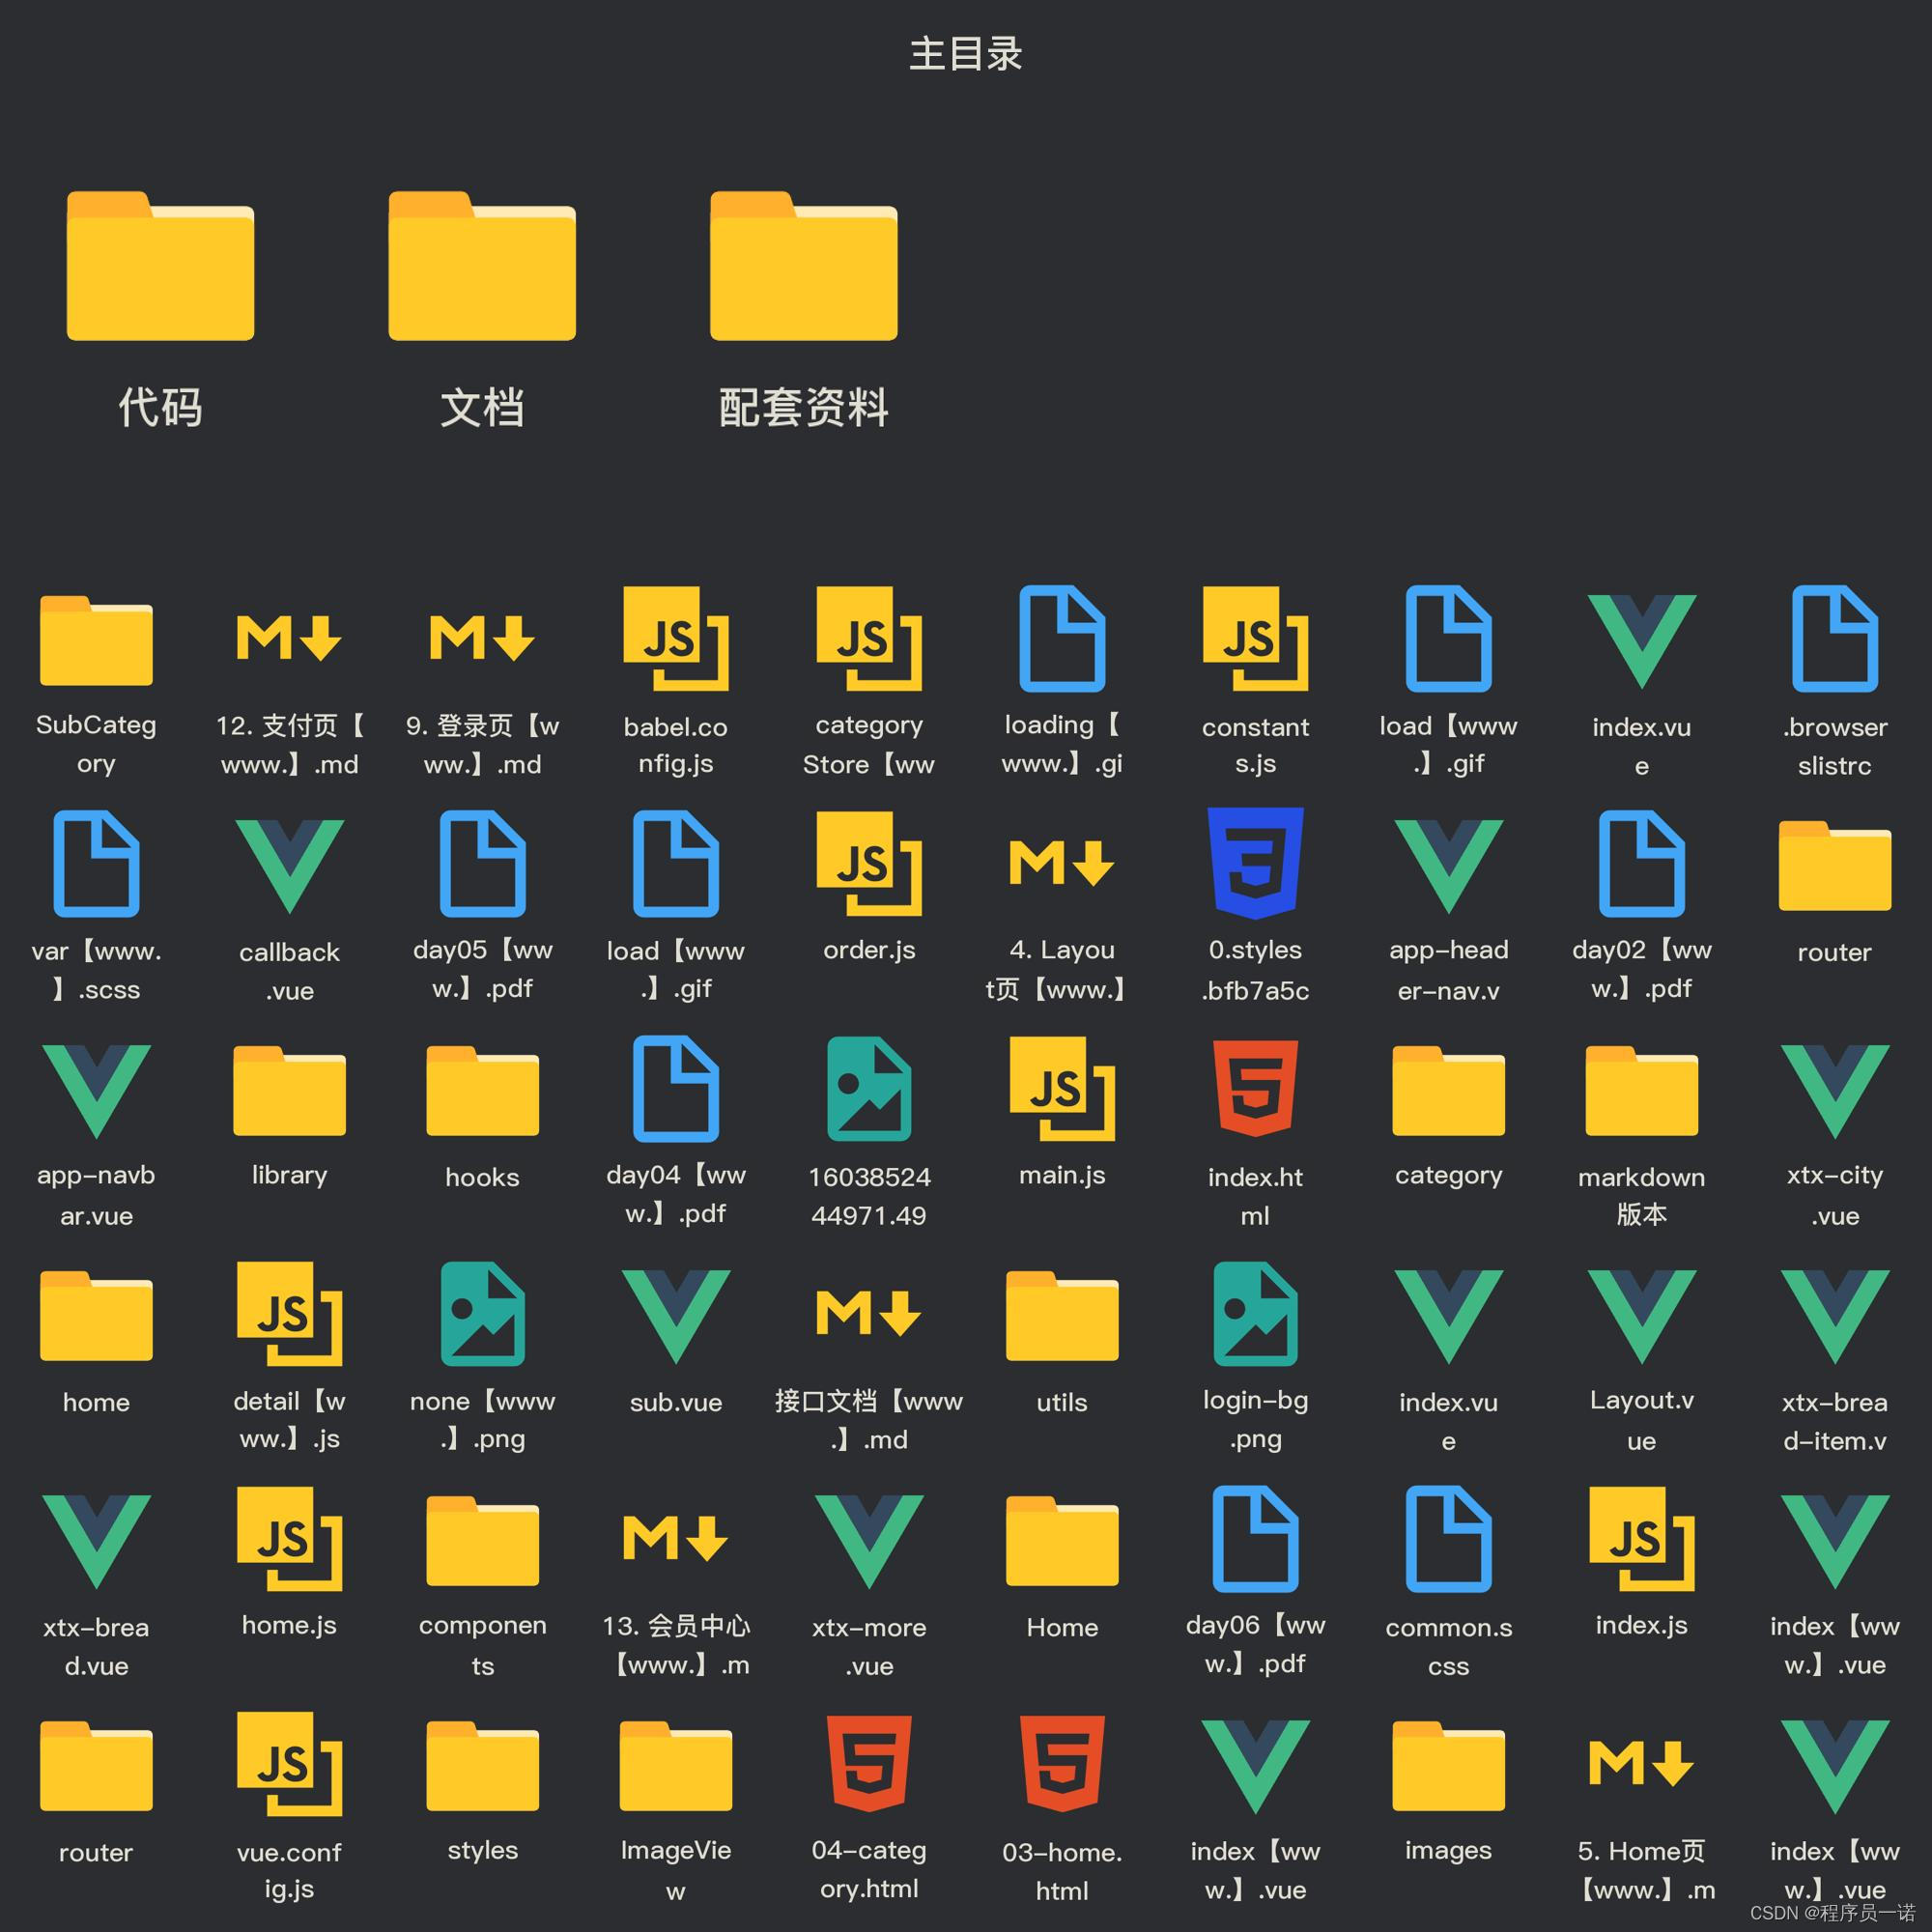
部分文件图片:
静态结构搭建和分类实现
1. 整体结构创建
;position: relative;z-index: 99;.menu {li {padding-left: 40px;height: 55px;line-height: 55px;&:hover {background: $xtxColor;}a {margin-right: 4px;color: #fff;&:first-child {font-size: 16px;}}.layer {width: 990px;height: 500px;background: rgba(255, 255, 255, 0.8);position: absolute;left: 250px;top: 0;display: none;padding: 0 15px;h4 {font-size: 20px;font-weight: normal;line-height: 80px;small {font-size: 16px;color: #666;}}ul {display: flex;flex-wrap: wrap;li {width: 310px;height: 120px;margin-right: 15px;margin-bottom: 15px;border: 1px solid #eee;border-radius: 4px;background: #fff;&:nth-child(3n) {margin-right: 0;}a {display: flex;width: 100%;height: 100%;align-items: center;padding: 10px;&:hover {background: #e3f9f4;}img {width: 95px;height: 95px;}.info {padding-left: 10px;line-height: 24px;overflow: hidden;.name {font-size: 16px;color: #666;}.desc {color: #999;}.price {font-size: 22px;color: $priceColor;i {font-size: 16px;}}}}}}}// 关键样式 hover状态下的layer盒子变成block&:hover {.layer {display: block;}}}}
}
</style>
2- 完成代码
<script setup>
import { useCategoryStore } from '@/stores/category'const categoryStore = useCategoryStore()</script><template><div class="home-category"><ul class="menu"><li v-for="item in categoryStore.categoryList" :key="item.id"><RouterLink to="/">{{ item.name }}</RouterLink><RouterLink v-for="i in item.children.slice(0, 2)" :key="i" to="/">{{ i.name }}</RouterLink><!-- 弹层layer位置 --><div class="layer"><h4>分类推荐 <small>根据您的购买或浏览记录推荐</small></h4><ul><li v-for="i in item.goods" :key="i.id"><RouterLink to="/"><img :src="i.picture" alt="" /><div class="info"><p class="name ellipsis-2">{{ i.name }}</p><p class="desc ellipsis">{{ i.desc }}</p><p class="price"><i>¥</i>{{ i.price }}</p></div></RouterLink></li></ul></div></li></ul></div>
</template>
banner轮播图实现
1. 熟悉组件
<script setup></script><template><div class="home-banner"><el-carousel height="500px"><el-carousel-item v-for="item in 4" :key="item"><img src=" alt=""></el-carousel-item></el-carousel></div>
</template><style scoped lang='scss'>
.home-banner {width: 1240px;height: 500px;position: absolute;left: 0;top: 0;z-index: 98;img {width: 100%;height: 500px;}
}
</style>
2. 获取数据渲染组件
1- 封装接口
/*** @description: 获取banner图* @param {*}* @return {*}*/
import  httpInstance  from '@/utils/http'
function getBannerAPI (){return request({url:'home/banner'})
}
2- 获取数据渲染模版
<script setup>
import { getBannerAPI } from '@/apis/home'
import { onMounted, ref } from 'vue'const bannerList = ref([])const getBanner = async () => {const res = await getBannerAPI()console.log(res)bannerList.value = res.result
}onMounted(() => getBanner())</script><template><div class="home-banner"><el-carousel height="500px"><el-carousel-item v-for="item in bannerList" :key="item.id"><img :src="item.imgUrl" alt=""></el-carousel-item></el-carousel></div>
</template>
面板组件封装
1. 纯静态结构
<script setup></script><template><div class="home-panel"><div class="container"><div class="head"><!-- 主标题和副标题 --><h3>新鲜好物<small>新鲜出炉 品质靠谱</small></h3></div><!-- 主体内容区域 --><div> 主体内容 </div></div></div>
</template><style scoped lang='scss'>
.home-panel {background-color: #fff;.head {padding: 40px 0;display: flex;align-items: flex-end;h3 {flex: 1;font-size: 32px;font-weight: normal;margin-left: 6px;height: 35px;line-height: 35px;small {font-size: 16px;color: #999;margin-left: 20px;}}}
}
</style>
2. 完整代码
<script setup>defineProps({title: {type: String,default: ''},subTitle: {type: String,default: ''}
})</script><template><div class="home-panel"><div class="container"><div class="head"><!-- 主标题和副标题 --><h3>{{ title }}<small>{{ subTitle }}</small></h3></div><!-- 主体内容区域 --><slot name="main" /></div></div>
</template><style scoped lang='scss'>
.home-panel {background-color: #fff;.head {padding: 40px 0;display: flex;align-items: flex-end;h3 {flex: 1;font-size: 32px;font-weight: normal;margin-left: 6px;height: 35px;line-height: 35px;small {font-size: 16px;color: #999;margin-left: 20px;}}}
}
</style>
新鲜好物实现
1. 准备模版
<script setup></script><template><div></div><!-- 下面是插槽主体内容模版<ul class="goods-list"><li v-for="item in newList" :key="item.id"><RouterLink to="/"><img :src="item.picture" alt="" /><p class="name">{{ item.name }}</p><p class="price">¥{{ item.price }}</p></RouterLink></li></ul>-->
</template><style scoped lang='scss'>
.goods-list {display: flex;justify-content: space-between;height: 406px;li {width: 306px;height: 406px;background: #f0f9f4;transition: all .5s;&:hover {transform: translate3d(0, -3px, 0);box-shadow: 0 3px 8px rgb(0 0 0 / 20%);}img {width: 306px;height: 306px;}p {font-size: 22px;padding-top: 12px;text-align: center;text-overflow: ellipsis;overflow: hidden;white-space: nowrap;}.price {color: $priceColor;}}
}
</style>
2. 封装接口
/*** @description: 获取新鲜好物* @param {*}* @return {*}*/
export const findNewAPI = () => {return httpInstance({url:'/home/new'})
}
3. 获取数据渲染模版
<script setup>
import HomePanel from './HomePanel.vue'
import { getNewAPI } from '@/apis/home'
import { ref } from 'vue'
const newList = ref([])
const getNewList = async () => {const res = await getNewAPI()newList.value = res.result
}getNewList()
</script><template><HomePanel title="新鲜好物" sub-title="新鲜出炉 品质靠谱"><template #main><ul class="goods-list"><li v-for="item in newList" :key="item.id"><RouterLink :to="`/detail/${item.id}`"><img :src="item.picture" alt="" /><p class="name">{{ item.name }}</p><p class="price">¥{{ item.price }}</p></RouterLink></li></ul></template></HomePanel>
</template>
人气推荐实现
1. 封装接口
/*** @description: 获取人气推荐* @param {*}* @return {*}*/
export const getHotAPI = () => {return  httpInstance('home/hot', 'get', {})
}
2. 获取数据渲染模版
<script setup>
import HomePanel from './HomePanel.vue'
import { getHotAPI } from '@/apis/home'
import { ref } from 'vue'
const hotList = ref([])
const getHotList = async () => {const res = await getHotAPI()hotList.value = res.result
}
getHotList()</script><template><HomePanel title="人气推荐" sub-title="人气爆款 不容错过"><ul class="goods-list"><li v-for="item in hotList" :key="item.id"><RouterLink to="/"><img v-img-lazy="item.picture" alt=""><p class="name">{{ item.title }}</p><p class="desc">{{ item.alt }}</p></RouterLink></li></ul></HomePanel>
</template><style scoped lang='scss'>
.goods-list {display: flex;justify-content: space-between;height: 426px;li {width: 306px;height: 406px;transition: all .5s;&:hover {transform: translate3d(0, -3px, 0);box-shadow: 0 3px 8px rgb(0 0 0 / 20%);}img {width: 306px;height: 306px;}p {font-size: 22px;padding-top: 12px;text-align: center;}.desc {color: #999;font-size: 18px;}}
}
</style>
懒加载指令实现
1. 封装全局指令
// 定义懒加载插件
import { useIntersectionObserver } from '@vueuse/core'export const lazyPlugin = {install (app) {// 懒加载指令逻辑app.directive('img-lazy', {mounted (el, binding) {// el: 指令绑定的那个元素 img// binding: binding.value  指令等于号后面绑定的表达式的值  图片urlconsole.log(el, binding.value)const { stop } = useIntersectionObserver(el,([{ isIntersecting }]) => {console.log(isIntersecting)if (isIntersecting) {// 进入视口区域el.src = binding.valuestop()}},)}})}
}
2. 注册全局指令
// 全局指令注册
import { directivePlugin } from '@/directives'
app.use(directivePlugin)
Product产品列表实现
1. 基础数据渲染
1- 准备静态模版
<script setup>
import HomePanel from './HomePanel.vue'</script><template><div class="home-product"><!-- <HomePanel :title="cate.name" v-for="cate in goodsProduct" :key="cate.id"><div class="box"><RouterLink class="cover" to="/"><img :src="cate.picture" /><strong class="label"><span>{{ cate.name }}馆</span><span>{{ cate.saleInfo }}</span></strong></RouterLink><ul class="goods-list"><li v-for="good in cate.goods" :key="good.id"><RouterLink to="/" class="goods-item"><img :src="good.picture" alt="" /><p class="name ellipsis">{{ good.name }}</p><p class="desc ellipsis">{{ good.desc }}</p><p class="price">¥{{ good.price }}</p></RouterLink></li></ul></div></HomePanel> --></div>
</template><style scoped lang='scss'>
.home-product {background: #fff;margin-top: 20px;.sub {margin-bottom: 2px;a {padding: 2px 12px;font-size: 16px;border-radius: 4px;&:hover {background: $xtxColor;color: #fff;}&:last-child {margin-right: 80px;}}}.box {display: flex;.cover {width: 240px;height: 610px;margin-right: 10px;position: relative;img {width: 100%;height: 100%;}.label {width: 188px;height: 66px;display: flex;font-size: 18px;color: #fff;line-height: 66px;font-weight: normal;position: absolute;left: 0;top: 50%;transform: translate3d(0, -50%, 0);span {text-align: center;&:first-child {width: 76px;background: rgba(0, 0, 0, 0.9);}&:last-child {flex: 1;background: rgba(0, 0, 0, 0.7);}}}}.goods-list {width: 990px;display: flex;flex-wrap: wrap;li {width: 240px;height: 300px;margin-right: 10px;margin-bottom: 10px;&:nth-last-child(-n + 4) {margin-bottom: 0;}&:nth-child(4n) {margin-right: 0;}}}.goods-item {display: block;width: 220px;padding: 20px 30px;text-align: center;transition: all .5s;&:hover {transform: translate3d(0, -3px, 0);box-shadow: 0 3px 8px rgb(0 0 0 / 20%);}img {width: 160px;height: 160px;}p {padding-top: 10px;}.name {font-size: 16px;}.desc {color: #999;height: 29px;}.price {color: $priceColor;font-size: 20px;}}}
}
</style>
2- 封装接口
/*** @description: 获取所有商品模块* @param {*}* @return {*}*/
export const getGoodsAPI = () => {return httpInstance({url: '/home/goods'})
}
3- 获取并渲染数据
<script setup>
import HomePanel from './HomePanel.vue'
import { getGoodsAPI } from '@/apis/home'
import { ref } from 'vue'
const goodsProduct = ref([])
const getGoods = async () => {const { result } = await getGoodsAPI()goodsProduct.value = result
}
onMounted( ()=> getGoods() )
</script><template><div class="home-product"><HomePanel :title="cate.name" v-for="cate in goodsProduct" :key="cate.id"><div class="box"><RouterLink class="cover" to="/"><img :src="cate.picture" /><strong class="label"><span>{{ cate.name }}馆</span><span>{{ cate.saleInfo }}</span></strong></RouterLink><ul class="goods-list"><li v-for="goods in cate.goods" :key="good.id"><RouterLink to="/" class="goods-item"><img :src="goods.picture" alt="" /><p class="name ellipsis">{{ goods.name }}</p><p class="desc ellipsis">{{ goods.desc }}</p><p class="price">¥{{ goods.price }}</p></RouterLink></li></ul></div></HomePanel></div>
</template>
2. 图片懒加载
<div class="home-product"><HomePanel :title="cate.name" v-for="cate in goodsProduct" :key="cate.id"><div class="box"><RouterLink class="cover" to="/"><!-- 指令替换 --><img v-img-lazy="cate.picture" /></RouterLink><ul class="goods-list"><li v-for="goods in cate.goods" :key="goods.id"><RouterLink to="/" class="goods-item"><!-- 指令替换 --><img v-img-lazy="goods.picture" alt="" /></RouterLink></li></ul></div></HomePanel>
</div>
GoodsItem组件封装
1. 封装组件
<script setup>
defineProps({goods: {type: Object,default: () => { }}
})
</script><template><RouterLink to="/" class="goods-item"><img :src="goods.picture" alt="" /><p class="name ellipsis">{{ goods.name }}</p><p class="desc ellipsis">{{ goods.desc }}</p><p class="price">¥{{ goods.price }}</p></RouterLink>
</template><style scoped lang="scss">
.goods-item {display: block;width: 220px;padding: 20px 30px;text-align: center;transition: all .5s;&:hover {transform: translate3d(0, -3px, 0);box-shadow: 0 3px 8px rgb(0 0 0 / 20%);}img {width: 160px;height: 160px;}p {padding-top: 10px;}.name {font-size: 16px;}.desc {color: #999;height: 29px;}.price {color: $priceColor;font-size: 20px;}
}
</style>
2. 使用组件
<ul class="goods-list"><li v-for="goods in cate.goods" :key="item.id"><GoodsItem :goods="goods" /></li>
</ul>
