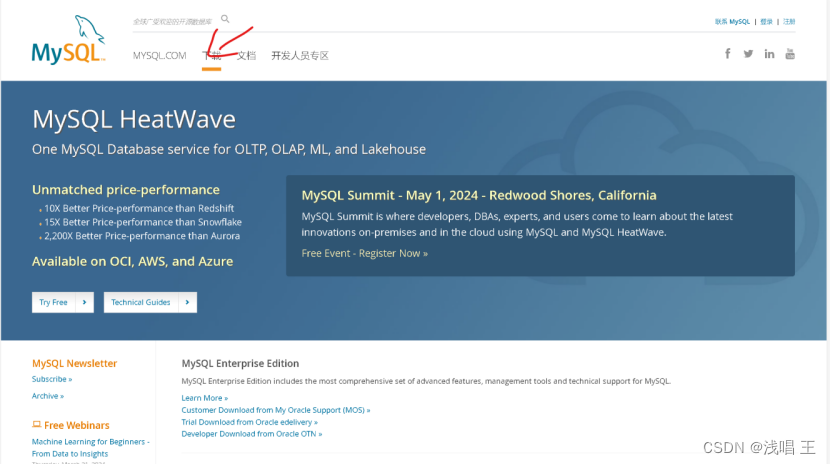
##官网下载mysql
我下载的是一个mysql-5.7.38-linux-glibc2.12-x86_64.tar.gz
可以通过xshell 或者xftp传送

xshell则是先下载一个lrzsz
执行以下的命令
yum install lrzsz -y
#安装好我下面有个一键安装的脚本
#!/bin/bash#解决软件的依赖关系
yum  install cmake ncurses-devel gcc  gcc-c++  vim  lsof bzip2 openssl-devel ncurses-compat-libs -y#解压mysql二进制安装包
tar  xf  mysql-5.7.38-linux-glibc2.12-x86_64.tar.gz#移动mysql解压后的文件到/usr/local下改名叫mysql
#/usr/local/mysql 是mysql的安装目录--》门店
mv mysql-5.7.38-linux-glibc2.12-x86_64 /usr/local/mysql#新建组和用户 mysql
groupadd mysql
#mysql这个用户的shell 是/bin/false 属于mysql组
useradd -r -g mysql -s /bin/false mysql#关闭firewalld防火墙服务,并且设置开机不要启动
service firewalld stop
systemctl  disable  firewalld#临时关闭selinux
setenforce 0
#永久关闭selinux
sed -i '/^SELINUX=/ s/enforcing/disabled/'  /etc/selinux/config#新建存放数据的目录--》仓库
mkdir  /data/mysql -p
#修改/data/mysql目录的权限归mysql用户和mysql组所有,这样mysql用户启动mysql进程可以对这个文件夹进行读写了
chown mysql:mysql /data/mysql/
#只是允许mysql这个用户和mysql组可以访问,其他人都不能访问
chmod 750 /data/mysql/#进入/usr/local/mysql/bin目录
cd /usr/local/mysql/bin/#初始化mysql
./mysqld  --initialize --user=mysql --basedir=/usr/local/mysql/  --datadir=/data/mysql  &>passwd.txt#让mysql支持ssl方式登录的设置
./mysql_ssl_rsa_setup --datadir=/data/mysql/#获得临时密码
tem_passwd=$(cat passwd.txt |grep "temporary"|awk '{print $NF}')#$NF表示最后一个字段# abc=$(命令)  优先执行命令,然后将结果赋值给abc # 修改PATH变量,加入mysql bin目录的路径
#临时修改PATH变量的值
export PATH=/usr/local/mysql/bin/:$PATH
#重新启动linux系统后也生效,永久修改
echo  'PATH=/usr/local/mysql/bin:$PATH' >>/root/.bashrc#复制support-files里的mysql.server文件到/etc/init.d/目录下叫mysqld
cp  ../support-files/mysql.server   /etc/init.d/mysqld#修改/etc/init.d/mysqld脚本文件里的datadir目录的值
sed  -i '70c  datadir=/data/mysql'  /etc/init.d/mysqld#生成/etc/my.cnf配置文件
cat  >/etc/my.cnf  <<EOF
[mysqld_safe][client]
socket=/data/mysql/mysql.sock[mysqld]
socket=/data/mysql/mysql.sock
port = 3306
open_files_limit = 8192
innodb_buffer_pool_size = 512M
character-set-server=utf8[mysql]
auto-rehash
prompt=\\u@\\d \\R:\\m  mysql>
EOF#修改内核的open file的数量
ulimit -n 1000000
#设置开机启动的时候也配置生效
echo "ulimit -n 1000000" >>/etc/rc.local
chmod +x /etc/rc.d/rc.local#启动mysqld进程
service mysqld start#将mysqld添加到linux系统里服务管理名单里
/sbin/chkconfig --add mysqld
#设置mysqld服务开机启动
/sbin/chkconfig mysqld on#初次修改密码需要使用--connect-expired-password 选项
#-e 后面接的表示是在mysql里需要执行命令  execute 执行
#set password='Sanchuang123#';  修改root用户的密码为Sanchuang123#
mysql -uroot -p$tem_passwd --connect-expired-password   -e  "set password='Sanchuang123#';"#检验上一步修改密码是否成功,如果有输出能看到mysql里的数据库,说明成功。
mysql -uroot -p'Sanchuang123#'  -e "show databases;"##最后成功进入
[root@wyl-mysql bin]# mysql -uroot -p'bLmd/Ak7d)#l'
mysql: [Warning] Using a password on the command line interface can be insecure.
Welcome to the MySQL monitor.  Commands end with ; or \g.
Your MySQL connection id is 2
Server version: 5.7.38Copyright (c) 2000, 2022, Oracle and/or its affiliates.Oracle is a registered trademark of Oracle Corporation and/or its
affiliates. Other names may be trademarks of their respective
owners.Type 'help;' or '\h' for help. Type '\c' to clear the current input statement.root@(none) 16:29  mysql>
##验证数据库是否能输出
root@(none) 16:35  mysql>show databases;
+--------------------+
| Database           |
+--------------------+
| information_schema |
| mysql              |
| performance_schema |
| sys                |
+--------------------+
4 rows in set (0.00 sec)