一、创建全局的自定义命令
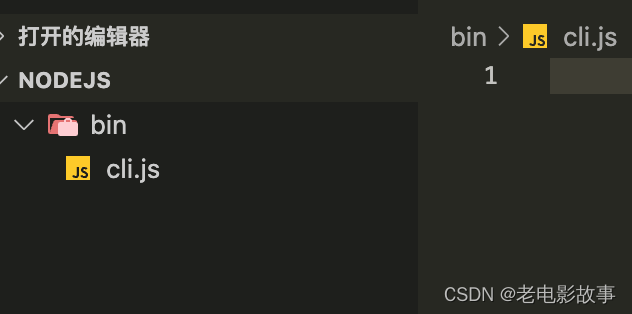
1、打开一个空文件夹,新建一个bin文件夹,在bin文件夹下新建cli.js文件,js文件可以命名为cli.js(您随意)
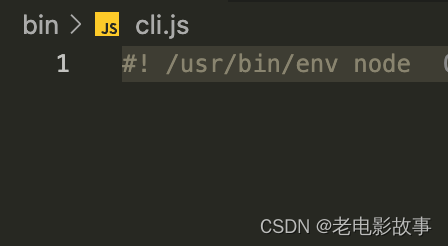
2、在cli.js文件中的开头(!!)写下面这一行代码
#! /usr/bin/env node // 意味着当前环境是调用了系统
/usr/bin/env就是让系统使用node来执行你的脚本文件
3、在终端进入根目录后执行
npm init
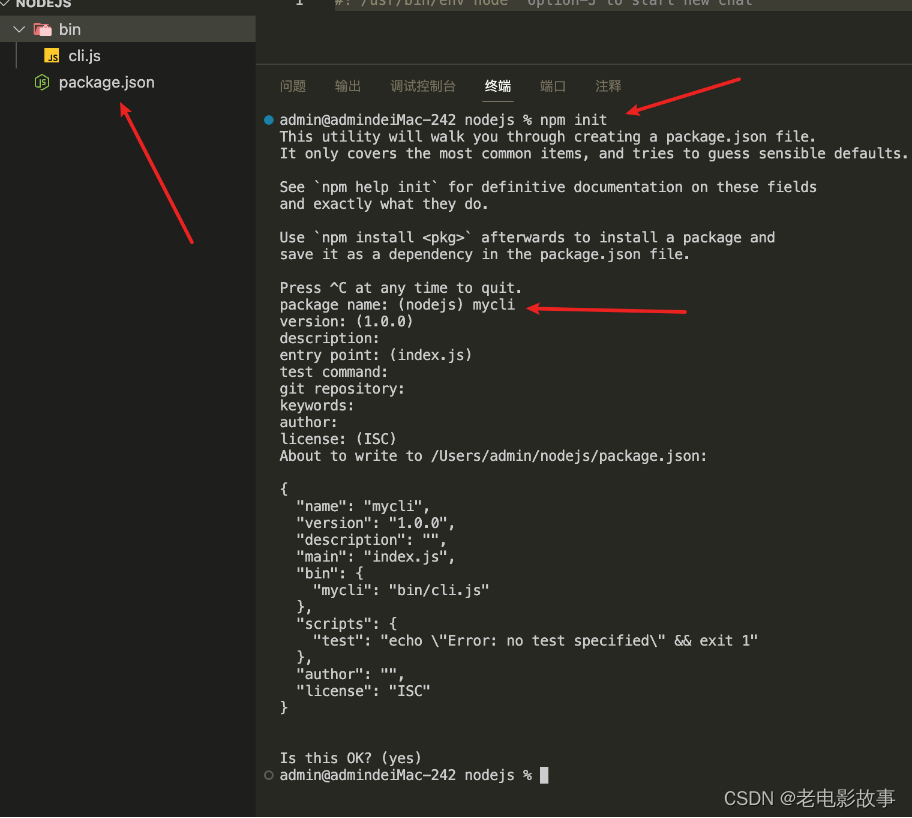
命令执行完成后,进入package.json文件中会有如下的代码
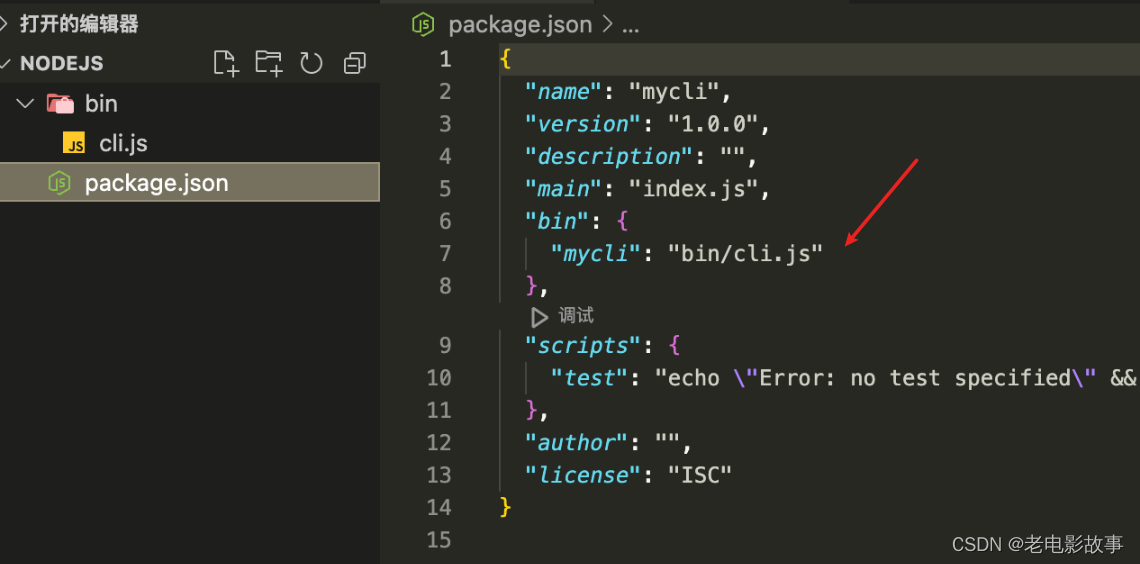
4、在终端的根目录下输入npm link命令

命令完成后,可以在cli.js文件中写如下
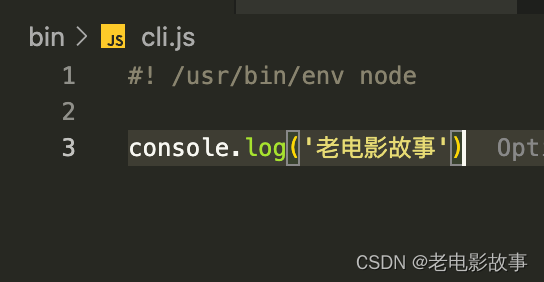
这里你输入的自定义全局命令是你在使用npm init时,project的name (我刚刚写的是 mycli)

也可以在电脑终端输入
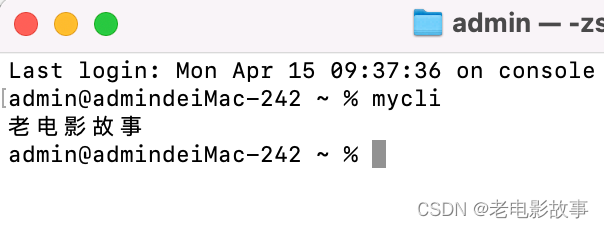
如果你能正确的输出内容,那么你的全局自定义命令就创建好了。
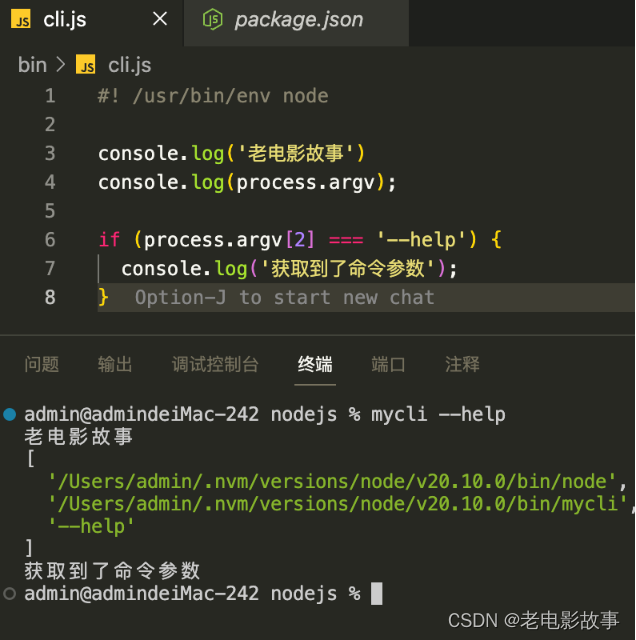
二、使用commander处理help选项
commander - npm
Commander 负责将参数解析为选项和命令参数,为问题显示使用错误,并实现一个有帮助的系统。
1、安装commander库
npm install commander
demo
const { program } = require('commander');//这个方法就是添加帮助项,<save>表示传递的参数,使用时应该这样使用 diy -s xxxx 或者 diy --save xxxx
program.option('-s --save <save>','save something');
program.option('--first').option('-s, --separator <char>');program.parse();const options = program.opts();
const limit = options.first ? 1 : undefined;
console.log(program.args[0].split(options.separator, limit));
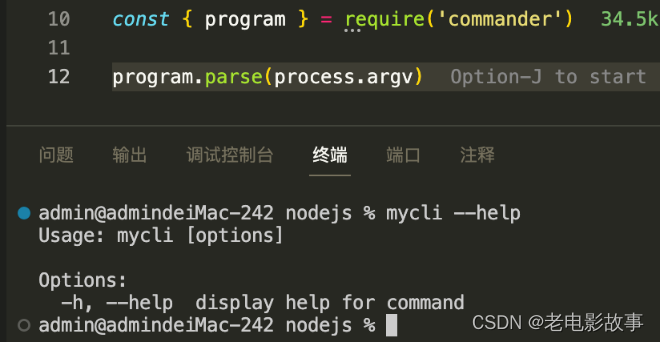
const { program } = require('commander')
program.option('-f --frawork <frawork>', '设置框架')program.parse(process.argv)

三、处理自定义指令选项
const { program } = require('commander')//这个方法就是添加帮助项,<save>表示传递的参数,使用时应该这样使用 diy -s xxxx 或者 diy --save xxxx
program.option('-f --frawork <frawork>', '设置框架')program
.command('create <project> [args...]') //command是创建一个命令比如:mycli create xxxx a b c d
.alias('crt') // //给你的create命令取别名为crt 使用时可以 mycli crt xxxx
.description('create a project')//对这个命令进行描述.action((project,args)=>{//运行这个你定义的命令是要做什么事情,在回调函数中处理你要做的逻辑//do somethingconsole.log(project);console.log(args);
})
四、逻辑代码模块化拆分
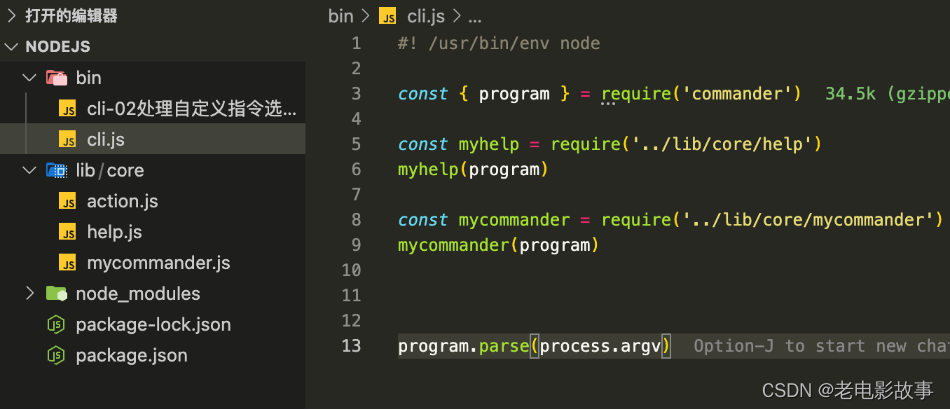
help.js
const myhelp = function (program) {program.option('-f --frawork <frawork>', '设置框架')
}module.exports = myhelp
mycommander.js
const myAction = require('./action')const mycommander = function (program) {program.command('create <project> [args...]') //command是创建一个命令比如:mycli create xxxx a b c d.alias('crt') // //给你的create命令取别名为crt 使用时可以 mycli crt xxxx.description('创建项目')//对这个命令进行描述.action(myAction)
}module.exports = mycommander
action.js
const myAction = (project,args)=>{//do somethingconsole.log(project);console.log(args);
}module.exports = myAction
五、命令行问答交互 inquirer
inquirer - npm
常见交互式命令行用户界面的包
npm install --save inquirer
demo
import inquirer from 'inquirer';inquirer.prompt([/* Pass your questions in here */]).then((answers) => {// Use user feedback for... whatever!!}).catch((error) => {if (error.isTtyError) {// Prompt couldn't be rendered in the current environment} else {// Something else went wrong}});
注意!!!!!
如果你安装了9.0.0及以上的版本,那么你在引入inquirier时不能使用require的引入方式
npm install --save inquirer@^8.0.0
8.0.0及以下的引入方式
const inquirer = require('inquirer');
const inquirer = require('inquirer')inquirer.prompt([{type: 'input',name: 'username',message: '请输入你的名字'}]).then((answers) => {console.log(answers)}).catch((error) => {if (error.isTtyError) {// Prompt couldn't be rendered in the current environment} else {// Something else went wrong}})

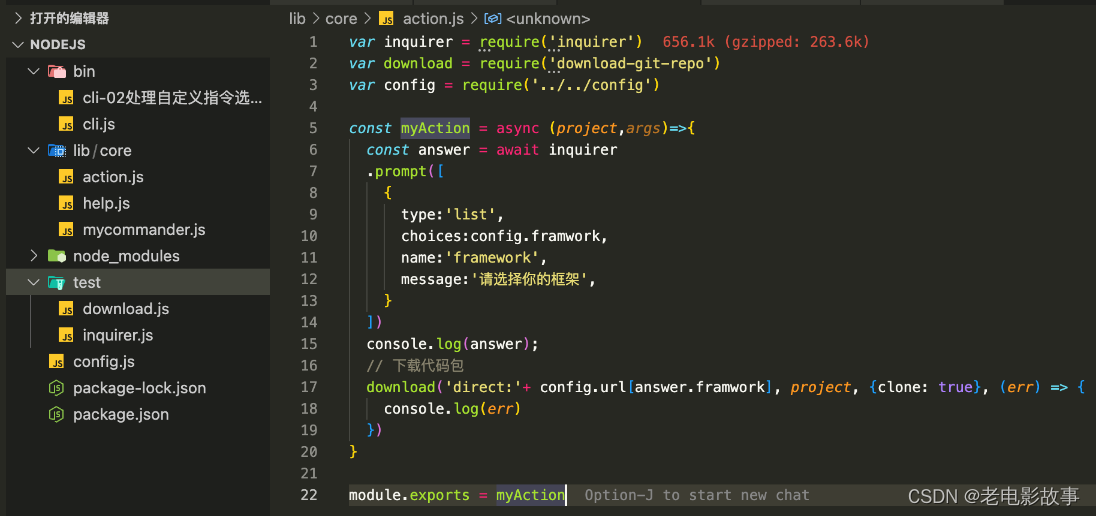
var inquirer = require('inquirer')const myAction = (project,args)=>{inquirer.prompt([{type:'list',choices:['express','koa', 'egg'],name:'framework',message:'请选择你的框架',}]).then((answers) => {console.log(answers)})
}module.exports = myAction

六、下载远程仓库代码
1、download-git-repo
download-git-repo
npm install download-git-repo
API
download(repository, destination, options, callback)
下载一个 git repository 到 destination 文件夹,配置参数 options, 和 callback回调.
repository
一、可以采用下面简写方式
-
GitHub - github:owner/name 或者 owner/name
-
GitLab - gitlab:owner/name
-
Bitbucket - bitbucket:owner/name
1、默认是 master 分枝, 但你可以指定分枝和tag ,如 owner/name#my-branch.
2、你还可以指定自定义来源,如 gitlab:custom.com:owner/name. 自定义来源默认为 https 或 git@ , 你也可以自己之定义协议.
二、Direct - direct:url方式
这种方式会跳过上面简写的方式,直接传递 url.
1、如果使用 direct,并且没有 clone配置项, 你必须传入完整的zip文件地址, 包括分枝(如果需要的话).
2、如果使用 direct 并带有 clone配置项, 你必须传入完整的 git repo url , 你可以通过 direct:url#my-branch指定分枝.
destination:下载仓库的文件路径
options(可选)配置对象:
- clone - boolean 默认 false - 如果设置成 true,会使用 git clone http 下载. 这种方式可能会比较慢, 他不支持私人的 repositories.
- 其他配置项 (proxy, headers, filter, 等.) 会传递下去,并覆盖默认值
http下载特有配置项: https://github.com/kevva/download#options
clone 特有配置项: https://github.com/jaz303/git-clone#clonerepo-targetpath-options-cb
callback:回调函数,会传入err
2、demo
const download = require('download-git-repo')download('direct:https://github.com/ZhangMin1998/vite_job_hunt_app.git', './xxx', {clone: true}, (err) => {console.log(err)
})
七、下载等待交互提示
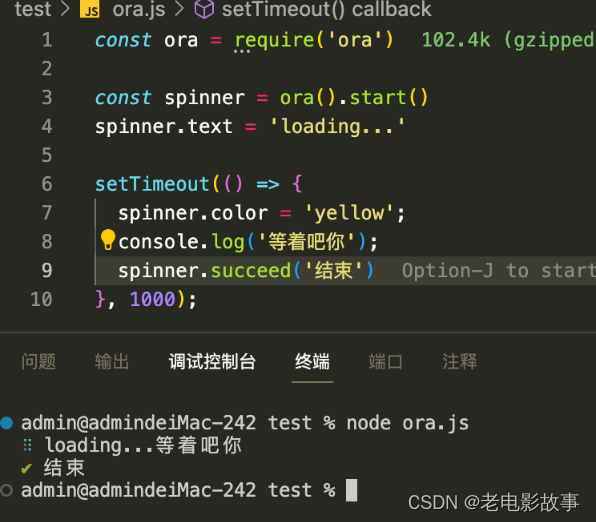
ora
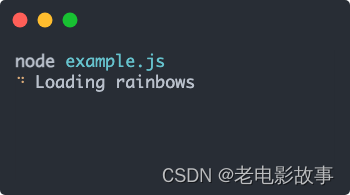
npm install ora@5
demo
import ora from 'ora';const spinner = ora('Loading unicorns').start();setTimeout(() => {spinner.color = 'yellow';spinner.text = 'Loading rainbows';
}, 1000);
const download = require('download-git-repo')
const ora = require('ora')const downloadFun = function (url, project) {const spinner = ora().start()spinner.text = '代码正在下载...'download('direct:https://github.com/ZhangMin1998/vite_job_hunt_app.git', project, {clone: true}, (err) => {console.log(err)if (!err) {spinner.succeed('下载结束')} else {spinner.fail(err)}})
}module.exports = downloadFun
八、命令样式输出
chalk
npm install chalk@4
import chalk from 'chalk';console.log(chalk.blue('Hello world!'));

静待更新!!!
静待更新!!!
静待更新!!!
