源码下载链接(先转存,后下载):https://pan.quark.cn/s/b0c6edd68c21
怎么用vue-cli搭建项目
我们固然可以用传统html+js的方式来搭建vue项目,但是如果组件很多,就需要通过Vue.component的方式一个个去引入,很麻烦。 我们可以用脚手架来创建vue-cli项目。
1)安装vue-cli脚手架
npm install -g @vue/cli
2)项目初始化
vue create hello-world

选择vue的版本,用Vue2

开始创建了
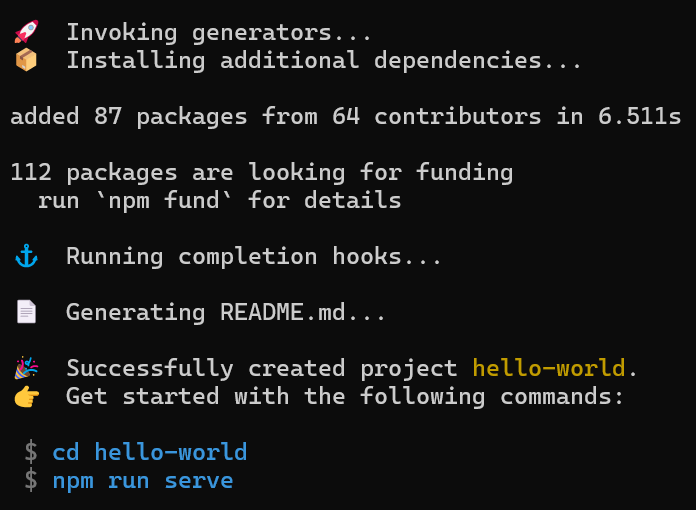
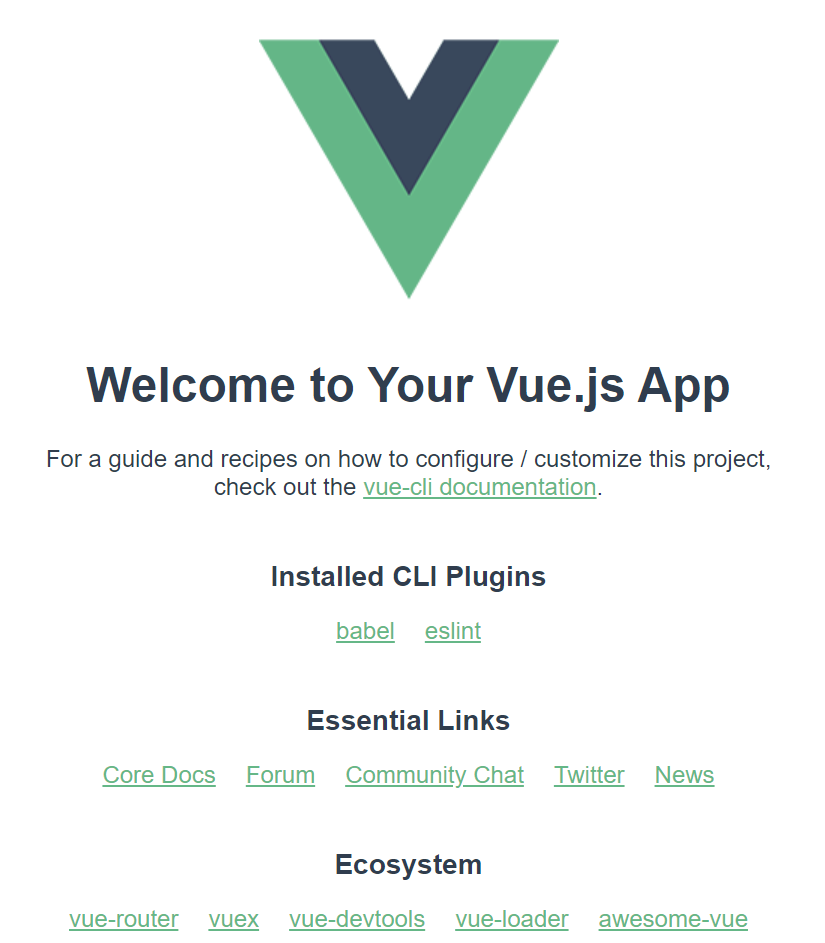
创建完毕了
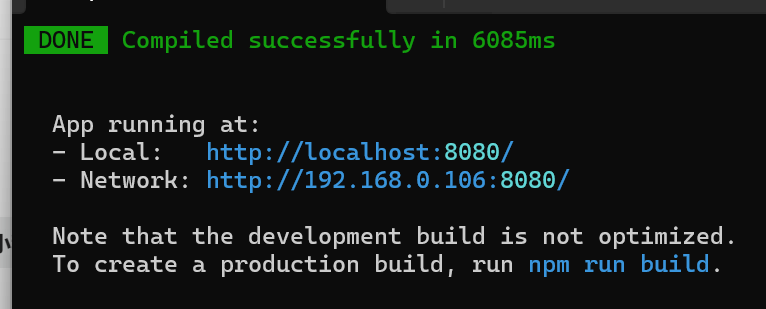
根据提示启动项目,监听在8080端口。
vue-router
为什么要用vue-router?以上个项目为例,主应用文件是App.vue
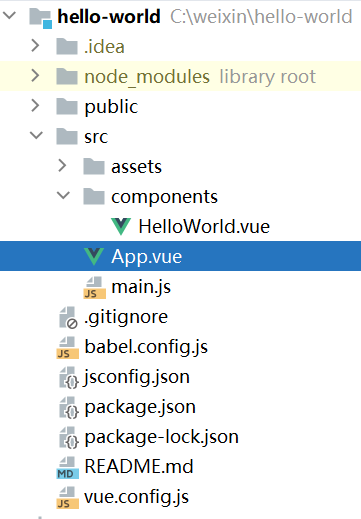
<template><div id="app"><img alt="Vue logo" src="./assets/logo.png"><HelloWorld msg="Welcome to Your Vue.js App"/></div>
</template><script>import HelloWorld from './components/HelloWorld.vue'export default {name: 'App',components: {HelloWorld}}
</script>
我们看到引入了一个HelloWorld组件,如果我们想看其他页面怎么办?因为是单页SPA应用,不好意思,目前你还真就没有办法。 对于一个vue.js应用,其实就只有一个App.vue组件能看到,如果你想看其他页面,就必须通过vue-router。 vue-router解决了路由和组件的对应关系问题,路由你可以理解为网页的url,不同的url对应的不同的路由,然后通过路由我们能找到不同的页面。
1)安装vue-router
npm i -S vue-router
-S 代表要加入到项目的依赖,因为我们在运行项目的时候就要用到vue-router,所以要加上。

这里有个坑,默认下载的vue-router是最新的,而我们是vue2.0的项目,版本不匹配。会报这个错误:
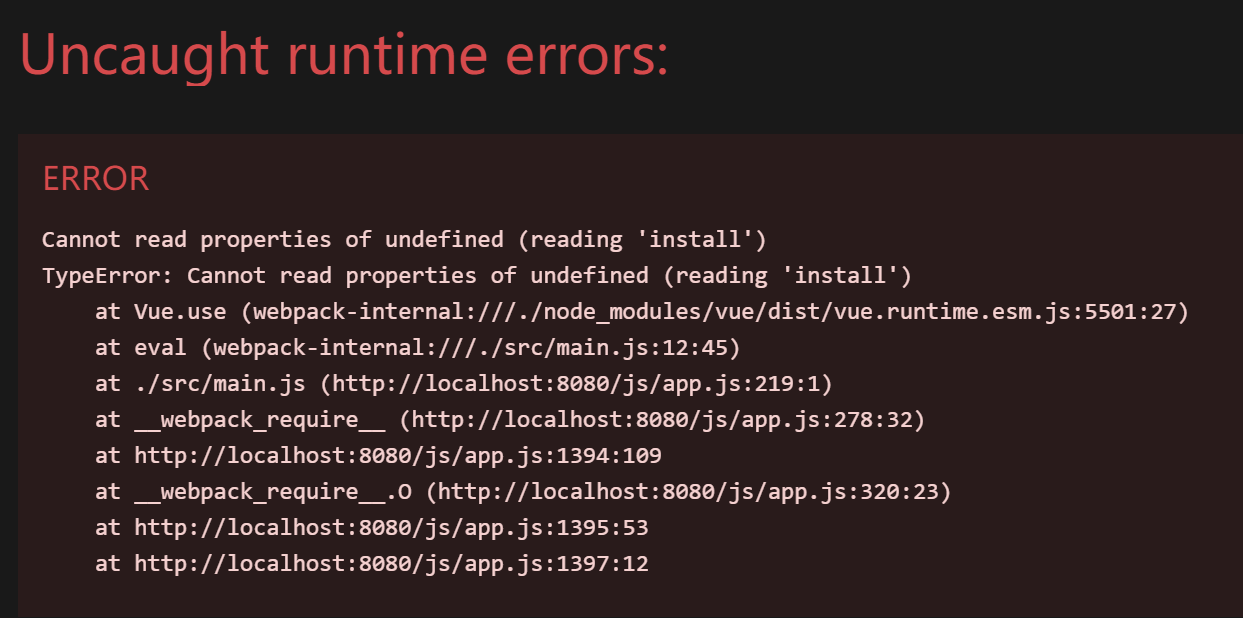
这个时候你首先应该卸载原有的vue-router版本,安装对应的版本,卸载命令如下:
npm uninstall vue-router
卸载完成之后,安装对应版本,安装你想安装的版本时在vue-router后面加@对应的版本号,安装命令如下:
npm install vue-router@3.5.2
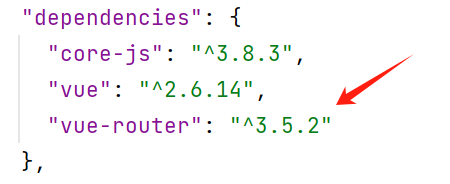
最后,重新安装后,要重启服务!
2)使用vue-router插件

image.png
3)初始化Route
import AComponent from './components/A'
import BComponent from "./components/B";//初始化路由(参数是数组)
const routes = [{path:'/a',component:AComponent},{path:'/b',component:BComponent}
];
const router = new Route({routes,mode:'hash' //默认hash模式,会有#
});new Vue({render: h => h(App),router, // 路由要作为参数传入根 Vue实例
}).$mount('#app')
引入组件的时候,可以用@代替/src目录,这属于别名。 所以我们也可以写成这样:
import AComponent from '@/components/A'
import BComponent from "@/components/B";
当我们用代码提示引入AB组件的时候,默认就是这种。
A组件:
<template><h1>A</h1>
</template><script>
export default {name: "AComponent"
}
</script>
B组件:
<template><h1>B</h1>
</template><script>
export default {name: "BComponent"
}
</script>
最后,在App.vue上添加
<template><div id="app"><img alt="Vue logo" src="./assets/logo.png"><router-view /></div>
</template>
我们在浏览器输入http://localhost:8080/#/a 就可以访问A组件,B组件同理。

但是很显然,我们只有手动改变url去访问不同的页面,这是不合适的,改用router-link
<template><div id="app"><img alt="Vue logo" src="./assets/logo.png"><ul><li style="list-style: none"><router-link to="/a">A页面</router-link></li><li style="list-style: none"><router-link to="/b">B页面</router-link></li></ul><router-view /></div>
</template>
这个用法就类似于a标签

router嵌套和重定向
嵌套就是一个路由加一个children属性,里面又有其他路由,然后夫路由的页面也要加上,否则就是给静态的,看不到子路由。注意,子路由的path不要加 / ,否则还是全路径的,嵌套了个寂寞啊。
const routes = [{path:'/a',component:AComponent,children: [{path:'aa',component:AA}]},{path:'/b',component:BComponent}
];
a页面,加动态路由
<template><div><h1>A</h1><router-view /></div></template>
地址栏访问:http://localhost:8080/#/a/aa

成功,再来说说重定向,a在实际开发中,很可能是左侧菜单栏,所以我们应该要再配置一个默认的首页,当你打开A页面,A页面里面的动态路由应该显示默认的首页,而不是空白一片。
const routes = [{path:'/a',component:AComponent,redirect:'/a/aa', //这里要写全路径children: [{path:'aa',component:AA}]},{path:'/b',component:BComponent}
];
路由参数
有时候,我们希望采用restful的路由风格,跳转路由的时候携带参数,可以这样做。
const routes = [{path:'/a',component:AComponent,redirect:'/a/aa', //这里要写全路径children: [{path:'aa',component:AA},{path:':id',component:AA}, //这样携带参数,相当于/a/:id]},{path:'/b',component:BComponent}
];
然后在AA组件中这样去接收
<template><h1>AA<div>{{$route.params.id}}</div></h1>
</template>
当我们访问http://localhost:8080/#/a/111
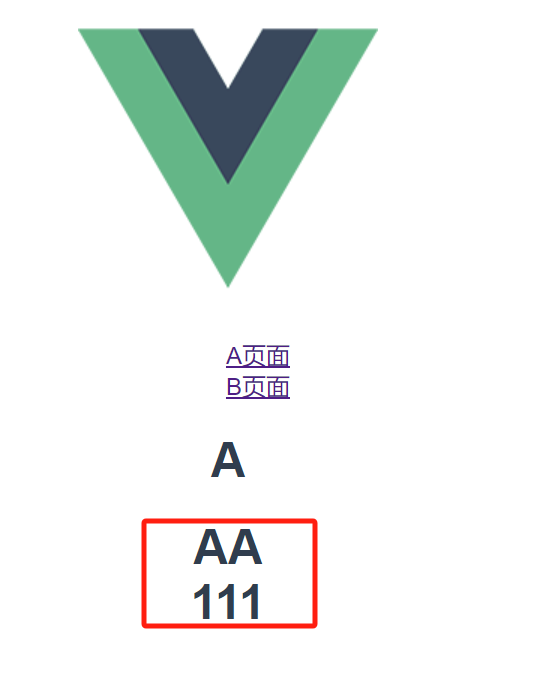
这样就拿到参数了,注意这种参数路由的优先级比普通路由低,也就是如果你输入/a/aa,会优先匹配普通路由,而不是这个。
编程式路由
其实更多的时候,我们希望手动用js跳转路由,并携带参数,就要用到编程式路由了。 在B组件,我们做页面跳转。
<template><h1>B<button @click="gotoA">跳转到A页面</button></h1>
</template><script>
export default {name: "BComponent",methods: {gotoA(){this.$router.push({path:'/a/aa',query:{name:'keke'}});}}
}
</script>
然后AA组件这样去接收参数
<div>{{$route.query.name}}</div>
最终效果:


以上所有的路由跳转,都会在history进行缓存,即可以通过浏览器的回退按钮,退回到上一步。

如果你不想回退,就不要用push,改成replace。 如果你想用js回退,就用 this.$router.go(-1)。
