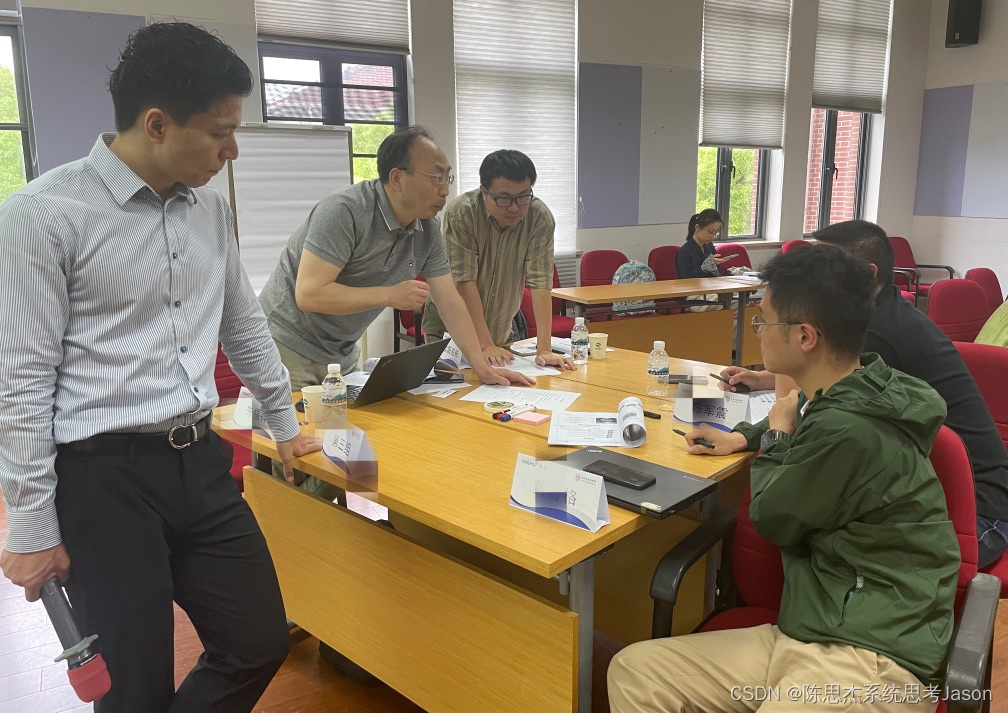
1、DETR架构
DETR(Detection Transformer)是一种新型的目标检测模型,由Facebook AI Research (FAIR) 在2020年提出。DETR的核心思想是将目标检测任务视为一个直接的集合预测问题,而不是传统的两步或多步预测问题。这种方法的创新之处在于它直接预测目标的类别和边界框,而不是先生成大量的候选区域,然后再对这些区域进行分类和边界框回归。
DERT的特点主要有二:
一是Transformer结构在CV网络中的应用;
二是提出了一种新的或者说不同的损失函数(Loss Function)。
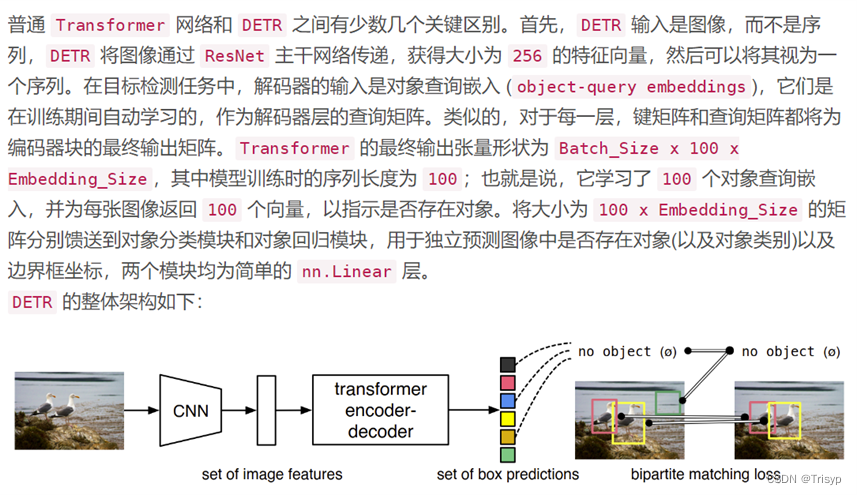

2、模型下载
模型代码下载地址:
GitHub - facebookresearch/detr: End-to-End Object Detection with Transformers
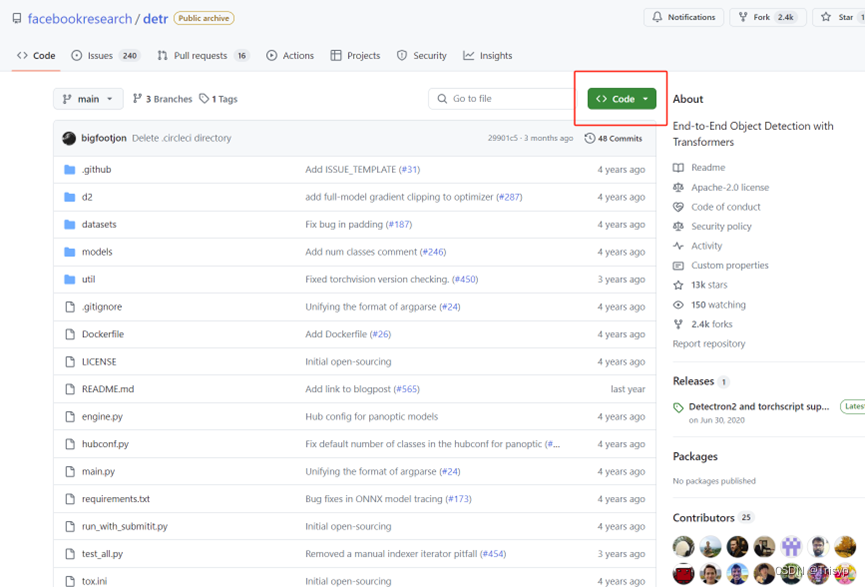
预训练模型(即权重文件)下载地址:
GitHub - facebookresearch/detr: End-to-End Object Detection with Transformers
下载后放到项目下待使用:

3、labelme标注文件转为coco模式
首先,labelme标注的文件存放在指定位置,包含json和jpg文件
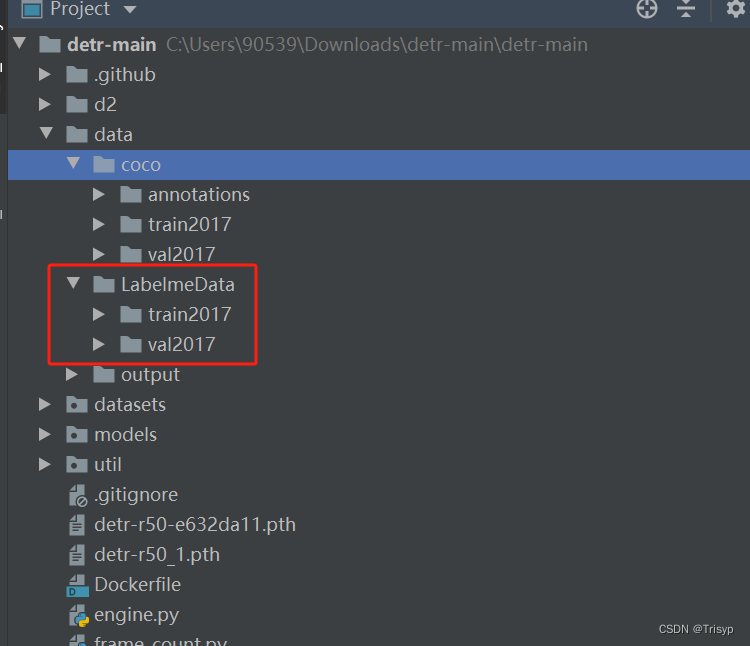
然后,利用代码将labelme的标注文件转化为coco。包含annotations(两个json文件)、train2017(训练集图片)、val2017(验证集图片)
备注:必须严格按照笔者图中的文件命名方式进行命名,训练集清一色命名为instances_train2017.json,验证集清一色命名为instances_val2017.json,这是模型本身的命名要求,用户需要严格遵守。

实现代码如下:
import json
from labelme import utils
import numpy as np
import glob
import PIL.Imageclass MyEncoder(json.JSONEncoder):def default(self, obj):if isinstance(obj, np.integer):return int(obj)elif isinstance(obj, np.floating):return float(obj)elif isinstance(obj, np.ndarray):return obj.tolist()else:return super(MyEncoder, self).default(obj)class labelme2coco(object):def __init__(self, labelme_json=[], save_json_path='./tran.json'):self.labelme_json = labelme_jsonself.save_json_path = save_json_pathself.images = []self.categories = []self.annotations = []# self.data_coco = {}self.label = []self.annID = 1self.height = 0self.width = 0self.save_json()def data_transfer(self):for num, json_file in enumerate(self.labelme_json):with open(json_file, 'r') as fp:data = json.load(fp)  # 加载json文件self.images.append(self.image(data, num))for shapes in data['shapes']:label = shapes['label']if label not in self.label:self.categories.append(self.categorie(label))self.label.append(label)points = shapes['points']  # 这里的point是用rectangle标注得到的,只有两个点,需要转成四个点points.append([points[0][0], points[1][1]])points.append([points[1][0], points[0][1]])self.annotations.append(self.annotation(points, label, num))self.annID += 1def image(self, data, num):image = {}img = utils.img_b64_to_arr(data['imageData'])  # 解析原图片数据height, width = img.shape[:2]image['height'] = heightimage['width'] = widthimage['id'] = num + 1image['file_name'] = data['imagePath'].split('/')[-1]self.height = heightself.width = widthreturn imagedef categorie(self, label):categorie = {}categorie['supercategory'] = 'Cancer'categorie['id'] = len(self.label) + 1  # 0 默认为背景categorie['name'] = labelreturn categoriedef annotation(self, points, label, num):annotation = {}annotation['segmentation'] = [list(np.asarray(points).flatten())]annotation['iscrowd'] = 0annotation['image_id'] = num + 1annotation['bbox'] = list(map(float, self.getbbox(points)))annotation['area'] = annotation['bbox'][2] * annotation['bbox'][3]annotation['category_id'] = self.getcatid(label)  # 注意,源代码默认为1annotation['id'] = self.annIDreturn annotationdef getcatid(self, label):for categorie in self.categories:if label == categorie['name']:return categorie['id']return 1def getbbox(self, points):polygons = pointsmask = self.polygons_to_mask([self.height, self.width], polygons)return self.mask2box(mask)def mask2box(self, mask):"""从mask反算出其边框mask:[h,w]  0、1组成的图片1对应对象,只需计算1对应的行列号(左上角行列号,右下角行列号,就可以算出其边框)"""# np.where(mask==1)index = np.argwhere(mask == 1)rows = index[:, 0]clos = index[:, 1]# 解析左上角行列号left_top_r = np.min(rows)  # yleft_top_c = np.min(clos)  # x# 解析右下角行列号right_bottom_r = np.max(rows)right_bottom_c = np.max(clos)return [left_top_c, left_top_r, right_bottom_c - left_top_c,right_bottom_r - left_top_r]  # [x1,y1,w,h] 对应COCO的bbox格式def polygons_to_mask(self, img_shape, polygons):mask = np.zeros(img_shape, dtype=np.uint8)mask = PIL.Image.fromarray(mask)xy = list(map(tuple, polygons))PIL.ImageDraw.Draw(mask).polygon(xy=xy, outline=1, fill=1)mask = np.array(mask, dtype=bool)return maskdef data2coco(self):data_coco = {}data_coco['images'] = self.imagesdata_coco['categories'] = self.categoriesdata_coco['annotations'] = self.annotationsreturn data_cocodef save_json(self):self.data_transfer()self.data_coco = self.data2coco()# 保存json文件json.dump(self.data_coco, open(self.save_json_path, 'w'), indent=4, cls=MyEncoder)  # indent=4 更加美观显示if __name__ == '__main__':labelme_json = glob.glob('data/LabelmeData_frame_count/val2017/*.json')  # labelme标注好的.json文件存放目录labelme2coco(labelme_json, 'data/coco_frame_count/annotations/instances_val2017.json')  # 输出结果的存放目录
4、修改训练模型参数
先在pycharm中新建python脚本文件detr_r50_tf.py,代码如下:
import torchpretrained_weights = torch.load('detr-r50-e632da11.pth')num_class = 1  # 类别数
pretrained_weights["model"]["class_embed.weight"].resize_(num_class + 1, 256)
pretrained_weights["model"]["class_embed.bias"].resize_(num_class + 1)
torch.save(pretrained_weights, "detr-r50_%d.pth" % num_class)
将其中类别数改成自己数据集的类别数即可,执行完成后会在目录下生成适合自己数据集类别的预训练模型:
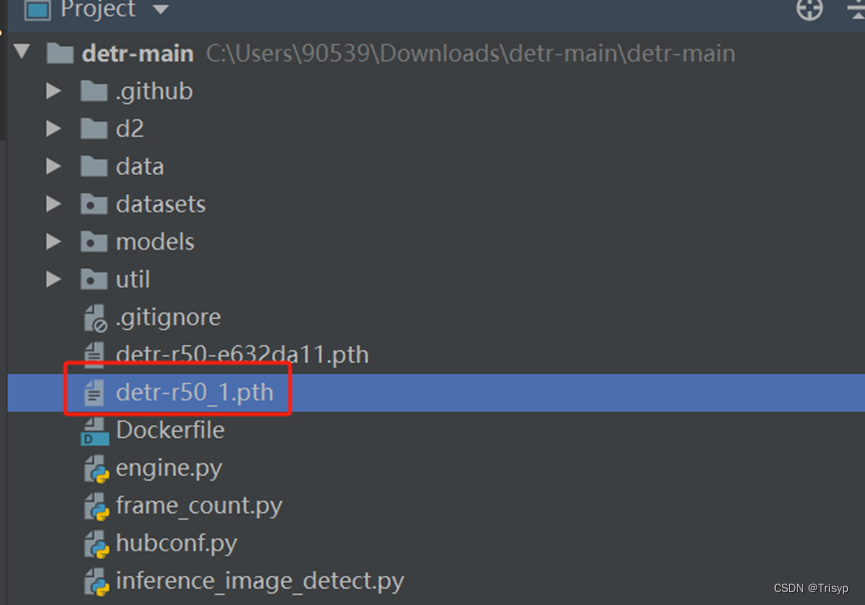
然后在models文件夹下打开detr.py,修改其中的类别数(一定要全部保持一致):

最后打开main.py,修改其中的coco_path(数据存放路径)、output_dir(结果输出路径)、device(没有cuda就改为cpu)、resume(自己生成的预训练模型)。

5、执行main.py来开始训练模型
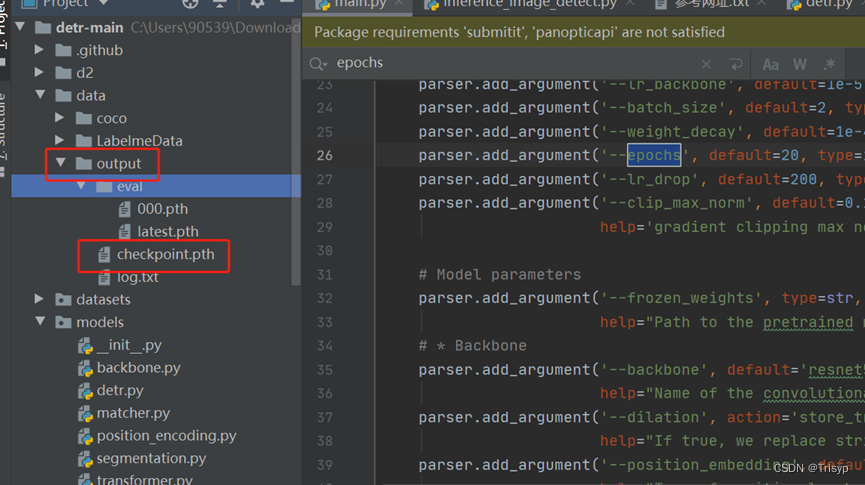
如果不想跑太多了轮可以修改epochs数:

训练好的模型会保存在结果输出路径中:
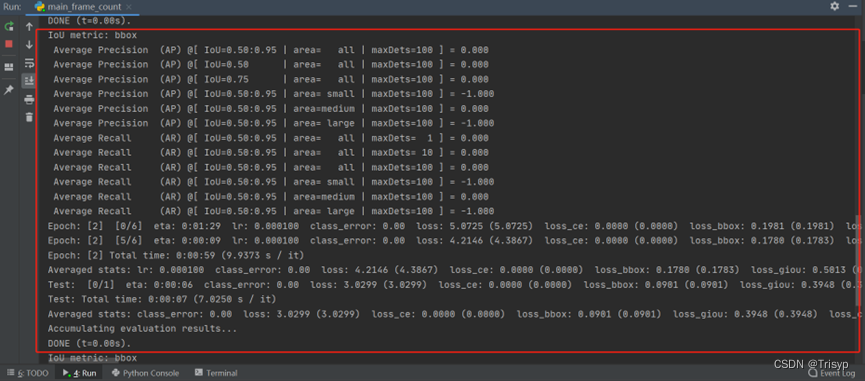
跑起来的效果是这样的:
