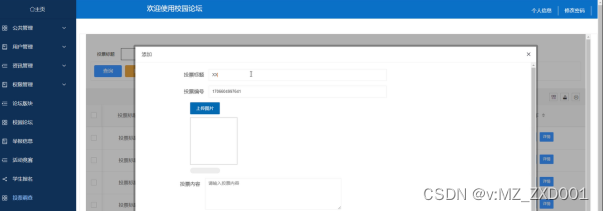
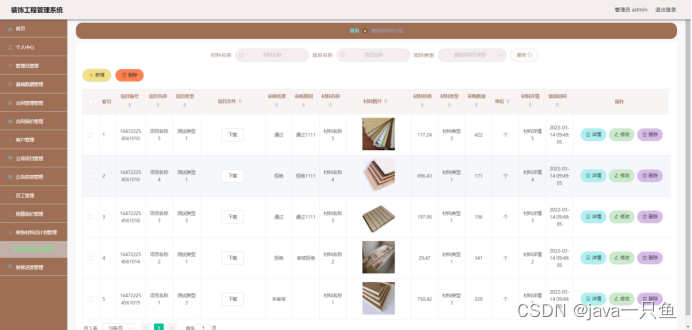
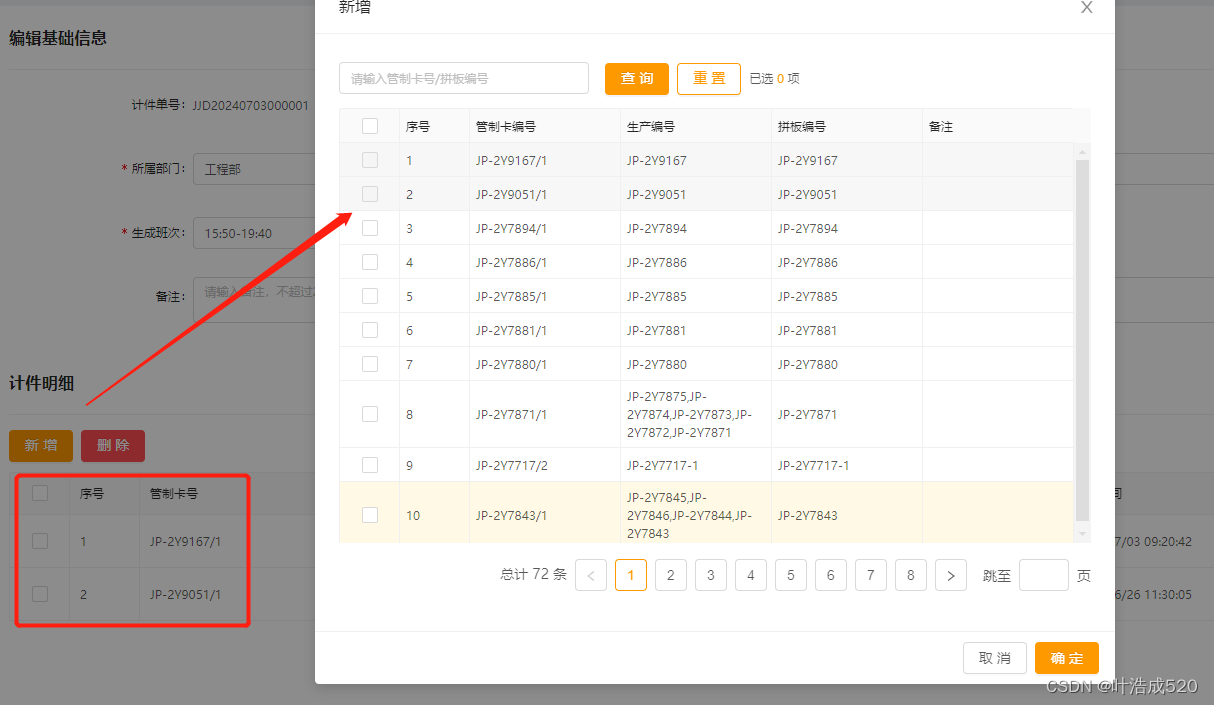
需求场景:点击【新增】按钮可以在分页弹窗中跨页多选选择数据后添加到页面中,再次点击【新增】,已经选择过的数据则置灰不让重复选择。
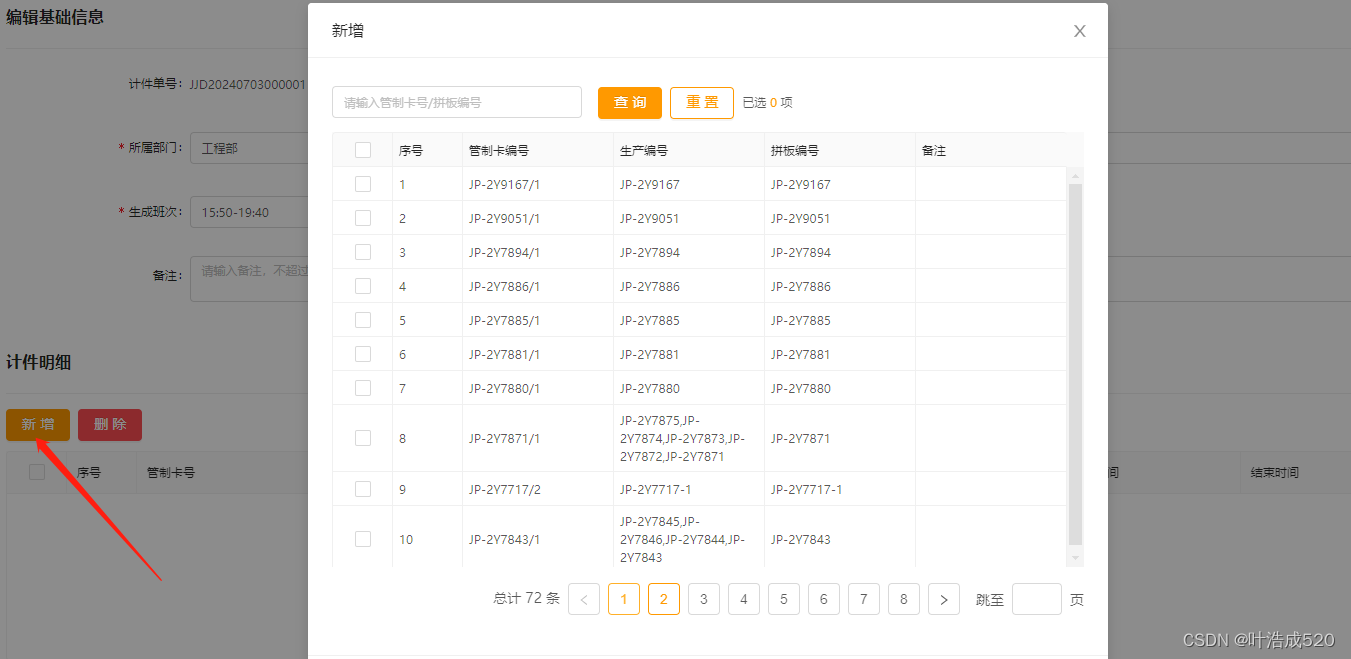
选择后,置灰
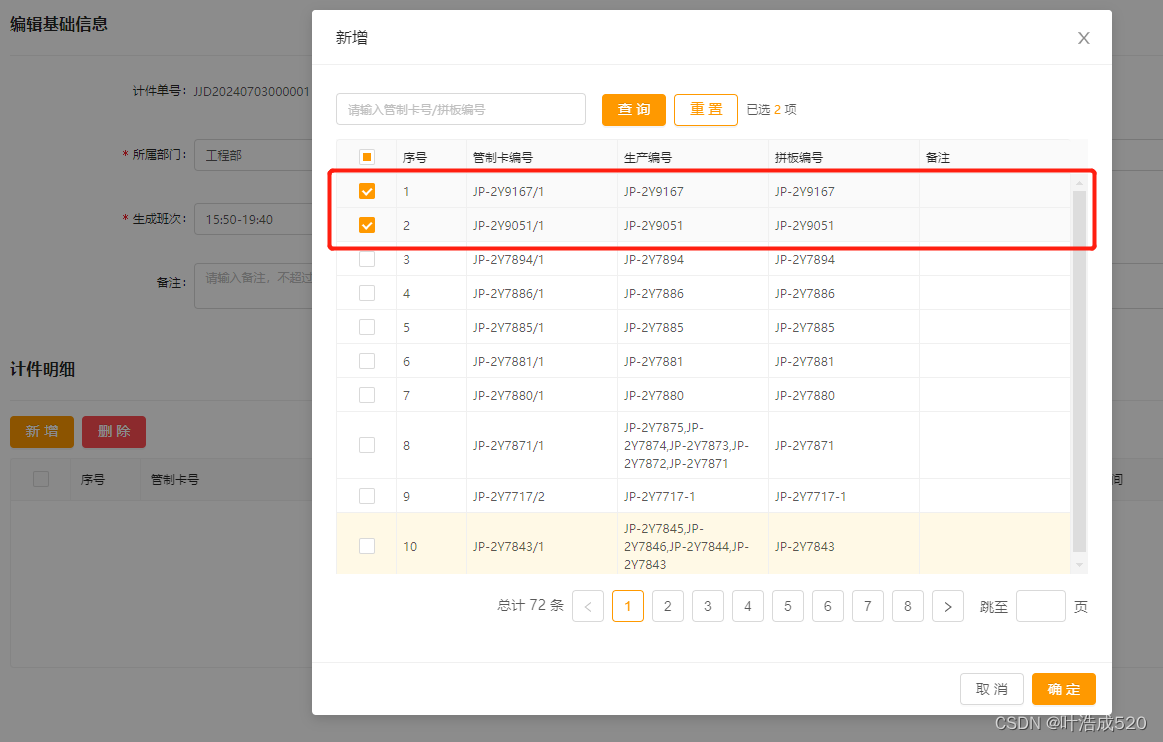
点击【确定】数据添加到页面中,可再次点击【新增】进行添加数据
解决步骤1:table组件的写法
<a-table:row-key="(r) => r.id":columns="columns":dataSource="dataSource":pagination="pagination"@change="changeTable":row-selection="rowSelection":rowClassName="rowClassNameFn"bordered:scroll="{ y: 400 }"></a-table>
1.columns:table表格配置的列
2.dataSource:table表格的数据源
3.pagination:分页参数
4.changeTable:切换页码/页容量
5.rowSelection:计算属性,用于实时获取选择情况
6.rowClassNameFn:行样式
从rowSelection开始说吧,前面的只要是有点经验的,都会知道了。。
computed: {rowSelection() {return {selectedRowKeys: this.selectedRowKeys,selectedRows: this.selectedRows,onChange: (selectedRowKeys, selectedRows) => {this.selectedRowKeys = selectedRowKeys;},onSelect: (record, selected, row) => {if (selected) {this.selectedRows.push(record);} else {let selectedRows = [...this.selectedRows];this.selectedRows = selectedRows.filter((item) => item.id != record.id);}},onSelectAll: (selected, selectedRows, changeRows) => {if (selected) {this.selectedRows = this.selectedRows.concat(changeRows);} else {let selectedRows = [...changeRows];this.selectedRows = selectedRows.filter((item) => this.selectedRowKeys.indexOf(item.id) == -1);}},getCheckboxProps: (record) => ({props: {disabled:this.areadyRows &&this.areadyRows.filter((item) => (item.controlCardNo || item.cardNo) == record.cardNo).length > 0,},}),};},},
上面的selectedRows和selectedRowKeys就是对应的行id集合以及行集合数组,areadyRows就是已选择的数据,这个跟selectedRows不一样的问题在于是否跨页。
行样式:
//行高亮
rowClassNameFn(record) {if (this.areadyRows &&this.areadyRows.filter((item) => (item.controlCardNo || item.cardNo) == record.cardNo).length > 0) {return 'disabledCls';}
},
设置样式:
<style lang="less" scoped>
/deep/.ant-table-tbody > tr.disabledCls {background: #f7f7f7 !important;
}
/deep/.ant-table-tbody > tr.disabledCls:hover > td {background: #f7f7f7 !important;
}
</style>
完成!!!多多积累,多多收获!!!



![[漏洞复现] MetInfo5.0.4文件包含漏洞](https://img-blog.csdnimg.cn/direct/6007b1743dc44277b731aec7d9f0de8c.png#pic_center)
