目录
前言
1.局部刷新的重要性
1.概念
2.重要性
2.局部刷新实现的几种方式
1.使用setState方法进行局部刷新
2.使用StatefulWidget和InheritedWidget局部刷新UI
3.ValueNotifier和ValueListenableBuilder
4.StreamBuilder
5.Provider
6.GetX
7.使用GlobalKey

前言
在 Flutter 中,状态管理指的是如何管理和更新应用中的数据状态,并且根据状态的变化来更新 UI。有效的状态管理能够帮助开发者创建更高效、更可维护的应用。
setState是 Flutter 中最基本的状态管理方法,当状态发生变更的时候,会通知框架重新构建UI。当然我们知道当我们调用setState方法的时候,页面会重绘,当页面布局比较复杂的时候,有时候我们仅仅需要更新某个单独的UI,这个时候如果使用setState方法,则会有比较大的性能消耗去重绘当前页面UI.
那么Flutter中有哪些方法可以局部刷新UI呢,这篇博客列举了Flutter实现局部刷新的几种方式。
1.局部刷新的重要性
1.概念
局部刷新指的是只刷新界面的一部分,而不是整个页面。这样可以提高性能和用户体验。
2.重要性
- 避免不必要的重绘,提高性能
- 提供更流畅的用户体验
- 减少资源消耗
2.局部刷新实现的几种方式
1.通过setState局部刷新
setState是Flutter 中最常用的状态管理方法,用于通知框架状态发生变化,导致界面重建。
我们创建Flutter工程的时候,系统默认生成的计时器的例子,就是setState局部刷新的例子。
import 'package:flutter/material.dart';class StatePartialRefreshPage extends StatefulWidget {const StatePartialRefreshPage({super.key});@overrideState<StatePartialRefreshPage> createState() =>_StatePartialRefreshPageState();
}class _StatePartialRefreshPageState extends State<StatePartialRefreshPage> {int _count = 0;@overrideWidget build(BuildContext context) {return Scaffold(appBar: AppBar(title: const Text("setState局部刷新",style: TextStyle(fontWeight: FontWeight.bold, fontSize: 14),),),body: Center(child: Column(mainAxisAlignment: MainAxisAlignment.center,children: [Text('您点击了$_count次',style: const TextStyle(fontSize: 12, fontWeight: FontWeight.bold),),const SizedBox(height: 20,),FilledButton(onPressed: () {setState(() {_count++;});},child: const Icon(Icons.add)),],)),);}
}
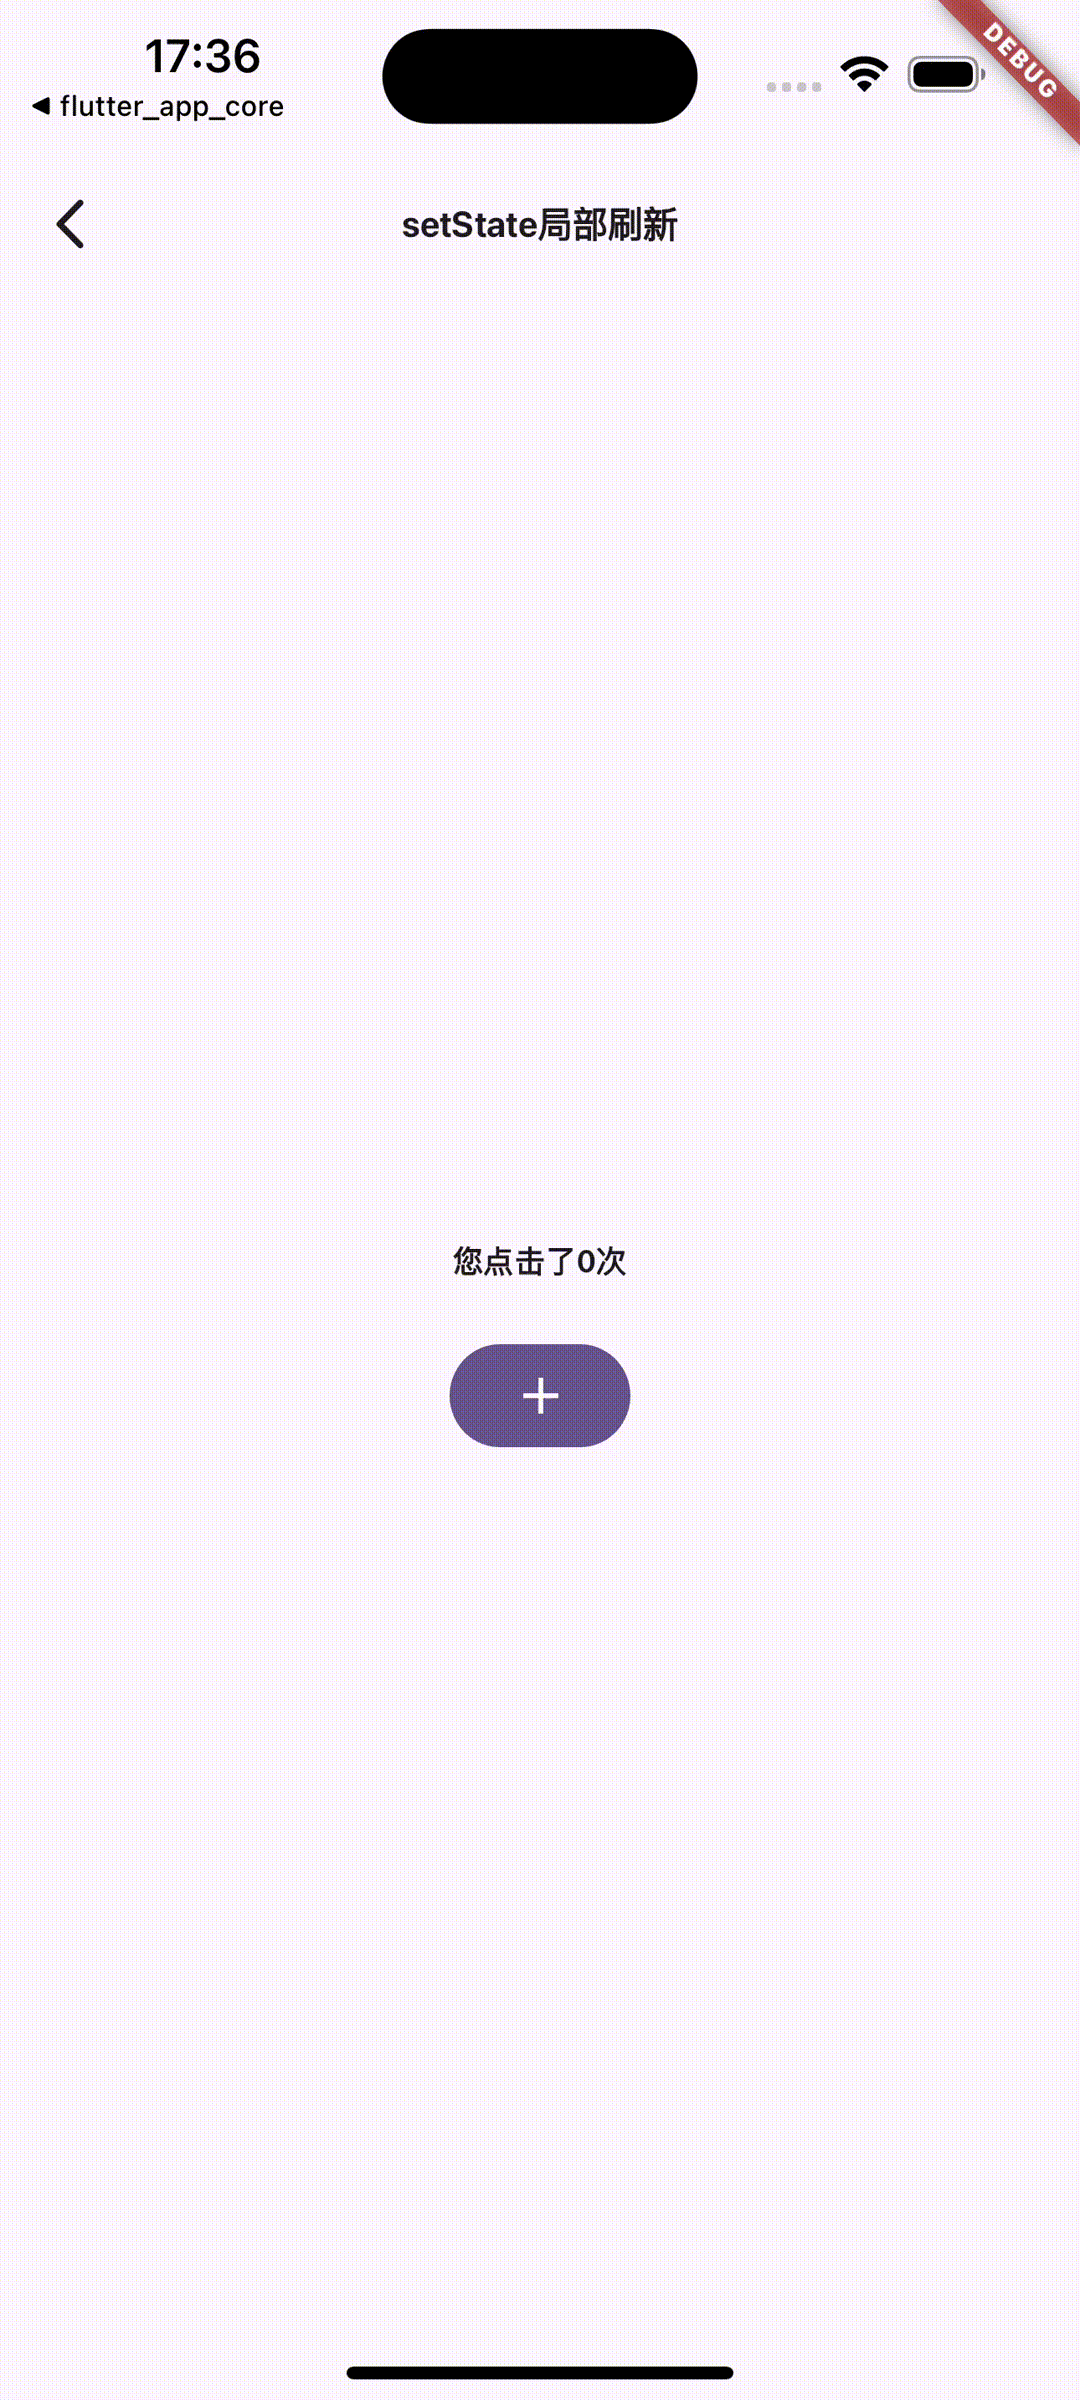
图1.setState局部刷新
当页面比较简单的时候,可以直接使用setState方法局部刷新UI。
使用场景:简单的状态变化,如按钮点击计数、开关状态等。
注意事项:
- 频繁调用 setState 可能导致性能问题
- 避免在 build 方法中调用 setState
2.使用StatefulWidget和InheritedWidget局部刷新UI
StatefulWidget 是具有状态的组件,InheritedWidget 用于在组件树中共享数据。
当我们需要共享数据的时候,可以考虑StatefulWidget和InheritedWidget局部刷新UI.
完整代码如下:
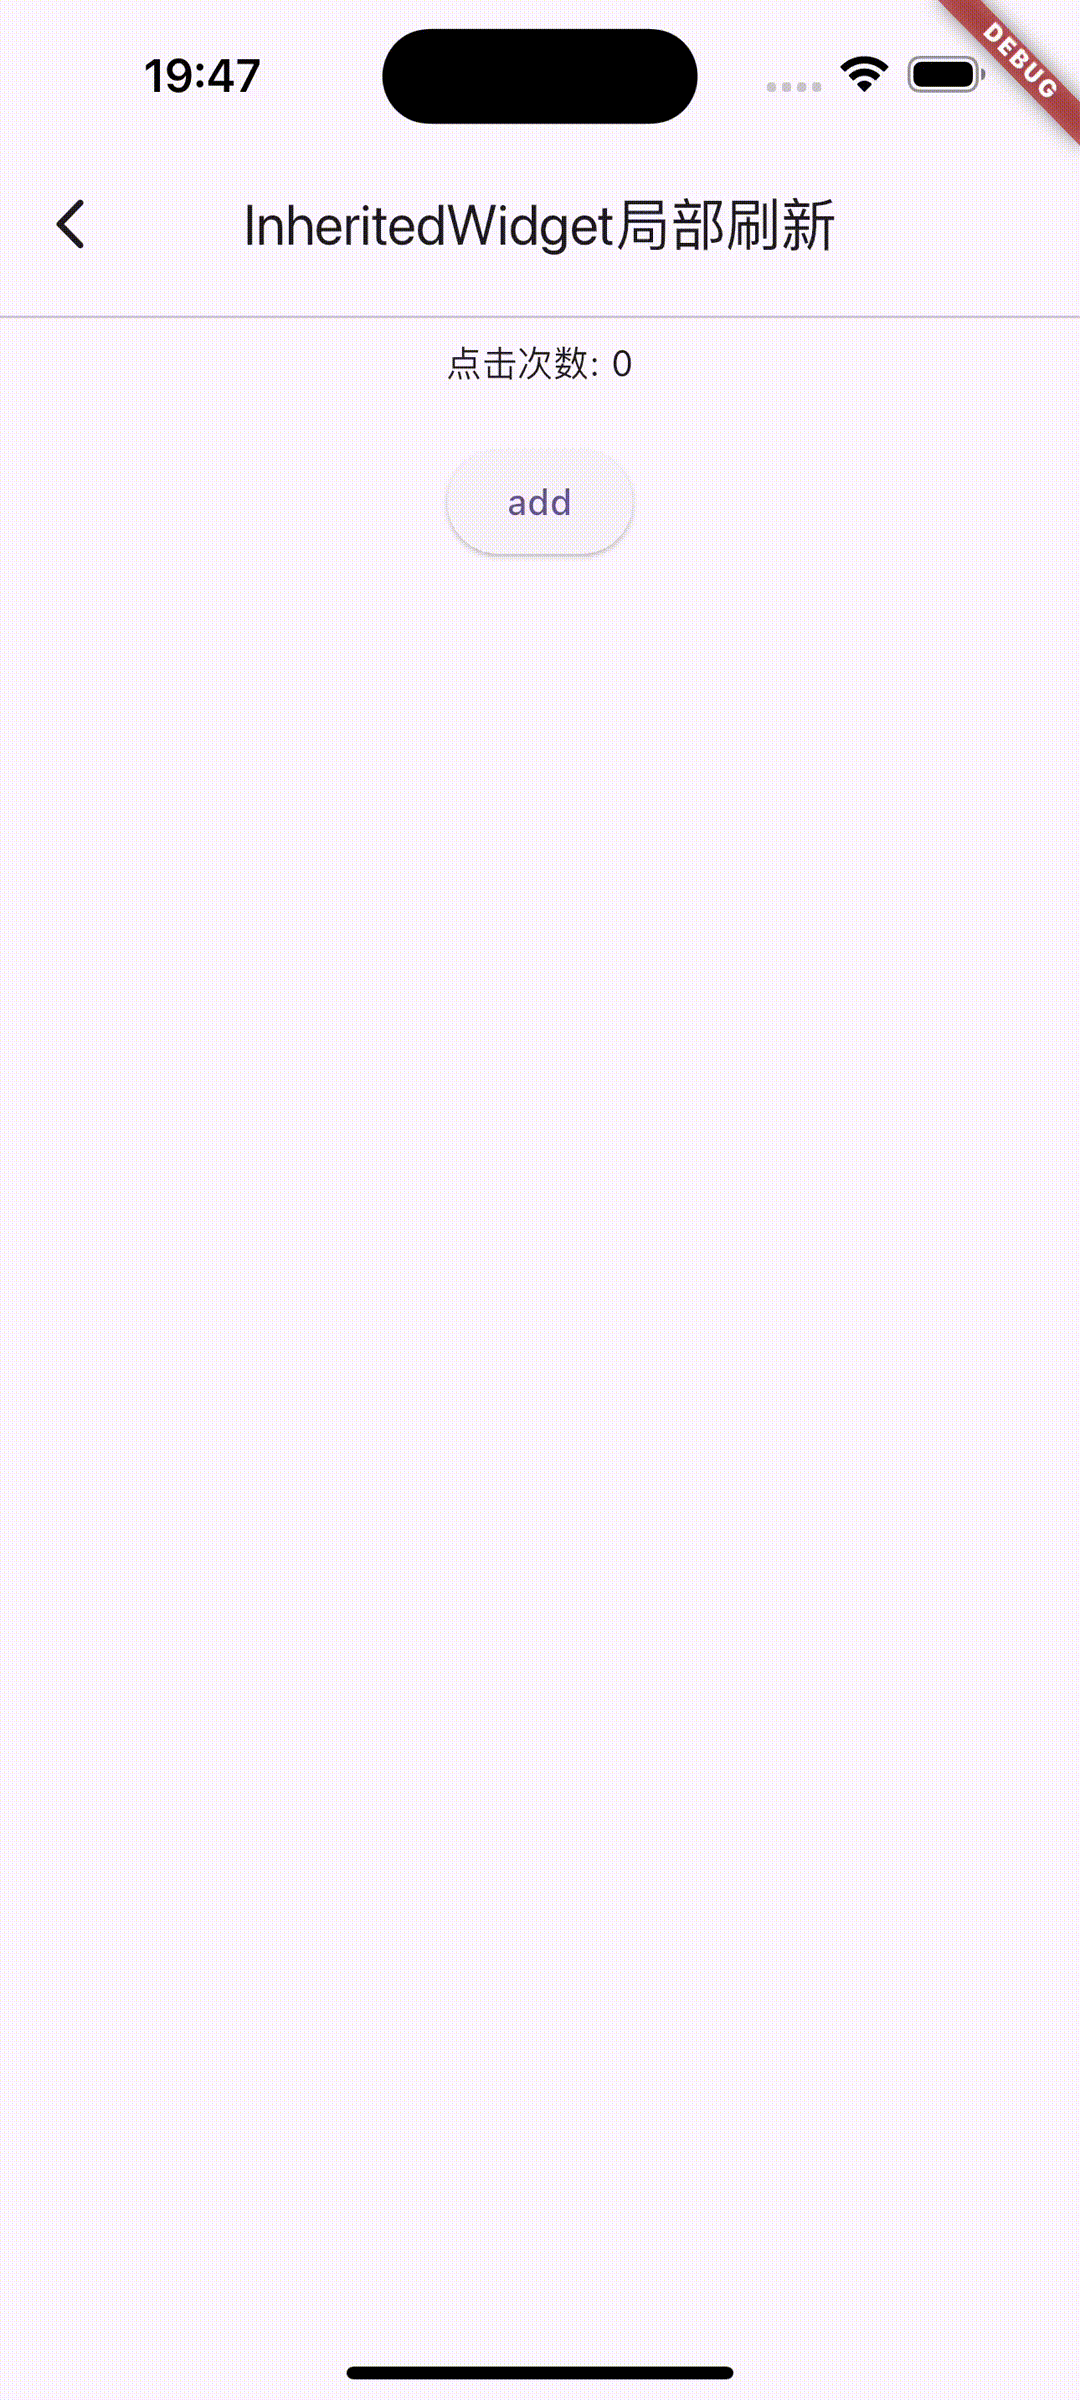
图2.共享数据的方式刷新UI
import 'package:flutter/material.dart';class MyInheritedWidget extends InheritedWidget {final int counter;const MyInheritedWidget({super.key,required this.counter,required super.child,});@overridebool updateShouldNotify(covariant InheritedWidget oldWidget) {return true;}static MyInheritedWidget? of(BuildContext context) {return context.dependOnInheritedWidgetOfExactType<MyInheritedWidget>();}
}class InheritedWidgetPage extends StatefulWidget {final String title;const InheritedWidgetPage({super.key, required this.title});@overrideState<InheritedWidgetPage> createState() => _InheritedWidgetPageState();
}class _InheritedWidgetPageState extends State<InheritedWidgetPage> {int counter = 0;void _incrementCounter() {setState(() {counter++;});}@overrideWidget build(BuildContext context) {return MyInheritedWidget(counter: counter,child: Scaffold(appBar: AppBar(title: Text(widget.title),),body: Center(child: Column(children: [const Divider(),const CounterDisplay(),const SizedBox(height: 20),ElevatedButton(onPressed: _incrementCounter,child: const Text('add'),),],),),),);}
}class CounterDisplay extends StatelessWidget {const CounterDisplay({super.key});@overrideWidget build(BuildContext context) {final inheritedWidget = MyInheritedWidget.of(context);return Text('点击次数: ${inheritedWidget?.counter}');}
}
这种方式主要使用场景如下:组件树中共享状态时,如主题、语言设置等。
优点就是数据共享方便,代码简介
缺点就是使用复杂,性能可能收到影响
3.ValueNotifier和ValueListenableBuilder
ValueNotifier 是一个简单的状态管理工具,ValueListenableBuilder 用于监听 ValueNotifier 的变化。
使用方法也非常简单:
1.实例化ValueNotifier
2.要监听的Widget对象是用ValueListenableBuilder包裹起来
3.事件触发数据的变更方法
这种方式和前几种方式比较非常的简单易容,性能也很高
缺点:只能处理简单的状态变化
完整的代码如下:
import 'package:flutter/material.dart';class ValueNotifierPage extends StatefulWidget {final String title;const ValueNotifierPage({super.key, required this.title});@overrideState<ValueNotifierPage> createState() => _ValueNotifierPageState();
}class _ValueNotifierPageState extends State<ValueNotifierPage> {final ValueNotifier<int> _counter = ValueNotifier<int>(0);@overrideWidget build(BuildContext context) {return Scaffold(appBar: AppBar(title: Text(widget.title),),body: Center(child: ValueListenableBuilder<int>(valueListenable: _counter,builder: (context, value, child) {return Text('您点击了$value次',style: const TextStyle(fontSize: 12, fontWeight: FontWeight.bold),);},)),floatingActionButton: FloatingActionButton(child: const Icon(Icons.add),onPressed: () {_counter.value ++;},));}
}
4.StreamBuilder
Stream是一种用于传递异步事件的对象,可以通过StreamController发送事件。在需要刷新UI的地方,可以发送一个事件到Stream,然后使用StreamBuilder监听该Stream,当收到新的事件时,StreamBuilder会自动重新构建UI。这种方式适用于需要监听多个异步事件的情况。
当我们需要处理异步数据流,如网络请求、实时数据等的时候,可以考虑使用StreamBuilder。例如在下面的例子中,我们写了一个模拟网络请求的异步方法,当网络请求没返回正确结果的时候,我们可以加载进度条。
这种方式的优点就是可以对异步请求进行更加精准的控制,例如网络请求的状态等。却迪奥就是复杂度比较高,可能需要更多的代码。
完整的代码如下:
import 'dart:async';
import 'package:flutter/material.dart';class StreamBuilderRefreshUIPage extends StatefulWidget {final String title;const StreamBuilderRefreshUIPage({super.key, required this.title});@overrideState<StreamBuilderRefreshUIPage> createState() =>_StreamBuilderRefreshUIPageState();
}class _StreamBuilderRefreshUIPageState extends State<StreamBuilderRefreshUIPage> {late Future<String> _data;Future<String> fetchData() async {// 模拟网络请求延迟await Future.delayed(const Duration(seconds: 2));// 返回模拟数据return 'Hello, Flutter!';}@overridevoid initState() {// TODO: implement initStatesuper.initState();_data = fetchData();}@overrideWidget build(BuildContext context) {return Scaffold(appBar: AppBar(title: Text(widget.title),),body: Center(child: FutureBuilder<String>(future: _data,builder: (context, snapshot) {if (snapshot.connectionState == ConnectionState.waiting) {return const CircularProgressIndicator();} else if (snapshot.hasError) {return Text('Error: ${snapshot.error}');} else {return Text('Data: ${snapshot.data}');}},),),floatingActionButton: FloatingActionButton(onPressed: fetchData,tooltip: 'Increment',child: const Icon(Icons.add),),);}
}
5.Provider
Provider 是 Flutter 推荐的状态管理解决方案,Consumer 用于读取和监听状态。
我们还以定时器为例。
1.首先我们导入Provider.
provider: ^6.1.2
2.自定义ChangeNotifier类。
ChangeNotifier 是 Flutter SDK 中的一个简单的类。它用于向监听器发送通知。换言之,如果被定义为 ChangeNotifier,你可以订阅它的状态变化。(这和大家所熟悉的观察者模式相类似)。
在我们要实现的代码中,有两个变量_counter1和_counter2.代码定义如下:
class CounterModel extends ChangeNotifier {int _counter1 = 0;int _counter2 = 0;void addCounter1(){debugPrint('counter:$_counter1');_counter1 += 1;notifyListeners();}void addCounter2(){debugPrint('counter:$_counter2');_counter2 += 1;notifyListeners();}
}
3.使用Customer把我们要刷新的Widget包裹起来
Consumer<CounterModel>(builder: (context, counterModel, child) {return Row(mainAxisAlignment: MainAxisAlignment.spaceEvenly,children: [Text('计数器1个数: ${counterModel._counter1}'),ElevatedButton(onPressed: (){counterModel.addCounter1();}, child: const Icon(Icons.add),),],);},),4.完整代码如下:
import 'package:flutter/material.dart';
import 'package:provider/provider.dart';class ProviderRefreshPage extends StatefulWidget {final String title;const ProviderRefreshPage({super.key, required this.title});@overrideState<ProviderRefreshPage> createState() => _ProviderRefreshPageState();
}class CounterModel extends ChangeNotifier {int _counter1 = 0;int _counter2 = 0;void addCounter1(){debugPrint('counter:$_counter1');_counter1 += 1;notifyListeners();}void addCounter2(){debugPrint('counter:$_counter2');_counter2 += 1;notifyListeners();}
}class _ProviderRefreshPageState extends State<ProviderRefreshPage> {@overrideWidget build(BuildContext context) {return Scaffold(appBar: AppBar(title: Text(widget.title),),body: Center(child: Column(mainAxisAlignment: MainAxisAlignment.start,children: <Widget>[const SizedBox(height: 10,), // 添加一些间距const Divider(),const Text('计数器实例',style: TextStyle(fontSize: 12,fontWeight: FontWeight.bold),),Consumer<CounterModel>(builder: (context, counterModel, child) {return Row(mainAxisAlignment: MainAxisAlignment.spaceEvenly,children: [Text('计数器1个数: ${counterModel._counter1}'),ElevatedButton(onPressed: (){counterModel.addCounter1();}, child: const Icon(Icons.add),),],);},),Consumer<CounterModel>(builder: (context, counterModel, child) {return Row(mainAxisAlignment: MainAxisAlignment.spaceEvenly,children: [Text('计数器1个数: ${counterModel._counter2}'),ElevatedButton(onPressed: (){counterModel.addCounter2();}, child: const Icon(Icons.add),),],);},),const Divider(height: 20,),],),),);}
}
6.GetX
我们还可以使用GetX实现UI的局部刷新。
首先安装GetX:
get: ^4.6.6
然后我们把变量封装在GetxController中.
class CounterManagerController extends GetxController {final counter1 = 0.obs;final counter2 = 0.obs;void incrementCount1() {counter1.value++;}void incrementCount2() {counter2.value++;}
}
再使用Obx把需要显示逻辑的Widget包裹起来。
Obx(()=> Text('计数器1个数: ${controller.counter2.value}'))
完整的代码如下:
import 'package:flutter/material.dart';
import 'package:get/get.dart';class CounterManagerController extends GetxController {final counter1 = 0.obs;final counter2 = 0.obs;void incrementCount1() {counter1.value++;}void incrementCount2() {counter2.value++;}
}class GetXRefreshUIPage extends StatelessWidget {final String title;const GetXRefreshUIPage({super.key, required this.title});@overrideWidget build(BuildContext context) {final CounterManagerController controller = Get.put(CounterManagerController());return Scaffold(appBar: AppBar(title: Text(title),),body: Center(child: Column(mainAxisAlignment: MainAxisAlignment.start,children: <Widget>[const SizedBox(height: 10,), // 添加一些间距const Divider(),const Text('计数器实例',style: TextStyle(fontSize: 12, fontWeight: FontWeight.bold),),Row(mainAxisAlignment: MainAxisAlignment.spaceEvenly,children: [Obx(()=> Text('计数器1个数: ${controller.counter1.value}')),ElevatedButton(onPressed: () {controller.incrementCount1();},child: const Icon(Icons.add),),],),Row(mainAxisAlignment: MainAxisAlignment.spaceEvenly,children: [Obx(()=> Text('计数器1个数: ${controller.counter2.value}')),ElevatedButton(onPressed: () {controller.incrementCount2();},child: const Icon(Icons.add),),],),const Divider(height: 20,),],),),);}
}
当然GetX中实现局部刷新的方式还有其它几种写法,大家可以看一下它的文档。这里只是提供了其中的一种实现思路。
7.通过GlobalKey局部刷新
上述三种实现方式都是通过框架实现的,如果你不想导入这个框架,我们可以使用GlobalKey来实现UI的局部刷新功能。
在整个应用程序中是唯一的Key GlobalKey可以唯一标识元素,GlobalKey提供了对这些元素相关联的访问,比如BuildContext。对于StatefulWidgets,GlobalKey也提供对State的访问。
在我们的计时器的demo中,如果我们通过GlobalKey的方式局部刷新UI,首先我们把要局部刷新的Widget提出来,单独封装成一个组件。
完整代码如下,我们封装要局部刷新的Widget,并且提供一个刷新内部数据的接口,onPressed.
class CounterText extends StatefulWidget {const CounterText(Key key) : super(key: key);@overrideState<StatefulWidget> createState() {return CounterTextState();}
}class CounterTextState extends State<CounterText> {String _text="0";@overrideWidget build(BuildContext context) {return Center(child: Text(_text,style: const TextStyle(fontSize: 20),),);}void onPressed(int count) {setState(() {_text = count.toString();});}
}
然后在我们的主界面实例化GlobaKey:
int _count = 0;int _count2 = 0;GlobalKey<CounterTextState> textKey = GlobalKey();GlobalKey<CounterTextState> textKey2 = GlobalKey(); 在需要刷新UI的事件中,通过GlobalKey调用上一步提供的接口,刷新即可。
完整代码如下:
import 'package:flutter/material.dart';class GlobalKeyRefreshPage extends StatefulWidget {final String title;const GlobalKeyRefreshPage({super.key, required this.title});@overrideState<GlobalKeyRefreshPage> createState() => _GlobalKeyRefreshPageState();
}class _GlobalKeyRefreshPageState extends State<GlobalKeyRefreshPage> {int _count   = 0;int _count2  = 0;
//包裹你定义的需要更新的weightGlobalKey<CounterTextState> textKey = GlobalKey();GlobalKey<CounterTextState> textKey2 = GlobalKey();@overrideWidget build(BuildContext context) {return Scaffold(appBar: AppBar(title:  Text(widget.title),),body: Center(child: Column(mainAxisAlignment: MainAxisAlignment.start,children: <Widget>[const SizedBox(height: 10,), // 添加一些间距const Divider(),const Text('计数器实例',style: TextStyle(fontSize: 12, fontWeight: FontWeight.bold),),Row(mainAxisAlignment: MainAxisAlignment.spaceEvenly,children: [CounterText(textKey),ElevatedButton(onPressed: () {_count++;textKey.currentState?.onPressed(_count);},child: const Icon(Icons.add),),],),Row(mainAxisAlignment: MainAxisAlignment.spaceEvenly,children: [CounterText(textKey2),ElevatedButton(onPressed: () {_count2++;textKey2.currentState?.onPressed(_count2);},child: const Icon(Icons.add),),],),const Divider(height: 20,),],),),);}
}class CounterText extends StatefulWidget {const CounterText(Key key) : super(key: key);@overrideState<StatefulWidget> createState() {return CounterTextState();}
}class CounterTextState extends State<CounterText> {String _text="0";@overrideWidget build(BuildContext context) {return Center(child: Text(_text,style: const TextStyle(fontSize: 20),),);}void onPressed(int count) {setState(() {_text = count.toString();});}
}