1、扩展包
Python安装额外的扩展包,一般使用anconda进行管理。
1、1安装命令
一般我们在anconda中通过pip install 包名 的方式进行安装,不过由于这些包在国外下载,因此需要配置合适的镜像促使其下载更快。
1、2 镜像源配置
1、2、1 一次性镜像源配置
我们在下载包时,若像从国内的仓库中下载,需要引用国内的镜像源,一次性的方式是:pip install 包名 -i 镜像源
示例
pip instll opencv-python -i https://mirrors.aliyun.com/pypi/simple/
这个命令可以极快的下载opencv包

1、2、2 永久配置镜像源
conda config --add channels https://mirrors.tuna.tsinghua.edu.cn/anaconda/pkgs/main/
conda config --add channels https://mirrors.tuna.tsinghua.edu.cn/anaconda/pkgs/free/
conda config --add channels https://mirrors.tuna.tsinghua.edu.cn/anaconda/pkgs/r/
conda config --add channels https://mirrors.tuna.tsinghua.edu.cn/anaconda/pkgs/msys2/
conda config --set show_channel_urls yes
将清华大学的镜像源永久配置到环境中。
查看使用如下命令
conda config --show channels

移除某些镜像源用如下命令
conda config --remove-key channels https://repo.anaconda.com/pkgs/main/这里不建议移除
1、3在IDE中引入安装的包
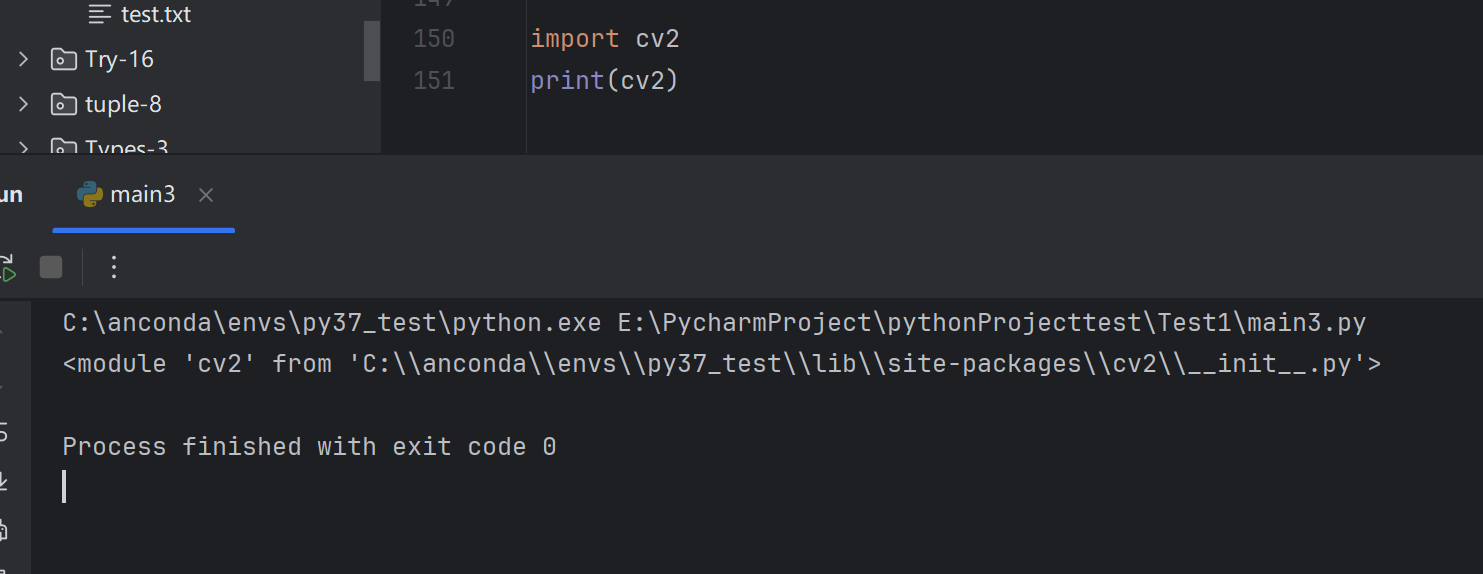
在编译器中使用import方法引入包,然后print下,如果没报错,说明安装成功。
import 包

1、4使用安装的包
我们安装了扩展包,按照扩展包的功能详细的去使用它,这就是我们总体使用第三库的流程。
下载、引入、使用
示例
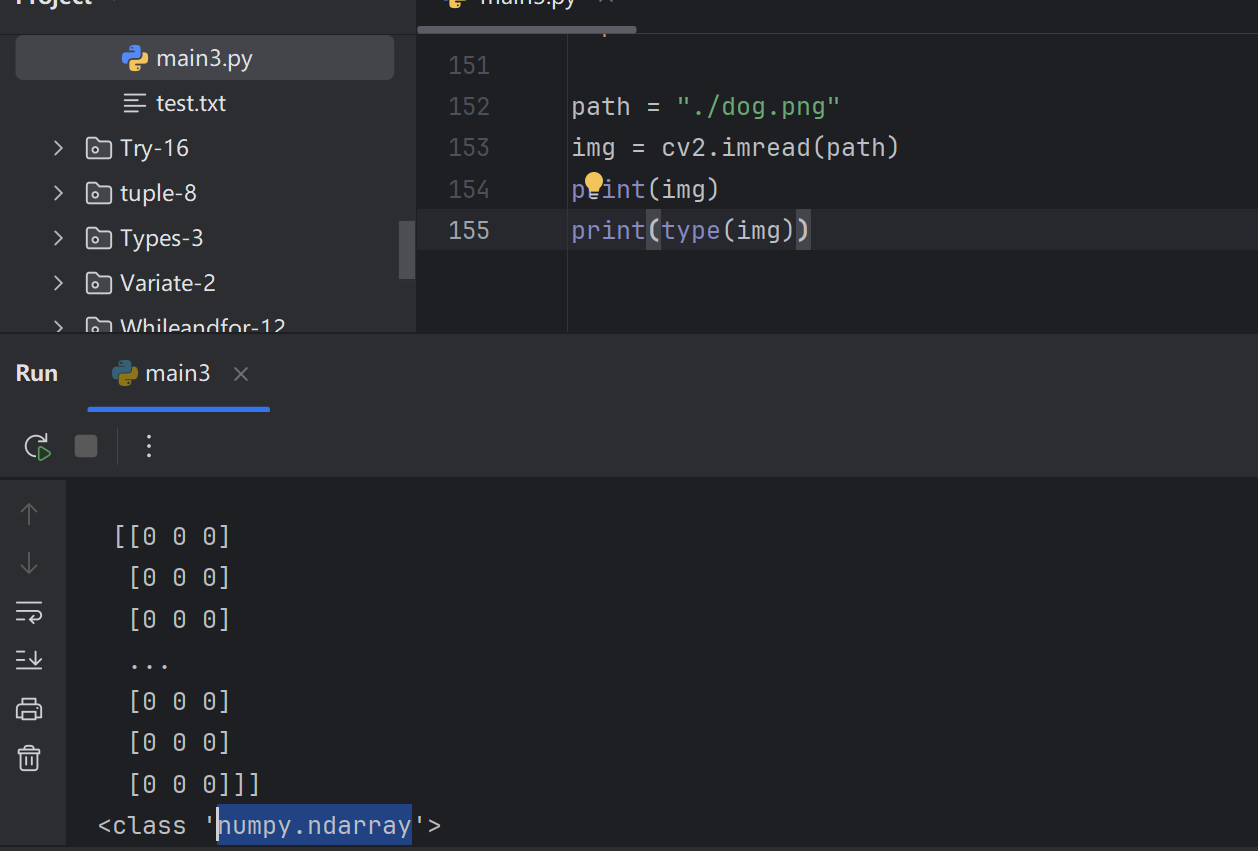
path = "./dog.png"
img = cv2.imread(path)
print(img)
print(type(img))


