1. 系统版本
[root@ga-sit-cssjgj-db-01u ~]# nkvers
############## Kylin Linux Version #################
Release:
Kylin Linux Advanced Server release V10 (Lance)Kernel:
4.19.90-52.39.v2207.ky10.aarch64Build:
Kylin Linux Advanced Server
release V10 (SP3) /(Lance)-aarch64-Build23/20230324
#################################################
[root@ga-sit-cssjgj-db-01u ~]#
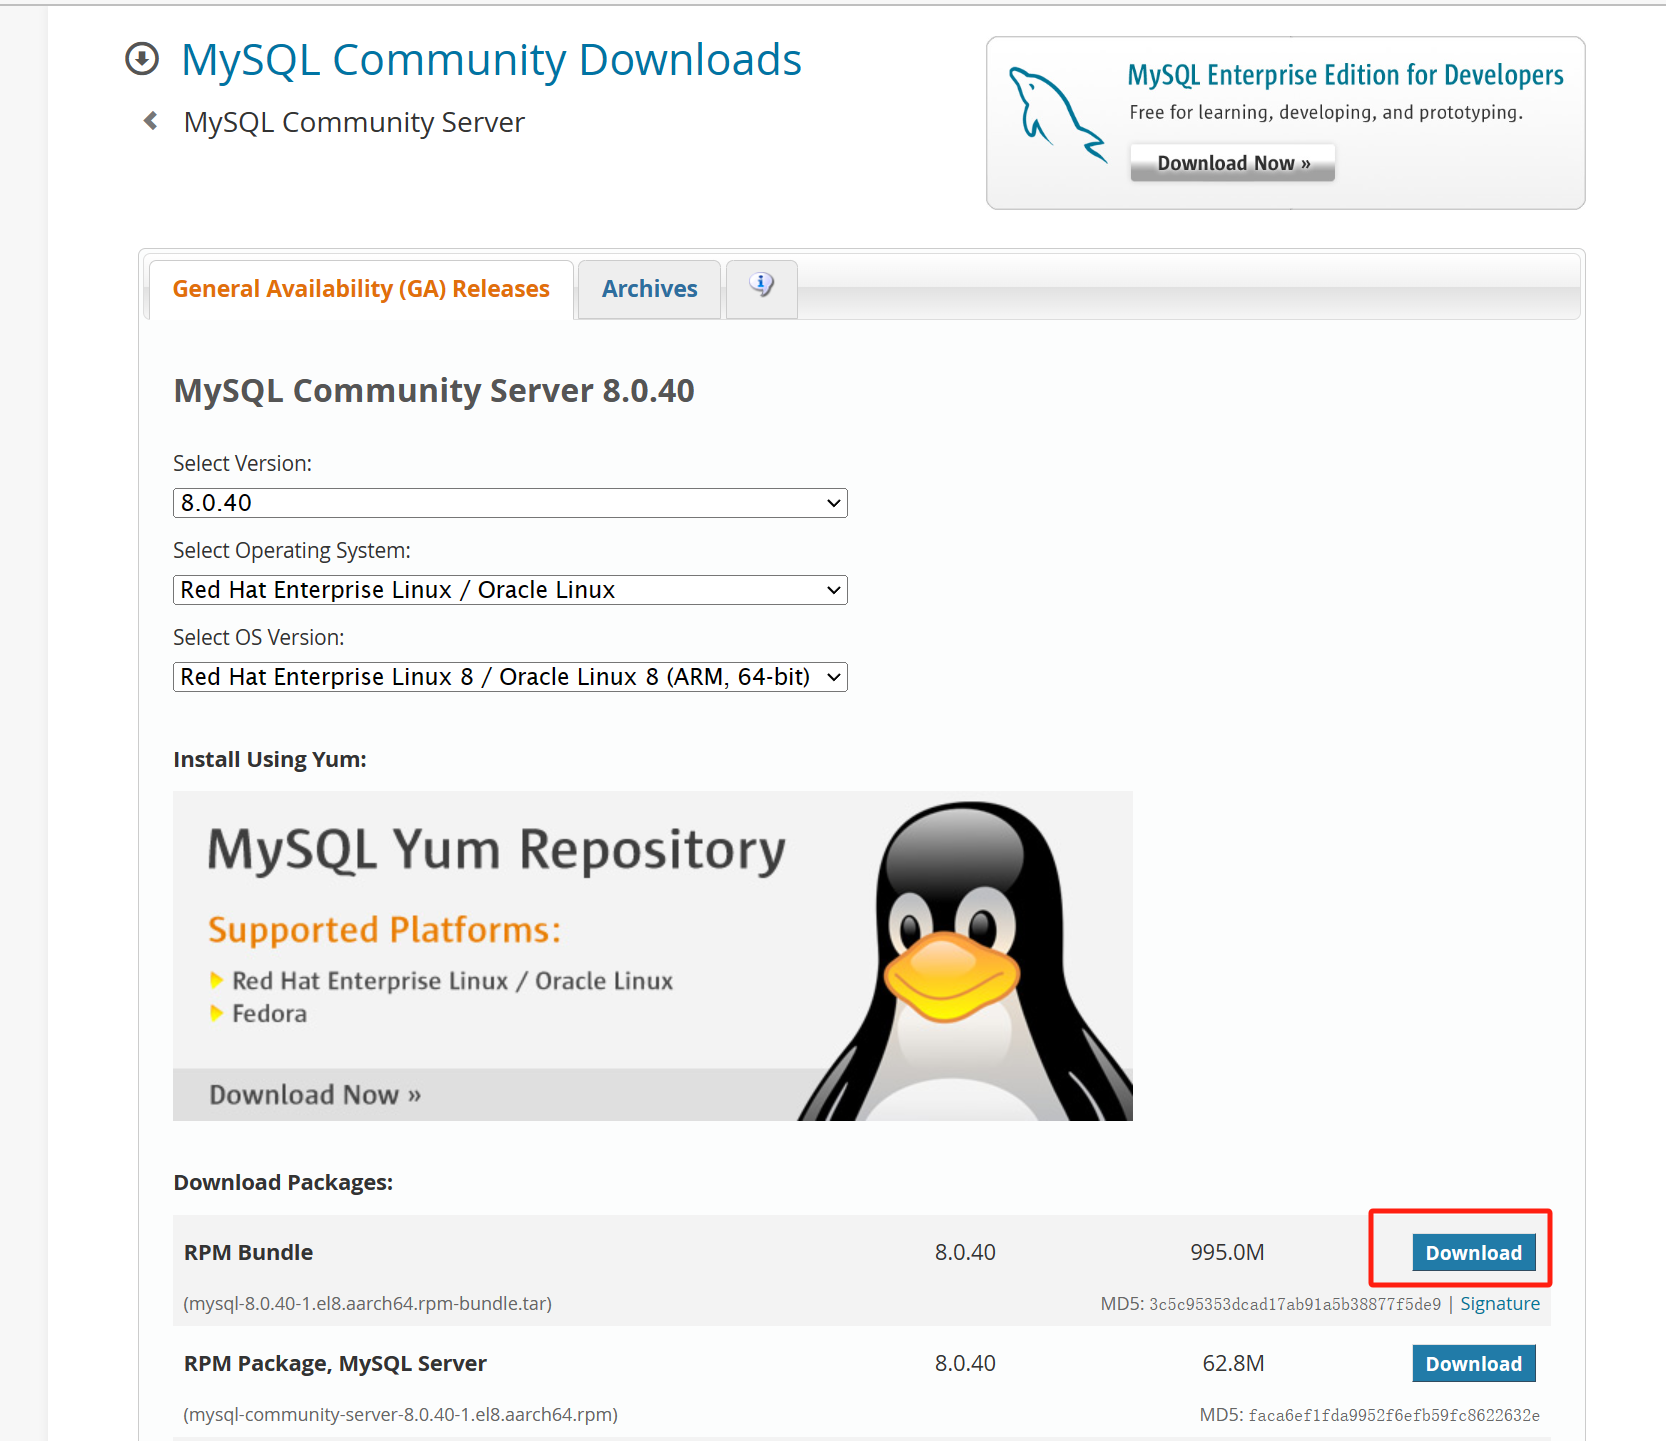
2. MySQL 8.0.40版本下载
直接官网下载:
https://dev.mysql.com/downloads/mysql/
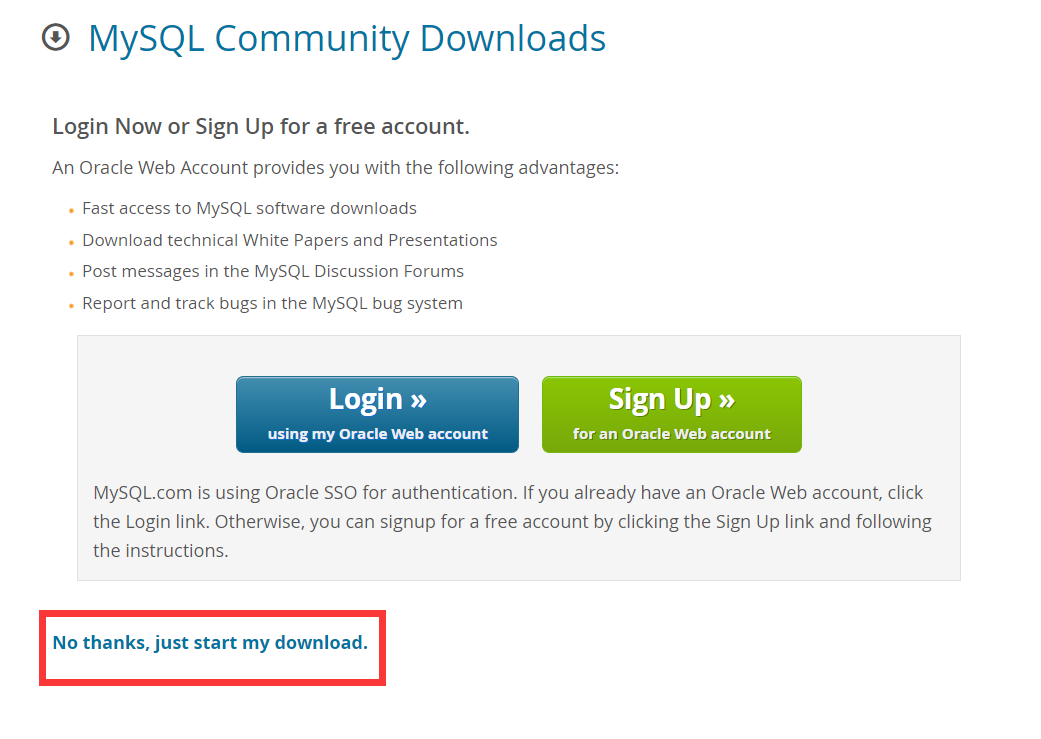
选择版本:


下载不了请移步到百度网盘
通过网盘分享的文件:mysql-8.0.40-1.el8.aarch64.rpm-bundle.tar
链接: https://pan.baidu.com/s/1etUFFGVO_8VLc7o58W3cOw?pwd=uwsf 提取码: uwsf
el8表示的是如CentOS 8,非麒麟版本的基本上都是el7版本,请核实你的版本在进行下载
3. 安装MySQL
3.1. 删除原有的mariadb
先查看一下是否已经安装了
rpm -qa | grep mysql
rpm -qa | grep mariadbrpm -e --nodeps mariadb-libs
rpm -e mariadb-server --nodeps
yum -y remove mysql*
yum -y remove mariadb*
删除mariadb,命令:
rpm -e --nodeps mariadb-libsrpm -e mariadb-server --nodeps
3.2. 解压缩mysql离线安装包
[root@ga-sit-cssjgj-db-01u app]# tar xvf mysql-8.0.40-1.el8.aarch64.rpm-bundle.tar
逐个安装,命令如下:
必须安装
[root@ga-sit-cssjgj-db-01u app]# rpm -ivh mysql-community-common-8.0.40-1.el8.aarch64.rpm[root@ga-sit-cssjgj-db-01u app]# rpm -ivh mysql-community-client-plugins-8.0.40-1.el8.aarch64.rpm[root@ga-sit-cssjgj-db-01u app]# rpm -ivh mysql-community-libs-8.0.40-1.el8.aarch64.rpm [root@ga-sit-cssjgj-db-01u app]# rpm -ivh mysql-community-client-8.0.40-1.el8.aarch64.rpm [root@ga-sit-cssjgj-db-01u app]# rpm -ivh mysql-community-icu-data-files-8.0.40-1.el8.aarch64.rpm[root@ga-sit-cssjgj-db-01u app]# rpm -ivh mysql-community-server-8.0.40-1.el8.aarch64.rpm[root@ga-sit-cssjgj-db-01u app]# rpm -ivh mysql-community-devel-8.0.40-1.el8.aarch64.rpm
查看mysql
[root@ga-sit-cssjgj-db-01u app]# rpm -qa |grep mysqlmysql-community-libs-8.0.40-1.el8.aarch64
mysql-community-server-8.0.40-1.el8.aarch64
mysql-community-icu-data-files-8.0.40-1.el8.aarch64
mysql-community-client-plugins-8.0.40-1.el8.aarch64
mysql-community-devel-8.0.40-1.el8.aarch64
mysql-community-client-8.0.40-1.el8.aarch64
mysql-community-common-8.0.40-1.el8.aarch64
[root@ga-sit-cssjgj-db-01u app]#
3.3. 初始化mysql服务
修改配置文件建议使用去除注释精简版本配置
vim /etc/my.cnf
3.3.1. 去除注释精简版本
[mysqld]
innodb_buffer_pool_size = 4Gsort_buffer_size = 512Mread_rnd_buffer_size = 256Mthread_cache_size = 64datadir=/var/lib/mysql
socket=/var/lib/mysql/mysql.socklog-error=/var/log/mysqld.log
pid-file=/var/run/mysqld/mysqld.pidbind-address=0.0.0.0lower-case-table-names=1
3.3.2. 注释版本
# 有关如何更改设置的建议,请参阅
# http://dev.mysql.com/doc/refman/8.0/en/server-configuration-defaults.html[mysqld]
# 设置读取缓存大小
innodb_buffer_pool_size = 4G#调整排序缓存大小
sort_buffer_size = 512M#临时表缓存大小
read_rnd_buffer_size = 256M#线程缓存大小
thread_cache_size = 64
#
# 删除前导 # 并设置为最重要数据的 RAM 量
# 在MySQL中缓存。从专用服务器总 RAM 的 70% 开始,否则为 10%。
# innodb_buffer_pool_size = 128M
#
# 删除前导“#”以禁用二进制日志记录
# 二进制日志记录捕获备份之间的更改,并通过以下方式启用
# 违约。它的默认设置为 log_bin=binlog
# disable_log_bin
#
# 删除前导 # 以设置主要用于报表服务器的选项。
# 对于事务和快速的 SELECT,服务器默认值更快。
# 根据需要调整大小,进行实验以找到最佳值。
# join_buffer_size = 128M
# sort_buffer_size = 2M
# read_rnd_buffer_size = 2M
#
# 删除前导 # 以恢复为default_authentication_plugin的先前值,
# 这将增加与旧客户端的兼容性。有关背景信息,请参阅:
# https://dev.mysql.com/doc/refman/8.0/en/server-system-variables.html#sysvar_default_authentication_plugin
# default-authentication-plugin=mysql_native_passworddatadir=/var/lib/mysql
socket=/var/lib/mysql/mysql.socklog-error=/var/log/mysqld.log
pid-file=/var/run/mysqld/mysqld.pid
# 打开跳过权限检查,以方便修改密码
# skip-grant-tables# 开启远程访问连接
bind-address=0.0.0.0lower-case-table-names=1
3.4. 授权
chmod 644 /etc/my.cnf
3.5. 查看服务状态
命令:systemctl status mysqld
[root@ga-sit-cssjgj-db-01u app]# systemctl status mysqld● mysqld.service - MySQL ServerLoaded: loaded (/usr/lib/systemd/system/mysqld.service; enabled; vendor preset: disabled)Active: inactive (dead)Docs: man:mysqld(8)http://dev.mysql.com/doc/refman/en/using-systemd.html
[root@ga-sit-cssjgj-db-01u app]#
3.6. 启动服务
接下来要启动MySQL,通过执行以下命令启动:
方式1启动:systemctl start mysqld
或者使用一下方式启动
方式2启动:su -s /bin/bash mysql -c “/usr/sbin/mysqld --defaults-file=/etc/my.cnf”
在此我使用 systemctl start mysqld 方式启动,原因是命令行简单
注意:如果linux需要开启不区分大小写请使用下面的命令,其他的命令mysql8 不生效,方式3启动
mysqld --defaults-file=/etc/my.cnf --initialize --user=mysql --basedir=/var/lib/mysql --datadir=/var/lib/mysql --lower-case-table-names=1
启动过程并不会返回任何信息即为成功。
再次查询状态
[root@ga-sit-cssjgj-db-01u app]# systemctl status mysqld
● mysqld.service - MySQL ServerLoaded: loaded (/usr/lib/systemd/system/mysqld.service; enabled; vendor preset: disabled)Active: active (running) since Wed 2024-12-25 14:45:34 CST; 1min 10s agoDocs: man:mysqld(8)http://dev.mysql.com/doc/refman/en/using-systemd.htmlProcess: 167040 ExecStartPre=/usr/bin/mysqld_pre_systemd (code=exited, status=0/SUCCESS)Main PID: 167133 (mysqld)Status: "Server is operational"Tasks: 40Memory: 926.8MCGroup: /system.slice/mysqld.service└─167133 /usr/sbin/mysqld12月 25 14:45:22 ga-sit-cssjgj-db-01u systemd[1]: Starting MySQL Server...
12月 25 14:45:34 ga-sit-cssjgj-db-01u systemd[1]: Started MySQL Server
激活状态Active显示为active,则表示启动成功。
4. 配置MySQL
MySQL安装完成后需要对MySQL做基础配置,包括首次登录修改用户密码、数据文件位置调整、redo log大小与数量调整、undo 表空间调整、ibdata表空间调整、binlog+errorlog+slowlog+pid+socket等文件调整、性能参数调整,这些调整都可以通过修改my.cnf参数文件实现。
在MySQL安装完成第一次启动MySQL服务后,会自动为MySQL的root用户生成一个随机初始化密码,并在MySQL的errorlog文件中记录下来,我们要找到它并用它登录MySQL,修改root用户密码后才能执行任何其它操作:
- 找到初始化密码
[root@localhost MYSQL安装包]# grep password /var/log/mysqld.log2023-07-31T06:52:18.907755Z 6 [Note] [MY-010454] [Server] A temporary password is generated for root@localhost: #SL7tAyY5ih)
4.1. SL7tAyY5ih)即为初始化密码,注意是冒号后面的所有字符都是密码
- 使用上面的初始化密码登录MySQL
[root@localhost MYSQL安装包]# mysql -uroot -p
- 修改root密码
使用初始化密码登录MySQL后只能执行修改密码的操作,其他任何操作都是不可能的,使用以下命令修改密码:
登录不了怎么办别急,早知道你输入不对密码,请先执行修改密码再进行登录,跳过此章节直接修改密码
mysql> alter user user() identified by 'LaoGeDB123!';Query OK, 0 rows affected (0.02 sec)
密码修改成功后,执行以下命令查看MySQL基本信息:
mysql> status
--------------
mysql  Ver 8.1.0 for Linux on aarch64 (MySQL Community Server - GPL)Connection id:		12
Current database:
Current user:		root@localhost
SSL:			Not in use
Current pager:		stdout
Using outfile:		''
Using delimiter:	;
Server version:		8.1.0
Protocol version:	10
Connection:		Localhost via UNIX socket
Server characterset:	utf8mb4
Db     characterset:	utf8mb4
Client characterset:	utf8mb4
Conn.  characterset:	utf8mb4
UNIX socket:		/var/lib/mysql/mysql.sock
Binary data as:		Hexadecimal
Uptime:			25 min 43 secThreads: 2  Questions: 10  Slow queries: 0  Opens: 130  Flush tables: 3  Open tables: 46  Queries per second avg: 0.006
--------------
5. 修改密码
vim /etc/my.cnf
追加:skip-grant-tables
追加后如下:记得保存wq
[mysqld]
innodb_buffer_pool_size = 4Gsort_buffer_size = 512Mread_rnd_buffer_size = 256Mthread_cache_size = 64datadir=/var/lib/mysql
socket=/var/lib/mysql/mysql.socklog-error=/var/log/mysqld.log
pid-file=/var/run/mysqld/mysqld.pidbind-address=0.0.0.0lower-case-table-names=1
#追加的内容
skip-grant-tables
重启服务:systemctl restart mysqld.service
mysql -u root -p //回车不需要密码
登录成功后执行如下注意查看plugin 是caching_sha2_password 跟别的mysql不一样别的是mysql_native_password
查看当前权限
mysql> use mysql;
Reading table information for completion of table and column names
You can turn off this feature to get a quicker startup with -ADatabase changed
mysql> select host,user,plugin from user;
+-----------+------------------+-----------------------+
| host      | user             | plugin                |
+-----------+------------------+-----------------------+
| localhost | mysql.infoschema | caching_sha2_password |
| localhost | mysql.session    | caching_sha2_password |
| localhost | mysql.sys        | caching_sha2_password |
| localhost | root             | caching_sha2_password |
+-----------+------------------+-----------------------+
4 rows in set (0.00 sec)mysql>
授权远程访问
mysql> update user set host="%" where user='root';mysql> select host,user,plugin from user;
+-----------+------------------+-----------------------+
| host      | user             | plugin                |
+-----------+------------------+-----------------------+
| %         | root             | caching_sha2_password |
| localhost | mysql.infoschema | caching_sha2_password |
| localhost | mysql.session    | caching_sha2_password |
| localhost | mysql.sys        | caching_sha2_password |
+-----------+------------------+-----------------------+
4 rows in set (0.00 sec)
mysql> flush privileges;
Query OK, 0 rows affected (0.01 sec)
你的密码:我设置为Aa123456,根据你实际的情况设置
注意:
mysql_native_password,mysql8.x版本必须使用这种模式,否则navicate无法正确连接
use mysql;
ALTER USER 'root'@'%' IDENTIFIED WITH caching_sha2_password BY '你的密码';
ALTER USER 'root'@'%' IDENTIFIED WITH mysql_native_password BY '你的密码';
flush privileges;或者使用这个方式
update user set authentication_string=password("Aa123456"),plugin='caching_sha2_password' where user='root';
将/etc/my.cnf 中的 skip-grant-tables 增加注释,重启 mysqld 服务;
如果报错ERROR 1396,请看下面
mysql> ALTER USER 'root'@'%' IDENTIFIED WITH caching_sha2_password BY 'Aa123456';
ERROR 1396 (HY000): Operation ALTER USER failed for 'root'@'%'
mysql> update user set authentication_string='' where user='root';
Query OK, 0 rows affected (0.00 sec)
Rows matched: 1  Changed: 0  Warnings: 0
mysql> ALTER USER 'root'@'%' IDENTIFIED WITH caching_sha2_password BY 'Aa123456';mysql> flush privileges;
6. 常用服务器命令
启动mysql服务:
systemctl start mysqld.service
停止mysql服务
systemctl stop mysqld.service
重启mysql服务
systemctl restart mysqld.service
查看mysql服务当前状态
systemctl status mysqld.service
设置mysql服务开机自启动
systemctl enable mysqld.service
停止mysql服务开机自启动
systemctl disable mysqld.service
7.其他版本安装
参考我以前的Linux彻底卸载删除Mysql和安装mysql及docker安装和配置


