group模块:
创建一个group组:
[root@localhost ~]# ansible group1 -m group -a "name=aaa gid=5000"
192.168.17.105 | CHANGED => {"ansible_facts": {"discovered_interpreter_python": "/usr/bin/python"},"changed": true,"gid": 5000,"name": "aaa","state": "present","system": false
}
192.168.17.106 | CHANGED => {"ansible_facts": {"discovered_interpreter_python": "/usr/bin/python"},"changed": true,"gid": 5000,"name": "aaa","state": "present","system": false
}
检查group组的创建:
[root@agent1 tmp]# grep aaa /etc/group
aaa:x:5000:
默认创建用户,并将bbb添加到group5000这个组中。
[root@localhost ~]# ansible group1 -m user -a "name=bbb group=5000"
192.168.17.105 | CHANGED => {"ansible_facts": {"discovered_interpreter_python": "/usr/bin/python"},"changed": true,"comment": "","create_home": true,"group": 5000,"home": "/home/bbb","name": "bbb","shell": "/bin/bash","state": "present","system": false,"uid": 1000
}
192.168.17.106 | CHANGED => {"ansible_facts": {"discovered_interpreter_python": "/usr/bin/python"},"changed": true,"comment": "","create_home": true,"group": 5000,"home": "/home/bbb","name": "bbb","shell": "/bin/bash","state": "present","system": false,"uid": 1000
}
检查:
[root@agent1 tmp]# grep bbb /etc/passwd
bbb:x:1000:5000::/home/bbb:/bin/bash

把用户添加到一系列组中。
[root@agent1 tmp]# id bbb
uid=1000(bbb) gid=5000(aaa) groups=5000(aaa)
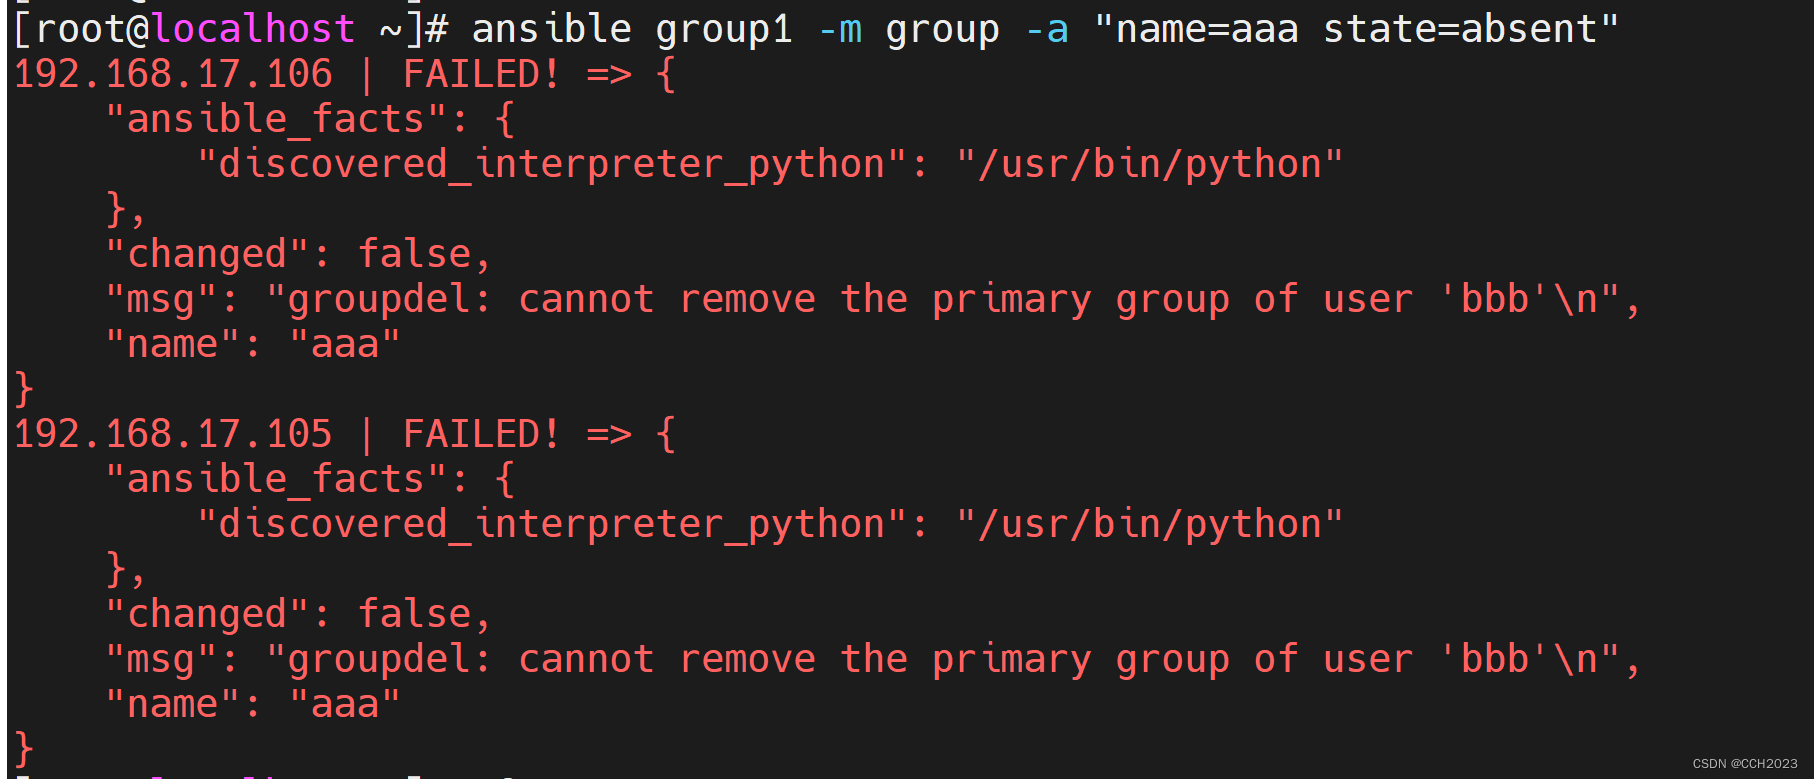
只有先删除bbb用户,然后再删除组:
[root@localhost ~]# ansible group1 -m user -a "name=bbb state=absent"
192.168.17.105 | CHANGED => {"ansible_facts": {"discovered_interpreter_python": "/usr/bin/python"},"changed": true,"force": false,"name": "bbb","remove": false,"state": "absent"
}
192.168.17.106 | CHANGED => {"ansible_facts": {"discovered_interpreter_python": "/usr/bin/python"},"changed": true,"force": false,"name": "bbb","remove": false,"state": "absent"
}
[root@localhost ~]#
[root@localhost ~]# ansible group1 -m group -a "name=aaa state=absent"
192.168.17.105 | CHANGED => {"ansible_facts": {"discovered_interpreter_python": "/usr/bin/python"},"changed": true,"name": "aaa","state": "absent"
}
192.168.17.106 | CHANGED => {"ansible_facts": {"discovered_interpreter_python": "/usr/bin/python"},"changed": true,"name": "aaa","state": "absent"
}
操作的过程中,还要注意删除用户的家目录。
cron模块:
cron模块,用于管理周期性时间任务。
创建一个cron任务,不指定user的话,默认是root(因为我这里是用root操作的)。
如果minute、hour、day、month、week不指定的话,默认是*。
对周期任务比较熟悉的话,那这个模块还是很好理解的。
vim /etc/crontab:
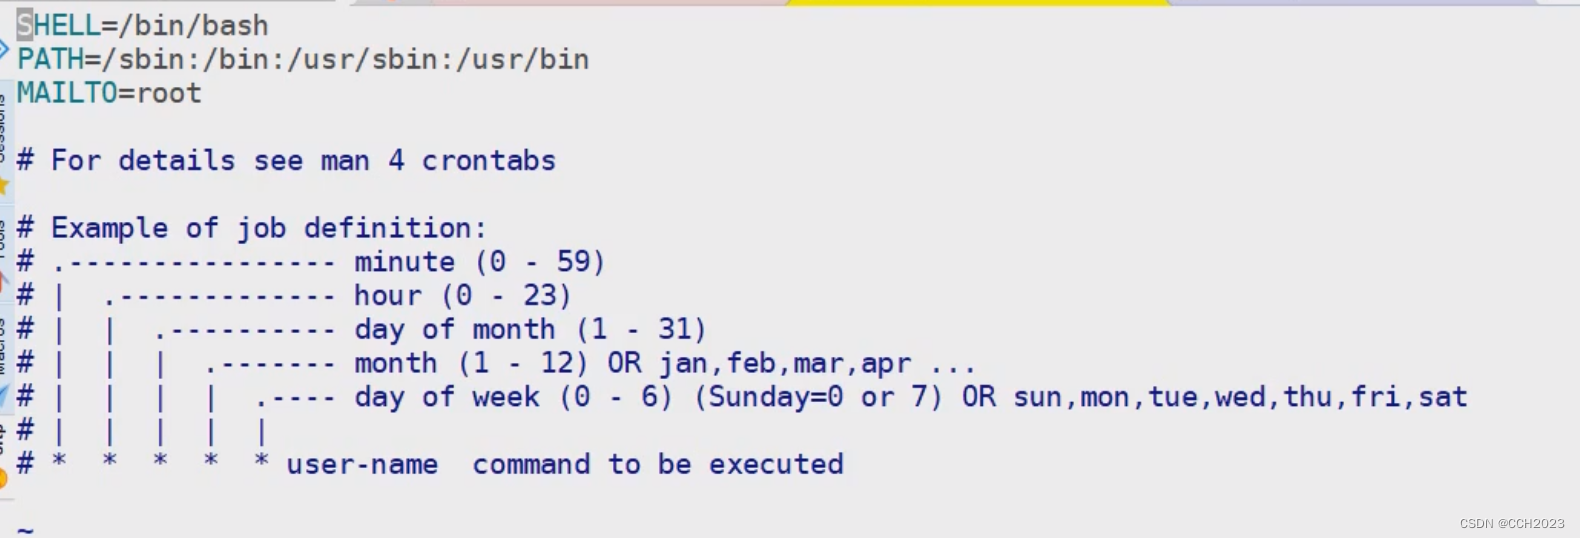
注意:其中要配置用户名,再写要干的事情。
如果我们直接使用crontab -e,就不用写用户,因为就是使用root用户来操作的。
然后还需要记住一个路径:/var/spool/cron 这个路径:

创建一个案例:
[root@localhost ~]# ansible group1 -m cron -a "name='cron1' user=root job='touch /tmp/222' minute=*/2 hour=1,3-5"
192.168.17.105 | CHANGED => {"ansible_facts": {"discovered_interpreter_python": "/usr/bin/python"},"changed": true,"envs": [],"jobs": ["cron1"]
}
192.168.17.106 | CHANGED => {"ansible_facts": {"discovered_interpreter_python": "/usr/bin/python"},"changed": true,"envs": [],"jobs": ["cron1"]
}
[root@agent1 tmp]# crontab -l
#Ansible: cron1
*/2 1,3-5 * * * touch /tmp/222
删除cron:
[root@localhost ~]# ansible group1 -m cron -a "name='cron1' state=absent"
192.168.17.105 | CHANGED => {"ansible_facts": {"discovered_interpreter_python": "/usr/bin/python"},"changed": true,"envs": [],"jobs": []
}
192.168.17.106 | CHANGED => {"ansible_facts": {"discovered_interpreter_python": "/usr/bin/python"},"changed": true,"envs": [],"jobs": []
}
[root@agent1 tmp]# crontab -l
[root@agent1 tmp]#
通过文件的方式也可以进行操作:

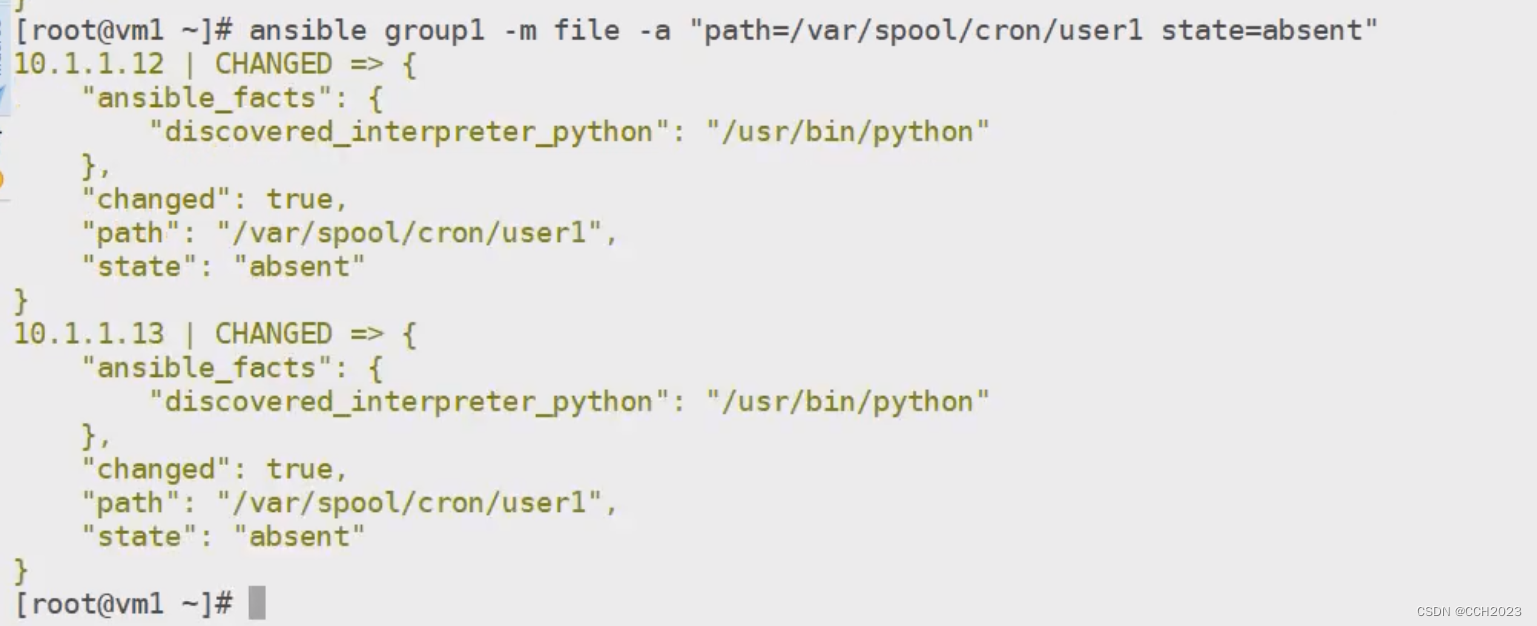
这个思路需要掌握下。



![java八股文面试[数据库]——B树和B+树的区别](https://img-blog.csdnimg.cn/e3340931f2e1432eacc7536f91775af0.png)
