🐱 个人主页:不叫猫先生,公众号:前端舵手
🙋♂️ 作者简介:前端领域优质作者、阿里云专家博主,共同学习共同进步,一起加油呀!
📢 资料领取:前端进阶资料可以找我免费领取
🔥 摸鱼学习交流:我们的宗旨是在「工作中摸鱼,摸鱼中进步」,期待大佬一起来摸鱼(文末有我wx或者私信)

目录
- 1、获取文件路径
- 2、刷新开发工具
- 3、监听文件创建
- 4、监听文件删除
- 5、监听代码复制
- 6、监听代码粘贴
- 7、监听代码剪切
- 8、获取package.json信息
- 9、获取VS Code/电脑系统基本信息
- 🌟「微信读书」VS Code插件推荐
本文介绍了在 VS Code 插件开发过程中常见的命令,后续会继续补充。
1、获取文件路径
在注册命令的回调中,是否存在uri,有的话直接得到文件路径uri.path
vscode.commands.registerCommand('extension.getCurrentFilePath', (uri) => {vscode.window.showInformationMessage(`当前文件(夹)路径是:${uri ? uri.path : '空'}`);})
2、刷新开发工具
开发插件时候需要刷新开发工具,操作步骤如下:
- 注册刷新的命令
- 关闭侧边栏
- 打开自定义的视图
- 打开开发工具
vscode.commands.registerCommand("extension.reloadSidebar", async () => {await vscode.commands.executeCommand("workbench.action.closeSidebar");await vscode.commands.executeCommand("workbench.view.extension.todolist-container");setTimeout(() => {vscode.commands.executeCommand("workbench.action.webview.openDeveloperTools");}, 500);})
3、监听文件创建
vscode.workspace.onDidCreateFiles用于监听文件创建事件,新创建的会被放入到event.files中。
vscode.workspace.onDidCreateFiles((event) => {// 新增的文件const addedFiles = event.files;// 处理新增的文件addedFiles.forEach((file) => {//获取文件名const fileName = path.basename(file.fsPath);// 使用 path.extname() 截取文件名后面的字符串(即文件后缀)const fileExtension = path.extname(fileName).toLowerCase();//获取文件类型const fileType = fileExtension.substring(1);});})
4、监听文件删除
监听文件删除与监听文件创建类似,只是用的API不同,监听文件删除使用onDidDeleteFiles,删除的文件信息放到event.files中
vscode.workspace.onDidDeleteFiles((event) => {// 删除的文件const deletedFiles = event.files;deletedFiles.forEach((file) => {const fileName = path.basename(file.fsPath);// 使用 path.extname() 截取文件名后面的字符串(即文件后缀)const fileExtension = path.extname(fileName).toLowerCase();//获取文件类型const fileType = fileExtension.substring(1);});})
5、监听代码复制
通过执行文本编辑器命令registerTextEditorCommand,可以访问和操作文本编辑器的内容和状态。
vscode.commands.registerTextEditorCommand('extension.copyCommand', (textEditor, edit) => {const selection = textEditor.selection;// 获取选中的文本const selectedText = textEditor.document.getText(selection);// 将选中的文本存储到剪贴板vscode.env.clipboard.writeText(selectedText);//获取当前活跃的编辑器面板const activeTextEditor = vscode.window.activeTextEditor;let currentFilePath;if (activeTextEditor) {//获取当前路径currentFilePath = activeTextEditor.document.uri.fsPath;console.log(currentFilePath); // 输出当前文件的路径}// 获取选中文本的起始行和结束行,因为返回值的第一行是从0开始,所以这里加1const startLine = selection.start.line + 1;const endLine = selection.end.line + 1;}),
6、监听代码粘贴
通过执行registerCommand创建一个自定义的粘贴命令,将剪贴板中的文本粘贴到当前文本编辑器中的所选区域,并在粘贴后执行一些后续操创建一个自定义的粘贴命令,将剪贴板中的文本粘贴到当前文本编辑器中的所选区域,并在粘贴后执行一些后续操。监听代码粘贴,其实也就是重写了粘贴的逻辑,然后再获取粘贴的内容。
vscode.commands.registerCommand('extension.pasteCommand', () => {//获取当前活动的文本编辑器对象 const textEditor = vscode.window.activeTextEditor;if (!textEditor) {return;}//获取当前文本编辑器中的选择区域const selections = textEditor.selections;// 获取粘贴前的开始行号const originalStartLine = selections[0].start.line + 1; // 获取粘贴前的结束行号const originalEndLine = selections[0].end.line + 1; // 获取粘贴内容vscode.env.clipboard.readText().then((clipboardText) => {const edits: any[] = [];const filePath = textEditor.document.uri.fsPath;selections.forEach((selection) => {const startPosition = selection.start;const endPosition = selection.end;// 创建粘贴操作对应的编辑edits.push({range: new vscode.Range(startPosition, endPosition),newText: clipboardText,});});// 使用 Promise.all 等待所有编辑操作完成Promise.all(edits.map((edit) =>textEditor.edit((editBuilder) => {editBuilder.replace(edit.range, edit.newText);}))).then(() => {// 获取粘贴后的选择区域信息const newSelections = textEditor.selections;const newStartLine = newSelections[0].start.line + 1; // 获取粘贴后的开始行号const newEndLine = newSelections[0].end.line + 1; // 获取粘贴后的结束行号});});})
7、监听代码剪切
监听代码剪切,其实也是重写了剪切的逻辑,通过执行registerTextEditorCommand,可以访问和操作文本编辑器的内容和状态,然后在进行剪切时对代码进行处理。
vscode.commands.registerTextEditorCommand('extension.cutCommand', (textEditor, edit) => {const selection = textEditor.selection;// 获取被剪切的文本const cutText = textEditor.document.getText(selection);// 删除被剪切的文本edit.delete(selection);// 将剪切的文本存储到剪切板vscode.env.clipboard.writeText(cutText);//获取当前文件路径const activeTextEditor = vscode.window.activeTextEditor;let currentFilePath;if (activeTextEditor) {currentFilePath = activeTextEditor.document.uri.fsPath;// 获取选中文本的起始行和结束行const startLine = selection.start.line + 1;const endLine = selection.end.line + 1;}),
8、获取package.json信息
可以通过vscode.extensions.getExtension获取到扩展程序的引用,其中 ‘yourPublisher.yourName’ 应该被替换为你自己扩展程序的发布者和名称。具体来说,这个代码的目的是获取特定扩展程序的引用,以便在扩展程序内部执行操作或获取有关扩展程序的信息。
let packageJSON = '';let extension = vscode.extensions.getExtension('yourPublisher.yourName');if (extension) {packageJSON = extension.packageJSON;} else {packageJSON = "";}
9、获取VS Code/电脑系统基本信息
获取操作系统名称、版本、VSCode版本、CPU型号、CPU核心数量和总物理内存,用于收集系统信息以用于日志记录、性能分析或任何需要了解运行环境的用途。
- 使用 Node.js 的
os模块的platform方法获取操作系统的名称。这将返回例如 “win32”(Windows)、“linux”(Linux)或 “darwin”(macOS)等字符串。
const os = require('os');
const osName = os.platform()
- 使用
os模块的release方法获取操作系统的版本信息。这通常是操作系统的版本号
const osVersion = os.release()
- 获取 Visual Studio Code (VSCode) 的版本信息。这是通过访问
vscode对象的version属性来实现的
const vscodeVersion = vscode.version
- 使用
os模块的cpus方法获取计算机的 CPU 信息数组,然后从数组中取出第一个 CPU 的型号信息
const cpu = os.cpus()[0].model
- 同样使用
os模块的cpus方法获取 CPU 信息数组,并通过数组的长度来获取计算机的 CPU 核心数量。
const cpuCores = os.cpus().length
- 使用
os模块的totalmem方法获取计算机的总物理内存(以字节为单位),然后将其转换为千兆字节 (GB)。
const totalPhysicalMemory = os.totalmem() / (1024 * 1024 * 1024);`
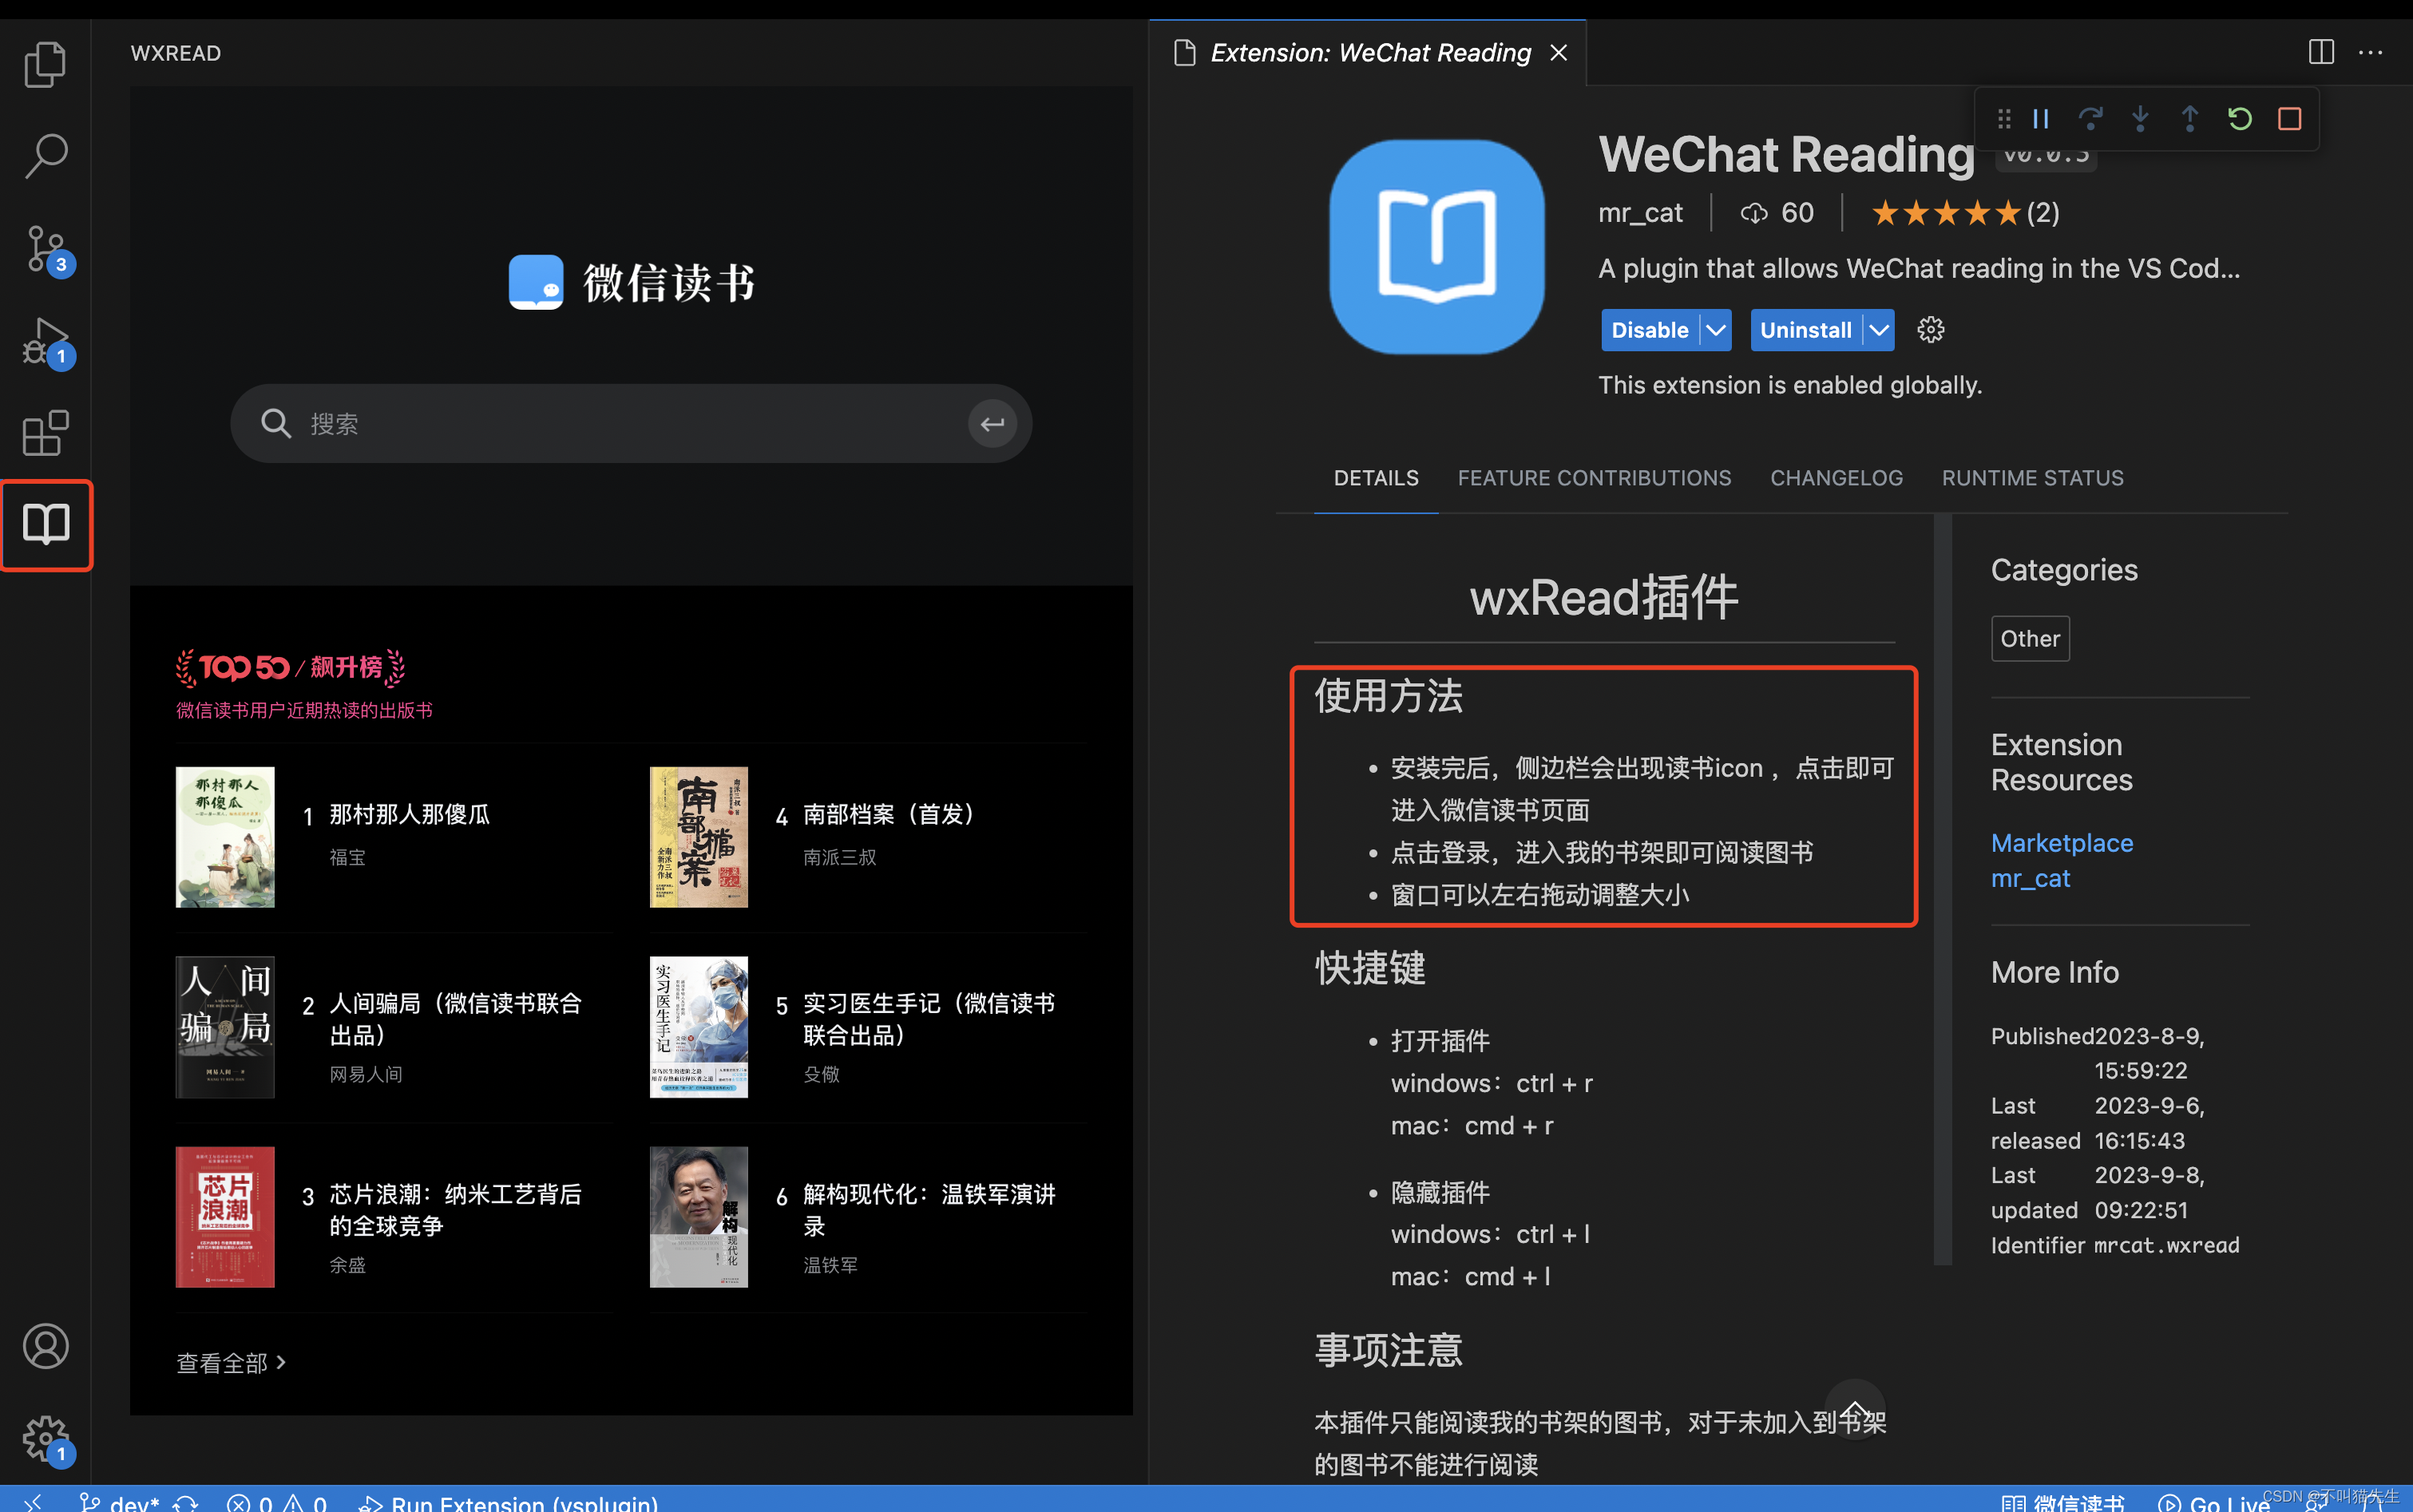
🌟「微信读书」VS Code插件推荐
插件市场搜索:WeChat Reading
注意:本插件只能阅读我的书架的图书,对于未加入到书架的图书不能进行阅读,所以只能通过其他方式比如PC、手机先把书加入书架后才能进行阅读。
