前言:
在 Vue 3 中,Pinia 是一个用于管理全局状态的库。它可以让我们更容易地维护和共享应用的状态。下面是如何在 Vue 3 中使用 Pinia 的步骤。
正文:
首先,我们需要安装 Pinia。可以使用 npm 或者 yarn 来安装。例如,使用 npm 安装的命令如下:
npm install pinia --save
安装完成后,我们需要在应用的主入口文件中(通常是 main.js 或 main.ts)导入 Pinia 并创建一个 Pinia 实例。
import { createApp } from 'vue'
import App from './App.vue'
import { createPinia } from 'pinia'const app = createApp(App)
const pinia = createPinia()
app.use(pinia)
app.mount('#app')
创建完 Pinia 实例后,我们可以开始定义状态了。我们可以为每个状态创建一个独立的 store 文件。例如,我们可以在 stores 目录下创建一个 user.js 文件,然后在其中定义用户的 state、actions 和 getters。
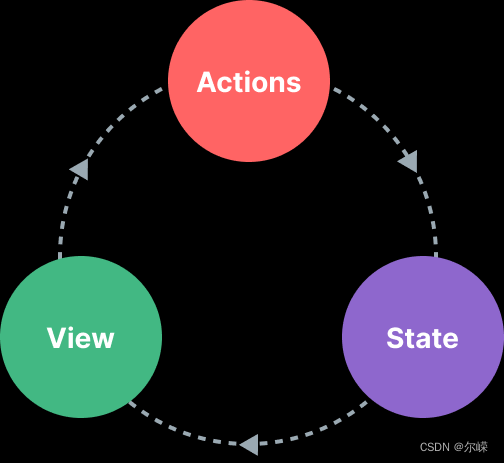
import { defineStore } from 'pinia'export const useUserStore = defineStore('user', {state: () => ({name: 'John Doe',email: 'john.doe@example.com'}),actions: {async fetch() {// 异步获取用户信息...}},getters: {fullName(state) {return `${state.name} ${state.email}`}}
})
定义完状态后,我们就可以在任何组件中使用这个状态了。我们只需要在组件中引入这个状态,并使用 `useStore` 函数来访问它。
<script>
import { useUserStore } from '@/stores/user'export default {setup() {const userStore = useUserStore()// 使用状态console.log(userStore.fullName)// 调用 actionuserStore.fetch()return {}}
}
</script>
以上就是在 Vue 3 中使用 Pinia 的基本步骤。
总结
相比于 Vuex,Pinia 提供了更简洁直接的 API,并提供了组合式风格的 API,最重要的是,在使用 TypeScript 时它提供了更完善的类型推导。

![【NLP】特征提取: 广泛指南和 3 个操作教程 [Python、CNN、BERT]](https://img-blog.csdnimg.cn/img_convert/7d4a81ef947b615bdc05f5a4d4087c34.jpeg)
