zabbix部署
- 部署zabbix服务
- 被监测主机部署zabbix-agent2
使用版本
| 组件 | 版本 |
|---|---|
| centos | 7.9 |
| zabbix | 5.0 |
| php | 7.2.24 |
| MariaDB | 5.5.68 |
部署zabbix服务
关闭防火墙和selinux
[root@node ~]# systemctl status firewalld
● firewalld.service - firewalld - dynamic firewall daemonLoaded: loaded (/usr/lib/systemd/system/firewalld.service; disabled; vendor preset: enabled)Active: inactive (dead)Docs: man:firewalld(1)
[root@node ~]# getenforce
Disabled
获取zabbix的下载源
rpm -Uvh https://mirrors.aliyun.com/zabbix/zabbix/5.0/rhel/7/x86_64/zabbix-release-5.0-1.el7.noarch.rpm
这边其实清空缓存就可以了
[root@node ~]# yum clean all
[root@node ~]# yum makecache
用于多版本环境使用(安装software Collections,避免php多版本冲突)
[root@node ~]# yum install centos-release-scl -y
查看源信息,这里使用的是国外源,想使用国内更换为阿里源
[root@node ~]# cat /etc/yum.repos.d/zabbix.repo
[zabbix]
name=Zabbix Official Repository - $basearch
baseurl=http://repo.zabbix.com/zabbix/5.0/rhel/7/$basearch/
enabled=1
gpgcheck=1
gpgkey=file:///etc/pki/rpm-gpg/RPM-GPG-KEY-ZABBIX-A14FE591[zabbix-frontend]
name=Zabbix Official Repository frontend - $basearch
baseurl=http://repo.zabbix.com/zabbix/5.0/rhel/7/$basearch/frontend
enabled=1
gpgcheck=1
gpgkey=file:///etc/pki/rpm-gpg/RPM-GPG-KEY-ZABBIX-A14FE591[zabbix-debuginfo]
name=Zabbix Official Repository debuginfo - $basearch
baseurl=http://repo.zabbix.com/zabbix/5.0/rhel/7/$basearch/debuginfo/
enabled=0
gpgkey=file:///etc/pki/rpm-gpg/RPM-GPG-KEY-ZABBIX-A14FE591
gpgcheck=1[zabbix-non-supported]
name=Zabbix Official Repository non-supported - $basearch
baseurl=http://repo.zabbix.com/non-supported/rhel/7/$basearch/
enabled=1
gpgkey=file:///etc/pki/rpm-gpg/RPM-GPG-KEY-ZABBIX
gpgcheck=1[root@node ~]# sed -i 's#http://repo.zabbix.com#https://mirrors.aliyun.com/zabbix#' /etc/yum.repos.d/zabbix.repo[root@node ~]# cat /etc/yum.repos.d/zabbix.repo
[zabbix]
name=Zabbix Official Repository - $basearch
baseurl=https://mirrors.aliyun.com/zabbix/zabbix/5.0/rhel/7/$basearch/
enabled=1
gpgcheck=1
gpgkey=file:///etc/pki/rpm-gpg/RPM-GPG-KEY-ZABBIX-A14FE591[zabbix-frontend]
name=Zabbix Official Repository frontend - $basearch
baseurl=https://mirrors.aliyun.com/zabbix/zabbix/5.0/rhel/7/$basearch/frontend
enabled=1
gpgcheck=1
gpgkey=file:///etc/pki/rpm-gpg/RPM-GPG-KEY-ZABBIX-A14FE591[zabbix-debuginfo]
name=Zabbix Official Repository debuginfo - $basearch
baseurl=https://mirrors.aliyun.com/zabbix/zabbix/5.0/rhel/7/$basearch/debuginfo/
enabled=0
gpgkey=file:///etc/pki/rpm-gpg/RPM-GPG-KEY-ZABBIX-A14FE591
gpgcheck=1[zabbix-non-supported]
name=Zabbix Official Repository non-supported - $basearch
baseurl=https://mirrors.aliyun.com/zabbix/non-supported/rhel/7/$basearch/
enabled=1
gpgkey=file:///etc/pki/rpm-gpg/RPM-GPG-KEY-ZABBIX
gpgcheck=1
安装zabbix及配置mysql
[root@node ~]# yum install zabbix-server-mysql zabbix-agent -y
[root@node ~]# yum install zabbix-web-mysql-scl zabbix-apache-conf-scl -y
[root@node ~]# yum install mariadb-server -y
[root@node ~]# systemctl enable --now mariadb
[root@node ~]# mysql_secure_installation NOTE: RUNNING ALL PARTS OF THIS SCRIPT IS RECOMMENDED FOR ALL MariaDBSERVERS IN PRODUCTION USE!  PLEASE READ EACH STEP CAREFULLY!In order to log into MariaDB to secure it, we'll need the current
password for the root user.  If you've just installed MariaDB, and
you haven't set the root password yet, the password will be blank,
so you should just press enter here.Enter current password for root (enter for none):
OK, successfully used password, moving on...Setting the root password ensures that nobody can log into the MariaDB
root user without the proper authorisation.Set root password? [Y/n] Y
New password:
Re-enter new password:
Password updated successfully!
Reloading privilege tables..... Success!By default, a MariaDB installation has an anonymous user, allowing anyone
to log into MariaDB without having to have a user account created for
them.  This is intended only for testing, and to make the installation
go a bit smoother.  You should remove them before moving into a
production environment.Remove anonymous users? [Y/n] Y... Success!Normally, root should only be allowed to connect from 'localhost'.  This
ensures that someone cannot guess at the root password from the network.Disallow root login remotely? [Y/n] Y... Success!By default, MariaDB comes with a database named 'test' that anyone can
access.  This is also intended only for testing, and should be removed
before moving into a production environment.Remove test database and access to it? [Y/n] y- Dropping test database...... Success!- Removing privileges on test database...... Success!Reloading the privilege tables will ensure that all changes made so far
will take effect immediately.Reload privilege tables now? [Y/n] y... Success!Cleaning up...All done!  If you've completed all of the above steps, your MariaDB
installation should now be secure.Thanks for using MariaDB![root@node ~]# mysql -uroot -p
Enter password:
Welcome to the MariaDB monitor.  Commands end with ; or \g.
Your MariaDB connection id is 10
Server version: 5.5.68-MariaDB MariaDB ServerCopyright (c) 2000, 2018, Oracle, MariaDB Corporation Ab and others.Type 'help;' or '\h' for help. Type '\c' to clear the current input statement.MariaDB [(none)]>
MariaDB [(none)]>
MariaDB [(none)]> show databases;
+--------------------+
| Database           |
+--------------------+
| information_schema |
| mysql              |
| performance_schema |
+--------------------+
3 rows in set (0.00 sec)MariaDB [(none)]> create database zabbix character set utf8 collate utf8_bin;
Query OK, 1 row affected (0.00 sec)MariaDB [(none)]> create user zabbix@localhost identified by 'mysql123';
Query OK, 0 rows affected (0.00 sec)MariaDB [(none)]> grant all privileges on zabbix.* to zabbix@localhost;
Query OK, 0 rows affected (0.00 sec)MariaDB [(none)]> flush privileges;
Query OK, 0 rows affected (0.00 sec)MariaDB [(none)]>  exit;
Bye
[root@node ~]#
写入sql
[root@node ~]#  zcat /usr/share/doc/zabbix-server-mysql-5.0.40/create.sql.gz | mysql -uzabbix -p zabbix
Enter password:
[root@node ~]# mysql -u zabbix  -p zabbix
Enter password:
Reading table information for completion of table and column names
You can turn off this feature to get a quicker startup with -AWelcome to the MariaDB monitor.  Commands end with ; or \g.
Your MariaDB connection id is 15
Server version: 5.5.68-MariaDB MariaDB ServerCopyright (c) 2000, 2018, Oracle, MariaDB Corporation Ab and others.Type 'help;' or '\h' for help. Type '\c' to clear the current input statement.MariaDB [zabbix]>
MariaDB [zabbix]> show databases;
+--------------------+
| Database           |
+--------------------+
| information_schema |
| zabbix             |
+--------------------+
2 rows in set (0.00 sec)MariaDB [zabbix]> use zabbix;
Database changed
MariaDB [zabbix]>
MariaDB [zabbix]>  exit;
Bye
修改配置
[root@node ~]# vi /etc/zabbix/zabbix_server.conf
[root@node ~]# cat /etc/zabbix/zabbix_server.conf | grep DB | grep -Ev "^#|^$"
DBName=zabbix
DBUser=zabbix
DBPassword=mysql123
[root@node ~]# vi /etc/opt/rh/rh-php72/php-fpm.d/zabbix.conf
[root@node ~]# grep "timezone" /etc/opt/rh/rh-php72/php-fpm.d/zabbix.conf
php_value[date.timezone] = Asia/Shanghai
[root@node ~]# systemctl restart  zabbix-server zabbix-agent httpd rh-php72-php-fpm
[root@node ~]#
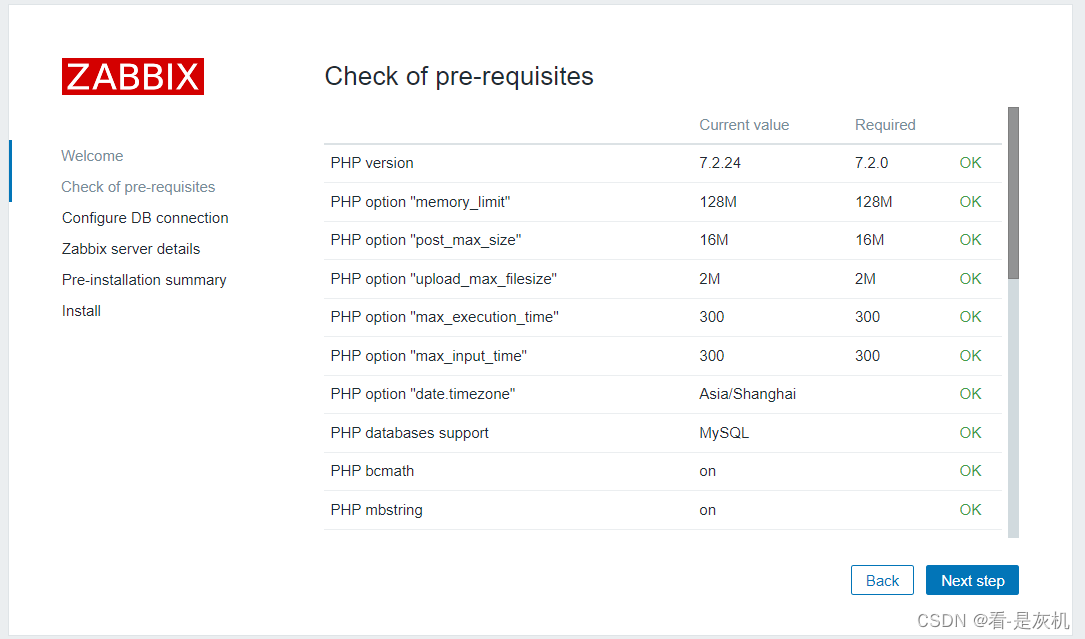
网页查看http://ip/zabbix/setup.php
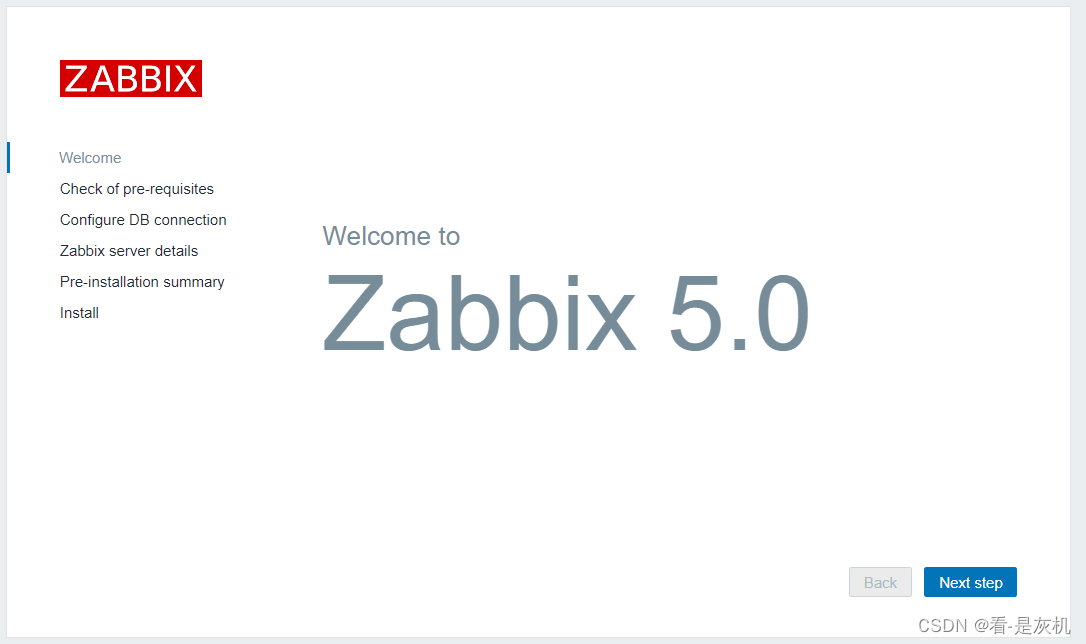
查看右面状态是否全为ok,若不是,检查相关配置
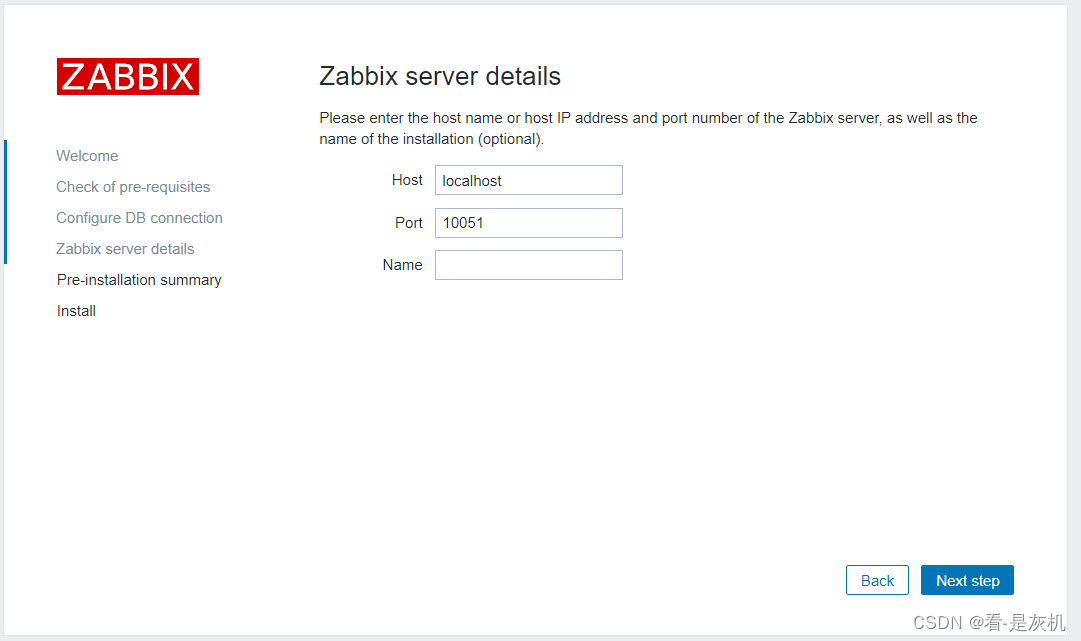
配置数据库信息

下来一直点到结束

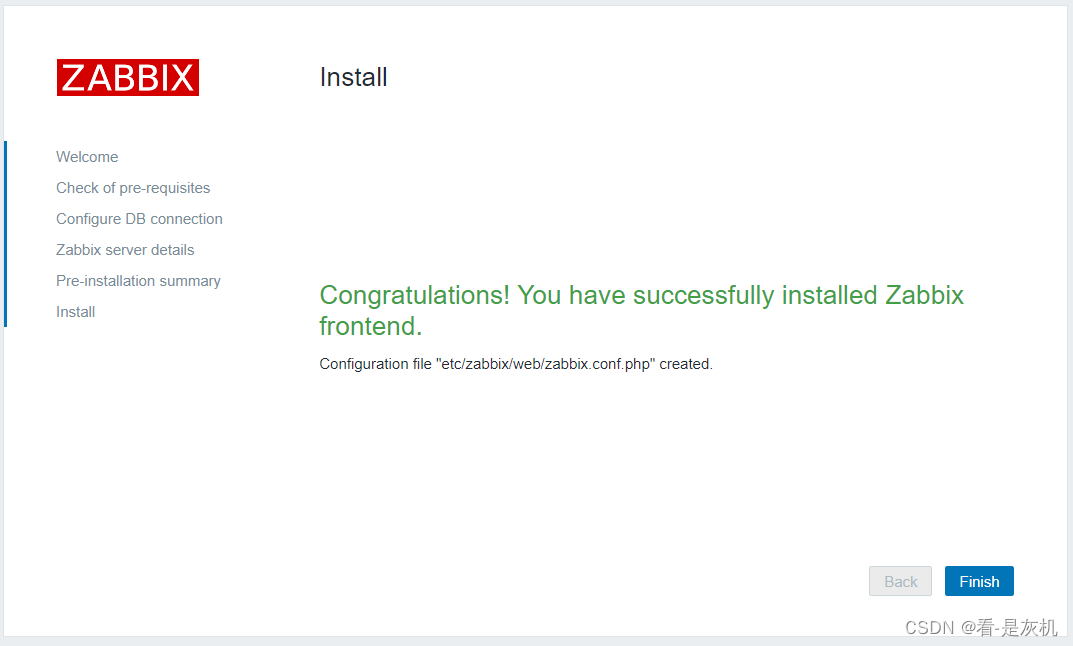
用户名:Admin,密码:zabbix


被监测主机部署zabbix-agent2
zabbix-agent2是由go语言编写的。zabbix对时间要求比较高,所以需要做时间同步。
主机部署ntp服务,然后其他被监控主机(被节点)同步时间即可(如果是先有生产环境,再配置zabbix监控,可以反过来做。具体情况具体分析)
[root@node ~]# yum install ntpd -y
[root@node ~]# systemctl start ntpd
被节点操作
[root@node1 ~]# yum install ntpdate -y
[root@node1 ~]# ntpdate -d 服务端ip
安装zabbix-agent2
[root@node1 ~]# rpm -Uvh https://mirrors.aliyun.com/zabbix/zabbix/5.0/rhel/7/x86_64/zabbix-release-5.0-1.el7.noarch.rpm
[root@node1 ~]# sed -i 's#http://repo.zabbix.com#https://mirrors.aliyun.com/zabbix#' /etc/yum.repos.d/zabbix.repo
[root@node1 ~]# yum install zabbix-agent2
修改配置文件
[root@node1 ~]# grep -Ev "^$|^#" /etc/zabbix/zabbix_agent2.conf
PidFile=/var/run/zabbix/zabbix_agent2.pid
LogFile=/var/log/zabbix/zabbix_agent2.log
LogFileSize=0
Server=主IP
ServerActive=主IP
Hostname=node1
Include=/etc/zabbix/zabbix_agent2.d/*.conf
ControlSocket=/tmp/agent.sock
[root@node1 ~]# systemctl start zabbix-agent2
测试连通性
[root@node ~]# yum install zabbix-get -y
[root@node ~]# zabbix_get -s '172.26.138.68' -p 10050 -k 'agent.ping'
1
页面乱码解决,执行完后刷新页面即可
[root@node ~]# yum install wqy-microhei-fonts -y
[root@node ~]# \cp /usr/share/fonts/wqy-microhei/wqy-microhei.ttc /usr/share/fonts/dejavu/DejaVuSans.ttf


![[足式机器人]Part3 机构运动学与动力学分析与建模 Ch00-1 坐标系与概念基准](https://img-blog.csdnimg.cn/direct/c8ad549f46d34a9fa7b40b1c58f19950.png#pic_center)