环境准备
官网要求CPU dual core 2 GHz or better
RAM at least 2 GB, but depends of the host OS. More is better
HDD at least 40 GB of free space
SWAP at least 4 GB, but depends of the host OS. More is better
SoftwareOS 64-bit Ubuntu 16.04
The solution has been tested on Ubuntu 16.04. Other distributions might require some specific actions which are not described here.
博主的环境
宿主机: window11 64g 24核
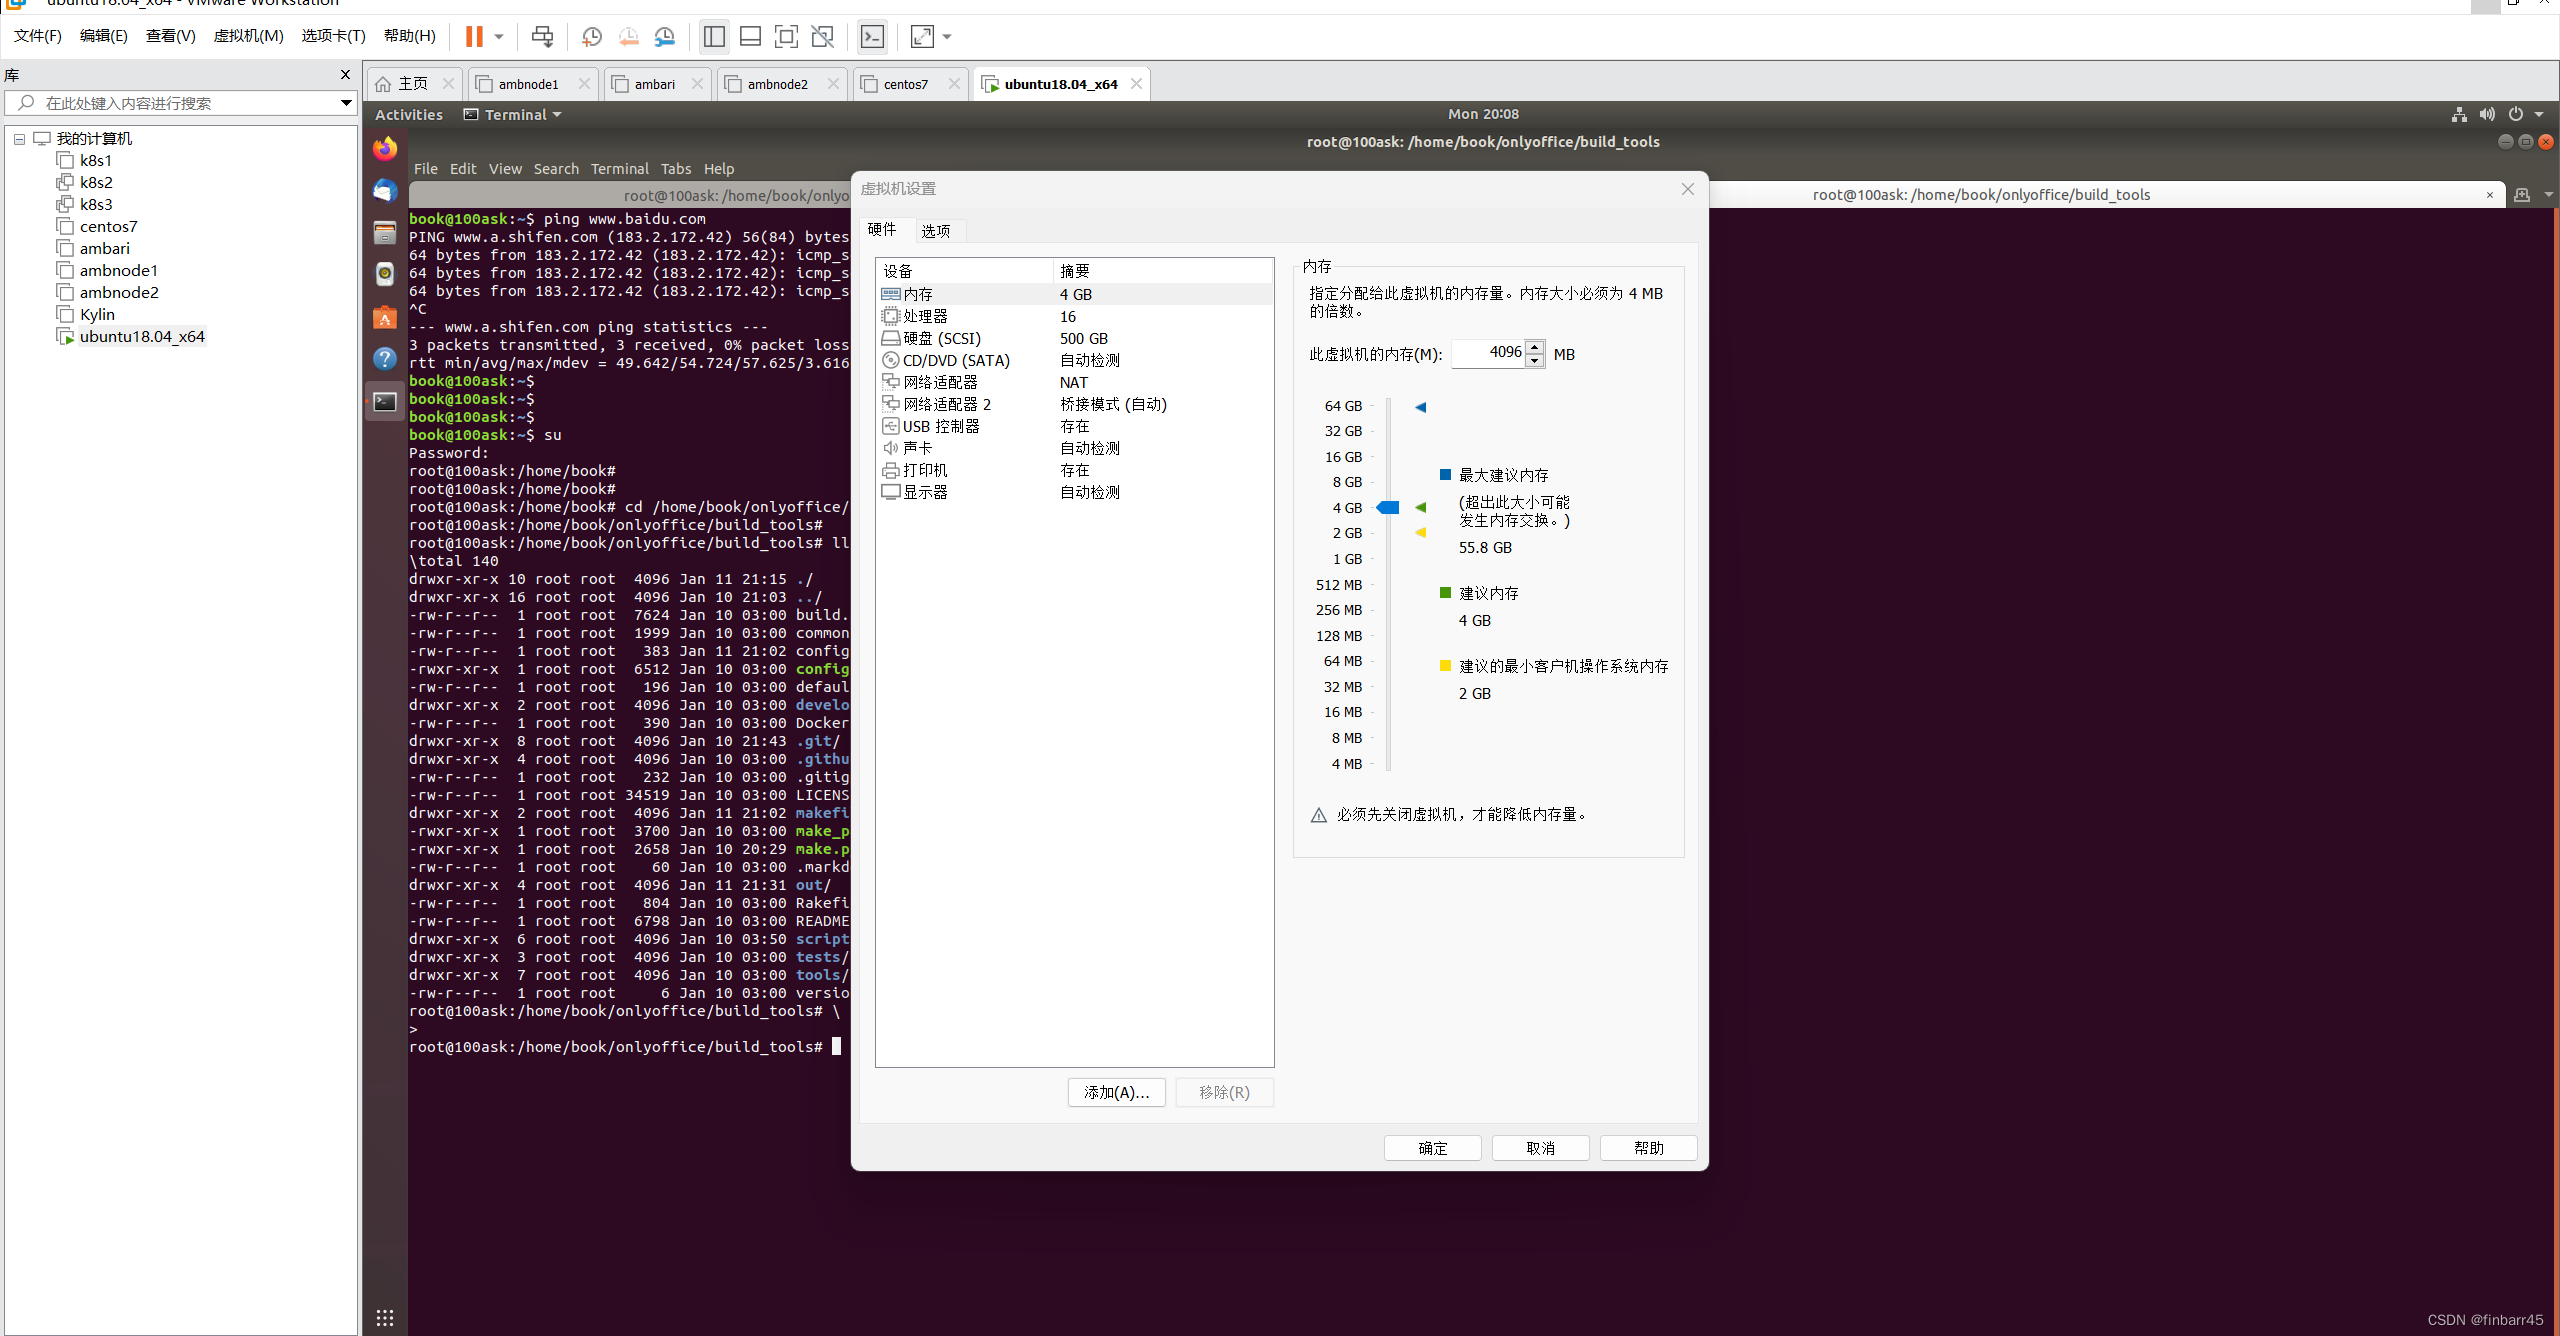
vwmare16里面装的ubuntu16.04(x86),虚拟机配置如下图
- 搭建以及配置安装源加速(自行解决,没有会很慢)
- 参照官网Compiling ONLYOFFICE Docs for a local server - ONLYOFFICE
- 安装git apt-get install -y python git
- 下载代码 git clone https://github.com/ONLYOFFICE/build_tools.git
- Go to the
build_tools/tools/linuxdirectory:cd build_tools/tools/linux - Run the
automate.pyscript specifying theserverparameter to compile the ONLYOFFICE Docs:./automate.py server - 编译的这步骤会遇到很多错误
- 某个文件夹不能存在,或者无法下载,手动下载相关的包放在指定位置
-
Installing and configuring NGINX, PostgreSQL and RabbitMQ
ONLYOFFICE Docs uses
NGINXas a web server andPostgreSQLas a database.RabbitMQis also required for ONLYOFFICE Docs to work correctly.Installing and configuring NGINX
- Install NGINX:
sudo apt-get install nginx - Disable the default website:
sudo rm -f /etc/nginx/sites-enabled/default - Now you need to set up the new website. To do that create the
/etc/nginx/sites-available/onlyoffice-documentserverfile with the following contents:map $http_host $this_host {"" $host;default $http_host; } map $http_x_forwarded_proto $the_scheme {default $http_x_forwarded_proto;"" $scheme; } map $http_x_forwarded_host $the_host {default $http_x_forwarded_host;"" $this_host; } map $http_upgrade $proxy_connection {default upgrade;"" close; } proxy_set_header Host $http_host; proxy_set_header Upgrade $http_upgrade; proxy_set_header Connection $proxy_connection; proxy_set_header X-Forwarded-Host $the_host; proxy_set_header X-Forwarded-Proto $the_scheme; server {listen 0.0.0.0:80;listen [::]:80 default_server;server_tokens off;rewrite ^\/OfficeWeb(\/apps\/.*)$ /web-apps$1 redirect;location / {proxy_pass http://localhost:8000;proxy_http_version 1.1;} } - Add the symlink to the newly created website to the
/etc/nginx/sites-availabledirectory:sudo ln -s /etc/nginx/sites-available/onlyoffice-documentserver /etc/nginx/sites-enabled/onlyoffice-documentserver - And restart NGINX to apply the changes:
sudo nginx -s reload - Start the FileConverter service:
cd out/linux_64/onlyoffice/documentserver/server/FileConverterLD_LIBRARY_PATH=$PWD/bin NODE_ENV=development-linux NODE_CONFIG_DIR=$PWD/../Common/config ./converter - Start the DocService service:
cd out/linux_64/onlyoffice/documentserver/server/DocServiceNODE_ENV=development-linux NODE_CONFIG_DIR=$PWD/../Common/config ./docservice - 参照文档
Installation Guides - Docs Community Edition - ONLYOFFICE
onlyoffice 源码编译,破解20连接数限制,并部署到centos7_onlyoffice 源码编译-CSDN博客


