Opencv-Python教程链接:https://opencv-python-tutorials.readthedocs.io/
本文主要介绍OpenCV-Python如何将鼠标作画笔绘制圆或者矩形。
示例一:图片上双击的位置绘制一个圆圈
首先创建一个鼠标事件回调函数,鼠标事件发生时就会被执行。鼠标事件可以是鼠标上的任何动作,比如左键按下,左键松开,左键双击等。通过鼠标事件获得与鼠标对应的图片上的坐标。根据这些信息可以做任何想做的事。可以通过执行下列代码查看所有被支持的鼠标事件:
import numpy as np
import cv2 as cv

# mouse callback function
def draw_circle(event,x,y,flags,param):
    if event == cv.EVENT_LBUTTONDBLCLK:
        b, g, r = np.random.randint(0, 255), np.random.randint(0, 255), np.random.randint(0, 255)
        l = np.random.randint(2, 100)
        cv.circle(img,(x,y),l,(b, g, r),-1)

# Create a black image, a window and bind the function to window
img = np.zeros((1080,960,3), np.uint8)
cv.namedWindow('image')
cv.setMouseCallback('image',draw_circle)

while(1):
    cv.imshow('image',img)
    if cv.waitKey(20) & 0xFF == 27:
        break
cv.destroyAllWindows()
效果图: 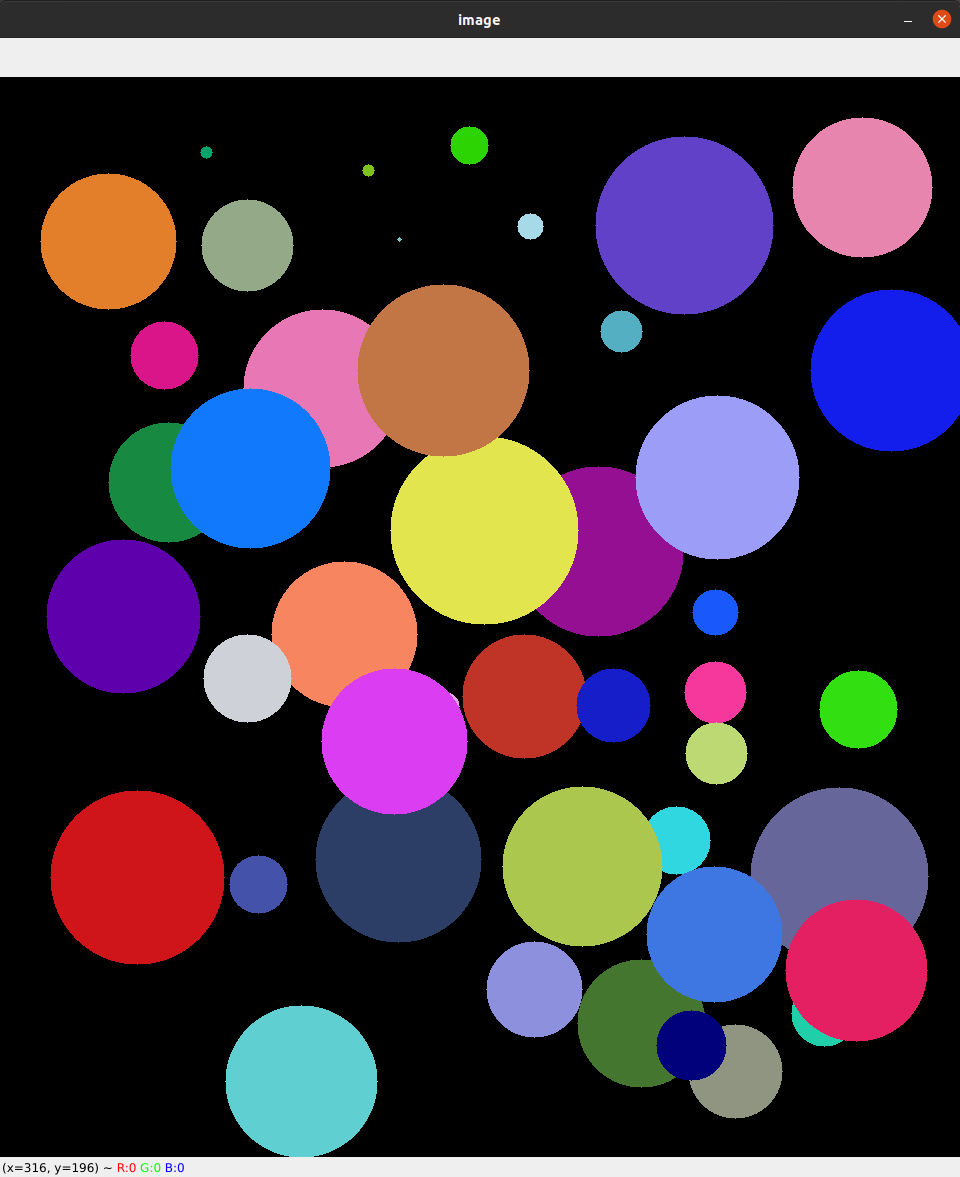
示例二:拖动鼠标时绘制矩形或者是圆圈
这是一个典型的例子,它可以帮助我们更好的理解与构建人机交互式程序,比如物体跟踪,图像分割等。任务是根据选择的模式在拖动鼠标时绘制矩形或者是圆圈(就像画图程序中一样)。因此回调函数包含两部分:一部分画矩形,一部分画圆圈。 将此鼠标回调函数绑定到OpenCV窗口。在主循环中,把按键'm'设置为切换绘制矩形还是圆形。参考以下代码:
import numpy as np
import cv2 as cv

drawing = False # true if mouse is pressed
mode = True # if True, draw rectangle. Press 'm' to toggle to curve
ix,iy = -1,-1

# mouse callback function
def draw_circle(event,x,y,flags,param):
    global ix,iy,drawing,mode
    if event == cv.EVENT_LBUTTONDOWN:
        drawing = True
        ix,iy = x,y
    elif event == cv.EVENT_MOUSEMOVE:
        if drawing == True:
            if mode == True:
                cv.rectangle(img,(ix,iy),(x,y),(0,255,0),-1)
            else:
                cv.circle(img,(x,y),5,(0,0,255),-1)

    elif event == cv.EVENT_LBUTTONUP:
        drawing = False
        if mode == True:
            cv.rectangle(img,(ix,iy),(x,y),(0,255,0),-1)
        else:
            cv.circle(img,(x,y),5,(0,0,255),-1)

img = np.zeros((512,512,3), np.uint8)
cv.namedWindow('image')
cv.setMouseCallback('image',draw_circle)

while(1):
    cv.imshow('image',img)
    k = cv.waitKey(1) & 0xFF
    if k == ord('m'):
        mode = not mode
    elif k == 27:
        break
cv.destroyAllWindows()
效果图: 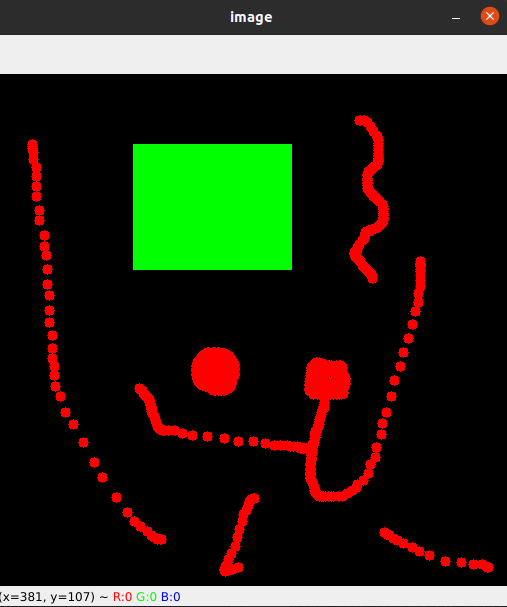
本文由 mdnice 多平台发布


