前篇
第四篇
RTP工具改进(四) - rtmp协议推送
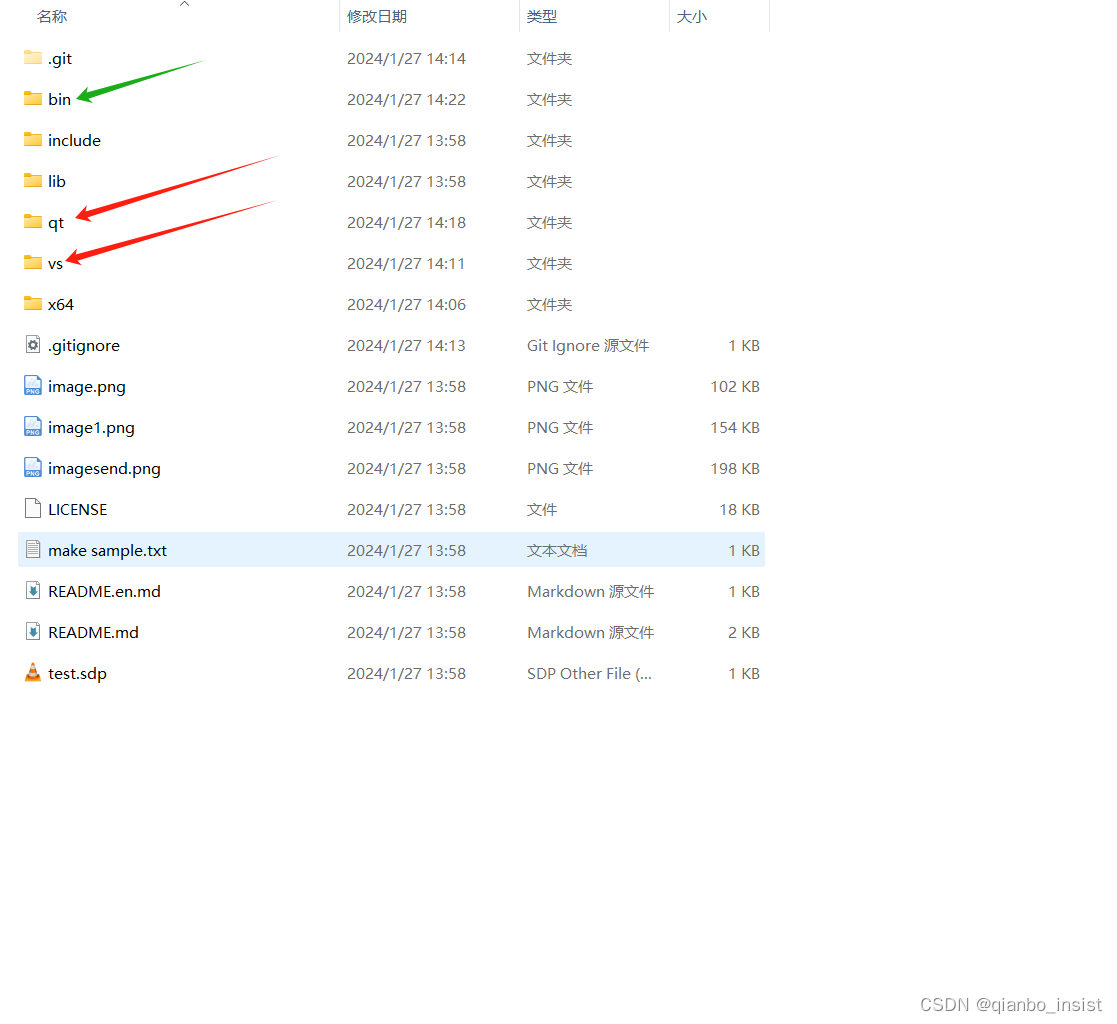
前面使用的工具一直为mfc,今天将使用qt 来做界面,使用qt 来进行程序和协议的编写,qt部分目前还不包括rtp ps流和rtmp,暂时只有rtp 直接传输,关于rtmp协议和ps流协议,先使用vs的mfc。增加和改变的模块为rtp,和 rtp_recv,如下图,以前的vs MFC版本都放到vs下面,有关于qt的 gb28181 的sip server 和 rtp 发送接收等都放到qt下面,所有可执行都放到外层的bin下面
代码地址
https://gitee.com/guanzhi0319/rtp
QT 加入
除了gb28181 的可视化界面,增加了两个程序,一个qt_rtp,一个qt_rtp_recv,打开后如下所示
2.1 发送端
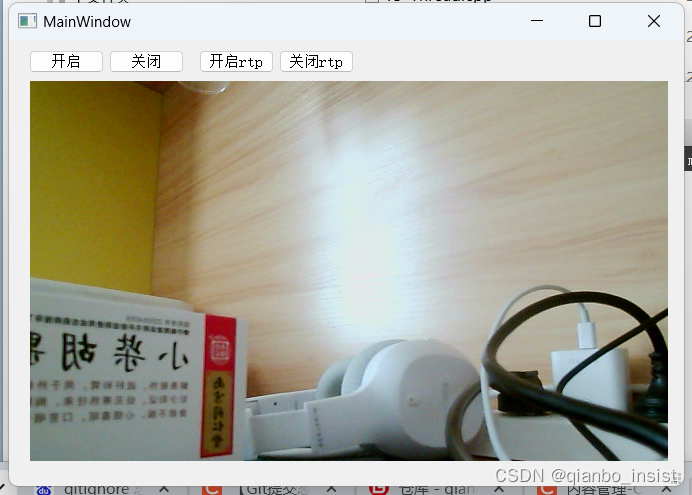
目前制作还是比较简陋,先以能执行为主,使用qt 5.14,mingw,不依赖于vs,所以读者可以不安装vs就可以使用该代码,首先制作一个CameraVideoSurface类,用来读摄像头
#include "c_cameravideo.h"
#include <QDebug>
//c_cameravideo::c_cameravideo(QObject * parent)
//{//}
CameraVideoSurface::CameraVideoSurface(QObject *parent): QAbstractVideoSurface(parent)
{//this->InitEncoder();
}CameraVideoSurface::~CameraVideoSurface()
{
//    avformat_close_input(&pOutputFormatCtx);
//    av_frame_free(&yuvFrame);
//    av_packet_free(&packet);
//    avcodec_close(pCodecCtx);
}void CameraVideoSurface::setCameraResolution(const QSize &size)
{this->setNativeResolution(size);
}
QList<QVideoFrame::PixelFormat> CameraVideoSurface::supportedPixelFormats
(QAbstractVideoBuffer::HandleType handleType) const
{QList<QVideoFrame::PixelFormat > pixelFormats;pixelFormats.append(QVideoFrame::Format_BGR24);pixelFormats.append(QVideoFrame::Format_RGB32);pixelFormats.append(QVideoFrame::Format_YUV420P);return pixelFormats;
}bool CameraVideoSurface::present(const QVideoFrame &frame)
{if (frame.isValid()){QVideoFrame cloneFrame(frame);cloneFrame.map(QAbstractVideoBuffer::ReadOnly);QImage image(cloneFrame.bits(), cloneFrame.width(), cloneFrame.height(),QVideoFrame::imageFormatFromPixelFormat(frame.pixelFormat()));
//        QImage image2(cloneFrame.bits(), cloneFrame.width(), cloneFrame.height(),
//                     QVideoFrame::imageFormatFromPixelFormat(QVideoFrame::Format_BGR24));image = image.mirrored(true, true);// rgb 转 yuv
//        uint8_t *data[AV_NUM_DATA_POINTERS] = {0};
//        data[0] = (uint8_t *)image.constBits();
//        int linesize[AV_NUM_DATA_POINTERS] = {0};
//        linesize[0] = pCodecCtx->width * 4;
//        sws_scale(image_convert_ctx, data, linesize, 0, pCodecCtx->height,
//                  yuvFrame->data, yuvFrame->linesize);
//        // 编码
//        this->Encode(yuvFrame);emit showFrame(image);cloneFrame.unmap();return true;}return false;
}#if 0
void CameraVideoSurface::InitEncoder()
{//av_register_all();avformat_network_init();avcodec_register_all();QString outputFileName = "output.h264";QString encoderName = "libx264";//QString rtmpAddress = "rtmp://192.168.1.111/live/livestream";pCodec = avcodec_find_encoder_by_name(encoderName.toStdString().c_str());if(NULL == pCodec){qDebug() <<"查找视频编码器失败!";return;}pCodecCtx = avcodec_alloc_context3(pCodec);if(NULL == pCodecCtx){qDebug() <<"开辟编解码器上下文";return;}// 输入样本参数pCodecCtx->bit_rate = 400000;pCodecCtx->width = 1280;pCodecCtx->height = 720;pCodecCtx->time_base = {1, 25};pCodecCtx->framerate = {25, 1};pCodecCtx->gop_size = 10;pCodecCtx->max_b_frames = 1;pCodecCtx->qmin = 10;pCodecCtx->qmax = 51;pCodecCtx->pix_fmt = AV_PIX_FMT_YUV420P;if(AV_CODEC_ID_H264 == pCodecCtx->codec_id){av_opt_set(pCodecCtx->priv_data, "preset", "slow", 0);av_opt_set(pCodecCtx->priv_data, "tune", "zerolatency", 0);}// 打开编码器if(avcodec_open2(pCodecCtx, pCodec, NULL) < 0){qDebug() <<"打开编码器失败 !";return;}pOutputFormatCtx = avformat_alloc_context();if(NULL == pOutputFormatCtx){qDebug() <<"视频封装器开辟失败!";return;}AVOutputFormat *outputFormat = av_guess_format(NULL, outputFileName.toStdString().c_str(), NULL);if(NULL == outputFormat){qDebug() <<"猜测outputformat失败 !";return;}pOutputFormatCtx->oformat = outputFormat;// oprn urlif(avio_open(&pOutputFormatCtx->pb, outputFileName.toStdString().c_str(), AVIO_FLAG_READ_WRITE) < 0){qDebug() <<"打开输出文件失败!";return;}pOutputStream = avformat_new_stream(pOutputFormatCtx, NULL);if(NULL == pOutputStream){qDebug() <<"新建输出流失败 !";return;}// 输出详细信息av_dump_format(pOutputFormatCtx, 0, outputFileName.toStdString().c_str(), 1);// 新建数据包packet = av_packet_alloc();if(NULL == packet){qDebug() <<"新建数据包失败 !";return;}// yuvFrame 初始化yuvFrame = av_frame_alloc();if(NULL == yuvFrame){qDebug() <<"开辟AVFrame失败 !";return;}yuvFrame->width = pCodecCtx->width;yuvFrame->height = pCodecCtx->height;yuvFrame->format = pCodecCtx->pix_fmt;// 初始化 image 空间av_image_alloc(yuvFrame->data, yuvFrame->linesize, yuvFrame->width, yuvFrame->height,pCodecCtx->pix_fmt, 32);// 转换上下文image_convert_ctx = sws_getContext(pCodecCtx->width, pCodecCtx->height, AV_PIX_FMT_RGB32, pCodecCtx->width,pCodecCtx->height, AV_PIX_FMT_YUV420P,SWS_BICUBIC, NULL, NULL, NULL);if(NULL == image_convert_ctx){qDebug() <<"转换上下文失败 !";return;}// 写封装头if(avformat_write_header(pOutputFormatCtx, NULL) < 0){qDebug() <<"视频封装头写失败 !";return;}
}// 编码为 h.264
void CameraVideoSurface::Encode(AVFrame *frame)
{static int index = 0;frame->pts = index++;int ret = 0;if((ret = avcodec_send_frame(pCodecCtx, frame)) < 0){qDebug() <<"avcodec_send_frame 失败 !";return;}while(ret >= 0){ret = avcodec_receive_packet(pCodecCtx, packet);if (ret == AVERROR(EAGAIN) || ret == AVERROR_EOF){return;}else if (ret < 0){qDebug() <<  "编码时出错";return;}packet->stream_index = 0;av_interleaved_write_frame(pOutputFormatCtx, packet); // write frameav_packet_unref(packet);}
}
#endif
void CameraVideoSurface::cameraStopSlot()
{qDebug()<<"关闭close";// av_write_trailer(pOutputFormatCtx);
}
然后就需要使用udp进行发送,使用 QUdpSocket 类来发送,把c_rtp类从QObject类去继承
class c_rtp:public QObject
{Q_OBJECT
private:QUdpSocket *v_udpSocket = NULL;QHostAddress v_host;//QString  v_host_str;quint16 v_port;
private:unsigned short _seq_num = 0 ;unsigned char sendbuf[MAX_LENGTH];unsigned int v_ssrc = 1001;//the default value must hash("live/1001")public:c_rtp(){}~c_rtp(){if(v_udpSocket!=NULL){v_udpSocket->abort();delete v_udpSocket;}}void func_init(const char *ip,uint16_t port);int  func_send_video(uint8_t * data, int len);//发送ps流int  func_send_video_ps(uint8_t* data, int len);};
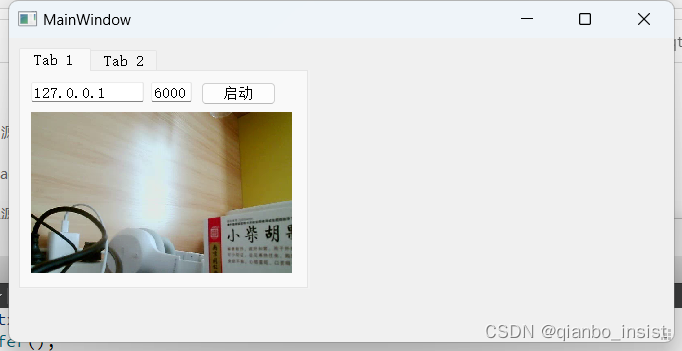
2.2 接收端
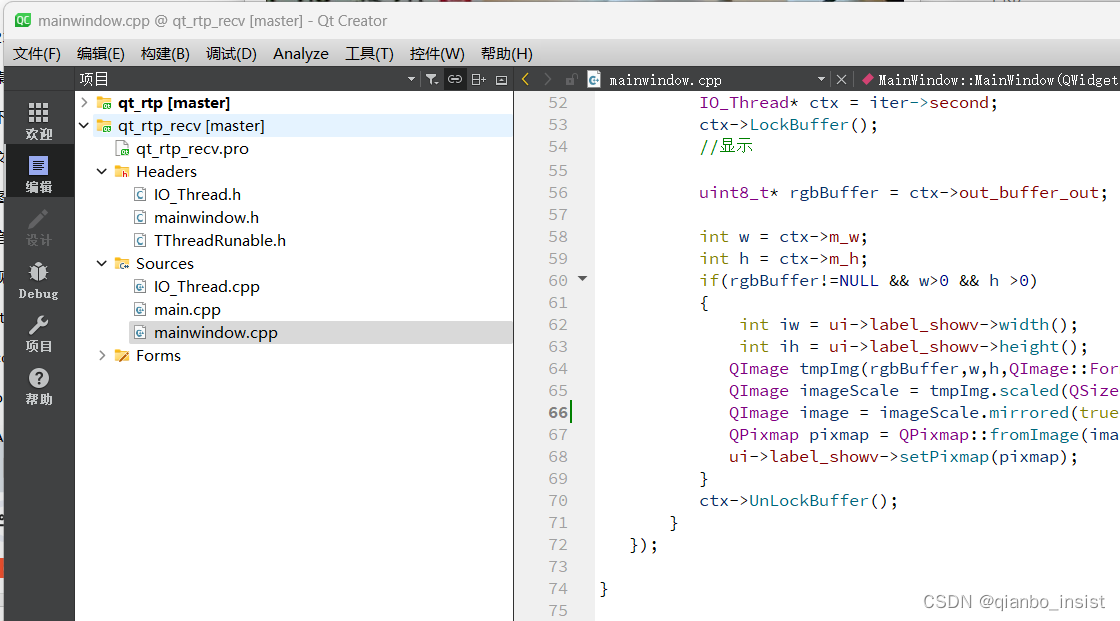
接收端主要使用IO_Thread 来接收包,拼接包,也就是意味着可以有多个接收,同时显示
class MainWindow : public QMainWindow
{Q_OBJECTpublic:MainWindow(QWidget *parent = nullptr);~MainWindow();private slots:void on_pushButton_clicked();private://ssrc-->s_rtp_contextstd::unordered_map<uint32_t, IO_Thread*> v_ctxs;Ui::MainWindow *ui;QUdpSocket *v_udpSocket = NULL;//IO_Thread* v_iothd = NULL;IO_Thread * getctx(uint32_t ssrc);QTimer* v_timer = NULL;//int v_id1; //定时器1的唯一标示
};
实现使用QUdpSocket 去产生一个服务端来接收数据,根据不同的ssrc来分发,显示在不同的QLabel组件上
#include "mainwindow.h"
#include "ui_mainwindow.h"MainWindow::MainWindow(QWidget *parent): QMainWindow(parent), ui(new Ui::MainWindow)
{ui->setupUi(this);ui->iptext->setText("127.0.0.1");ui->porttext->setText("6000");v_udpSocket = new QUdpSocket(this);//v_udpSocket->bind(QHostAddress::LocalHost, 6000);v_udpSocket->bind(6000);//收包程序connect(v_udpSocket,&QUdpSocket::readyRead,[=](){// 获取报文长度大小qint64 size = v_udpSocket->pendingDatagramSize();// 读取报文QByteArray array = QByteArray(size,0);v_udpSocket->readDatagram(array.data(),size);uint8_t* data = (uint8_t*)array.data();int inlen = (int)size;int outlen =0;uint32_t last_ts,ssrc;uint16_t seq;uint8_t payloadtype;uint8_t *buffer = rtp_payload(data, inlen, &outlen, last_ts, ssrc,seq, payloadtype);IO_Thread* ctx = getctx(ssrc);ctx->v_last_ts = last_ts;ctx->v_seq = seq;ctx->v_payloadtype = payloadtype;//ctx->v_ssrc = ssrc;live_rtp_unpack(data,ctx,buffer,outlen);});v_timer = new QTimer(this);//启动定时器v_timer->start(40);connect(v_timer,&QTimer::timeout,[=](){//static int num = 1;auto iter = v_ctxs.begin();if(iter!= v_ctxs.end()){IO_Thread* ctx = iter->second;ctx->LockBuffer();//显示uint8_t* rgbBuffer = ctx->out_buffer_out;int w = ctx->m_w;int h = ctx->m_h;if(rgbBuffer!=NULL && w>0 && h >0){int iw = ui->label_showv->width();int ih = ui->label_showv->height();QImage tmpImg(rgbBuffer,w,h,QImage::Format_RGB32);QImage imageScale = tmpImg.scaled(QSize(iw,ih));QImage image = imageScale.mirrored(true, false);QPixmap pixmap = QPixmap::fromImage(image);ui->label_showv->setPixmap(pixmap);}ctx->UnLockBuffer();}});}MainWindow::~MainWindow()
{delete ui;
}IO_Thread * MainWindow::getctx(uint32_t ssrc)
{auto it = v_ctxs.find(ssrc);if (it != v_ctxs.end())return it->second;else{IO_Thread *sc = new IO_Thread();v_ctxs[ssrc] = sc;sc->Start();return sc;}
}
后续
改进的地方为:
1 MFC 版本增加音频,包括rtp的音频和rtmp协议的音频
2 QT 版本修改为player,将会丰富QT版本
3 增加rtmp服务器,有想法的同志可以加入一起做。
![[GYCTF2020]Ezsqli1](https://img-blog.csdnimg.cn/direct/6d883a24e69145739c5bd56bf3cdf0a1.png)