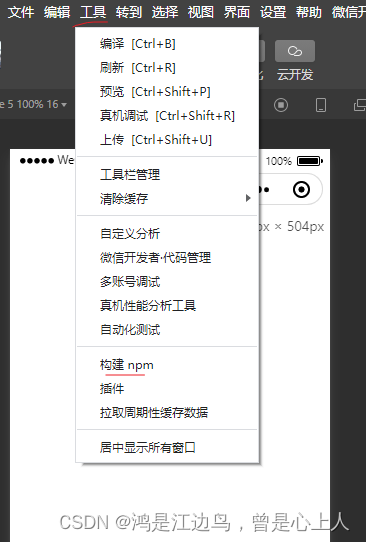
1. 拿到项目 先构建
2.小程序与普通网页开发的区别
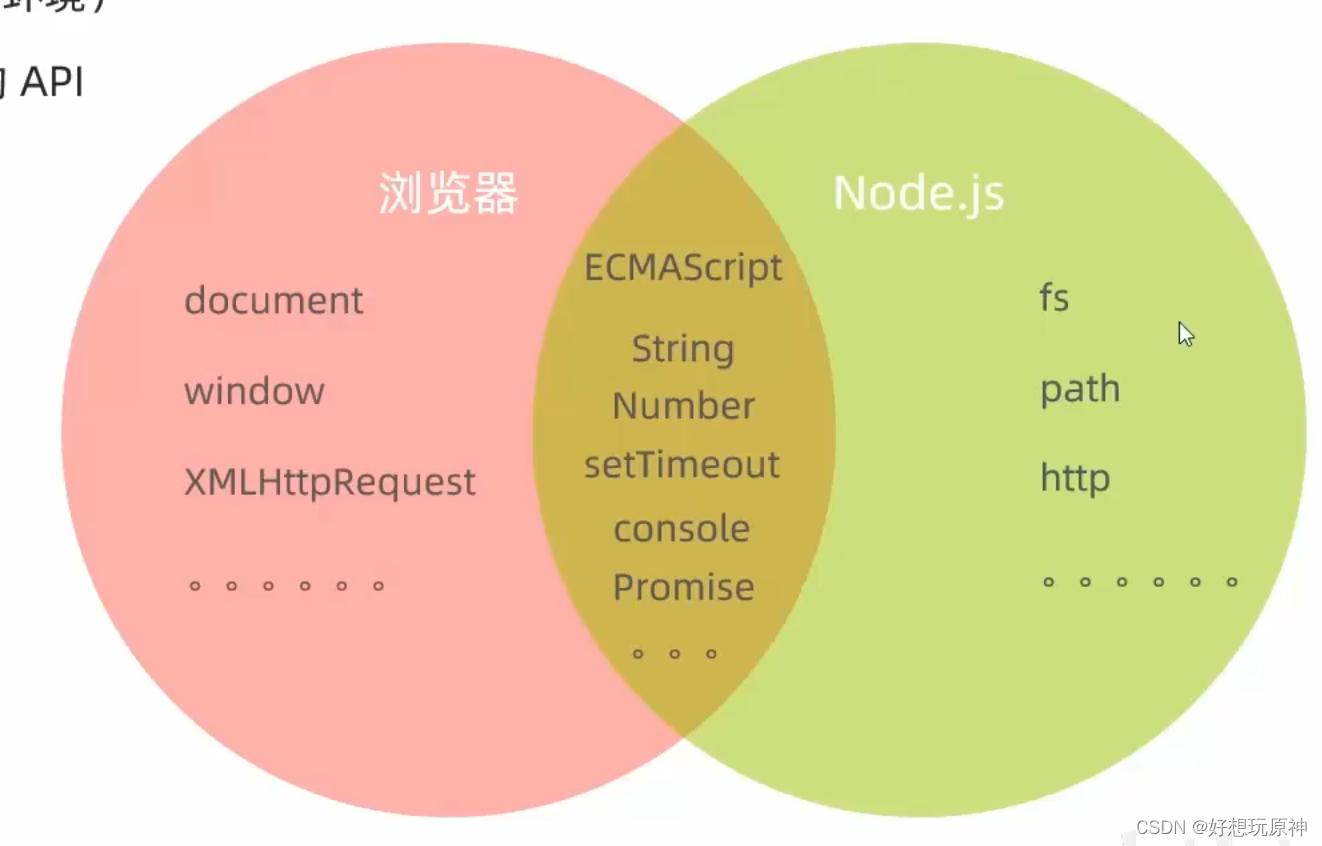
网页开发渲染线程和脚本线程是互斥的,这也是为什么长时间的脚本运行可能会导致页面失去响应,而在小程序中,二者是分开的,分别运行在不同的线程中。网页开发者可以使用到各种浏览器暴露出来的 DOM API,进行 DOM 选中和操作。而如上文所述,小程序的逻辑层和渲染层是分开的,逻辑层运行在 JSCore 中,并没有一个完整浏览器对象,因而缺少相关的DOM API和BOM API。
3.按需加载
"lazyCodeLoading": "requiredComponents"
4.配置scss
在project.config.json 文件 setting 加:
  "setting": {"useCompilerPlugins": ["sass"],
}
5.父子组件之间传值
事件传递
父组件:
<!-- parent-component.wxml -->
<child-component bind:childEvent="onChildEvent"></child-component>// parent-component.js
Page({onChildEvent: function(event) {console.log('接收到子组件传递的值:', event.detail);// 处理从子组件传递过来的值}
})
子组件:
<!-- child-component.wxml -->
<button bindtap="onButtonClick">点击传递值</button>// child-component.js
Component({methods: {onButtonClick: function() {var value = '需要传递的值';this.triggerEvent('childEvent', value); // 触发自定义事件,并传递值}}
})
数据绑定
父组件:
<!-- parent-component.wxml -->
<child-component value="{{value}}"></child-component>// parent-component.js
Page({data: {value: '需要传递的值'}
})
子组件:
<!-- child-component.wxml -->
<view>{{value}}</view>// child-component.js
Component({properties: {value: {type: String,value: '' // 设置默认值}}
})
6.配置文件引入路径:
全局配置文件app.json:
{"resolveAlias": {"~/*": "/*","~/origin/*": "origin/*","@utils/*": "utils/*","subBUtils/*": "subpackageB/utils/*"}
}
7.(开发版、体验版、正式版)获取对应的环境配置信息
写个配置config.env.js 代码如下:
const envConf = {develop: {apiUrl: 'http://localhost:3000/api'},trial: {apiUrl: 'https://trial.example.com/api'},release: {apiUrl: 'https://api.example.com/api'}
}module.exports = {env: envConf[__wxConfig.envVersion]
}
其他地方使用
import { env } from './config/config.env.js';
env.apiUrl 就可以了得到链接地址了
8.wx.getSetting() 是微信小程序提供的一个 API 方法,用于获取用户的当前设置信息。通过调用该方法,小程序可以获取到用户对小程序的授权信息,例如用户是否授权了小程序获取用户信息、地理位置、通讯录等权限。
wx.getSetting({success(res) {if (res.authSetting['scope.userInfo']) {// 用户已授权获取用户信息wx.getUserInfo({success(userInfoRes) {console.log(userInfoRes.userInfo);// 获取用户信息成功,可以在这里处理用户信息}});} else {// 用户未授权获取用户信息,可以引导用户打开授权设置页进行授权}}
});
