1.全局组件
<!DOCTYPE html>
<html lang="en"><head><meta charset="UTF-8"><meta name="viewport" content="width=device-width, initial-scale=1.0"><title>Document</title><script src="node_modules/vue/dist/vue.js"></script><script>Vue.config.productionTip = false //设置为 false 以阻止 vue 在启动时生成生产提示</script>
</head><body><div id="root"><button @click="add">我被点击了 {{count}} 次</button><counter></counter><counter></counter><counter></counter><counter></counter><counter></counter><counter></counter><counter></counter></div><script>//1、全局声明注册一个组件Vue.component("counter", {template: `<button @click="add">我被点击了 {{count}}  次</button>`,data() {return {count: 1}},methods: {add() {this.count++;}}})const app = new Vue({el: '#root',data: {count: 1},methods: {add() {this.count++;}}});</script><script></script>
</body></html>- 组件其实也是有一个vue实例,因此它在定义时也会接收:data、methods、生命周期函数等
- 不同的是组件不会与页面的元素绑定,否则就无法复用了,因此没有el属性。
- 全局组件定义完毕,任何vue实例都可以直接在绑定的html 容器 中通过 组件名称来使用组件了
- data必须是一个函数,作用就是,提供内部作用域,是其vue实例提供的data对象是独立存在的。以提供一个复用效果。
2.局部组件
//局部声明一个组件const buttonCounter = {template: `<button @click="add">我被点击了 {{count}} 次</button>`,data() {return {count: 1}},methods: {add() {this.count++;}}}const app = new Vue({el: '#root',data: {count: 1},methods: {add() {this.count++;}},components:{'button-counter':buttonCounter}}); <div id="root"><button @click="add">我被点击了 {{count}} 次</button><button-counter></button-counter></div>
3.生命周期
- beforecreate: 数据模型未创建 模版未创建
- created :数据模型已创建 模板未渲染
- beforemount: 数据模型已创建 模板未渲染
- mouted :数据模型已创建 模板已渲染
- beforeupdate 数据模型已更新 模板未渲染
- updated 数据模型已更新 模板已渲染
- beforedistroy 销毁之前
- distroyed 已经销毁
4.使用Vue脚手架进行模块化开发
4.1 全局安装 webpack
npm install webpack -g4.2 全局安装 vue 脚手架
npm install -g @vue/cli-init4.3 初始化vue项目
vue init webpack vue-demo4.4 启动vue项目
cd xxx
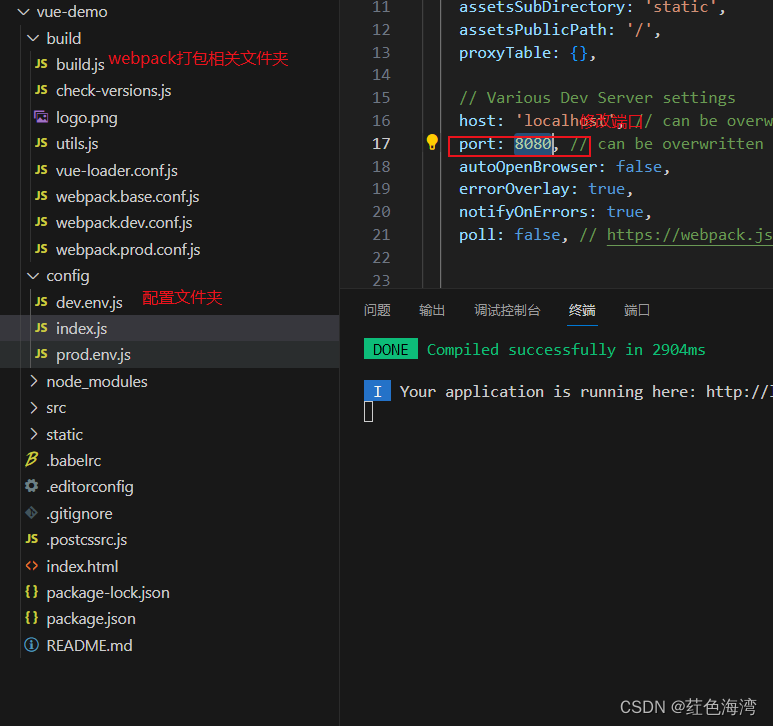
npm run dev
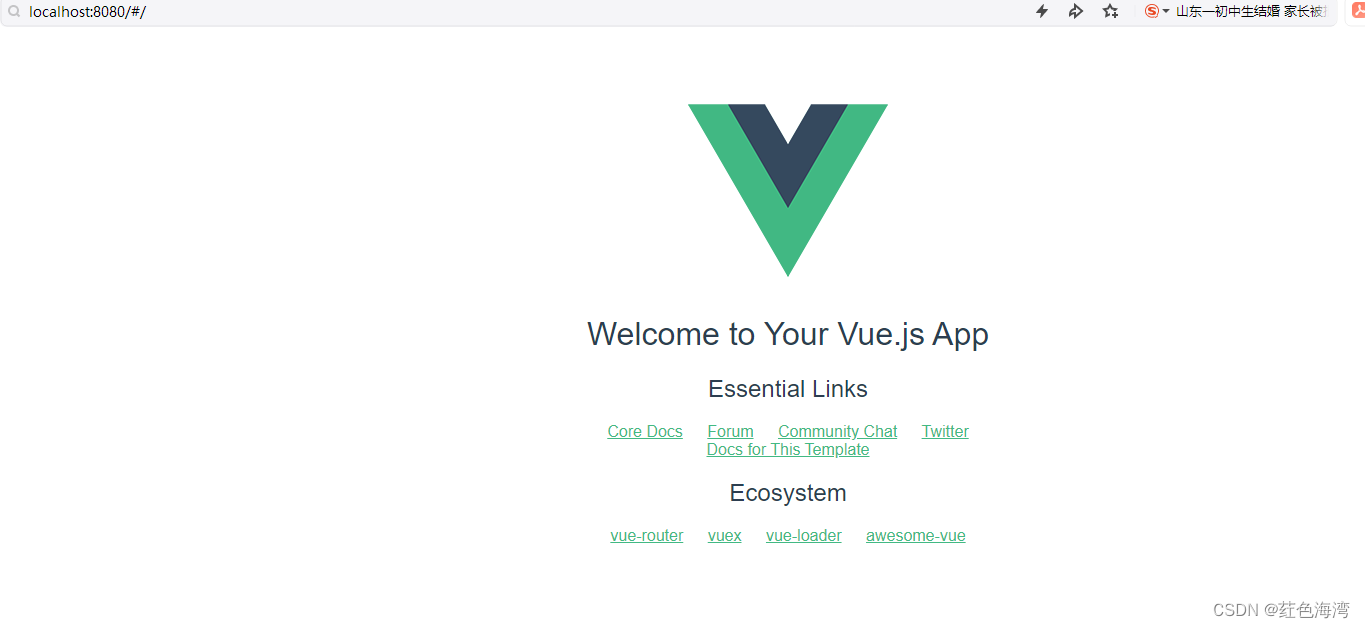
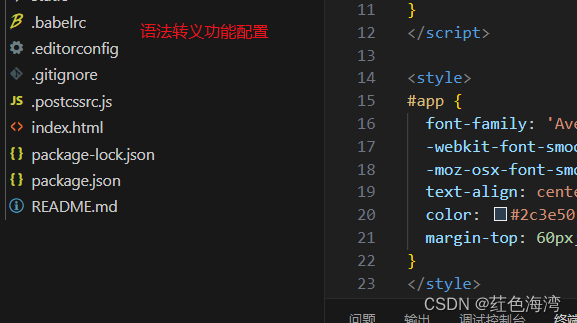
启动成功

5. 路由 跳转
创建一个 hello.vue组件 在components文件夹下
<template><div><h1>你好 hello ,{{name}}</h1></div>
</template><script>
export default {data(){return{name:"张三"}}};
</script><style  ></style>
在route文件下的index.js写上路由controller

然后再App.vue 根组件下随便写个 就可以跳转了
<router-link to="/hello"> Go to Hello </router-link>
6.Vue整合 ElementUI快速开发
Element - The world's most popular Vue UI framework
6.1安装 element UI
npm i element-ui -S6.2 引入Element
// The Vue build version to load with the `import` command
// (runtime-only or standalone) has been set in webpack.base.conf with an alias.
import Vue from 'vue'
import App from './App'
import router from './router'
import ElementUI from 'element-ui';
import 'element-ui/lib/theme-chalk/index.css';
Vue.config.productionTip = false
Vue.use(ElementUI);
/* eslint-disable no-new */
new Vue({el: '#app',router,components: { App },template: '<App/>'
})
<template><div><h1>你好 hello ,{{ name }}</h1><el-radio v-model="radio" label="1">男生</el-radio><el-radio v-model="radio" label="2">女生</el-radio></div>
</template><script>
export default {data() {return {name: "张三",radio: "1",};},
};
</script><style  >
</style>
6.3 再举个例子
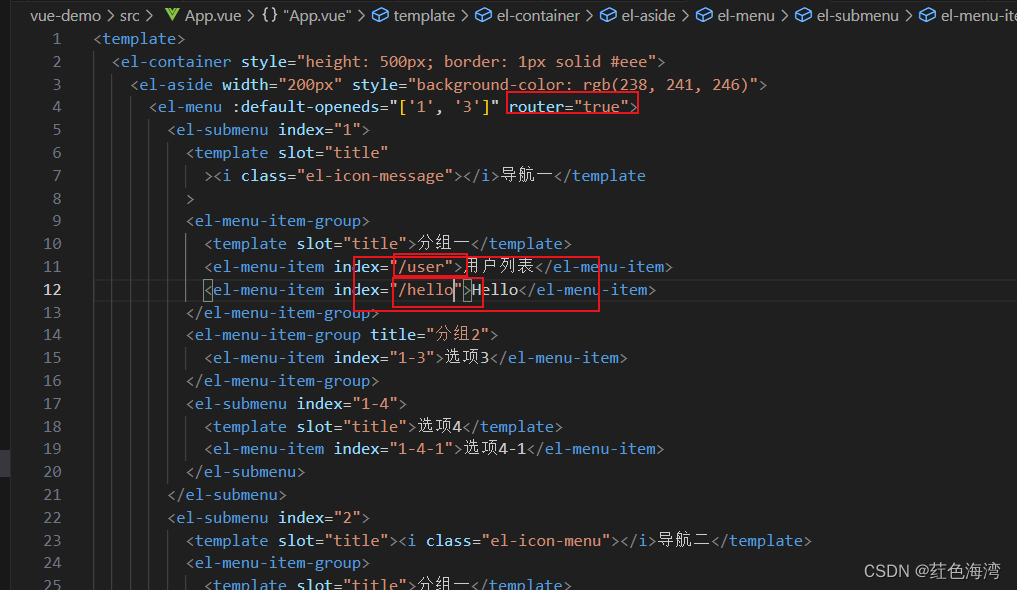
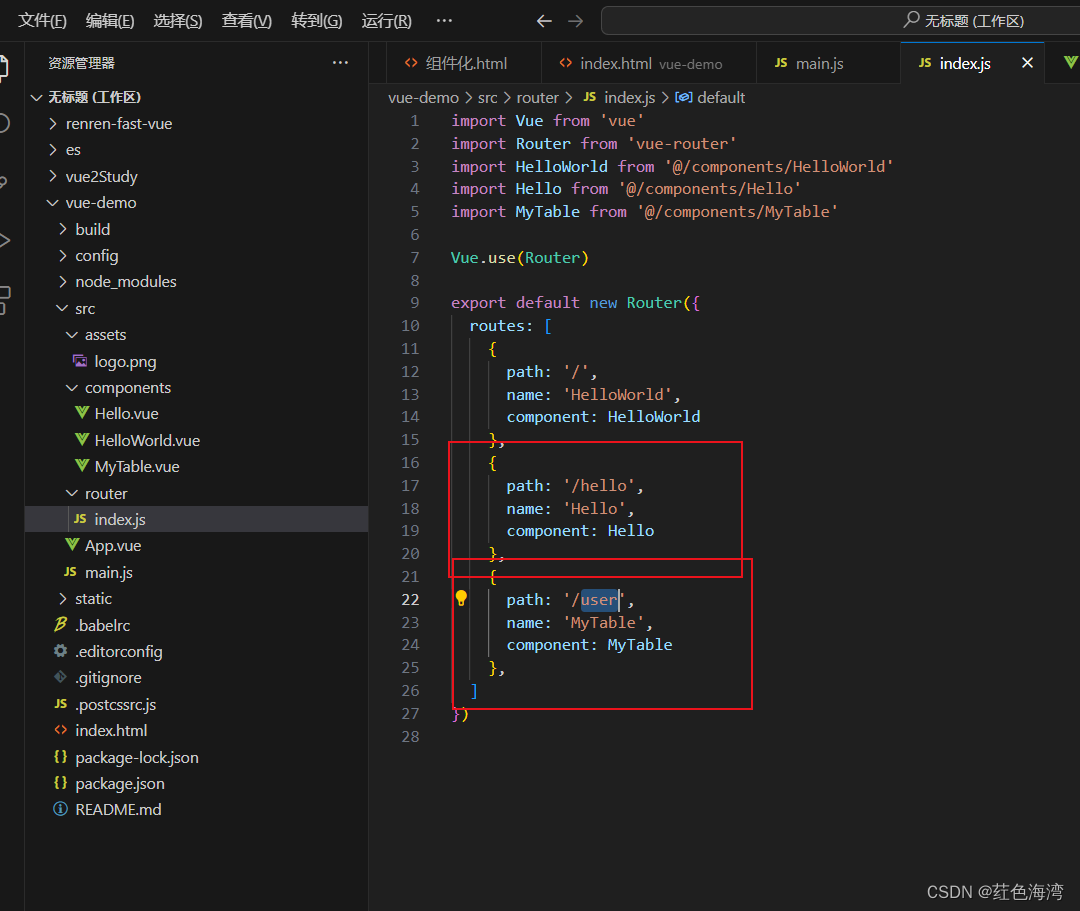
在element ui 导航栏上面跳转路由
<!--  -->
<template><div><el-table :data="tableData"><el-table-column prop="date" label="日期" width="140"></el-table-column><el-table-column prop="name" label="姓名" width="120"></el-table-column><el-table-column prop="address" label="地址"> </el-table-column></el-table></div>
</template><script>
//这里可以导入其他文件(比如:组件,工具js,第三方插件js,json文件,图片文件等等)
//例如:import 《组件名称》 from '《组件路径》';export default {//import引入的组件需要注入到对象中才能使用components: {},props: {},data() {const item = {date: '2016-05-02',name: '王小虎',address: '上海市普陀区金沙江路 1518 弄'};return {tableData: Array(20).fill(item)}},//监听属性 类似于data概念computed: {},//监控data中的数据变化watch: {},//方法集合methods: {},//生命周期 - 创建完成(可以访问当前this实例)created() {},//生命周期 - 挂载完成(可以访问DOM元素)mounted() {},beforeCreate() {}, //生命周期 - 创建之前beforeMount() {}, //生命周期 - 挂载之前beforeUpdate() {}, //生命周期 - 更新之前updated() {}, //生命周期 - 更新之后beforeDestroy() {}, //生命周期 - 销毁之前destroyed() {}, //生命周期 - 销毁完成activated() {}, //如果页面有keep-alive缓存功能,这个函数会触发
};
</script>
<style  scoped>
</style>