前言:
这是一个java程序员的vue学习记录。
vue是前端的主流框架,按照如今的就业形式作为后端开发的java程序员也是要有所了解的,下面是本人的vue学习记录,包括vue2的基本使用以及引入element-ui,使用的开发工具是IDEA。
一、第一个vue项目
1、环境需求
系统环境使用的vue3但是后续创建的项目是vue2项目,主要是因为vue3提供了vue ui对于初学者十分友好,这些环境的安装网上教程很多,我这里主要是记录一下一个java程序员怎么利用idea使用vue2框架。

2、使用vue ui创建项目
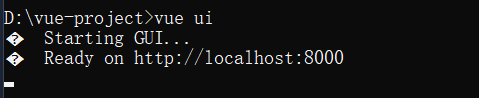
(1)启动vue ui
进入你需要创建vue项目的目录,我这里是vue-project,输入vue ui ,vue 的脚手架会自动创建一个地址,一般端口号是8000。
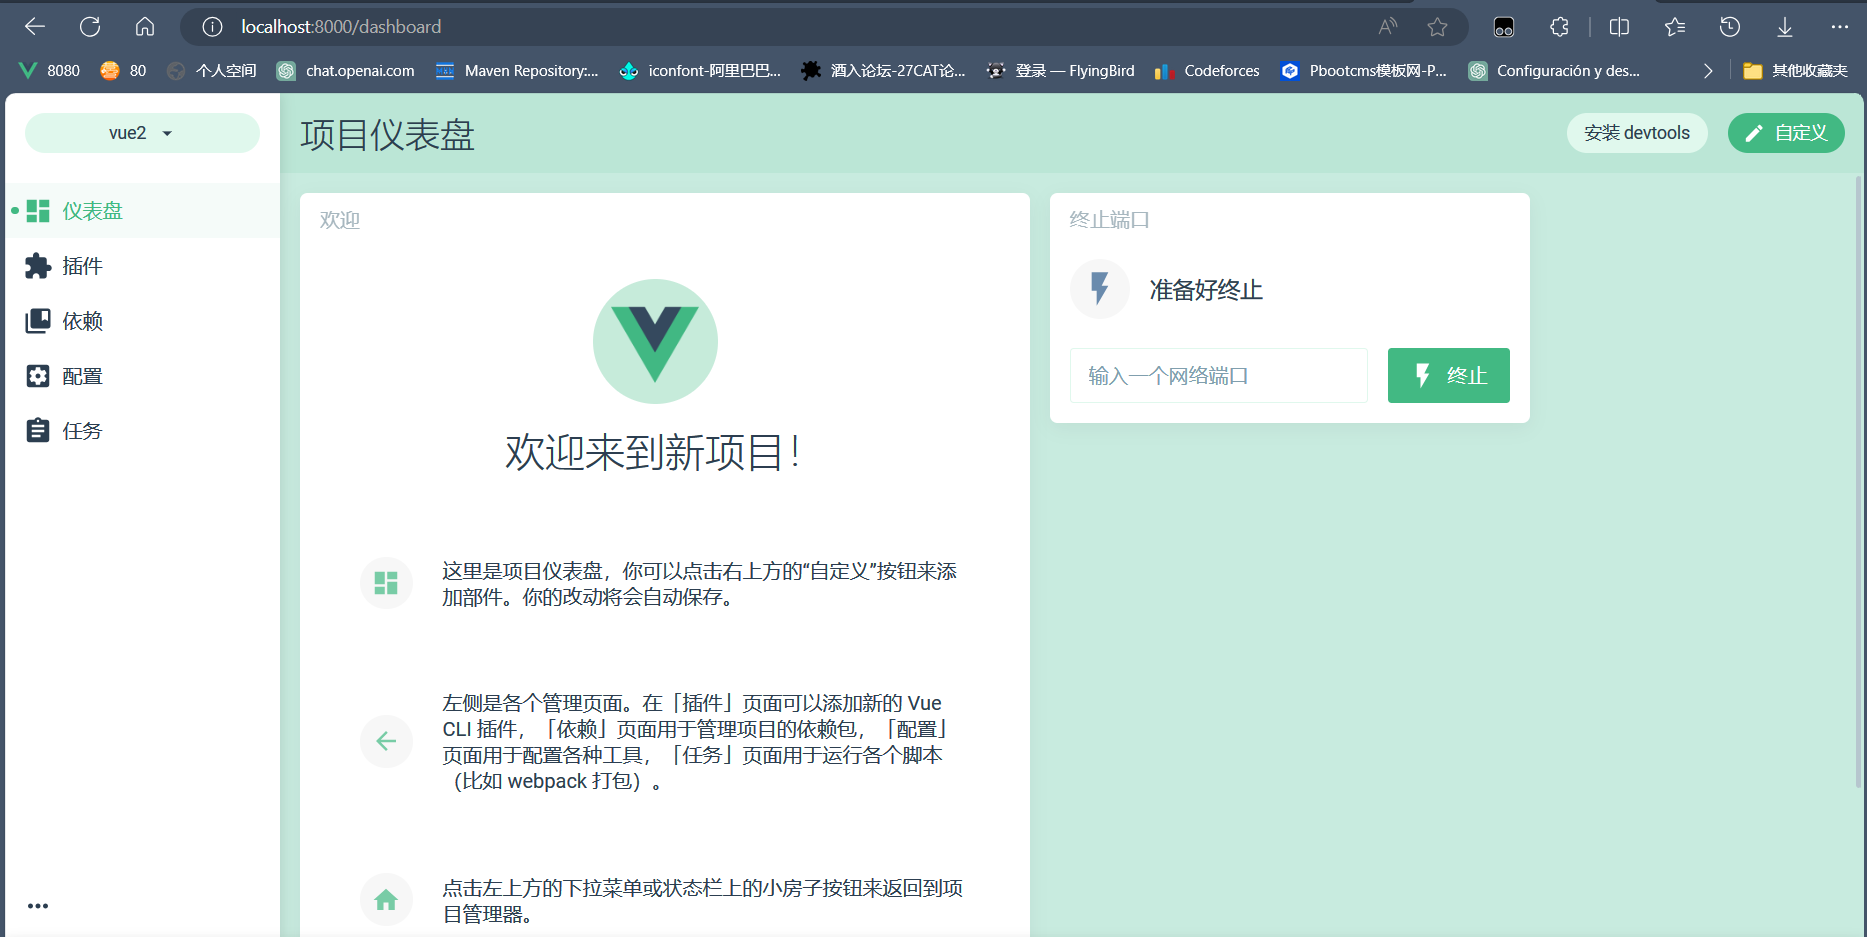
进入这个界面就表示成功了。我这里是我因为之前创建过项目所以直接进入项目仪表盘了,第一次创建应该进入第二页面。如果进入第一个页面点击左上角也可以进入第二个页面。
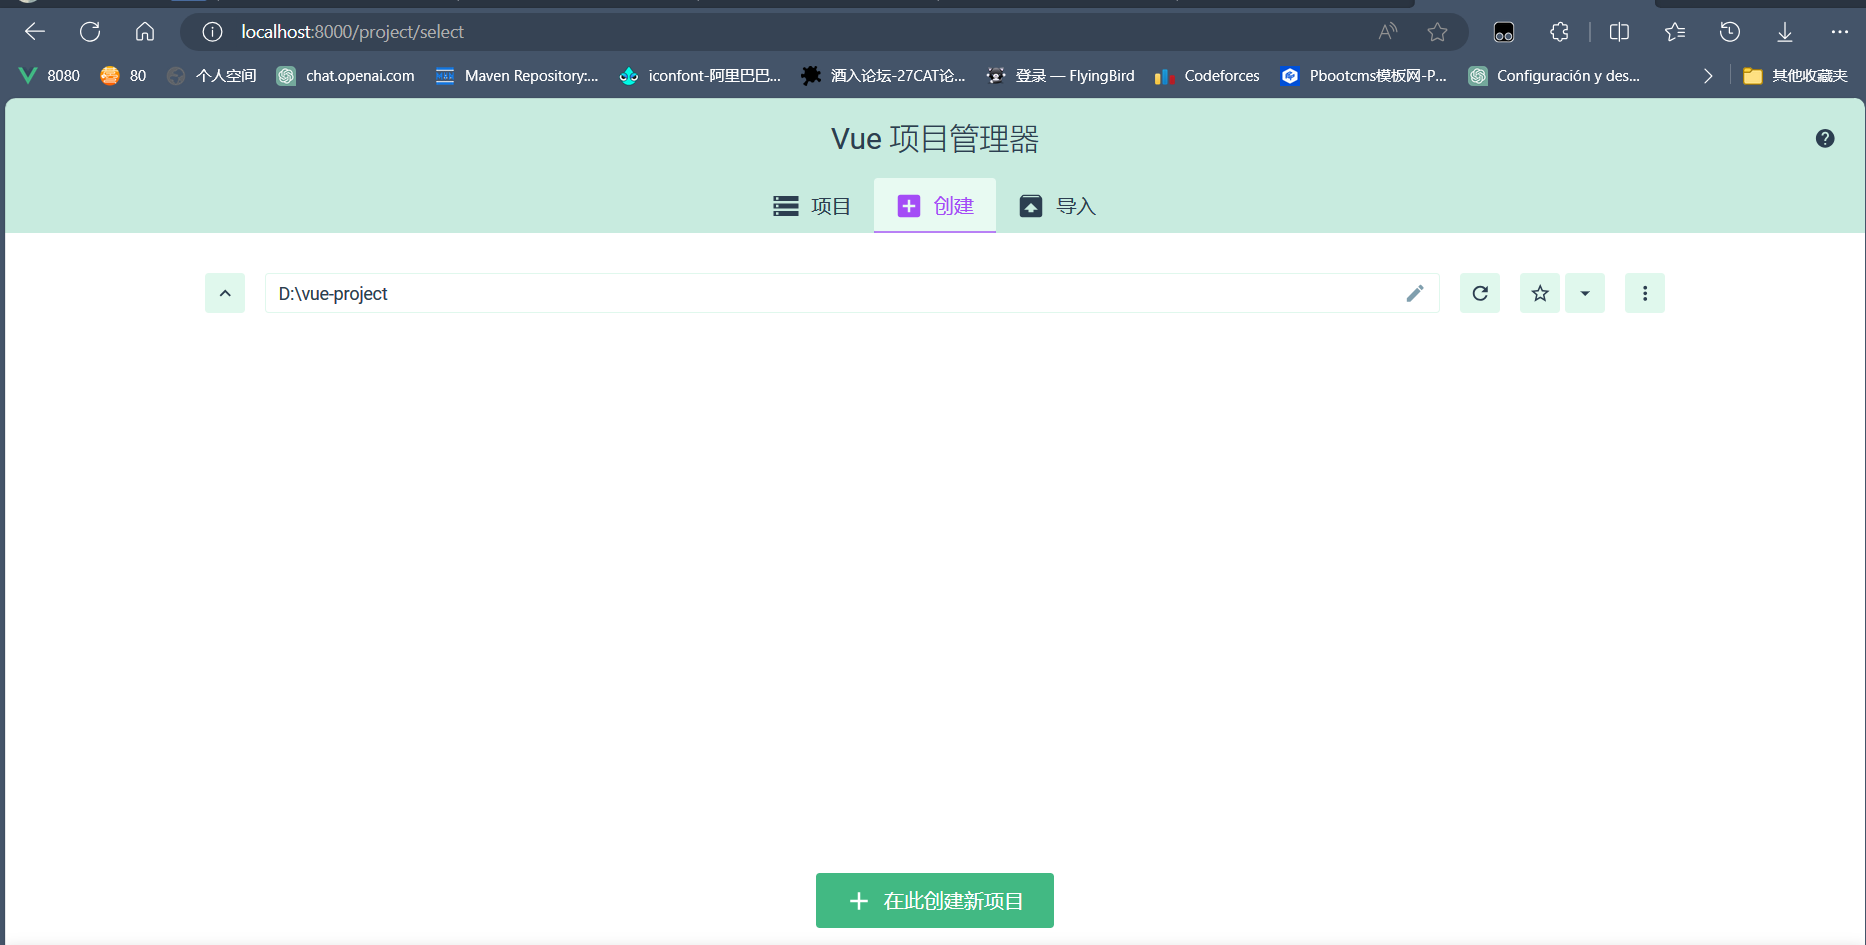
(2)创建项目
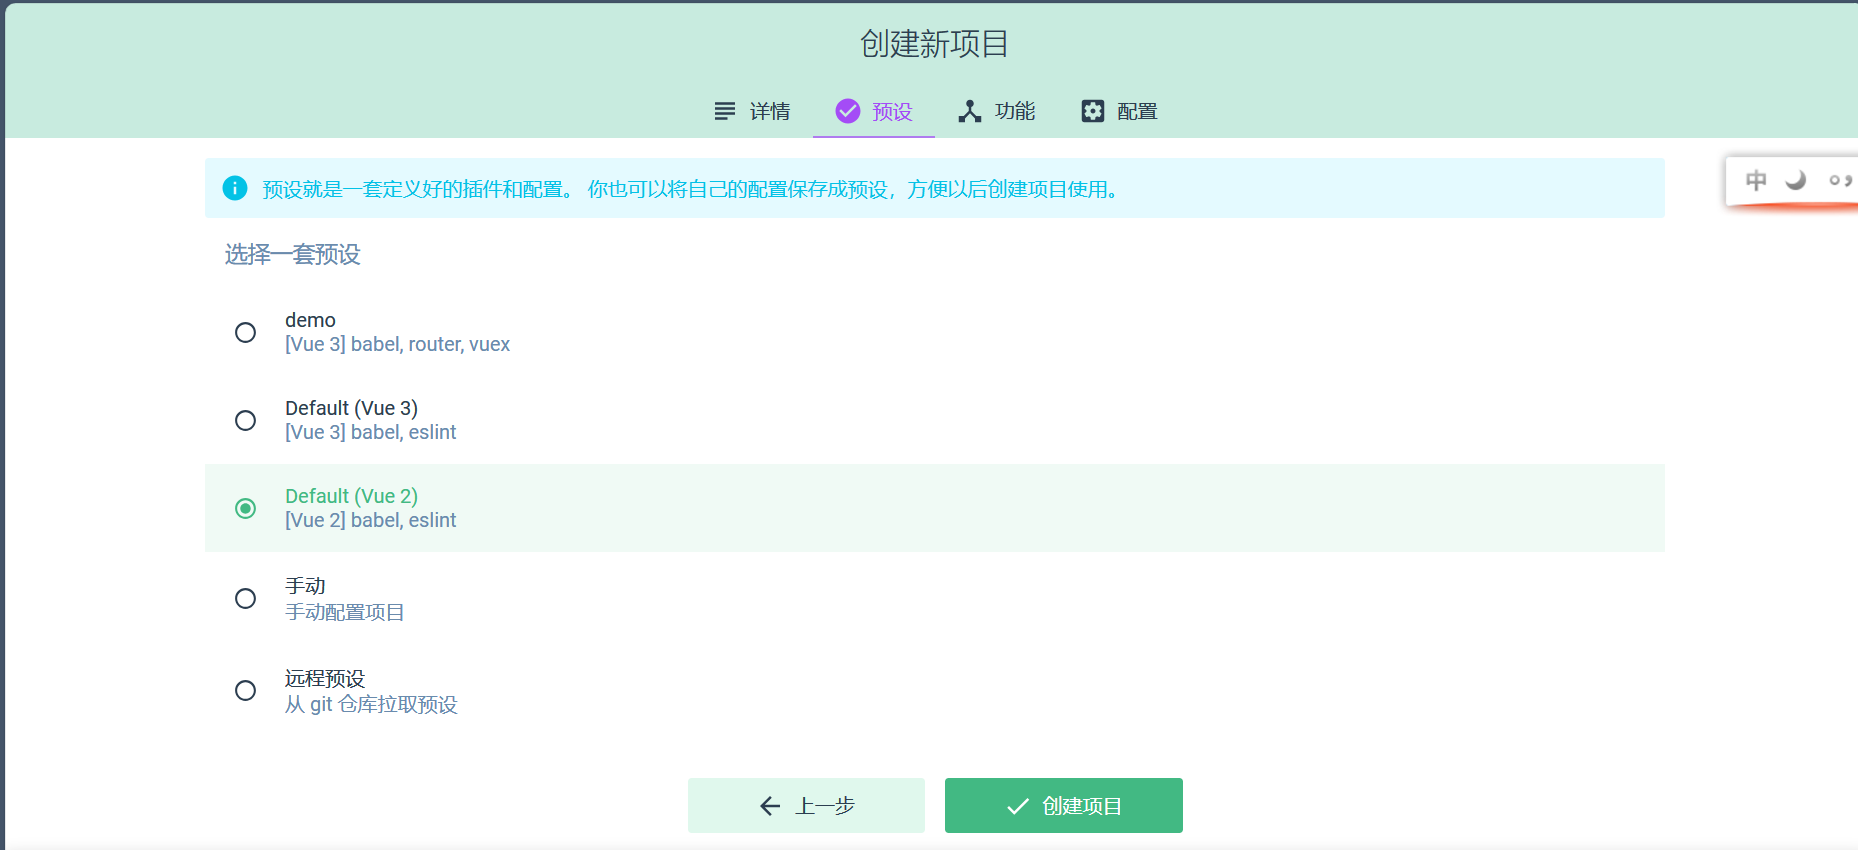
项目管理器的地址栏有需要可以自由更换,点击创建项目进入创建项目界面,确定你的项目名字我这里是vue-test,选择包管理器为npm,git他是默认选的,我这里没选。

点击下一步,选择vue2,点击创建项目并等待大概一分钟,第一次可能更慢。
(3)通过IDEA启动项目
找到项目文件夹,用idea打开

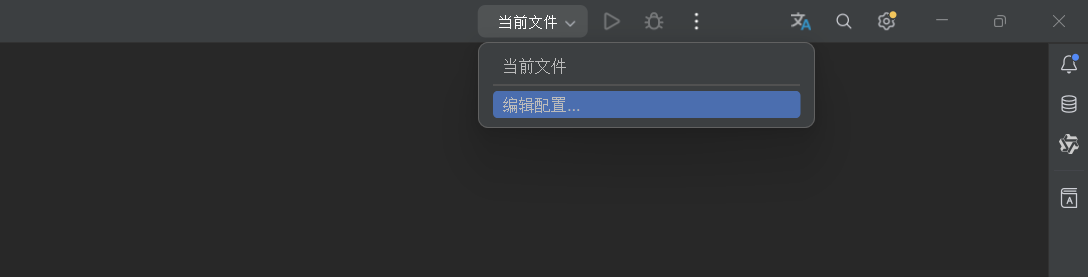
在idea上面找到编辑配置
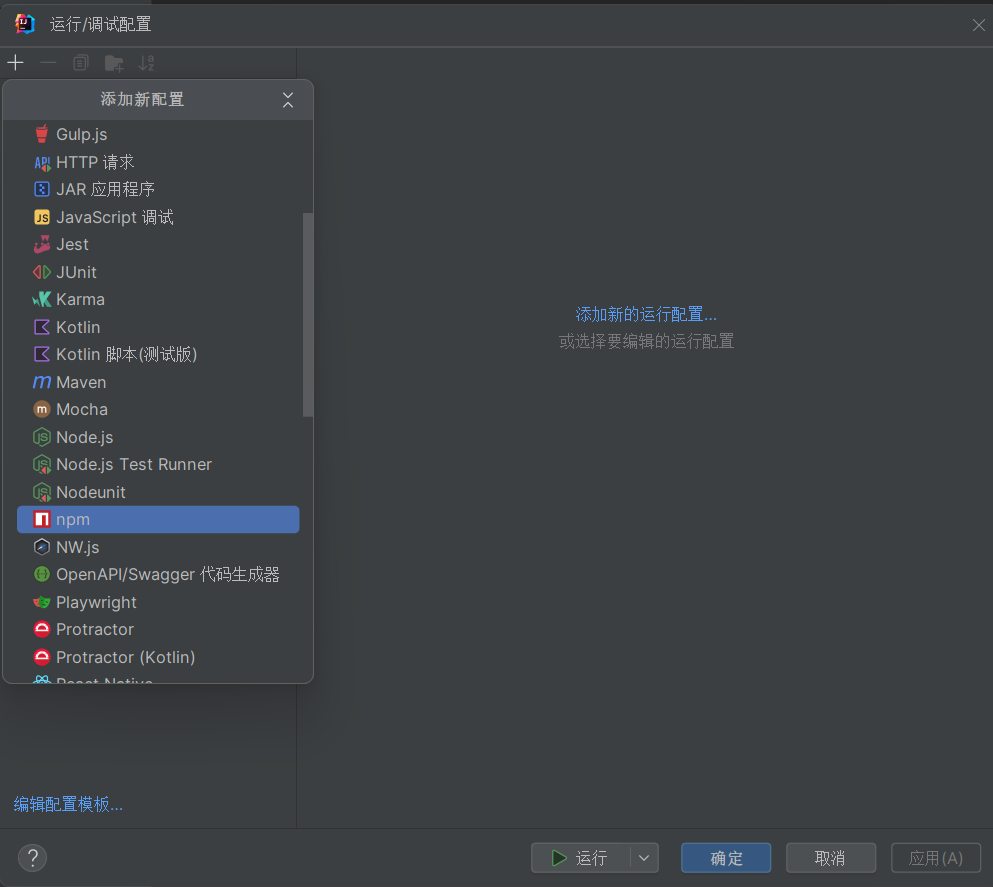
选择npm
配置npm,这里应该只是需要选择脚本为serve
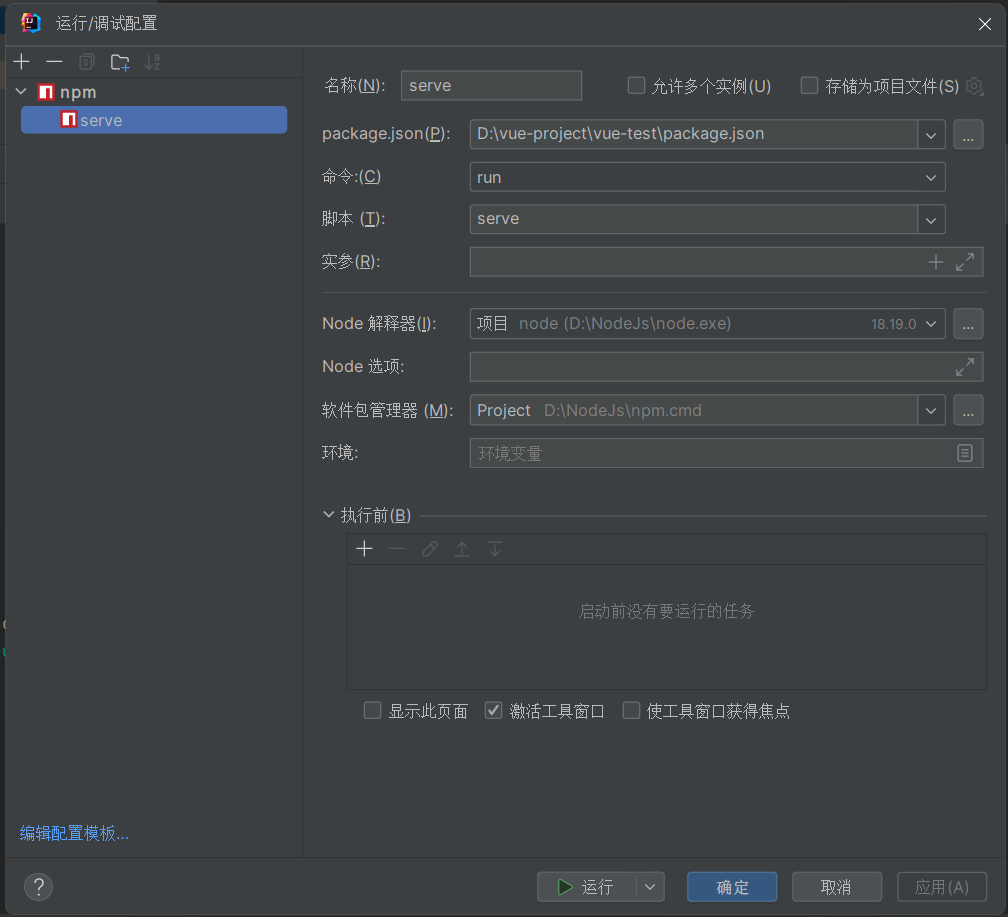
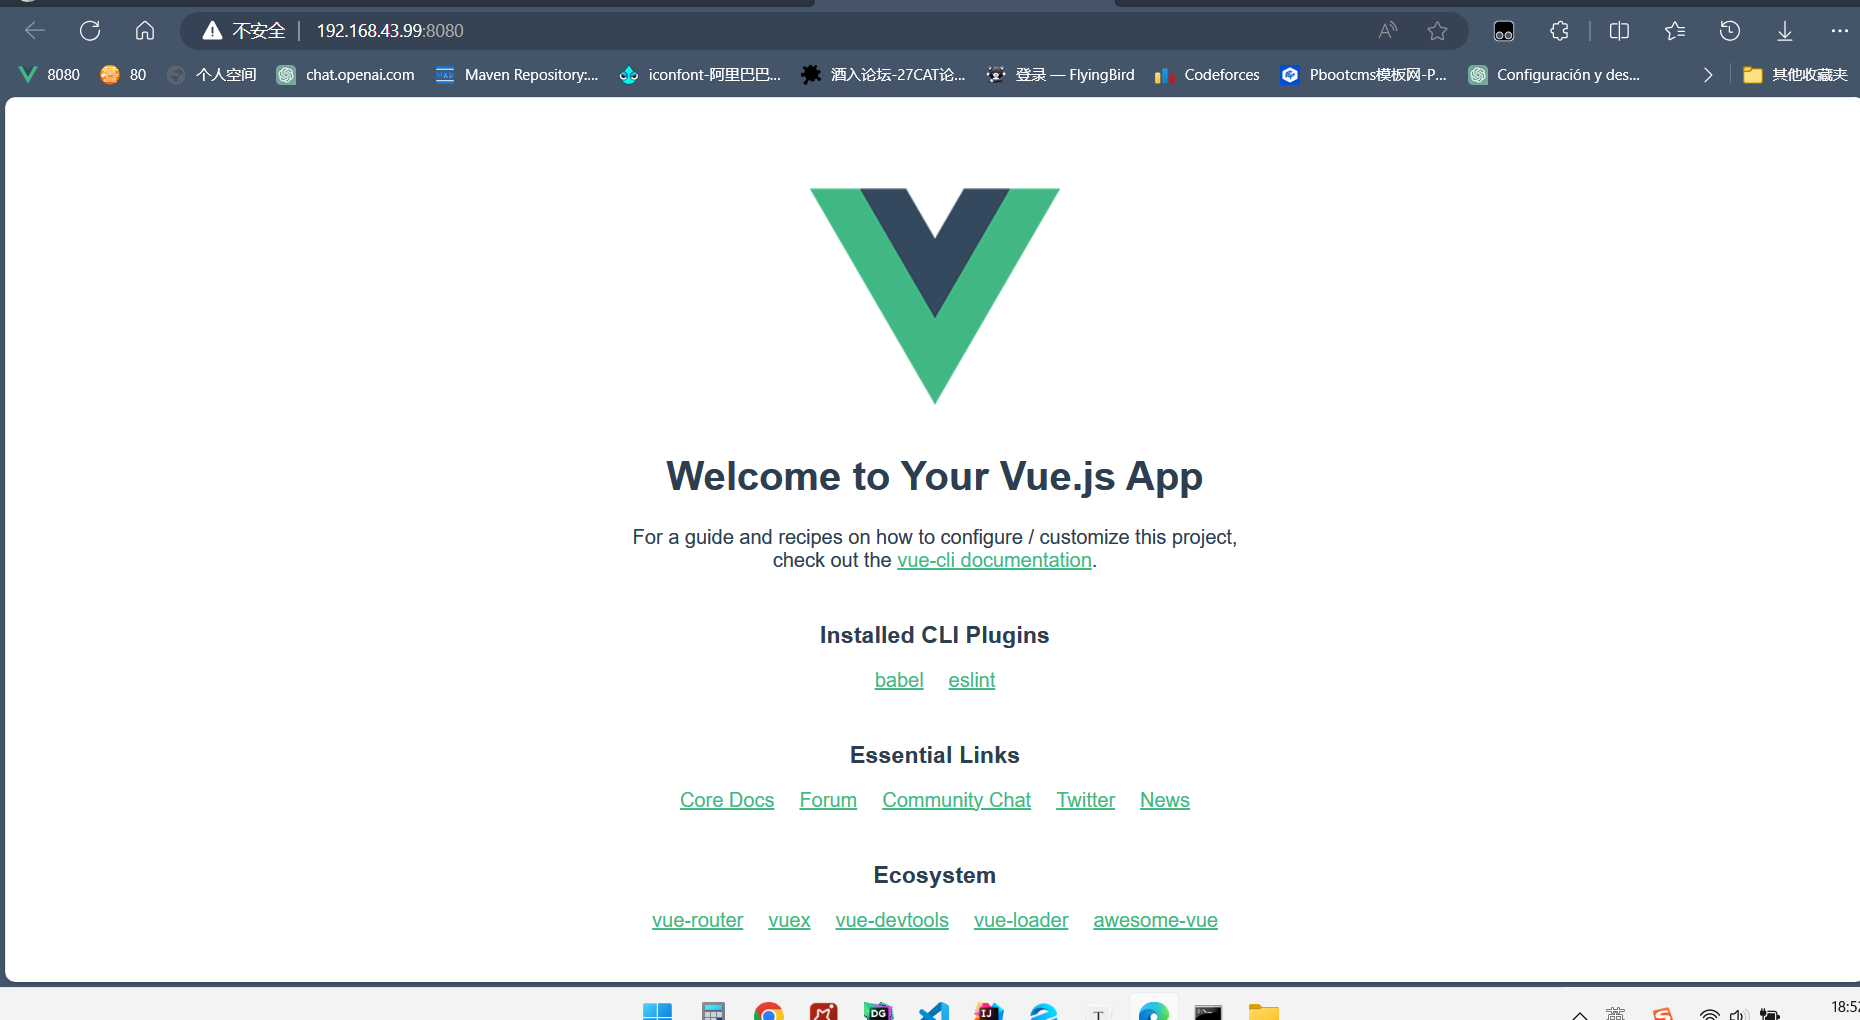
运行npm,默认端口是8080,如果可以进入了这个界面就证明成功启动,当然在控制台使用npm run serve也可以直接执行。
二、配置vue项目
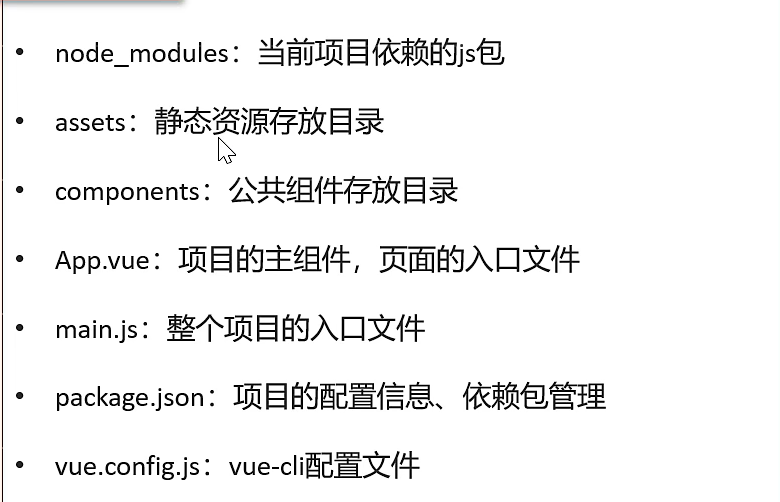
1、vue的目录结构
2、修改端口号
因为8080这个端口十分热门所以为了避免冲突,我们可以通过更改vue.config.js修改端口号,修改端口为7070。
const { defineConfig } = require('@vue/cli-service')
module.exports = defineConfig({transpileDependencies: true,//   修改前端端口号devServer:{port: 7070}
})
3、安装插件(element-ui)
在插件市场搜索element ui安装,后面不要忘记选择配置插件(选择默认的就行),另外需要注意vue2是element但是vue3是element-plus。

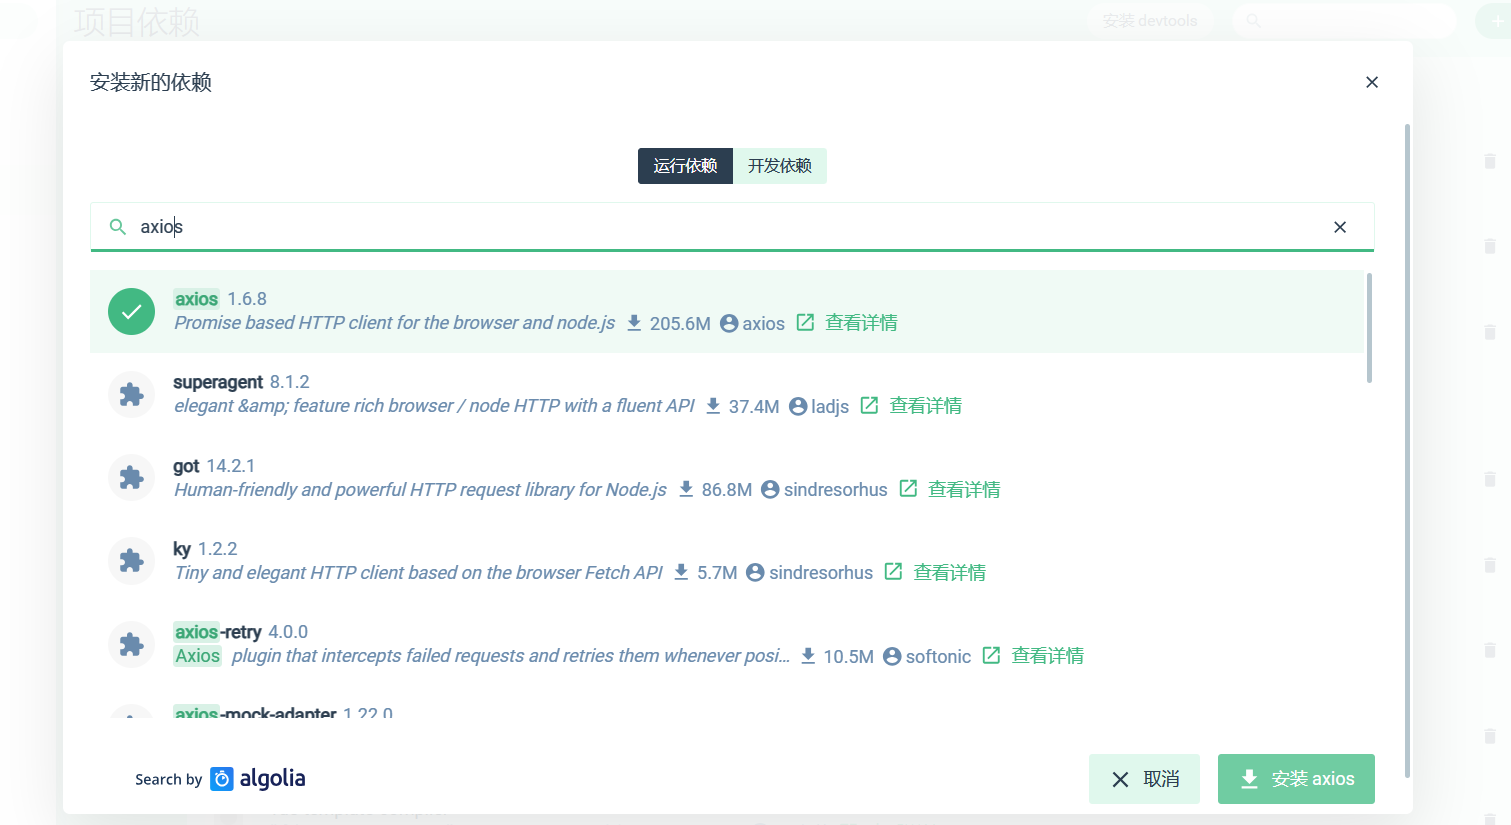
4、配置依赖(Axios)
Axios 是一个基于 promise 网络请求库,作用于node.js 和浏览器中。 它是 isomorphic 的(即同一套代码可以运行在浏览器和node.js中)。在服务端它使用原生 node.js http 模块, 而在客户端 (浏览端) 则使用 XMLHttpRequests。
简而言之Axios是前端向后端发送http请求的工具,是前后端交互的重要方式。
三、vue的基本使用
1、.vue文件的结构
script标签写js,style标签写css,template写html可以理解为原生html的body标签。对于template有且只有一个div标签。
<template><div></div>
</template>
<script>
</script>
<!--scope表示这个样式只在此文件生效,不加就是全局--->
<style scoped>
</style>
2、关闭关闭eslint校验
vue.config.js
const { defineConfig } = require('@vue/cli-service')
module.exports = defineConfig({transpileDependencies: true,//   修改前端端口号devServer:{port: 7070},// 关闭eslint校验lintOnSave: false
})
3、引入组件
import导入,components:注入,通过标签使用。
<template ><div><!--  3、使用组件--><first/><hr><HelloVue/><hr><Ifdemo/><hr><ForDemo/><hr><VueOn/><hr><vueEvent/><hr><compute/><hr><watch/><hr><myForm/><hr><parent/><hr><parent2/><hr><slot1/></div>
</template>
<script >
/*** 内容改变:{{}}* 标签属性改变:v-bind:* 监听事件:v-on:事件(click)* */
// 1、引入组件
import HelloVue from "./components/HelloVue.vue";
import Ifdemo from "./components/ifdemo.vue";
import ForDemo from "./components/forDemo.vue";
import VueOn from "./components/vueOn.vue";
import vueEvent from "@/components/vueEvent.vue";
import First from "./components/first.vue";
import compute from "./components/compute.vue";
import watch from "./components/watch.vue";
import myForm from "./components/myForm.vue";
import parent from "@/components/parent.vue";
import parent2 from "@/components/parent2.vue";
import slot1 from "@/components/slot1.vue";
export default {//2、 注入组件components:{HelloVue, Ifdemo , ForDemo, VueOn , vueEvent, First , compute, watch , myForm,parent,parent2,slot1,}
}
</script>
<!--scope表示这个样式只在此文件生效,不加就是全局--->
<style scoped>
</style>
4、{{}}语法
可以通过双花括号渲染data()内的元素,hello.split("").reverse().join("") 的作用是先用"“分隔然后再反转最后用”"连接。
v-html可以插入html结构的文本。
<template><div><p>{{msg}}</p><p>{{hello.split("").reverse().join("")}}</p><p v-html="html"></p></div>
</template>
<script>
export default {data(){return{msg:"消息",hello: "你好hhh",html:"<a href='https://baidu.com'>百度</a>"}}
}
</script>
<style scoped></style>

5、v-bind
v-bind:+ 标签属性= "js元素名"可以动态修改属性内容,对于对象会把属性名作为标签内的属性名,对象属性的值为标签属性的值,下面就是input标签的class属性和id属性都为id。可以用:代替v-bind:
<template><div><h3>vue v-bind的使用</h3><p><input type="button" v-bind:value="btn" v-bind="object"/></p></div>
</template>
<!--加上scoped能够防止样式之间的冲突-->
<style scoped>
body {background-color: #ff0000;
}
</style>
<script>
export default {data() {return {msg: '这个是Vue模板页',btn:"按钮",object:{class:"my",id:"my"}}}
}
</script>

6、v-if
v-if和v-else实现if、else的效果。
<template><div><h3>vue if</h3><p v-if="flag">正确</p><p v-else>错误</p></div>
</template>
<script>
export default {data() {return {flag: true}}
}
</script>

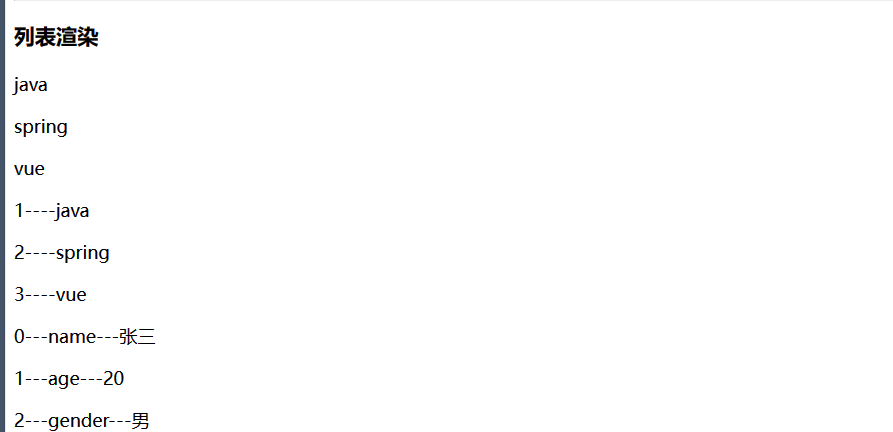
7、v-for
类似java的foreach循环,it表示数组内容,index表示序号(从0开始),遍历对象时key表示对象的属性名。
<template><div><h3>列表渲染</h3><p v-for="it in name">{{it}}</p><!--  顺序不要改--><p v-for="(it,index) in name">{{index+1}}----{{it}}</p><p v-for="(it,key,index) in object">{{index}}---{{key}}---{{it}}</p></div>
</template>
<script>
export default {data() {return {name:["java","spring","vue"],object:{name:"张三",age:20,gender:"男"}}}
}
</script>
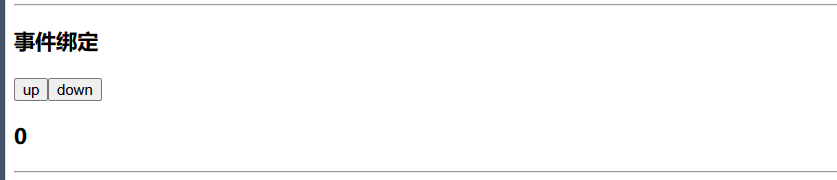
8、v-on
v-on:可以绑定事件,下面分别实现了点击事件count++和count–。可以用@ 代替v-on:。
<template><div><h3>事件绑定</h3><button v-on:click="count++">up</button><!-- 推荐使用函数--><button v-on:click="downCount">down</button><h3>{{count}}</h3></div>
</template>
<script >
export default {data() {return {count:0,}},methods:{downCount(){this.count--;}}
}
</script>
9、事件传参
addCount实现了修改button标签的value值,func传递了name中的参数值和点击事件,两者监听的都是点击事件。
<template>
<div><h3>事件传参</h3><button v-on:click="addCount">add</button><p v-for="it in name" v-on:click="func(it,$event)">{{it}}</p>
</div>
</template>
<script>
export default {data() {return {count: 0,name:["java","spring","vue"],}},methods:{// vue中的event对象就是原生js的event对象addCount(e){this.count++;e.target.innerHTML="add"+this.count;},func(msg,e){alert("点击了"+msg+e);}}
}
</script>

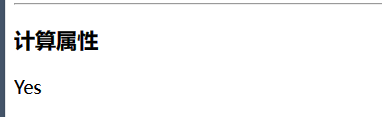
10、计算属性
computed:效果类似于method,但是效率更高。
<template><div><h3>计算属性</h3><p>{{test}}</p></div>
</template>
<script>
export default {data() {return {msg: '这个是Vue模板页'}},// 函数的效率不如计算属性computed:{test(){return this.msg.length>0?"Yes":"NO";}}
}
</script>
11、监听器(watch)
监听点击事件触发updateMsg()更改msg的值,watch内的监听器可以绑定msg属性(保证名字一样即可),可以获取改变前后的值。
<template><div><h3>侦听器</h3><button @click="updateMsg">{{ msg }}</button></div>
</template>
<script>
export default {data() {return {msg: '你好'}},methods:{updateMsg(){if(this.msg==='你好')this.msg='再见';else this.msg='你好';}},watch:{// 侦听器的名字必须和绑定的属性名的名称一模一样msg(newValue,oldValue){console.log("改变前:"+oldValue);console.log("改变后:"+newValue);}}
}
</script>

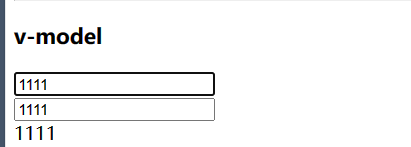
12、v-model
双向绑定标签属性和vue属性。
<template><form><input type="text" v-model="msg"/><br>
<!--    lazy只有确定才提交改变--><input type="text" v-model.lazy="msg"/><br>{{msg}}</form>
</template>
<script>
export default {data() {return {msg: ''}}
}
</script>
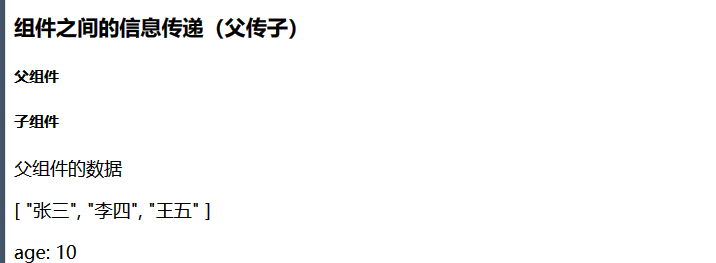
13、组件间信息传递(父传子)
子组件可以使用父组件的属性。在子组件的props定义和父组件中子组件标签传入属性名相同的属性。
父组件
<template><div><h3>组件之间的信息传递(父传子)</h3><h5>父组件</h5><child v-bind:data="msg" :names="names"/></div></template>
<script>
import child from "@/components/child.vue";
export default {data() {return {msg: '父组件的数据',names:['张三','李四','王五']}},components:{child}
}
</script>
子组件
<template><div><h5>子组件</h5><p>{{data}}</p><p>{{names}}</p><p>age: {{age}}</p></div>
</template>
<script>
export default {data() {return {msg: '这个是Vue模板页'}},// 名字必须和父组件的参数名字一幕一样,任何数据都可以传递,但是不允许修改父组件传递的数据props:{data:{},names:{},age:{// 规定参数类型type:[Number],// 没有传参时的默认值,只有数字和字符串可以直接给默认值,数组和对象需要用default()函数default:10}},}
</script>
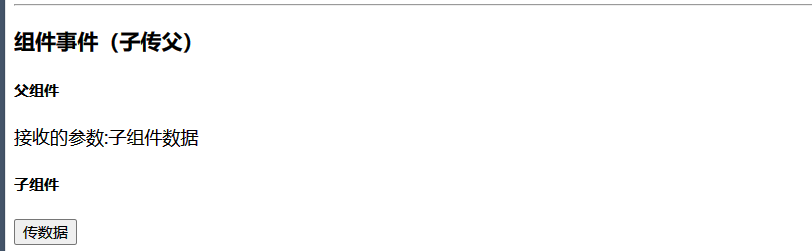
14、组件事件(子传父)
子组件自定义事件名称,父组件监听这个事件,父组件再为这个事件设置一个执行方法,这个方法就可以接受子组件数据。
父组件
<template><div><h3>组件事件(子传父)</h3><h5>父组件</h5>接收的参数:{{msg}}<child2 v-on:gogo="handel"/></div>
</template>
<script>
import child2 from "@/components/child2.vue";
export default {data() {return {msg:''}},methods:{// 参数名只能是datahandel(data){this.msg=data;}},components:{child2}
}
</script>
子组件
<template><div><h5>子组件</h5><button v-on:click="do1">传数据</button></div>
</template>
<script>
export default {data() {return {msg: '子组件数据'}},methods:{do1(){// 两个参数,第一个是父组件实现的事件名称,第二个是参数,$emit是关键字this.$emit("gogo",this.msg);}}
}
</script>
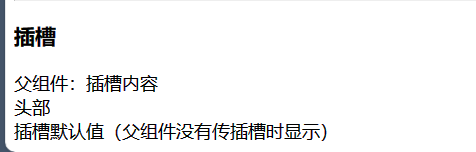
15、插槽
组件可以根据需要展示和组合不同插槽。
父组件
<template><slot2>
<!--    多个插槽使用v-slot命名--><template v-slot:first>
<!--      可以传递父组件属性到插槽--><div >{{msg}}</div></template><template v-slot:header><div >头部</div></template></slot2>
</template>
<script>
import slot2 from "@/components/slot2.vue";
export default {data() {return {msg: '父组件:插槽内容'}},components:{slot2,}
}
</script>
子组件
<template><div><h3>插槽</h3><!--  slot渲染父组件的内容--><!--  使用name=渲染对应父组件插槽--><slot name="first">插槽默认值(父组件没有传插槽时显示)</slot><slot name="header">插槽默认值(父组件没有传插槽时显示)</slot><slot name="footer">插槽默认值(父组件没有传插槽时显示)</slot></div>
</template>
<script>
export default {data() {return {msg: '这个是Vue模板页'}}
}
</script>
四、Axios实现前后端交互
现在的项目大部分都是前后端分离项目,Axios是前后端交互的重要工具。
1、后端(springboot)
(1)Controller
分别是post和get请求都有Rustful路径参数value,post是User作为json格式的请求体,get是两个路径参数。
@RestController
@RequestMapping("test/")
public class MyController {@PostMapping("/first/{value}")public String test(@PathVariable String value,@RequestBody User user){return value+" "+user.username+" "+user.password;}@GetMapping("/first/{value}")public String test(@PathVariable String value,String username,String password){return value+" "+username+" "+password;}
}
(2)实体类(User)
User不要忘了给属性以set方法。
@Data
class User  implements Serializable {String username;String password;
}
2、前端
(1)配置代理解决跨域问题
跨域的本质就是浏览器基于同源策略的一种安全手段。所谓同源就是必须有以下三个相同点:协议相同、域名相同、端口相同。如果其中有一项不同,即出现非同源请求,就会产生跨域。
浏览器跨域机制的主要目的是保护用户的安全和隐私。
修改vue.config.js 配置代理,此后我们的请求只需要用/api 代替http://localhost:8080 即可
const { defineConfig } = require('@vue/cli-service')
module.exports = defineConfig({transpileDependencies: true,//   修改前端端口号devServer: {port: 7070,//配置代理proxy: {//api 是个请求时的前缀,请求到/api转发到http://localhost:8080,此后只需要在所有前端请求路径上//http://localhost:前端端口号/api等于http://localhost:后端端口号'/api': {target: 'http://localhost:8080',//因为路径出现了/api所以需要取消pathRewrite: {'^/api': ''}}}},
// 关闭eslint校验lintOnSave: false
})

(2)请求方式一
向后端返送post请求,并添加请求体(后端接收的是json格式)。不要忘记引入axiosimport axios from "axios"
<template><div>账号:<input type="text" v-model="username"/> <br/>密码:<input type="password" v-model="password"/><button @click="submit">提交</button></div>
</template>
<script>
import axios from "axios";export default {data() {return {password: '',username: ''}},methods:{submit(){let _this=this;//发送http请求,postaxios.post("/api/test/first/login",{username: _this.username,password: _this.password}).then(res=> {console.log(res.data)}).catch(error=>{console.log("错误: "+error.message)})}}
}
</script>
(3)请求方式二
通用写法,method规定请求方式,这个是向后端返送get请求,并添加路径参数。不要忘记引入axiosimport axios from "axios"
<template>
<!--Axios通用写法--><div>账号:<input type="text" v-model="username"/> <br/>密码:<input type="password" v-model="password"/><button @click="submit1">提交</button></div>
</template>
<script>
import axios from "axios";
export default {data() {return {password: '',username: ''}},methods:{submit1(){let _this=this;axios({url:'/api/test/first/login',// `method` 是创建请求时使用的方法method: 'get', // 默认就是get/***  headers:'',//请求头,可以放token*/// `params` 是即将与请求一起发送的 URL 参数// 一般是get请求,也就是路径参数params: {username: _this.username,password: _this.password},// data是请求体,post、put、delete用,get没有请求体不用/*** data: {*   firstName: 'Fred'*  },*/}).then(res=>{console.log(res.data)}).catch(err=>{console.log(err.message)})}}
}
</script>

五、路由(Vue-Router)
1、引入路由
在控制台执行==vue ui== ,在插件市场里可以找到vue-router并导入。
一般情况下,vue会自动在main,js中引入vue-router,如下:
import Vue from 'vue'
import App from './App.vue'
import './plugins/element.js'
import router from './router'
Vue.config.productionTip = false
new Vue({router,render: h => h(App)
}).$mount('#app')
2、路由跳转的页面构成
这是vue自动生成的主页面(app.vue),对于router-link 标签可以理解为a标签点击可以进行视图跳转,对于router-view 标签就是展示视图的地方,通过点击不同的router-link,router-view展示对应路由的组件。
<template><div id="app"><nav><router-link to="/">Home</router-link> |<router-link to="/about">About</router-link> |</nav>
<!--    占位符展示视图的位置,点击上面的router-link,在这里展示不同的页面--><router-view/></div>
</template>

3、配置路由
路由的配置文件位于`src/router/index.js` ,修改index.js来配置路由。下面有两种配置路由的方式:动态和静态,推荐使用动态引入,对于`parh="*"`的路径表示访问路由不存在所访问的组件,当然这里是从定向到自定义的404组件了。
import Vue from 'vue'
import VueRouter from 'vue-router'
import HomeView from '../views/HomeView.vue'Vue.use(VueRouter)
// 路由表
const routes = [//   静态引入{path: '/',name: 'home',component: HomeView},//   动态引入(推荐){path: '/about',name: 'about',// route level code-splitting// this generates a separate chunk (about.[hash].js) for this route// which is lazy-loaded when the route is visited.component: () => import(/* webpackChunkName: "about" */ '../views/AboutView.vue')},//404{path: '/404',component: ()=>import('../components/404.vue')},//   假如请求的路由上面都没有,就会跳转到这个路由{path: '*',// 重定向到404redirect: '/404'}
]
const router = new VueRouter({routes
})export default router
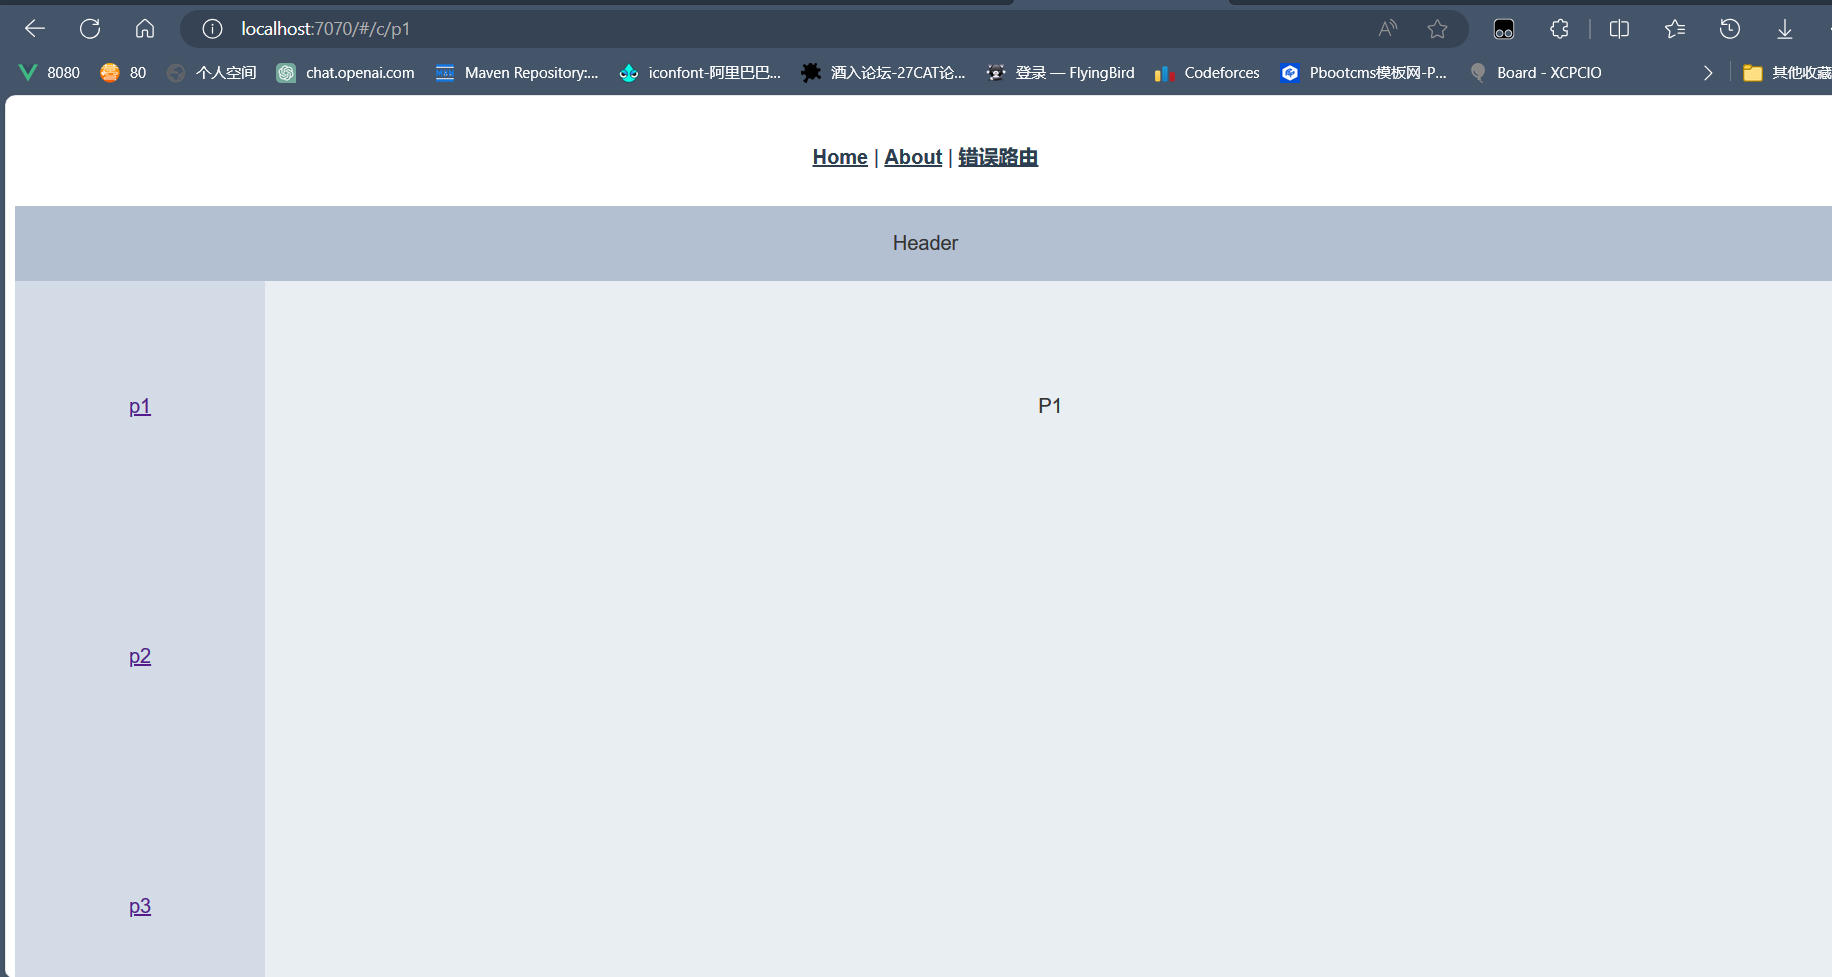
4、路由嵌套
对应一个组件它当然也可以想app.vue一样使用路由,只需要配置它的子路由即可,在children: [ ]中配置子路由规则和正常路由一样。此时访问/c/p1就是P1View组件替换 ContainerView的< router-view/>
//嵌套路由{path: '/c',component: () => import('../views/element/ContainerView.vue'),// 默认访问/c重定向到/c/p1redirect: '/c/p1' ,// 子路由,对应路由展示到父路由的组件内部,也就是切换的是ContainerView.vue的<router-view/>children: [{path: '/c/p1',component: () => import('../views/element/P1View.vue'),},{path: '/c/p2',component: () => import('../views/element/P2View.vue'),},{path: '/c/p3',component: () => import('../views/element/P3View.vue'),}]},
ContainerView.vue使用了element-ui的布局容器
<template>
<div><el-container><el-header>Header</el-header><el-container><el-aside width="200px"><router-link to="/c/p1">p1</router-link><br><router-link to="/c/p2">p2</router-link><br><router-link to="/c/p3">p3</router-link><br></el-aside><el-main><router-view/></el-main></el-container></el-container>
</div>
</template>
<style>
.el-header, .el-footer {background-color: #B3C0D1;color: #333;text-align: center;line-height: 60px;
}.el-aside {background-color: #D3DCE6;color: #333;text-align: center;line-height: 200px;
}.el-main {background-color: #E9EEF3;color: #333;text-align: center;line-height: 160px;
}body > .el-container {margin-bottom: 40px;
}.el-container:nth-child(5) .el-aside,
.el-container:nth-child(6) .el-aside {line-height: 260px;
}.el-container:nth-child(7) .el-aside {line-height: 320px;
}
</style>
六、vuex
vuex可以定义共享数据。
1、主要结构
src/store/index.js 是使用vuex的核心js文件。
-
定义数据:state
-
修改数据(同步):mutations
-
修改数据(异步):action=调用=>mutations
下面定义了一个公共数据
msg,mutations方法setName,action方法sendAjax。
import Vue from 'vue'
import Vuex from 'vuex'Vue.use(Vuex)export default new Vuex.Store({// 定义共享数据,{{$store.state.msg}}展示,所以得组件都可以使用state: {msg:'这是vuex的公共消息',},getters: {},// 只能由mutations来实现修改,必须是同步操作mutations: {// state代表的是上面的state必须同名,但是后面的参数是形参名字随意,调用:this.$store.commit('setName','新的信息!');setName(state,newMsg){state.msg=newMsg;}},// action可以调用mutations,在action可以执行异步操作(Ajax),调用:this.$store.dispatch('sendAjax');actions: {// 通过传入context来调用mutations方法sendAjax(context){/*** 执行Ajax*/context.commit('setName','异步修改的信息');},},modules: {}
})
2、操作共享数据
{{$store.state.msg}}展示数据msg,update1()调用mutations的setName方法修改msg,update2()调用action的sendAjax方法修改msg。
<template>
<div><h1>{{$store.state.msg}}</h1><input type="button" value="直接修改共享数据" @click="update1()"/><input type="button" value="异步修改共享数据" @click="update2()"/>
</div>
</template>
<script>export default {methods:{update1(){// 第一个参数是mutations定义的函数名,第二个是参数this.$store.commit('setName','新的信息!');},update2(){// 调用action方法,指定调用的函数名this.$store.dispatch('sendAjax');}}}
</script>