第一步:进入国内清华软件网站
anaconda | 镜像站使用帮助 | 清华大学开源软件镜像站 | Tsinghua Open Source Mirroranaconda 使用帮助 | 镜像站使用帮助 | 清华大学开源软件镜像站,致力于为国内和校内用户提供高质量的开源软件镜像、Linux 镜像源服务,帮助用户更方便地获取开源软件。本镜像站由清华大学 TUNA 协会负责运行维护。![]() https://mirrors.tuna.tsinghua.edu.cn/help/anaconda/?eqid=8be486690009fff000000002647c948f
https://mirrors.tuna.tsinghua.edu.cn/help/anaconda/?eqid=8be486690009fff000000002647c948f
第二步:找到对应的Anaconda版本,建议Anaconda3-5.0.0-Windows-x86_64.exe
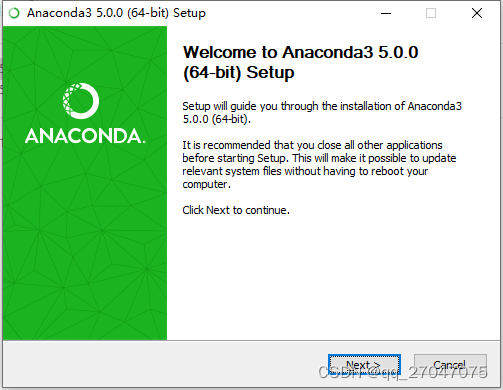
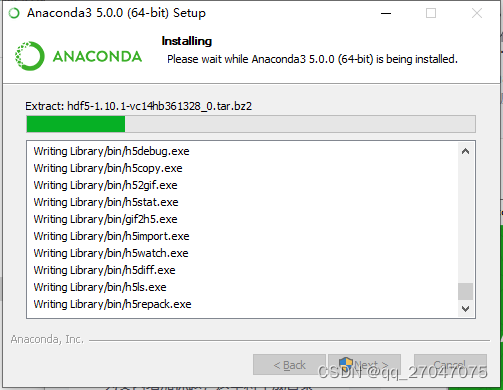
全部默认,Next即可。
安装完毕以后,即可在菜单栏看到对应程序文件夹。
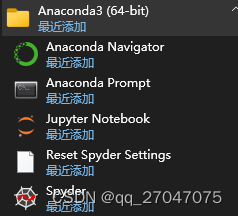
第三步:打开Anaconda Prompt ,即命令行模式。
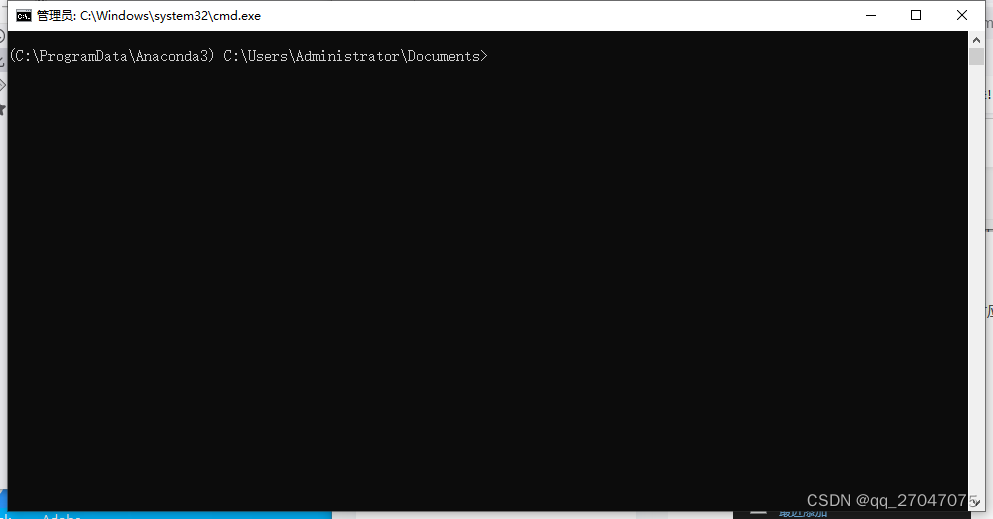
环境列表可以使用conda env list 命令来查看。
(C:\ProgramData\Anaconda3) C:\Users\Administrator\Documents>conda env list
# conda environments:
#
root * C:\ProgramData\Anaconda3
注意:一般不使用默认环境root 或者base
在使用前,我们需要配置资源库代理,因为国内直接访问国外的Anaconda资源十分慢,好在清华大学资源网站有大多数我们能使用的资源包,所以配置代理为清华源。
步骤如下:
1)命令行模式下使用
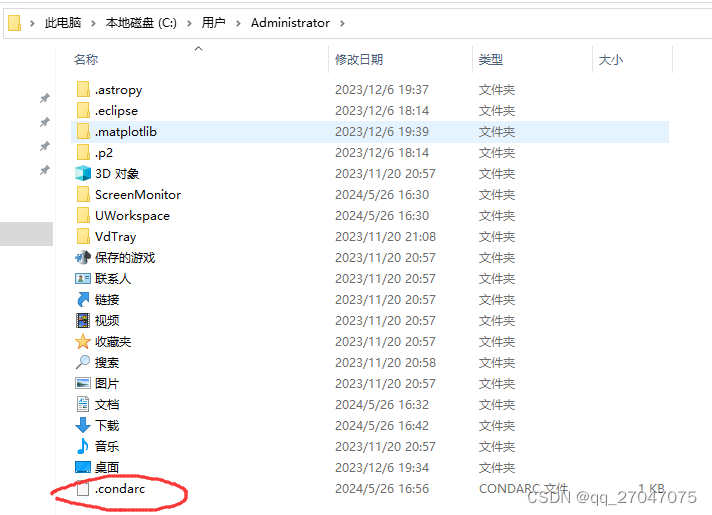
conda config --set show_channel_urls yes 来生成对应配置文件.condarc。
2)在用户目录下找到.condarc 文件
3)使用文本编辑器打开后,将如下内容复制到该文件内。
channels:
- defaults
show_channel_urls: true
default_channels:
- https://mirrors.tuna.tsinghua.edu.cn/anaconda/pkgs/main
- https://mirrors.tuna.tsinghua.edu.cn/anaconda/pkgs/r
- https://mirrors.tuna.tsinghua.edu.cn/anaconda/pkgs/msys2
custom_channels:
conda-forge: https://mirrors.tuna.tsinghua.edu.cn/anaconda/cloud
msys2: https://mirrors.tuna.tsinghua.edu.cn/anaconda/cloud
bioconda: https://mirrors.tuna.tsinghua.edu.cn/anaconda/cloud
menpo: https://mirrors.tuna.tsinghua.edu.cn/anaconda/cloud
pytorch: https://mirrors.tuna.tsinghua.edu.cn/anaconda/cloud
pytorch-lts: https://mirrors.tuna.tsinghua.edu.cn/anaconda/cloud
simpleitk: https://mirrors.tuna.tsinghua.edu.cn/anaconda/cloud
deepmodeling: https://mirrors.tuna.tsinghua.edu.cn/anaconda/cloud/4)保存后,关闭该文件,环境配置完成。
第四步:创建虚拟环境
创建一个专用于Tensorflow2.0.0的虚拟环境。避免项目库之间混乱。
创建虚拟环境使用 conda create -n TF2.0 python=3.7.0命令。(注意:Tensorflwo2.0.0适配python版本为3.7.0)(TF2.0是虚拟环境的名称,可以自己命名,python=3.7.0是创建python版本的参数)
(C:\ProgramData\Anaconda3) C:\Users\Administrator\Documents>conda create -n TF2.0 python=3.7.0
Fetching package metadata .........
Solving package specifications: .Package plan for installation in environment C:\ProgramData\Anaconda3\envs\TF2.0:
The following NEW packages will be INSTALLED:
certifi: 2022.12.7-py37haa95532_0 defaults
pip: 22.3.1-py37haa95532_0 defaults
python: 3.7.0-hea74fb7_0 defaults
setuptools: 65.6.3-py37haa95532_0 defaults
vc: 14.2-h2eaa2aa_1 defaults
vs2015_runtime: 14.29.30133-h43f2093_3 defaults
wheel: 0.38.4-py37haa95532_0 defaults
wincertstore: 0.2-py37haa95532_2 defaultsProceed ([y]/n)?
输入y 回车继续,将会安装所需库,以及python版本。
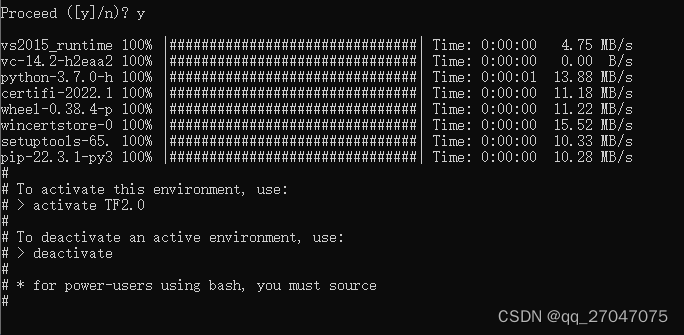
至此,基本虚拟环境完成!
可以使用conda env list 再次查看全部环境!

第五步:切换环境到刚才创建的虚拟环境
切换环境使用 activate TF2.0

之后可以安装所需的tensorflow2.0.0库,以及其他库。
第六步:安装所需的tensorflow2.0.0的库。
这里,本课程只使用tensorflow2.0.0的CPU版本,故使用conda install tensorflow==2.0.0即可默认安装CPU版本的tensorflow库。
注意:此步安装的库比较多,请确保网络通畅!

安装完毕后
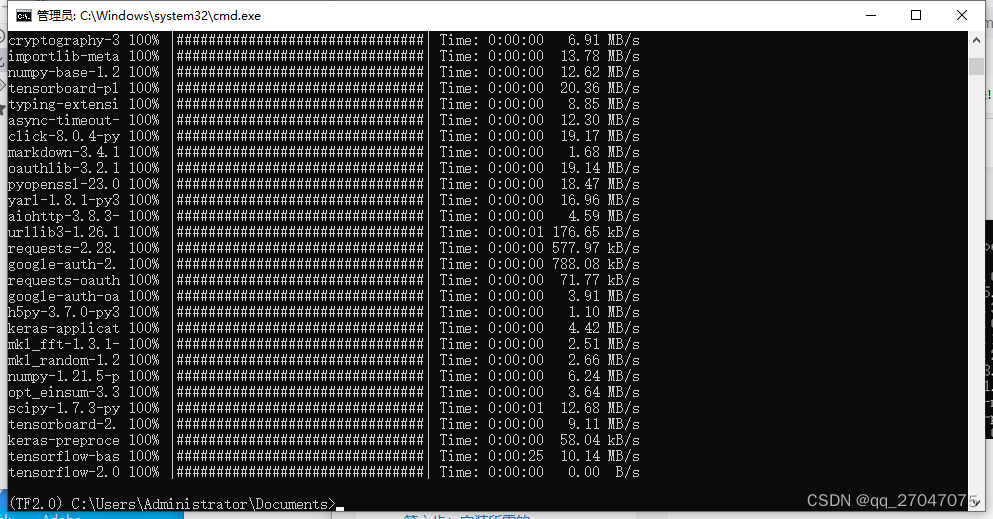
测试安装是否成功
命令行使用python 命令进入python环境。
使用 import tensorflow 语句导入tensorflow 包。
使用tensorflow.__version__ 语句输出tensorflow 的版本,如下

退出python环境使用exit()语句即可。
第七步:安装其他需要用的包。
画图包:matplotlib,命令为conda install matplotlib

