Spring Security 与 OAuth 2.0 整合详解:构建安全可靠的认证与授权机制
将 JWT(JSON Web Token)与 OAuth 2.0 整合到 Spring Security 中可以为应用程序提供强大的认证和授权功能。以下是详细的整合步骤和代码示例。

1. 引入依赖
首先,确保在 pom.xml 中引入了必要的依赖:
<dependency><groupId>org.springframework.boot</groupId><artifactId>spring-boot-starter-oauth2-client</artifactId>
</dependency>
<dependency><groupId>org.springframework.boot</groupId><artifactId>spring-boot-starter-oauth2-resource-server</artifactId>
</dependency>
<dependency><groupId>org.springframework.security.oauth.boot</groupId><artifactId>spring-security-oauth2-autoconfigure</artifactId><version>2.5.4</version>
</dependency>
<dependency><groupId>io.jsonwebtoken</groupId><artifactId>jjwt</artifactId><version>0.9.1</version>
</dependency>
2. 配置授权服务器
首先,配置授权服务器以处理授权请求和颁发访问令牌。创建一个配置类来设置授权服务器:
import org.springframework.beans.factory.annotation.Autowired;
import org.springframework.context.annotation.Configuration;
import org.springframework.security.authentication.AuthenticationManager;
import org.springframework.security.config.annotation.authentication.builders.AuthenticationManagerBuilder;
import org.springframework.security.config.annotation.web.builders.HttpSecurity;
import org.springframework.security.oauth2.config.annotation.configurers.ClientDetailsServiceConfigurer;
import org.springframework.security.oauth2.config.annotation.web.configuration.AuthorizationServerConfigurerAdapter;
import org.springframework.security.oauth2.config.annotation.web.configuration.EnableAuthorizationServer;
import org.springframework.security.oauth2.config.annotation.web.configuration.EnableResourceServer;
import org.springframework.security.oauth2.config.annotation.web.configuration.ResourceServerConfigurerAdapter;
import org.springframework.security.oauth2.config.annotation.web.configurers.AuthorizationServerEndpointsConfigurer;
import org.springframework.security.oauth2.config.annotation.web.configurers.ResourceServerSecurityConfigurer;
import org.springframework.security.oauth2.provider.token.TokenStore;
import org.springframework.security.oauth2.provider.token.store.JwtAccessTokenConverter;
import org.springframework.security.oauth2.provider.token.store.JwtTokenStore;@Configuration
@EnableAuthorizationServer
public class AuthorizationServerConfig extends AuthorizationServerConfigurerAdapter {@Autowiredprivate AuthenticationManager authenticationManager;@Overridepublic void configure(ClientDetailsServiceConfigurer clients) throws Exception {clients.inMemory().withClient("client_id").secret("{noop}client_secret").authorizedGrantTypes("authorization_code", "refresh_token", "password", "client_credentials").scopes("read_profile", "write_profile").redirectUris("https://client-app.com/callback");}@Overridepublic void configure(AuthorizationServerEndpointsConfigurer endpoints) throws Exception {endpoints.authenticationManager(authenticationManager).tokenStore(tokenStore()).accessTokenConverter(accessTokenConverter());}@Beanpublic TokenStore tokenStore() {return new JwtTokenStore(accessTokenConverter());}@Beanpublic JwtAccessTokenConverter accessTokenConverter() {JwtAccessTokenConverter converter = new JwtAccessTokenConverter();converter.setSigningKey("signing-key");return converter;}
}
3. 配置资源服务器
然后,配置资源服务器以保护资源并验证访问令牌:
@Configuration
@EnableResourceServer
public class ResourceServerConfig extends ResourceServerConfigurerAdapter {@Overridepublic void configure(HttpSecurity http) throws Exception {http.authorizeRequests().antMatchers("/public/**").permitAll().antMatchers("/api/**").authenticated();}@Overridepublic void configure(ResourceServerSecurityConfigurer resources) throws Exception {resources.resourceId("resource_id").tokenStore(tokenStore());}@Beanpublic TokenStore tokenStore() {return new JwtTokenStore(accessTokenConverter());}@Beanpublic JwtAccessTokenConverter accessTokenConverter() {JwtAccessTokenConverter converter = new JwtAccessTokenConverter();converter.setSigningKey("signing-key");return converter;}
}
4. 配置客户端应用程序
接下来,配置客户端应用程序以请求授权码和访问令牌。创建一个配置类来设置客户端应用程序:
import org.springframework.context.annotation.Configuration;
import org.springframework.security.config.annotation.web.builders.HttpSecurity;
import org.springframework.security.oauth2.config.annotation.web.configuration.EnableOAuth2Client;
import org.springframework.security.oauth2.config.annotation.web.configuration.EnableOAuth2Sso;@Configuration
@EnableOAuth2Sso
public class OAuth2ClientConfig extends WebSecurityConfigurerAdapter {@Overrideprotected void configure(HttpSecurity http) throws Exception {http.authorizeRequests().antMatchers("/login").permitAll().anyRequest().authenticated().and().oauth2Login().loginPage("/login").defaultSuccessUrl("/home", true);}
}
5. 配置应用程序属性
在 application.yml 或 application.properties 中配置 OAuth 2.0 客户端属性:
spring:security:oauth2:client:registration:google:client-id: your-client-idclient-secret: your-client-secretscope: profile, emailredirect-uri: "{baseUrl}/login/oauth2/code/{registrationId}"authorization-grant-type: authorization_codeclient-name: Googleprovider:google:authorization-uri: https://accounts.google.com/o/oauth2/authtoken-uri: https://oauth2.googleapis.com/tokenuser-info-uri: https://www.googleapis.com/oauth2/v3/userinfouser-name-attribute: sub6. 启用 HTTPS
OAuth 2.0 要求使用 HTTPS 来保护通信,因此,请确保您的应用程序配置了 HTTPS。以下是一个示例:
server:ssl:key-store: classpath:keystore.p12key-store-password: changeitkey-store-type: PKCS12key-alias: tomcat
7. 启动应用程序
现在,您可以启动您的 Spring Boot 应用程序,并测试 OAuth 2.0 整合是否正常工作。尝试访问受保护的资源,并验证 OAuth 2.0 授权流程。
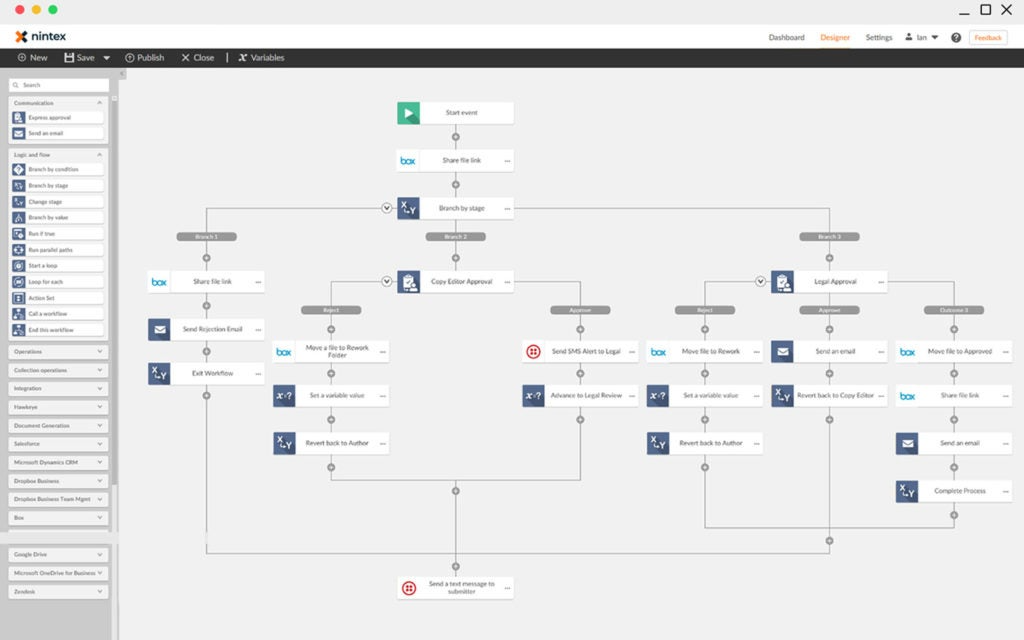
8. 测试 OAuth 2.0 授权流程
- 访问未授权资源,浏览器将重定向到登录页面。
- 选择 OAuth 2.0 提供者(例如 Google)。
- 授权应用访问您的数据。
- 重定向回应用并访问受保护的资源。
通过以上步骤,您已经成功地将 JWT 和 OAuth 2.0 整合到 Spring Security 中。这样,您的应用程序可以利用 OAuth 2.0 和 JWT 提供的强大功能进行身份验证和授权。


![[渗透测试学习] Runner-HackTheBox](https://img-blog.csdnimg.cn/direct/14add2793aab445bb9a5a0d30fd97196.png)
