安装go环境
下载go安装包
#创建文件夹
mkdir /usr/local/software
#进入文件夹
cd /usr/local/software
#下载安装包
wget https://dl.google.com/go/go1.17.6.linux-amd64.tar.gz
配置go环境变量
#解压
tar -zxvf go1.17.6.linux-amd64.tar.gz#配置环境变量
echo "export PATH=$PATH:/usr/local/software/go/bin" >> /etc/profile #刷新配置
source /etc/profile#测试 go是否安装成功
go version

安装Prometheus
下载源代码
注意:下载有点慢,可以通过其它方式下载后,上传到路径/usr/local/software下
wget https://github.com/prometheus/prometheus/releases/download/v2.45.6/prometheus-2.45.6.linux-amd64.tar.gz
解压并安装Prometheus
#解压
tar -zxvf prometheus-2.45.6.linux-amd64.tar.gz#重名名
mv prometheus-2.45.6.linux-amd64 prometheus#进入目录
cd ./prometheus/#启动
./prometheus --config.file=./prometheus.yml
查看是否启动成功
注意:命令(./prometheus --config.file=./prometheus.yml)非守护进程方式启动,验证时原窗口不要关闭,新开一个窗口连接到服务器
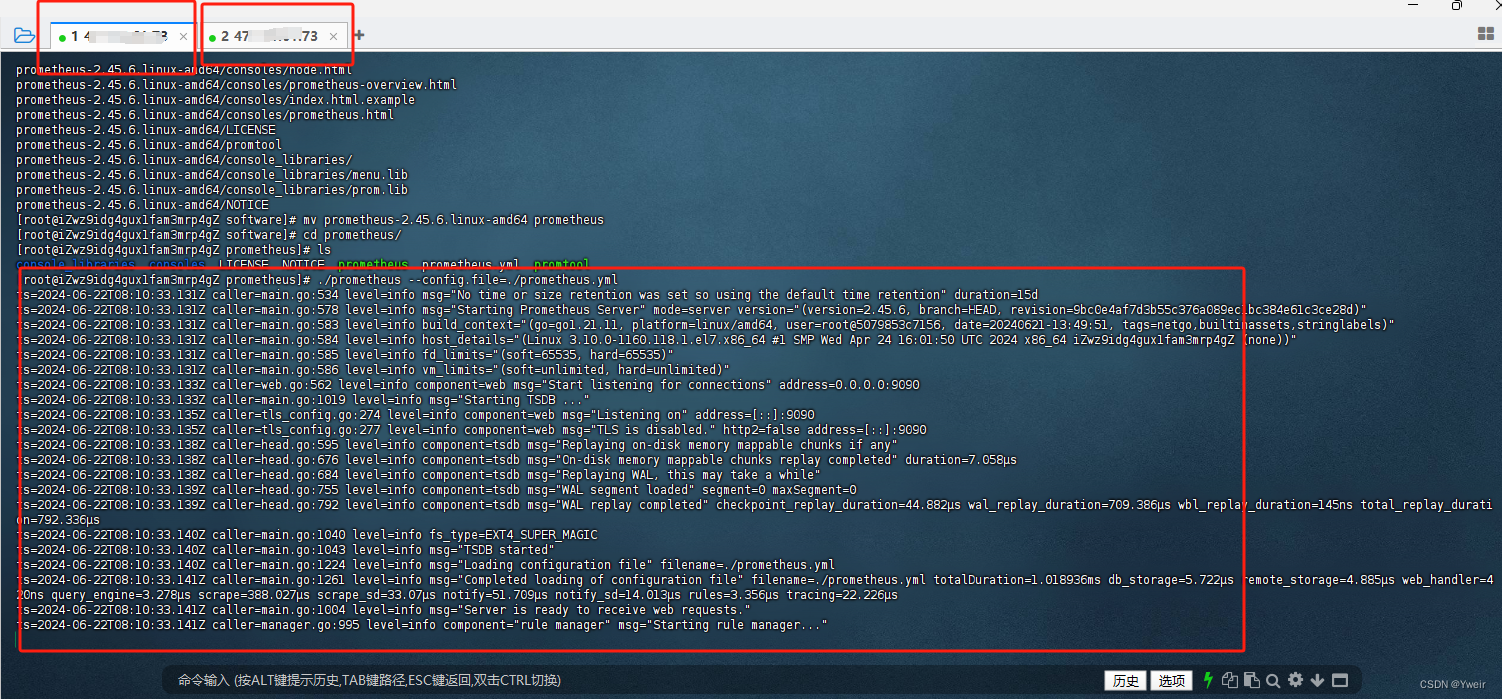
#查看是否启动成功,默认端口9090
lsof -i:9090

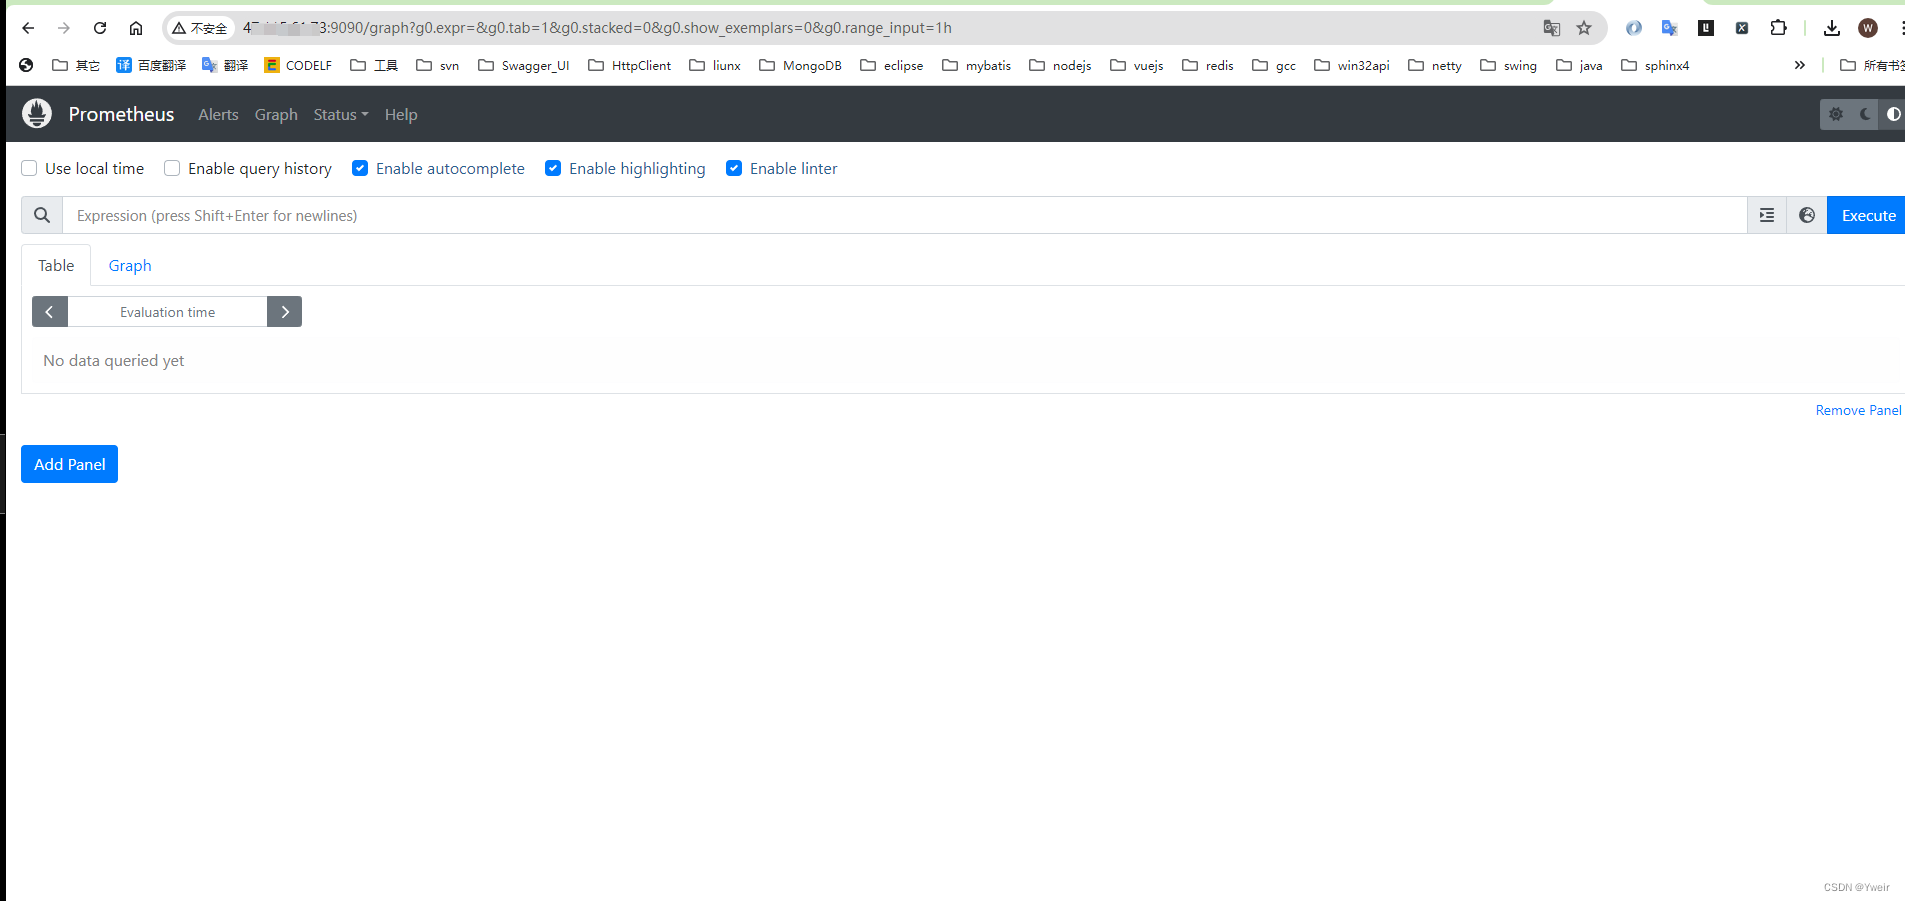
访问 prometheus
注意:安全组需要开放端口
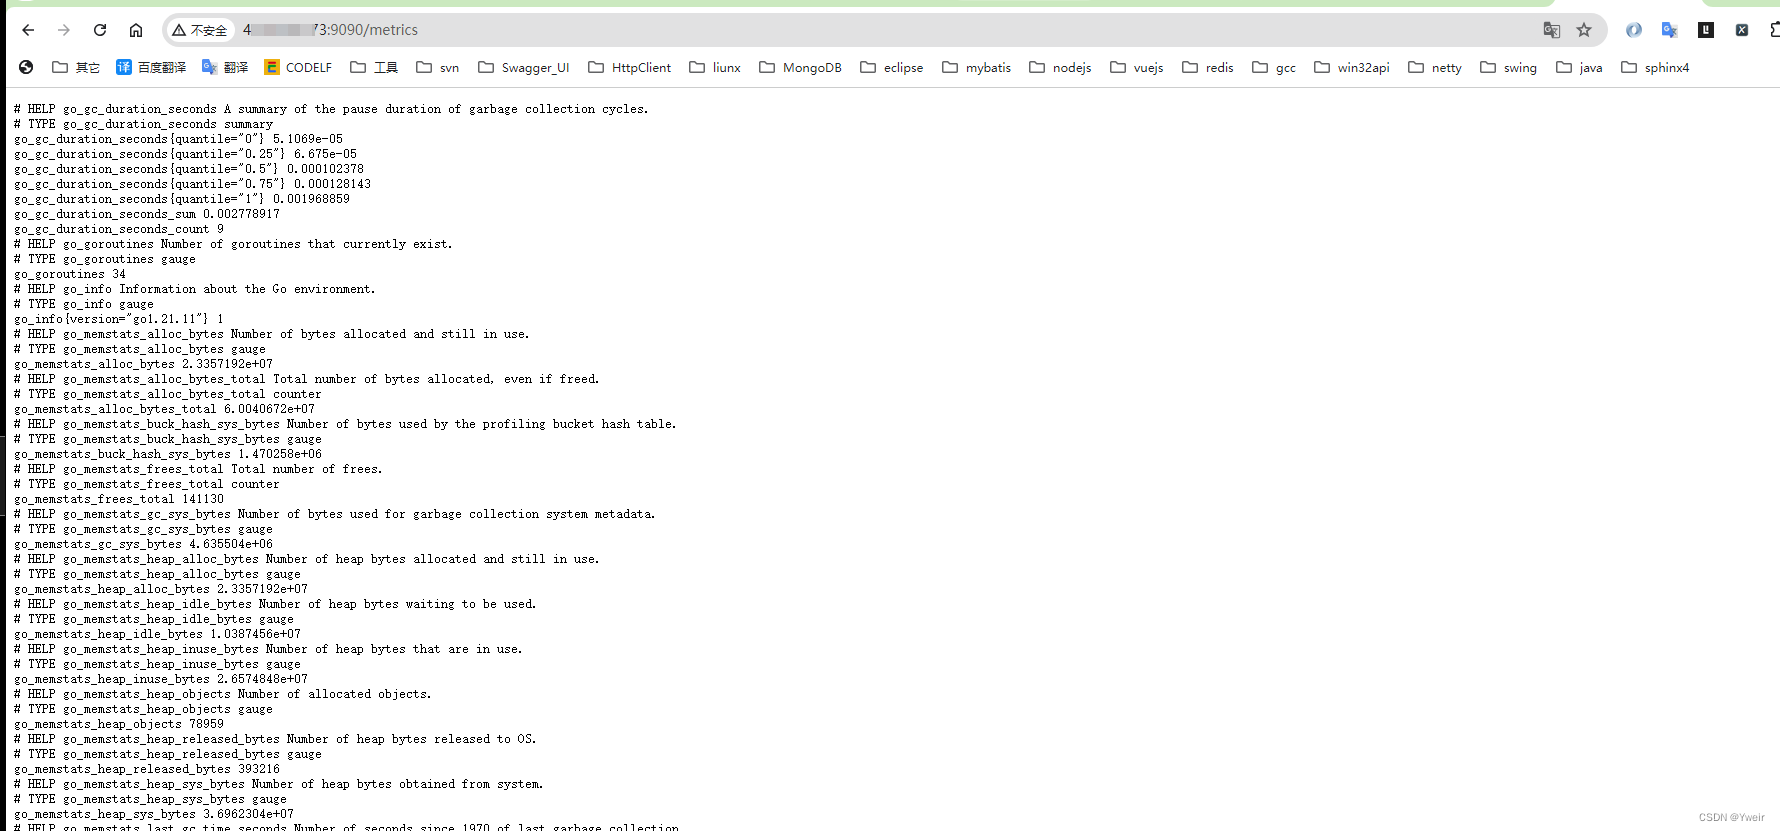
#指标数据http://x.x.x.x:9090/metrics#图界面http://x.x.x.x:9090/
使用技巧
- prometheus里面经常需要修改配置,可以利用动态更新
- 启动时在参数中加入
--web.enable-lifecycle(该参数默认关闭,生产环境不建议开启)
#启动, &表示需要守护进程方式运行,不然退出终端则进程消失
./prometheus --config.file=./prometheus.yml --web.enable-lifecycle &#动态更新配置
curl -X POST http://localhost:9090/-/reload
拓展
- Prometheus的目录结构
- console_libraries:用于存储用于在Prometheus控制台上显示的JavaScript库。
- consoles:用于存储用于在Prometheus控制台上显示的控制台文件,其中包括查询和图形定义。
- data:用于存储Prometheus的磁盘持久化数据。
- LICENSE:Prometheus的许可证文件。
- NOTICE:版权声明文件。
- prometheus:存储Prometheus二进制文件及其相关文件的目录。
- prometheus.yml:Prometheus的配置文件。
- promtool:Prometheus的命令行工具,用于检查配置文件是否正确以及生成表达式的值。
Prometheus操作面板和常见配置讲解
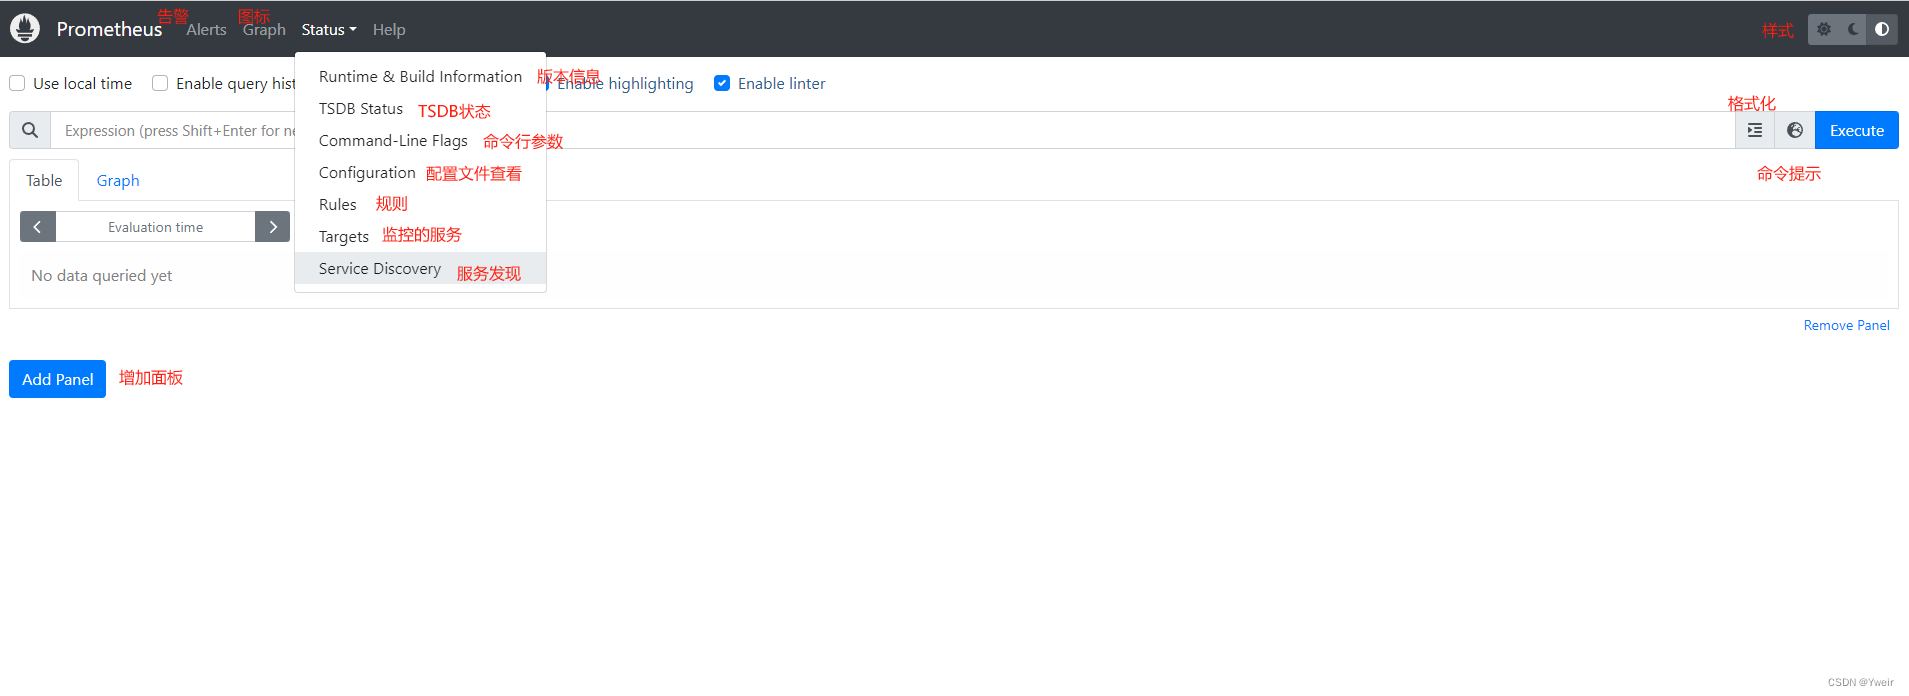
操作面板介绍
配置文件介绍
#全局配置,默认,可以被覆盖
global:scrape_interval: 15s  #全局的抓取间隔scrape_timeout: 10s  #抓取超时时间evaluation_interval: 15s  #评估间隔#告警配置
alerting:alertmanagers: #告警管理器- follow_redirects: true #是否启用重定向enable_http2: true #是否启用HTTP2scheme: httptimeout: 10sapi_version: v2 #指定Alertmanager的API版本,此处为v2static_configs: #告诉Prometheus哪些目标是静态的(即不会更改),如果有多个目标,则可以在targets中指定多个地址。- targets: []#抓取配置
scrape_configs:
- job_name: prometheus #任务名称honor_timestamps: true #指标的时间戳应该由服务器提供,而不是客户端在发送指标时提供的时间戳scrape_interval: 15s #抓取任务的时间间隔,即每15秒抓取一次。scrape_timeout: 10s  #抓取任务的超时时间,单位为秒,即每个目标最多等待10秒钟metrics_path: /metrics  #抓取指标的路径scheme: http #指定抓取时使用的协议,默认为httpfollow_redirects: true  #是否启用重定向。在此处启用enable_http2: true  #是否启用HTTP2static_configs:- targets:- 120.24.7.58:9090 #目标配置,告诉Prometheus哪些目标需要抓取,如果有多个目标,则可以在targets中指定多个地址#此处抓取了一个名为prometheus的任务,每隔15秒抓取一次localhost:9090上的/metrics路径,超时时间为10秒
Prometheus组件Node-Exporter配置实战
Exporter介绍
- 向Prometheus提供监控样本数据的程序都可以被称为一个Exporter
- 是一种用于将不同数据源的指标提供给Prometheus进行收集和监控的工具。
- 运行在应用程序、计算机、网络设备或者其他系统上的代码,它可以将系统的指标信息以一种标准格式公开
- 将指标数据公开为HTTP端点或者指定的格式(如Redis、JMX等),Prometheus然后可以通过轮询或指定的抓取器
- 总结
- Exporter是Prometheus的指标数据收集组件,负责从目标Jobs收集数据
- 并把收集到的数据转换为Prometheus支持的时序数据格式
- 只负责收集,并不向Server端发送数据,而是等待Prometheus Server 主动抓取
- Prometheus社区以及其他团队开发了大量的Exporter,覆盖了许多不同类型的系统和服务
- Node Exporter、MySQL Exporter、Redis Exporter、MongoDB Exporter、Nginx Exporter…
- 使用方式
- 在主机上安装了一个 Exporter程序,该程序对外暴露了一个用于获取当前监控样本数据的HTTP访问地址
- Prometheus通过轮询的方式定时从这些Target中获取监控数据样本,并且存储在数据库当中
- 所有的Exporter程序都需要按照Prometheus的规范,返回监控的样本数据
- 比如接下去的Node Exporter为例,当访问/metrics地址时会返回内容和本身Prometheus协议保持一致即可
- 主要由三个部分组成,Prometheus会对Exporter响应的内容逐行解析
- 样本的一般注释信息(HELP)
- 样本的类型注释信息(TYPE)
- 样本
案例实战 node_exporter
node_exporter 用于采集类UNIX内核的硬件以及系统指标,包括CPU、内存和磁盘
下载exporter
# 下载
wget https://github.com/prometheus/node_exporter/releases/download/v1.7.0/node_exporter-1.7.0.linux-amd64.tar.gz# 下载完成后 解压
tar -zxvf node_exporter-1.7.0.linux-amd64.tar.gz# 重命名
mv node_exporter-1.7.0.linux-amd64 node_exporter# 进入目录
cd node_exporter/# 启动
nohup ./node_exporter &#确认端口
lsof -i:9100
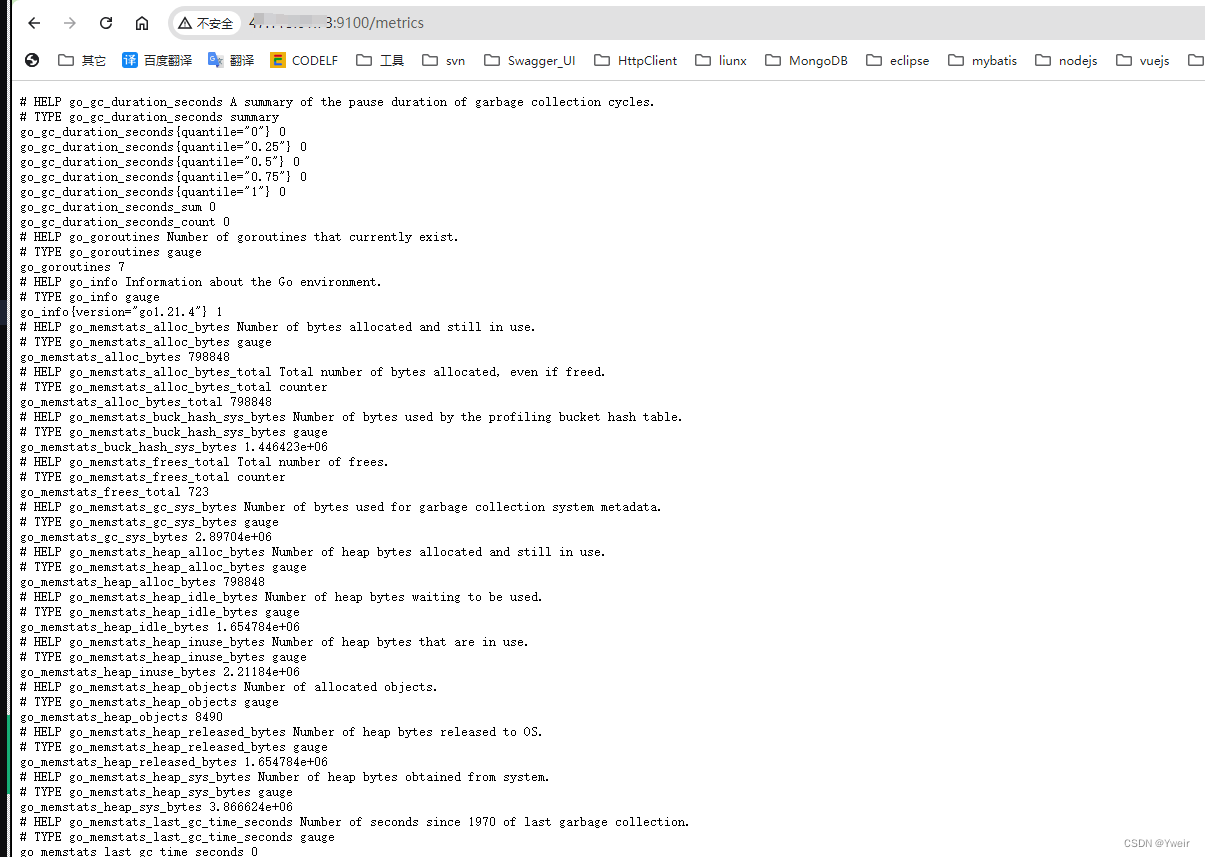
通过浏览器访问 http://IP:9100/metrics可以查看到监控信息
Prometheus服务器中添加被监控机器的配置
# target的也可以写ip
vim  prometheus.yml
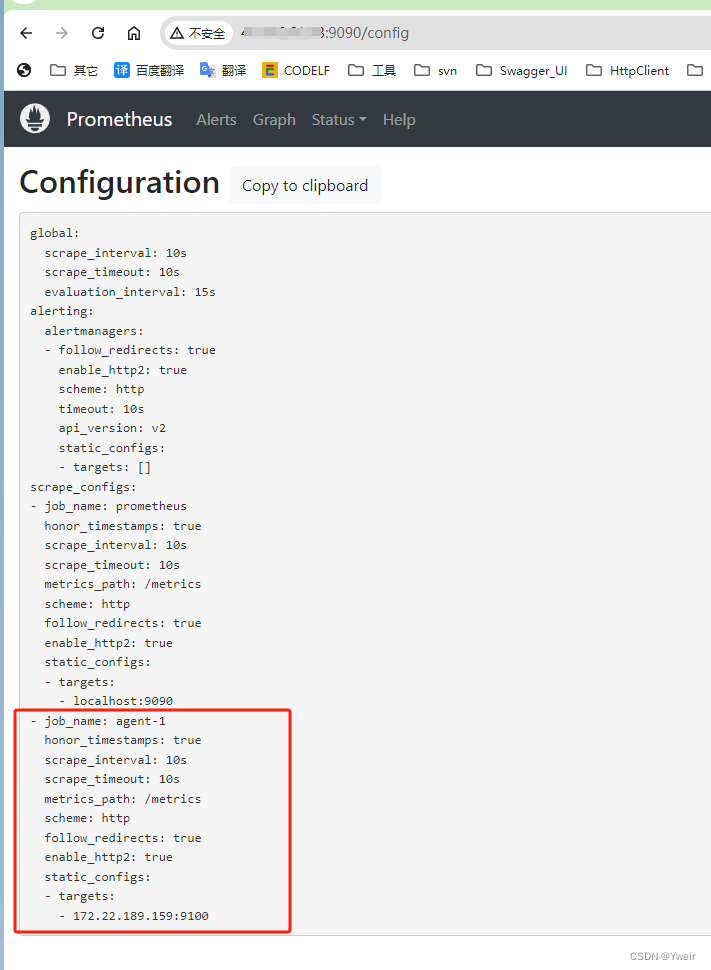
- job_name: 'agent-1'static_configs:- targets: ['x.x.x.x:9100']
- 动态更新配置
curl -X POST http://localhost:9090/-/reload

- 注意
- 需要达到举一反三的思路,掌握常规exporter的配置和使用
- 社区支持的exporter 很多,但使用方式都是一样的
- 步骤
- 对应的机器安装exporter
- 启动exporter 并监听对应的程序
- 访问对应的exporter的metric路径,看是否返回数据
- Prometheus配置新的job
- 访问Prometheus查看target和configuration是否有数据
