⭐️基础链接导航⭐️
服务器 → ☁️ 阿里云活动地址
看样例 → 🐟 摸鱼小网站地址
学代码 → 💻 源码库地址
一、前言
我们已经成功实现了一个完整的热搜组件,从后端到前端,构建了这个小网站的核心功能。接下来,我们将不断完善其功能,使其更加美观和实用。今天的主题是如何定时获取热搜数据。如果热搜数据无法定时更新,小网站将失去其核心价值。之前,我采用了@Scheduled注解来实现定时任务,但这种方式灵活性不足,因此我决定用更灵活的XXL-Job组件来替代它。
二、xxl-job部署
xxl-job是一个轻量级分布式任务调度平台,其核心设计目标是开发迅速、学习简单、轻量级、易扩展。目前github代码库star 27.3k,开源免费的,值得学习使用一下。
1. 代码库下载
github代码库地址
下载下来后,代码库结构如下:
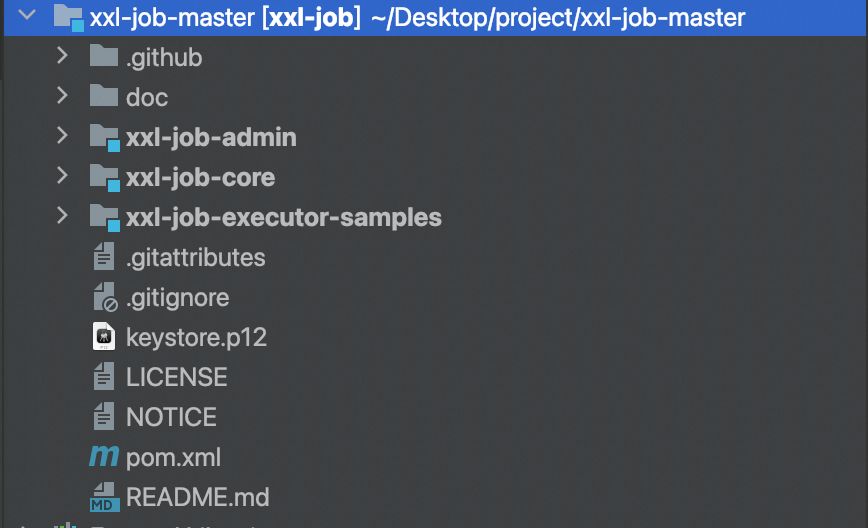
源码结构如下:
xxl-job-admin:调度中心
xxl-job-core:公共依赖
xxl-job-executor-samples:执行器Sample示例(选择合适的版本执行器,可直接使用,也可以参考其并将现有项目改造成执行器):xxl-job-executor-sample-springboot:Springboot版本,通过Springboot管理执行器,推荐这种方式;:xxl-job-executor-sample-frameless:无框架版本;
调度中心配置内容说明:
### 调度中心JDBC链接:链接地址请保持和 2.1章节 所创建的调度数据库的地址一致
spring.datasource.url=jdbc:mysql://127.0.0.1:3306/xxl_job?useUnicode=true&characterEncoding=UTF-8&autoReconnect=true&serverTimezone=Asia/Shanghai
spring.datasource.username=xxx
spring.datasource.password=xxx
spring.datasource.driver-class-name=com.mysql.jdbc.Driver### 报警邮箱
spring.mail.host=smtp.qq.com
spring.mail.port=25
spring.mail.username=xxx@qq.com
spring.mail.password=xxx
spring.mail.properties.mail.smtp.auth=true
spring.mail.properties.mail.smtp.starttls.enable=true
spring.mail.properties.mail.smtp.starttls.required=true
spring.mail.properties.mail.smtp.socketFactory.class=javax.net.ssl.SSLSocketFactory### 调度中心通讯TOKEN [选填]:非空时启用;
xxl.job.accessToken=### 调度中心国际化配置 [必填]: 默认为 "zh_CN"/中文简体, 可选范围为 "zh_CN"/中文简体, "zh_TC"/中文繁体 and "en"/英文;
xxl.job.i18n=zh_CN## 调度线程池最大线程配置【必填】
xxl.job.triggerpool.fast.max=200
xxl.job.triggerpool.slow.max=100### 调度中心日志表数据保存天数 [必填]:过期日志自动清理;限制大于等于7时生效,否则, 如-1,关闭自动清理功能;
xxl.job.logretentiondays=30
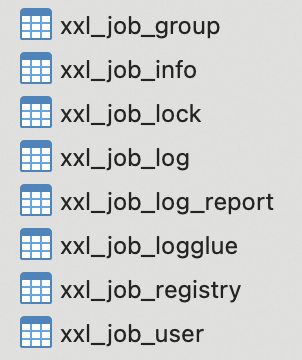
2. 表结构初始化
在doc目录的 db目录下,有一个sql文件,里面有一些表和数据的初始化sql,我们要在执行XXL-Job之前要把表和数据准备好。
执行结束后,表如下:
3. 启动XXL-Job
找到XxlJobAdminApplication,启动该应用,在浏览器输入:http://localhost:12000/xxl-job-admin/toLogin,会进入XXL-Job登录界面,如下:
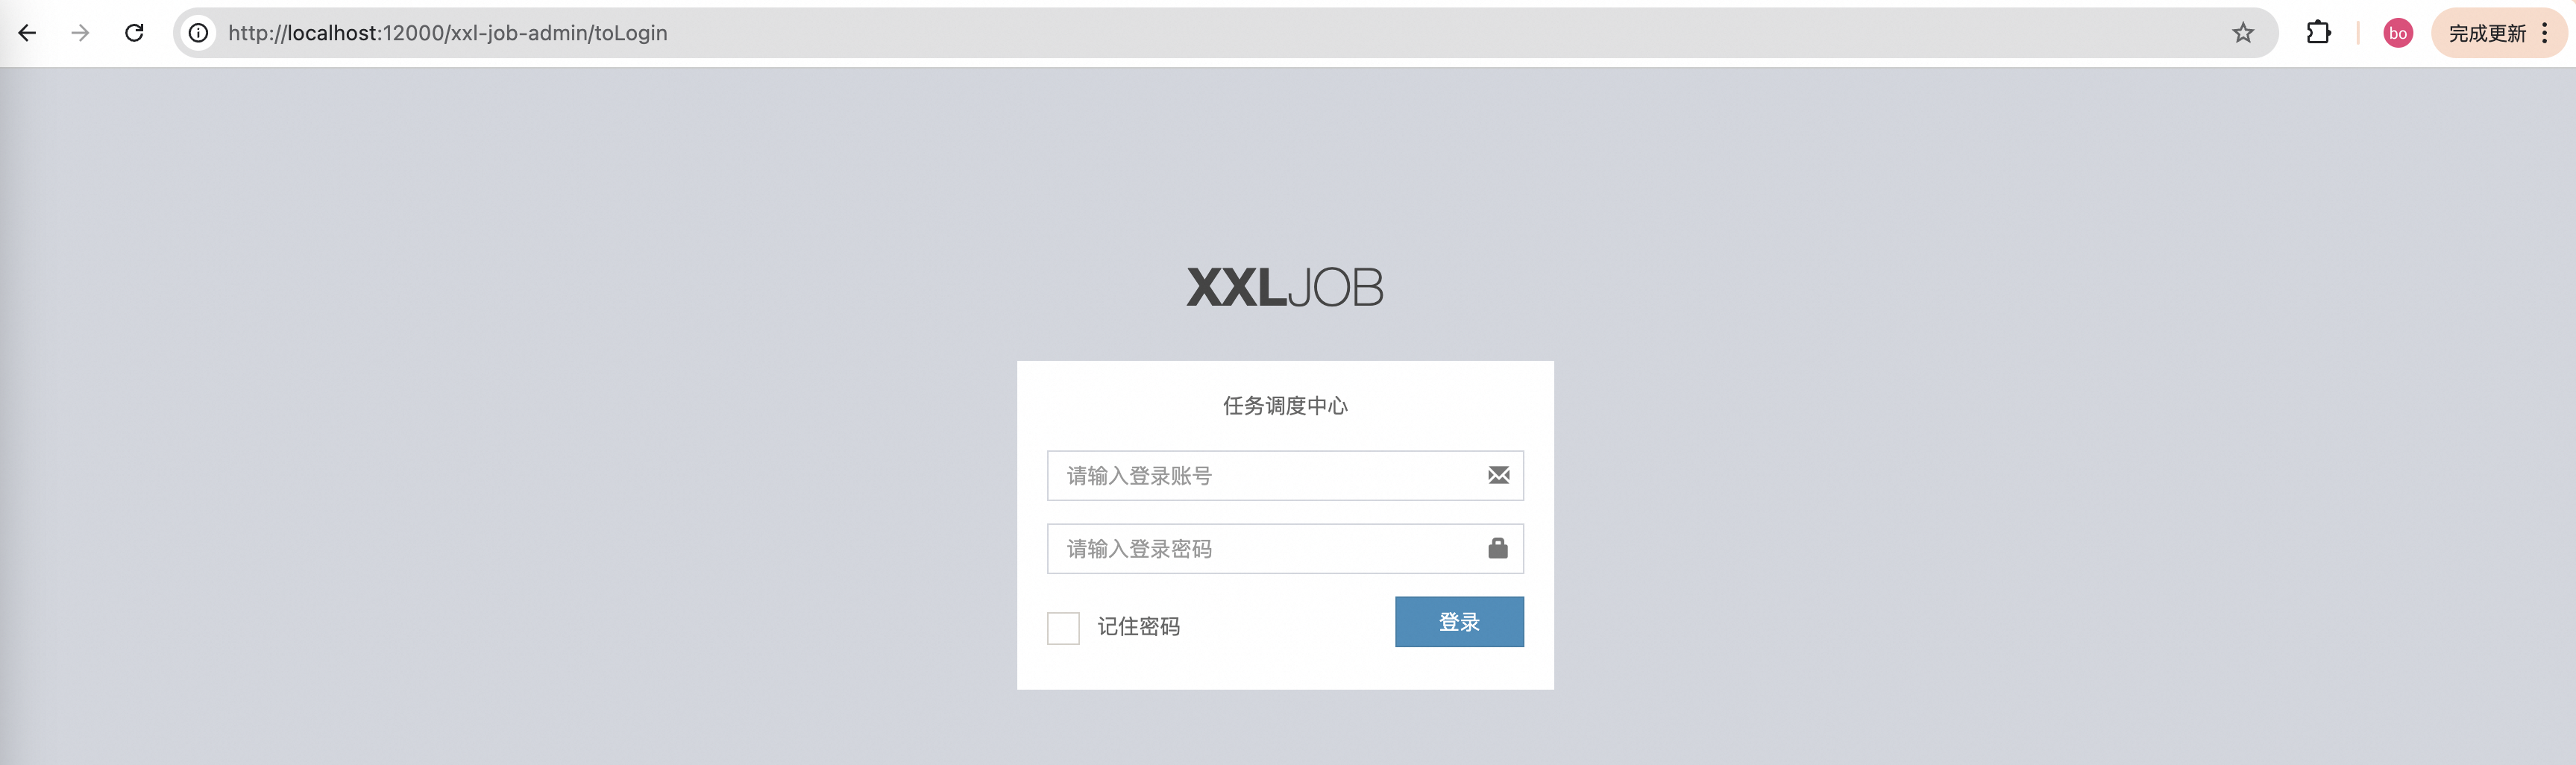
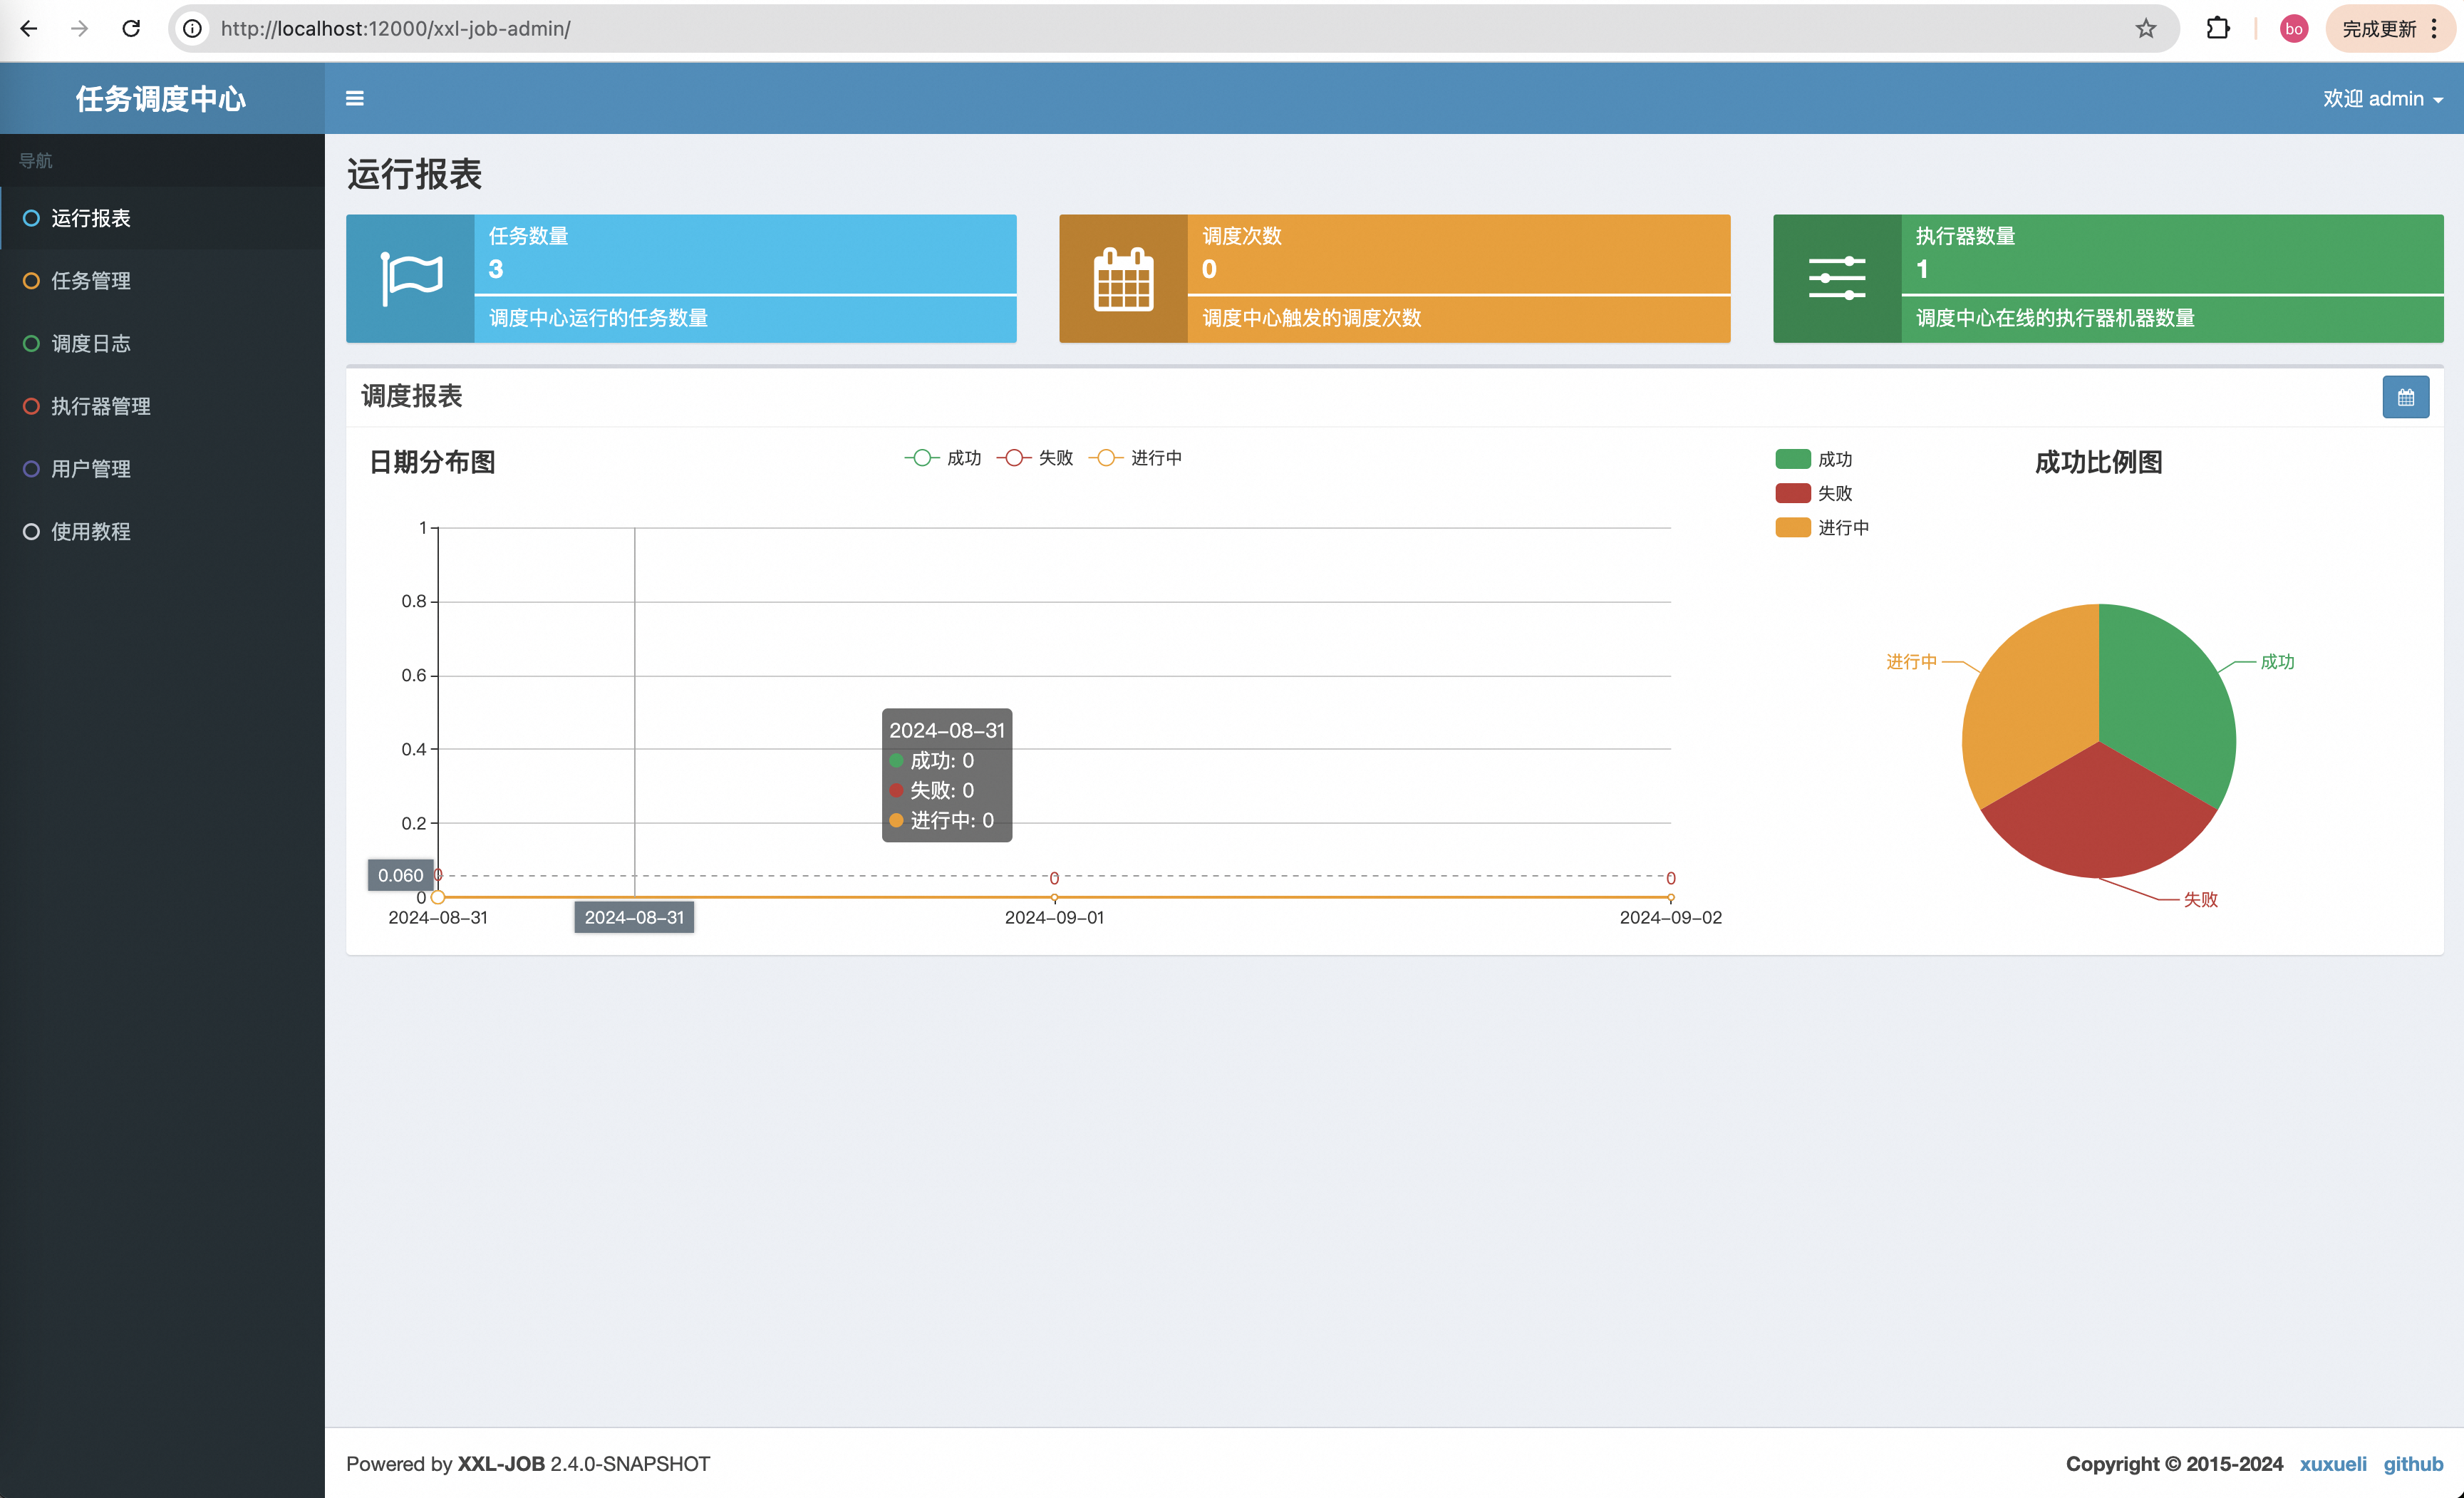
输入用户名:admin;密码:123456点击登录进入主界面,如下:
三、自定义爬虫任务
XXL-Job的使用也很简单,一个注解就好了,这里我说一下如何使用它。
1. 引入XXL-Job依赖
在summo-sbmy-job的pom.xml下添加:
<!-- xxl-job -->
<dependency><groupId>com.xuxueli</groupId><artifactId>xxl-job-core</artifactId><version>2.4.1</version>
</dependency>
2. XXL-Job配置
在application.preoperties文件中加入XXL-Job的配置,配置如下:
# xxl-job
xxl.job.open=true
### xxl-job admin address list, such as "http://address" or "http://address01,http://address02"
xxl.job.admin.addresses=http://127.0.0.1:12000/xxl-job-admin
### xxl-job, access token
xxl.job.accessToken=default_token
### xxl-job executor appname
xxl.job.executor.appname=summo-sbmy
### xxl-job executor log-path
xxl.job.executor.logpath=/root/logs/xxl-job/jobhandler
### xxl-job executor log-retention-days
xxl.job.executor.logretentiondays=30
### xxl-job executor registry-address: default use address to registry , otherwise use ip:port if address is null
xxl.job.executor.address=
### xxl-job executor server-info
xxl.job.executor.ip=
xxl.job.executor.port=9999
配置弄好之后,在com.summo.sbmy.job.config目录下创建一个config文件,创建XxlJobConfig.java,代码如下:
package com.summo.sbmy.job.config;import com.xxl.job.core.executor.impl.XxlJobSpringExecutor;
import org.slf4j.Logger;
import org.slf4j.LoggerFactory;
import org.springframework.beans.factory.annotation.Value;
import org.springframework.boot.autoconfigure.condition.ConditionalOnProperty;
import org.springframework.context.annotation.Bean;
import org.springframework.context.annotation.Configuration;/*** xxl-job config** @author xuxueli 2017-04-28*/
@Configuration
public class XxlJobConfig {private Logger logger = LoggerFactory.getLogger(XxlJobConfig.class);@Value("${xxl.job.admin.addresses}")private String adminAddresses;@Value("${xxl.job.accessToken}")private String accessToken;@Value("${xxl.job.executor.appname}")private String appname;@Value("${xxl.job.executor.address}")private String address;@Value("${xxl.job.executor.ip}")private String ip;@Value("${xxl.job.executor.port}")private int port;@Value("${xxl.job.executor.logpath}")private String logPath;@Value("${xxl.job.executor.logretentiondays}")private int logRetentionDays;@Bean@ConditionalOnProperty(name = "xxl.job.open", havingValue = "true")public XxlJobSpringExecutor xxlJobExecutor() {logger.info(">>>>>>>>>>> xxl-job config init.");XxlJobSpringExecutor xxlJobSpringExecutor = new XxlJobSpringExecutor();xxlJobSpringExecutor.setAdminAddresses(adminAddresses);xxlJobSpringExecutor.setAppname(appname);xxlJobSpringExecutor.setAddress(address);xxlJobSpringExecutor.setIp(ip);xxlJobSpringExecutor.setPort(port);xxlJobSpringExecutor.setAccessToken(accessToken);xxlJobSpringExecutor.setLogPath(logPath);xxlJobSpringExecutor.setLogRetentionDays(logRetentionDays);return xxlJobSpringExecutor;}
}
配置和类都弄好之后,重新启动应用,如果顺利的话,在XXL-Job管理的执行器界面上就可以看到一个执行器已经注册了,如下:

4. 注册XXL-Job任务
以抖音热搜为例,我们最开始使用的是 @Scheduled注解,代码如下:
/*** 定时触发爬虫方法,1个小时执行一次*/
@Scheduled(fixedRate = 1000 * 60 * 60)
public void hotSearch() throws IOException{... ...
}
将@Scheduled注解替换为@XxlJob("douyinHotSearchJob"),具体的代码如下:
package com.summo.sbmy.job.douyin;import com.alibaba.fastjson.JSONArray;
import com.alibaba.fastjson.JSONObject;
import com.google.common.collect.Lists;
import com.summo.sbmy.dao.entity.SbmyHotSearchDO;
import com.summo.sbmy.service.SbmyHotSearchService;
import com.summo.sbmy.service.convert.HotSearchConvert;
import com.xxl.job.core.biz.model.ReturnT;
import com.xxl.job.core.handler.annotation.XxlJob;
import lombok.extern.slf4j.Slf4j;
import okhttp3.OkHttpClient;
import okhttp3.Request;
import okhttp3.Response;
import org.apache.commons.collections4.CollectionUtils;
import org.springframework.beans.factory.annotation.Autowired;
import org.springframework.scheduling.annotation.Scheduled;
import org.springframework.stereotype.Component;import java.io.IOException;
import java.util.List;
import java.util.Random;
import java.util.UUID;
import java.util.stream.Collectors;import static com.summo.sbmy.common.cache.SbmyHotSearchCache.CACHE_MAP;
import static com.summo.sbmy.common.enums.HotSearchEnum.DOUYIN;/*** @author summo* @version DouyinHotSearchJob.java, 1.0.0* @description 抖音热搜Java爬虫代码* @date 2024年08月09*/
@Component
@Slf4j
public class DouyinHotSearchJob {@Autowiredprivate SbmyHotSearchService sbmyHotSearchService;@XxlJob("douyinHotSearchJob")public ReturnT<String> hotSearch(String param) throws IOException {log.info("抖音热搜爬虫任务开始");try {//查询抖音热搜数据OkHttpClient client = new OkHttpClient().newBuilder().build();Request request = new Request.Builder().url("https://www.iesdouyin.com/web/api/v2/hotsearch/billboard/word/").method("GET", null).build();Response response = client.newCall(request).execute();JSONObject jsonObject = JSONObject.parseObject(response.body().string());JSONArray array = jsonObject.getJSONArray("word_list");List<SbmyHotSearchDO> sbmyHotSearchDOList = Lists.newArrayList();for (int i = 0, len = array.size(); i < len; i++) {//获取知乎热搜信息JSONObject object = (JSONObject) array.get(i);//构建热搜信息榜SbmyHotSearchDO sbmyHotSearchDO = SbmyHotSearchDO.builder().hotSearchResource(DOUYIN.getCode()).build();//设置文章标题sbmyHotSearchDO.setHotSearchTitle(object.getString("word"));//设置知乎三方IDsbmyHotSearchDO.setHotSearchId(getHashId(DOUYIN.getCode() + sbmyHotSearchDO.getHotSearchTitle()));//设置文章连接sbmyHotSearchDO.setHotSearchUrl("https://www.douyin.com/search/" + sbmyHotSearchDO.getHotSearchTitle() + "?type=general");//设置热搜热度sbmyHotSearchDO.setHotSearchHeat(object.getString("hot_value"));//按顺序排名sbmyHotSearchDO.setHotSearchOrder(i + 1);sbmyHotSearchDOList.add(sbmyHotSearchDO);}if (CollectionUtils.isEmpty(sbmyHotSearchDOList)) {return ReturnT.SUCCESS;}//数据加到缓存中CACHE_MAP.put(DOUYIN.getCode(), sbmyHotSearchDOList.stream().map(HotSearchConvert::toDTOWhenQuery).collect(Collectors.toList()));//数据持久化sbmyHotSearchService.saveCache2DB(sbmyHotSearchDOList);log.info("抖音热搜爬虫任务结束");} catch (IOException e) {log.error("获取抖音数据异常", e);}return ReturnT.SUCCESS;}/*** 根据文章标题获取一个唯一ID** @param title 文章标题* @return 唯一ID*/private String getHashId(String title) {long seed = title.hashCode();Random rnd = new Random(seed);return new UUID(rnd.nextLong(), rnd.nextLong()).toString();}}
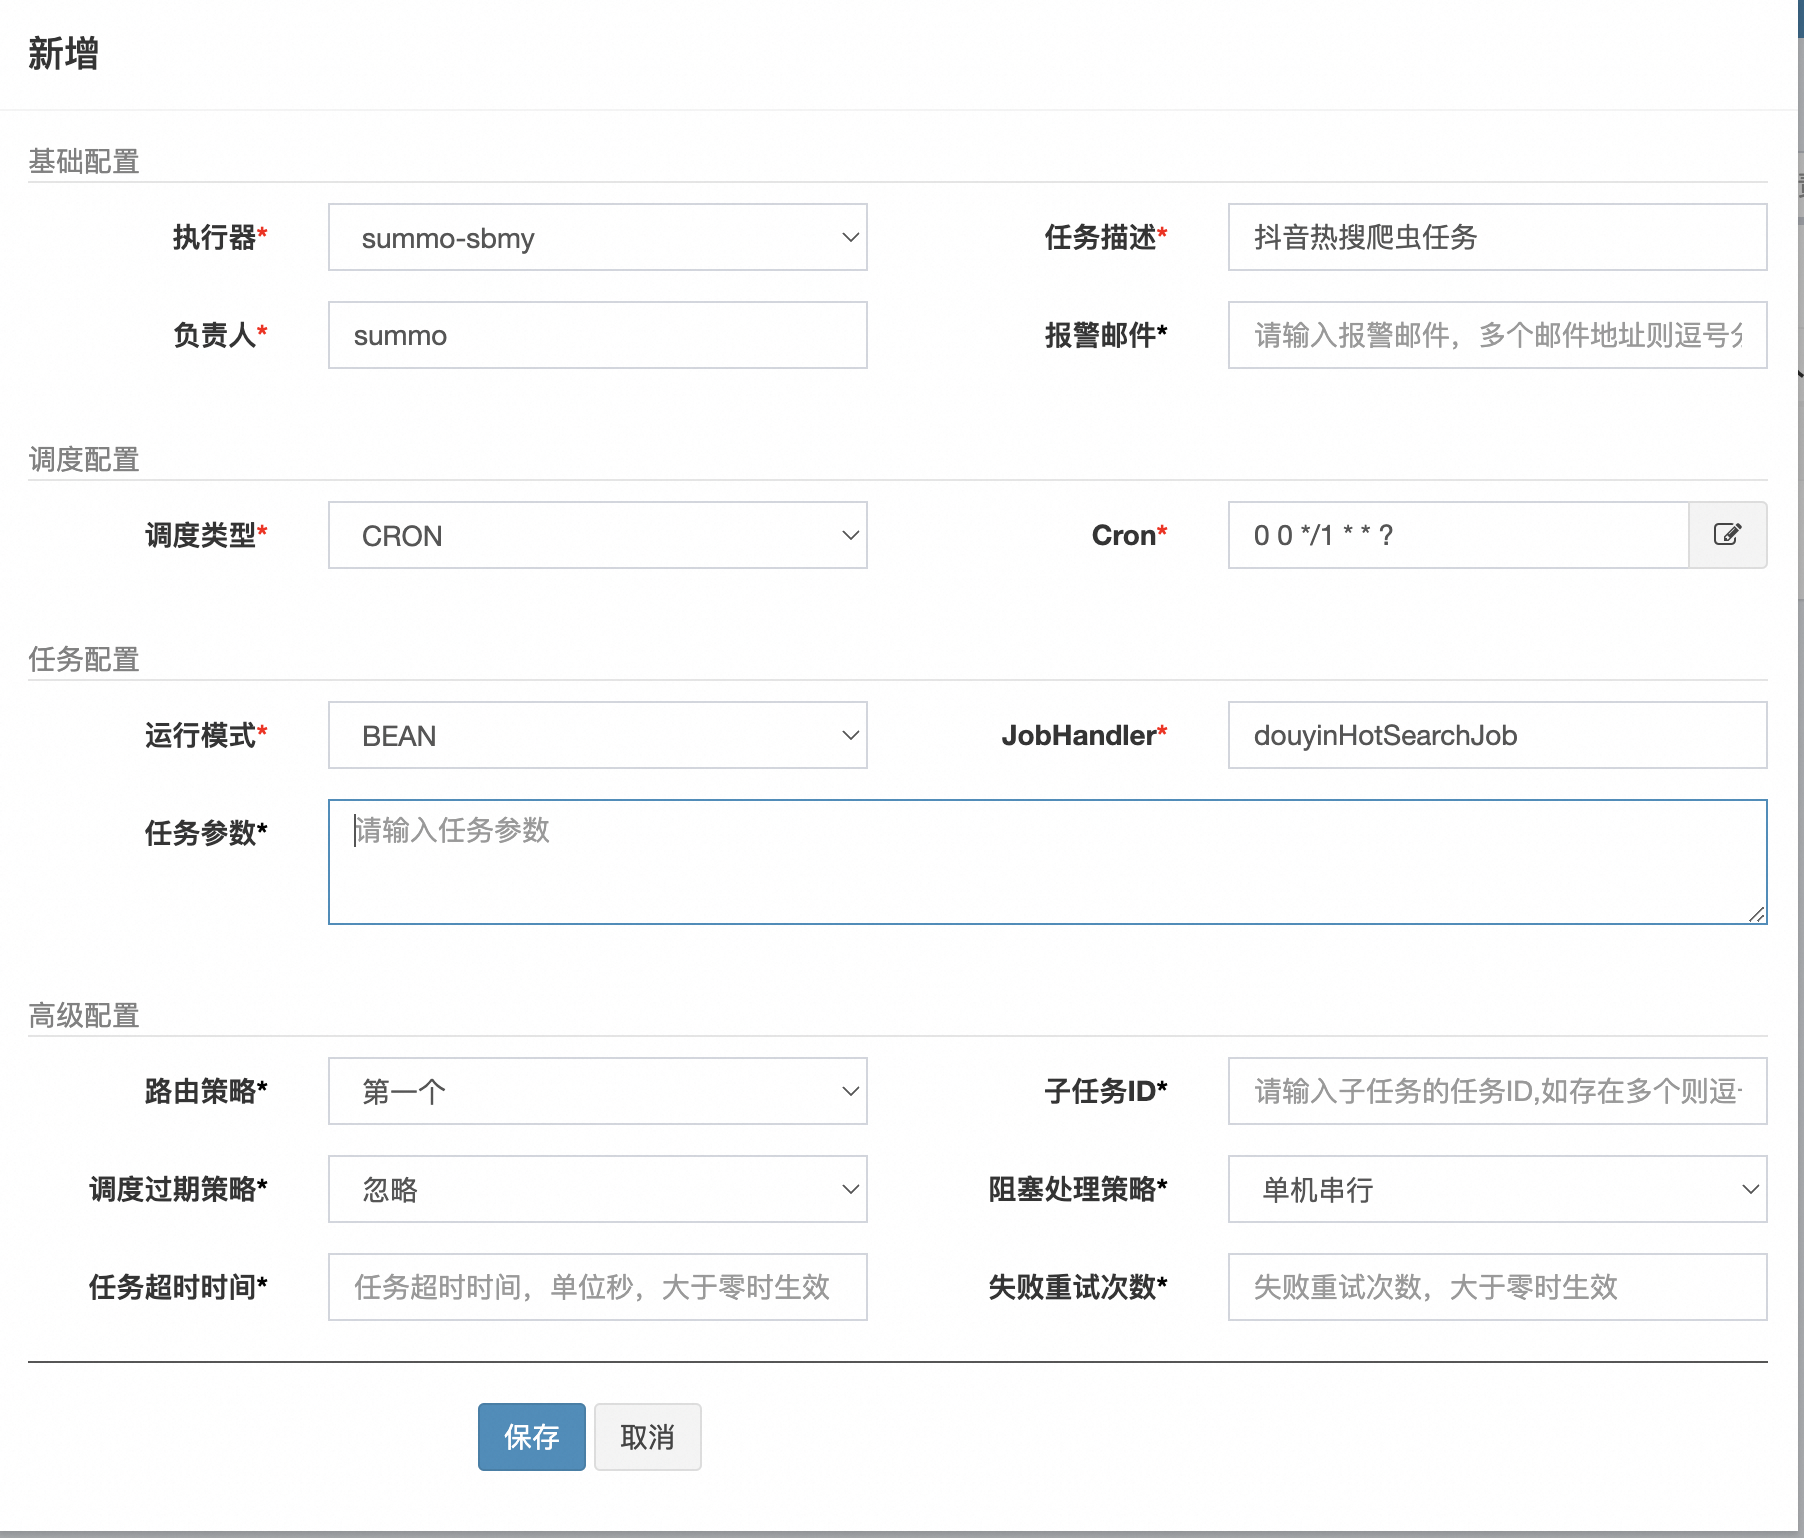
在XXL-Job管理台的任务管理界面中点击新增任务,如下:
创建好任务后,我们可以手动运行一次,如下:
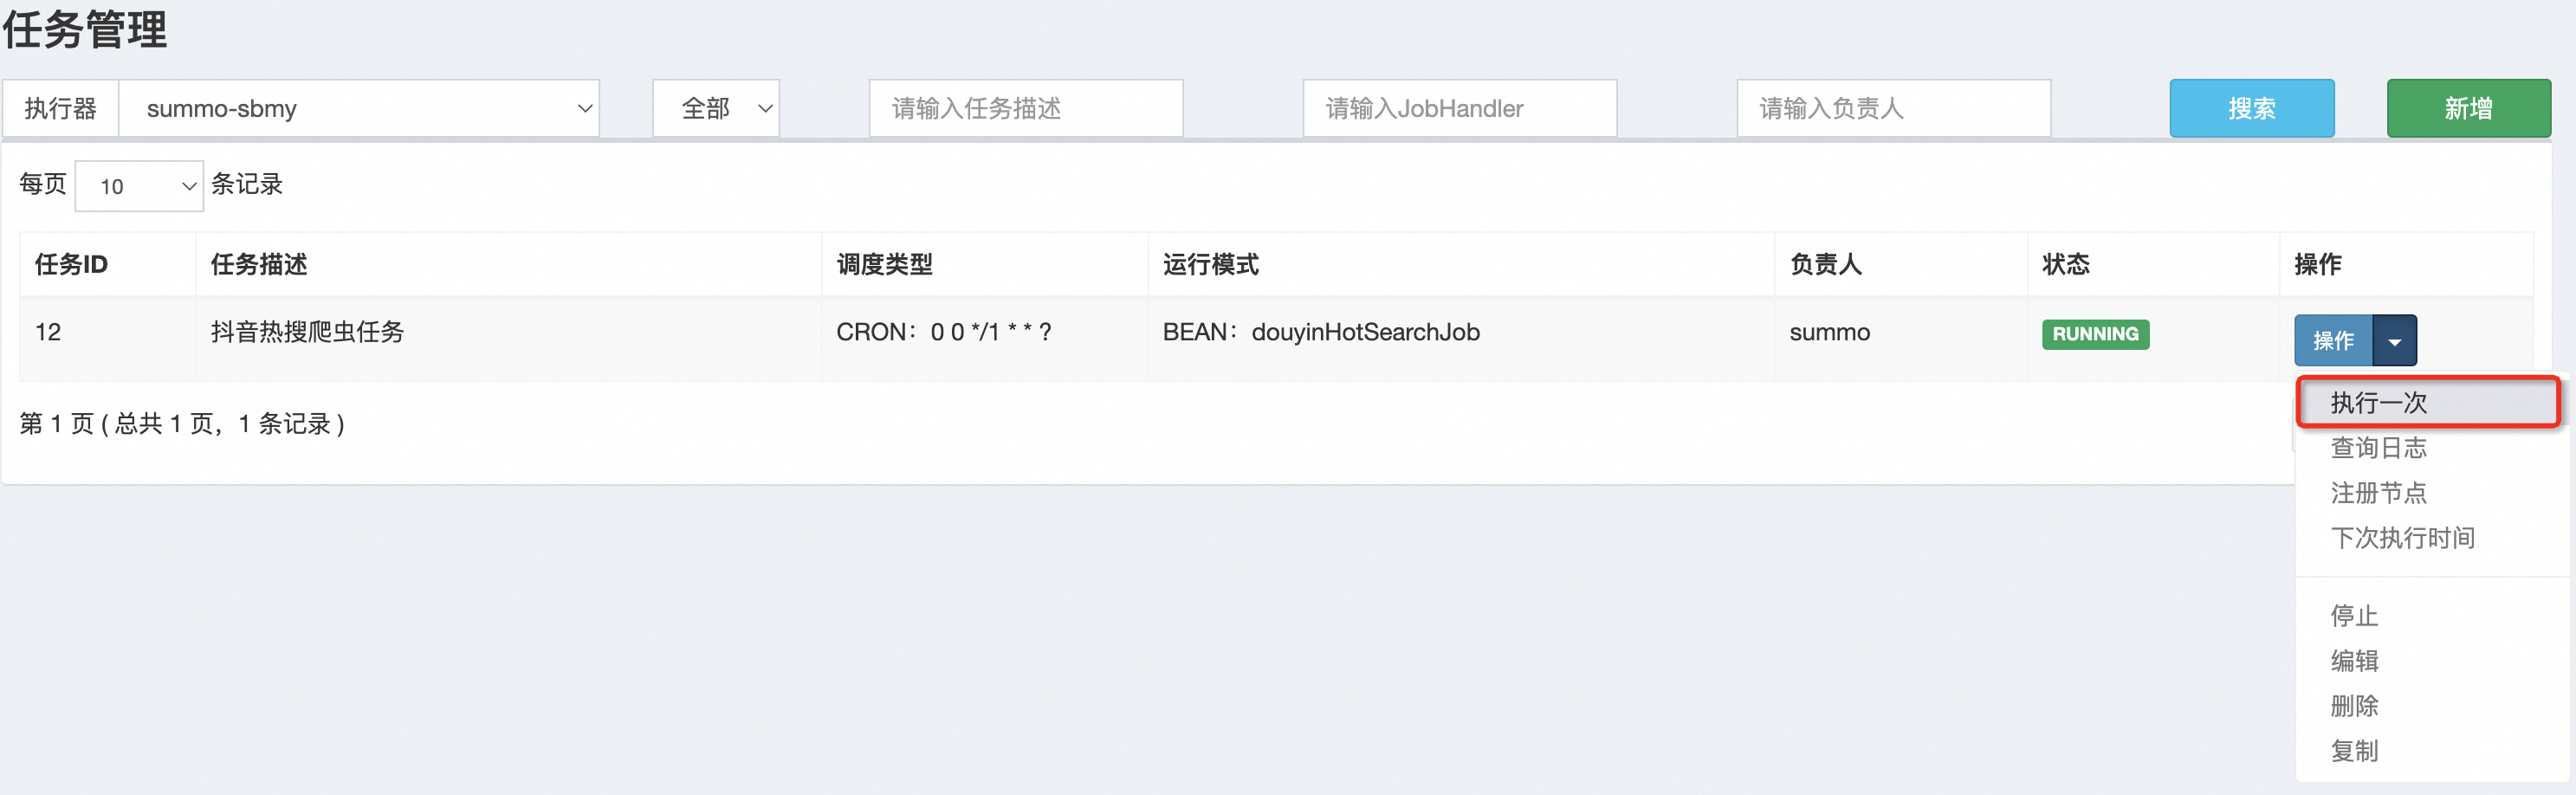

这样抖音的热搜任务我们就配置好了,其他的爬虫任务也是这样的配置。
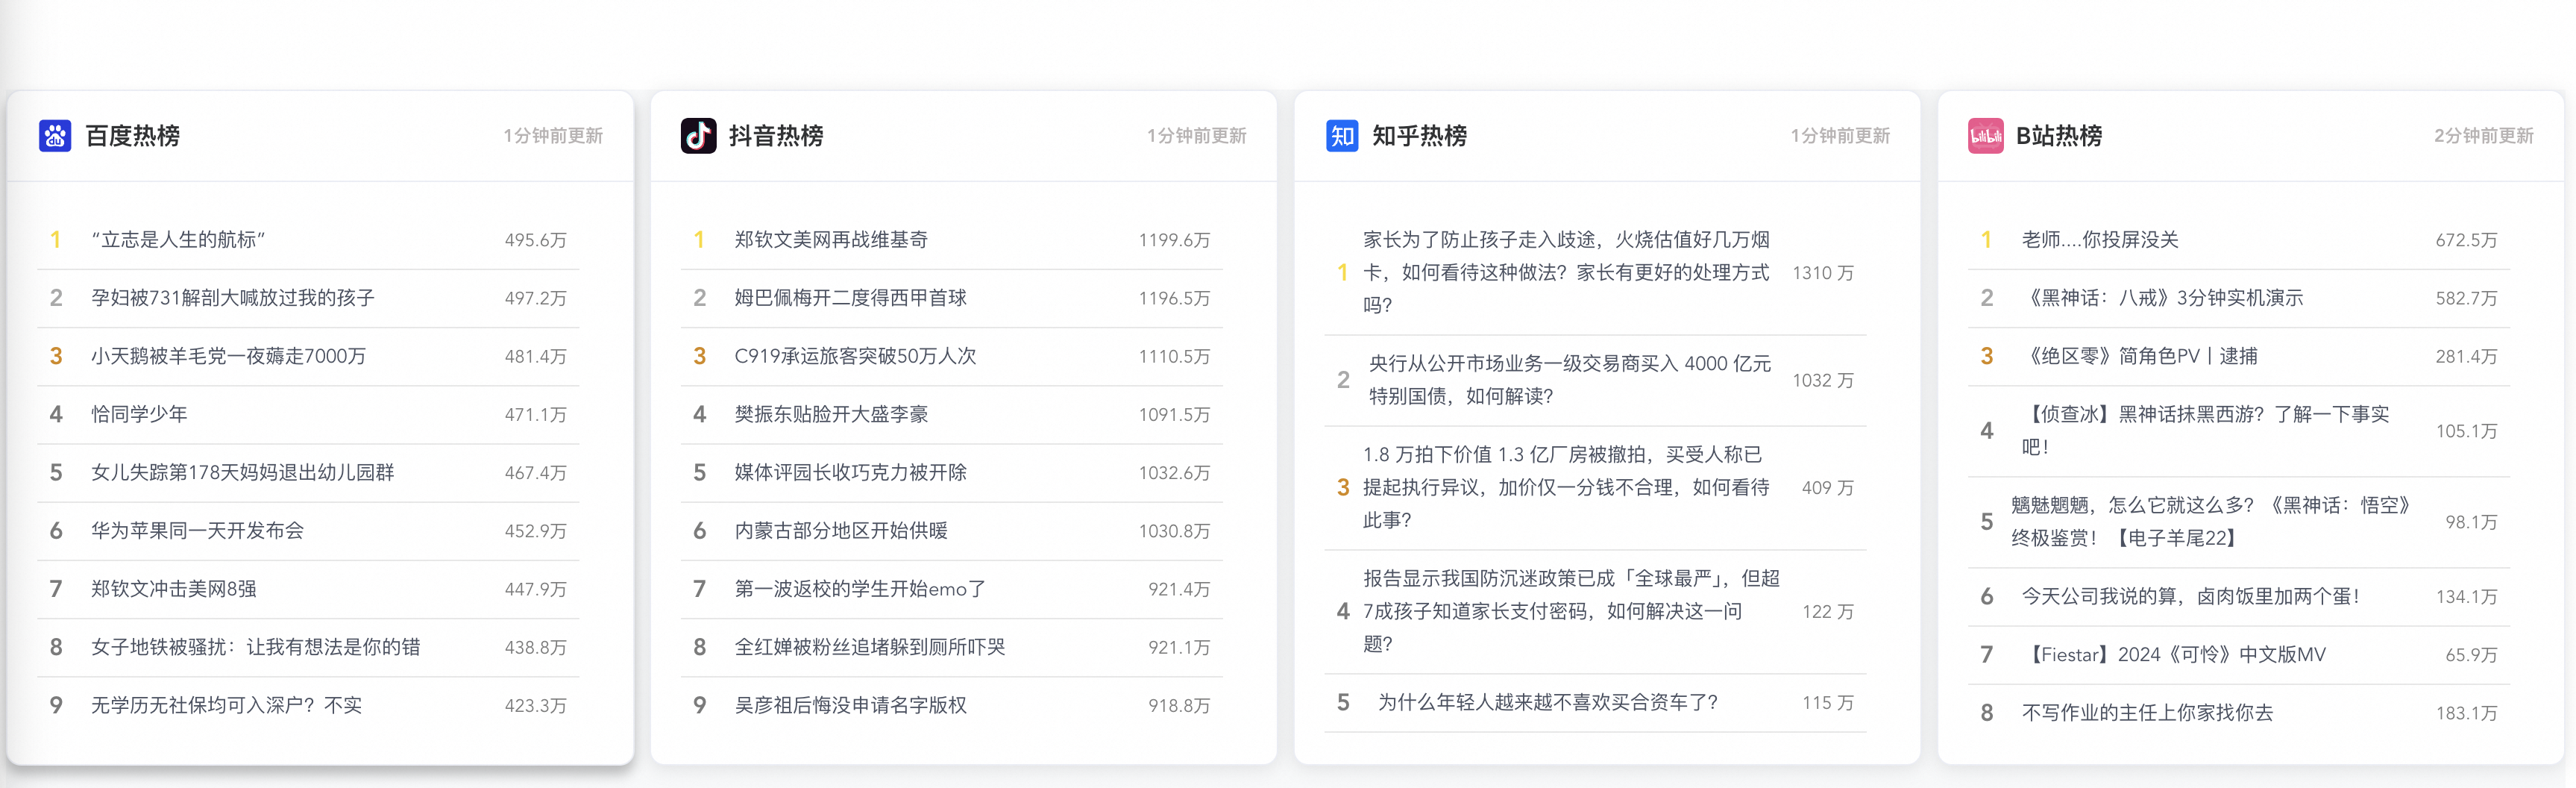
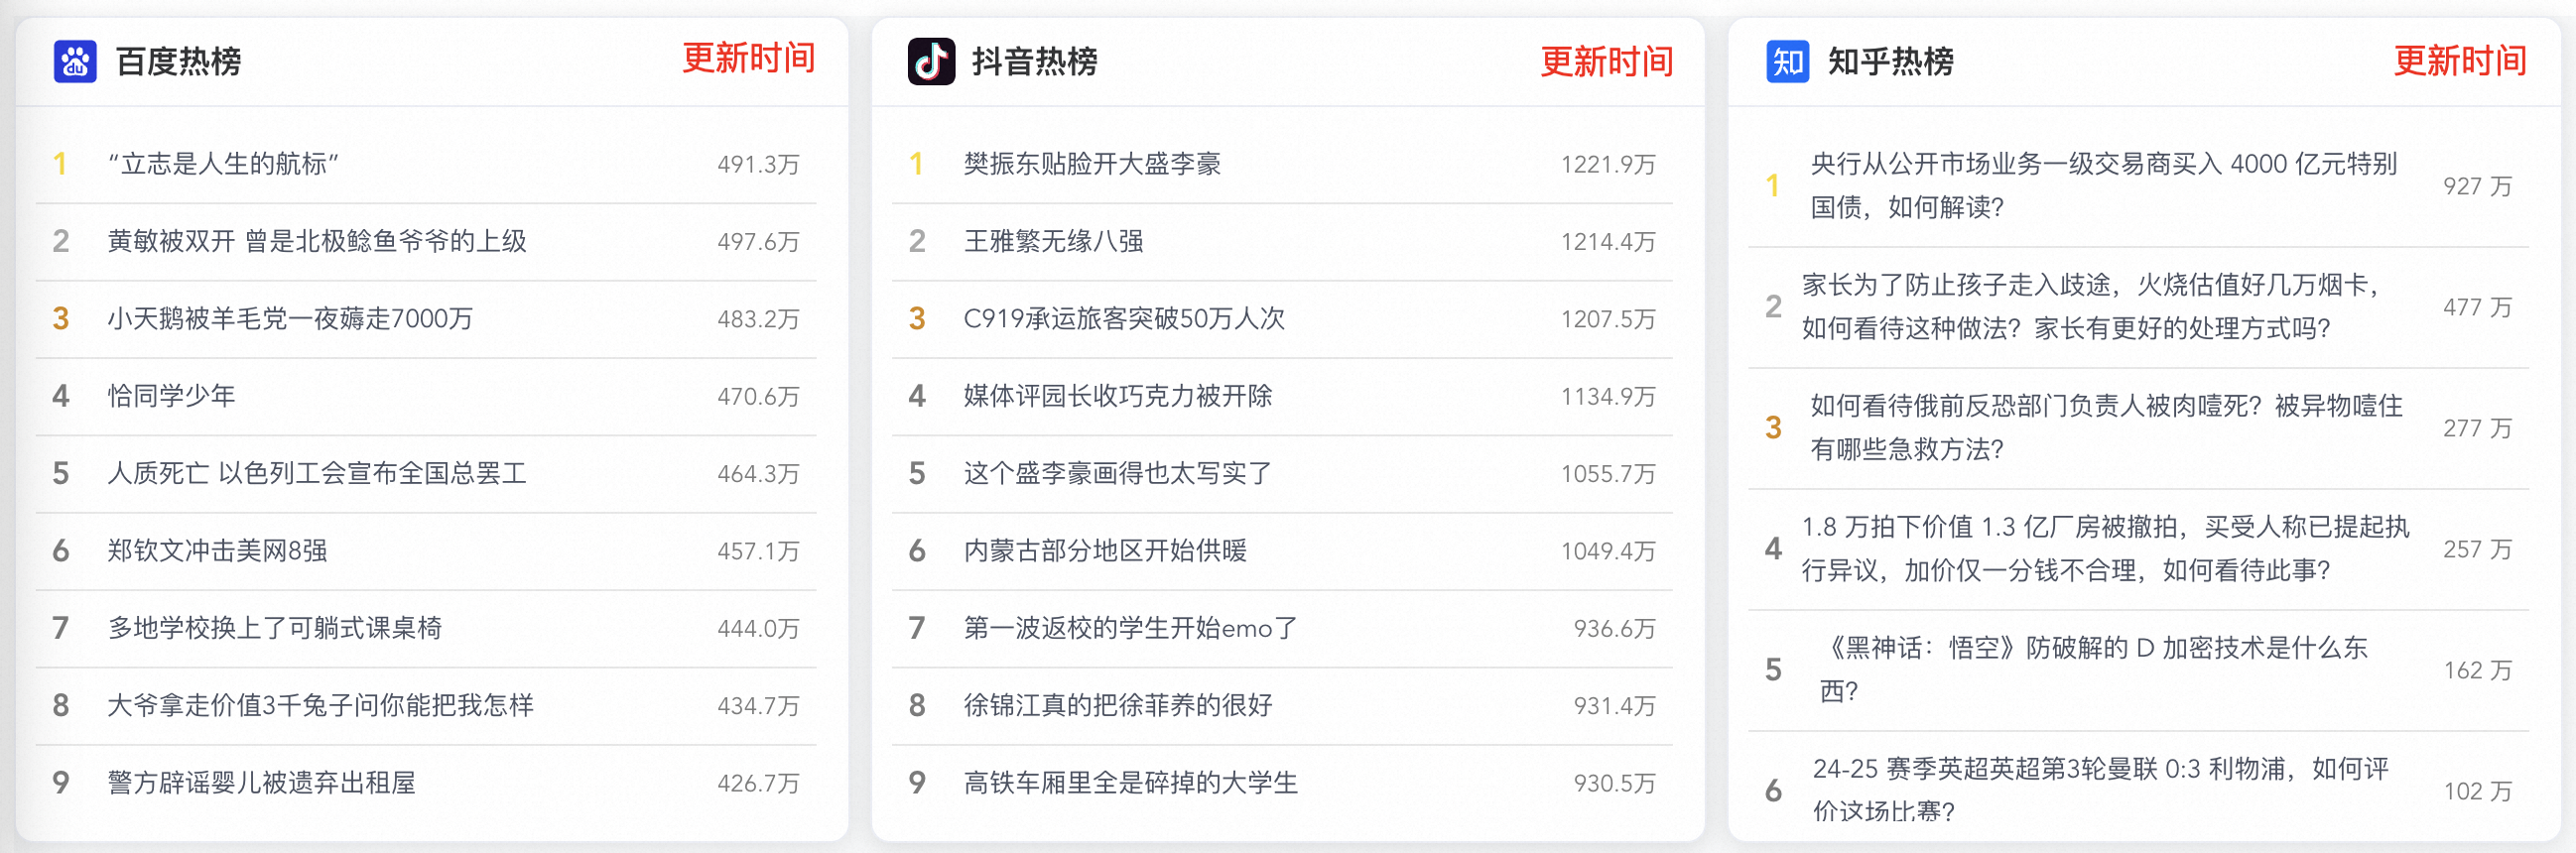
四、热搜更新时间
目前我们已经实现了三个热搜组件,百度、抖音、知乎,但是我们并不知道这些热搜是什么时候更新的,也不知道是不是实时的,所以我们需要把热搜更新时间放出来,大概下面这样子:
优化后组件代码如下:
<template><el-card class="custom-card" v-loading="loading"><template #header><div class="card-title"><img :src="icon" class="card-title-icon" />{{ title }}热榜<span class="update-time">{{ formattedUpdateTime }}</span></div></template><div class="cell-group-scrollable"><divv-for="item in hotSearchData":key="item.hotSearchOrder":class="getRankingClass(item.hotSearchOrder)"class="cell-wrapper"><span class="cell-order">{{ item.hotSearchOrder }}</span><spanclass="cell-title hover-effect"@click="openLink(item.hotSearchUrl)">{{ item.hotSearchTitle }}</span><span class="cell-heat">{{ formatHeat(item.hotSearchHeat) }}</span></div></div></el-card>
</template><script>
import apiService from "@/config/apiService.js";export default {props: {title: String,icon: String,type: String,},data() {return {hotSearchData: [],updateTime: null,loading: false,};},created() {this.fetchData(this.type);},computed: {formattedUpdateTime() {if (!this.updateTime) return '';const updateDate = new Date(this.updateTime);const now = new Date();const timeDiff = now - updateDate;const minutesDiff = Math.floor(timeDiff / 1000 / 60);if (minutesDiff < 1) {return '刚刚更新';} else if (minutesDiff < 60) {return `${minutesDiff}分钟前更新`;} else if (minutesDiff < 1440) {return `${Math.floor(minutesDiff / 60)}小时前更新`;} else {return updateDate.toLocaleString();}},},methods: {fetchData(type) {this.loading = true;apiService.get("/hotSearch/queryByType?type=" + type).then((res) => {this.hotSearchData = res.data.data.hotSearchDTOList;this.updateTime = res.data.data.updateTime;}).catch((error) => {console.error(error);}).finally(() => {this.loading = false; });},getRankingClass(order) {if (order === 1) return "top-ranking-1";if (order === 2) return "top-ranking-2";if (order === 3) return "top-ranking-3";return "";},formatHeat(heat) {if (typeof heat === "string" && heat.endsWith("万")) {return heat;}let number = parseFloat(heat);if (isNaN(number)) {return heat;}if (number < 1000) {return number.toString();}if (number >= 1000 && number < 10000) {return (number / 1000).toFixed(1) + "k";}if (number >= 10000) {return (number / 10000).toFixed(1) + "万";}},openLink(url) {if (url) {window.open(url, "_blank");}},},
};
</script><style scoped>
.custom-card {background-color: #ffffff;border-radius: 10px;box-shadow: 0 4px 8px rgba(0, 0, 0, 0.1);margin-bottom: 20px;
}
.custom-card:hover {box-shadow: 0 6px 8px rgba(0, 0, 0, 0.25);
}
.el-card__header {padding: 10px 18px;display: flex;justify-content: space-between; /* Added to space out title and update time */align-items: center;
}
.card-title {display: flex;align-items: center;font-weight: bold;font-size: 16px;flex-grow: 1;
}
.card-title-icon {fill: currentColor;width: 24px;height: 24px;margin-right: 8px;
}
.update-time {font-size: 12px;color: #b7b3b3;margin-left: auto; /* Ensures it is pushed to the far right */
}
.cell-group-scrollable {max-height: 350px;overflow-y: auto;padding-right: 16px; flex: 1;
}
.cell-wrapper {display: flex;align-items: center;padding: 8px 8px; border-bottom: 1px solid #e8e8e8;
}
.cell-order {width: 20px;text-align: left;font-size: 16px;font-weight: 700;margin-right: 8px;color: #7a7a7a;
}
.cell-heat {min-width: 50px;text-align: right;font-size: 12px;color: #7a7a7a;
}
.cell-title {font-size: 13px;color: #495060;line-height: 22px;flex-grow: 1;overflow: hidden;text-align: left; text-overflow: ellipsis;
}
.top-ranking-1 .cell-order {color: #fadb14; /* 金色 */
}
.top-ranking-2 .cell-order {color: #a9a9a9; /* 银色 */
}
.top-ranking-3 .cell-order {color: #d48806; /* 铜色 */
}
.cell-title.hover-effect {cursor: pointer; transition: color 0.3s ease;
}
.cell-title.hover-effect:hover {color: #409eff;
}
</style>
优化后,我们看一下最终的样式,如下:

这样,我们使用XXL-Job改造热搜组件就完成了,详细代码可以去看我的代码仓库。
番外:B站热搜爬虫
1. 爬虫方案评估
B站不是热搜,是热门视频, 但逻辑是一样的,它的接口是:https://api.bilibili.com/x/web-interface/ranking/v2

这个接口返回的是JSON格式数据,这就很简单了,看下结构就行。
2. 网页解析代码
这个就可以使用Postman生成调用代码,流程我就不赘述了,直接上代码,BilibiliHotSearchJob:
package com.summo.sbmy.job.bilibili;import java.io.IOException;
import java.util.Calendar;
import java.util.List;
import java.util.stream.Collectors;import com.alibaba.fastjson.JSONArray;
import com.alibaba.fastjson.JSONObject;import com.google.common.collect.Lists;
import com.summo.sbmy.common.model.dto.HotSearchDetailDTO;
import com.summo.sbmy.dao.entity.SbmyHotSearchDO;
import com.summo.sbmy.service.SbmyHotSearchService;
import com.summo.sbmy.service.convert.HotSearchConvert;
import com.xxl.job.core.biz.model.ReturnT;
import com.xxl.job.core.handler.annotation.XxlJob;
import lombok.extern.slf4j.Slf4j;
import okhttp3.OkHttpClient;
import okhttp3.Request;
import okhttp3.Response;
import org.apache.commons.collections4.CollectionUtils;
import org.springframework.beans.factory.annotation.Autowired;
import org.springframework.stereotype.Component;import static com.summo.sbmy.common.cache.SbmyHotSearchCache.CACHE_MAP;
import static com.summo.sbmy.common.enums.HotSearchEnum.BILIBILI;/*** @author summo* @version BilibiliHotSearchJob.java, 1.0.0* @description B站热榜Java爬虫代码* @date 2024年08月19*/
@Component
@Slf4j
public class BilibiliHotSearchJob {@Autowiredprivate SbmyHotSearchService sbmyHotSearchService;@XxlJob("bilibiliHotSearchJob")public ReturnT<String> hotSearch(String param) throws IOException {log.info("B站热搜爬虫任务开始");try {//查询B站热搜数据OkHttpClient client = new OkHttpClient().newBuilder().build();Request request = new Request.Builder().url("https://api.bilibili.com/x/web-interface/ranking/v2").addHeader("User-Agent", "Mozilla/5.0 (compatible)").addHeader("Cookie", "b_nut=1712137652; "+ "buvid3=DBA9C433-8738-DD67-DCF5" + "-DDC780CA892052512infoc").method("GET", null).build();Response response = client.newCall(request).execute();JSONObject jsonObject = JSONObject.parseObject(response.body().string());JSONArray array = jsonObject.getJSONObject("data").getJSONArray("list");List<SbmyHotSearchDO> sbmyHotSearchDOList = Lists.newArrayList();for (int i = 0, len = array.size(); i < len; i++) {//获取B站热搜信息JSONObject object = (JSONObject)array.get(i);//构建热搜信息榜SbmyHotSearchDO sbmyHotSearchDO = SbmyHotSearchDO.builder().hotSearchResource(BILIBILI.getCode()).build();//设置B站三方IDsbmyHotSearchDO.setHotSearchId(object.getString("aid"));//设置文章连接sbmyHotSearchDO.setHotSearchUrl(object.getString("short_link_v2"));//设置文章标题sbmyHotSearchDO.setHotSearchTitle(object.getString("title"));//设置作者名称sbmyHotSearchDO.setHotSearchAuthor(object.getJSONObject("owner").getString("name"));//设置作者头像sbmyHotSearchDO.setHotSearchAuthorAvatar(object.getJSONObject("owner").getString("face"));//设置文章封面sbmyHotSearchDO.setHotSearchCover(object.getString("pic"));//设置热搜热度sbmyHotSearchDO.setHotSearchHeat(object.getJSONObject("stat").getString("view"));//按顺序排名sbmyHotSearchDO.setHotSearchOrder(i + 1);sbmyHotSearchDOList.add(sbmyHotSearchDO);}if (CollectionUtils.isEmpty(sbmyHotSearchDOList)) {return ReturnT.SUCCESS;}//数据加到缓存中CACHE_MAP.put(BILIBILI.getCode(), HotSearchDetailDTO.builder()//热搜数据.hotSearchDTOList(sbmyHotSearchDOList.stream().map(HotSearchConvert::toDTOWhenQuery).collect(Collectors.toList()))//更新时间.updateTime(Calendar.getInstance().getTime()).build());//数据持久化sbmyHotSearchService.saveCache2DB(sbmyHotSearchDOList);log.info("B站热搜爬虫任务结束");} catch (IOException e) {log.error("获取B站数据异常", e);}return ReturnT.SUCCESS;}}
看下效果,第一行的4个热搜已经出来了,如下: