使用node+prisma和vue3实现一个群聊功能
后端代码编写
node环境初始化
新建一个空文件夹node,初始化node环境
npm init -y
修改 packages.json,添加 type 为 module,删除 main
{"name": "node","version": "1.0.0","description": "","type": "module","scripts": {"test": "echo \"Error: no test specified\" && exit 1"},"keywords": [],"author": "","license": "ISC"
}
ts环境初始化
tsc --init
如果没有tsc命令,需要提前在全局安装 typescript
npm install typescript ts-node -g
已经安装过的可忽略
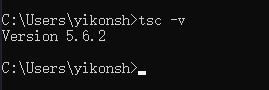
检查ts是否安装成功
tsc -v
执行完 tsc --init 会自动生成 tsconfig.json,修改里面的三个配置
"experimentalDecorators": true,
"emitDecoratorMetadata": true,
"strict": false,
- “experimentalDecorators”: true
- 含义: 启用对装饰器的实验性支持。装饰器是一种特殊类型的声明,它能够被附加到类声明、方法、访问符、属性或参数上。装饰器在 TypeScript 中是实验性的特性,这意味着它们可能在未来的版本中发生变化。
- 用途: 如果你使用装饰器(例如 Angular 的装饰器),你需要启用这个选项。
- “emitDecoratorMetadata”: true
- 含义: 启用装饰器元数据的生成。装饰器元数据是编译器在装饰器上附加的额外信息,这些信息可以在运行时通过反射 API 访问。
- 用途: 如果你需要使用反射 API 来访问装饰器元数据,你需要启用这个选项。
- “strict”: false
- 含义: 禁用所有严格类型检查选项。严格模式会启用一系列额外的类型检查规则,这些规则有助于捕获潜在的错误,但有时也会导致一些合法的代码无法通过检查。
依赖安装
在 package.json 添加如下依赖
{"scripts": {"start": "ts-node ./index.ts"},"dependencies": {"@prisma/client": "^5.19.1","@types/express": "^4.17.21","@types/node": "^22.5.5","axios": "^1.7.7","class-transformer": "^0.5.1","class-validator": "^0.14.1","express": "^4.21.0","inversify": "^6.0.2","inversify-express-utils": "^6.4.6","reflect-metadata": "^0.2.2","socket.io": "^4.8.0","socket.io-client": "^4.8.0","ts-node": "^10.9.2"}
}
然后执行 npm install 安装
引入Prisma
首先需要全局安装 prisma
npm install -g prisma
Prisma 官网 https://www.prisma.io/docs
然后再项目根目录执行下面的命令初始化一个基于mysql的项目
prisma init --datasource-provider mysql
此时的项目目录结构如下
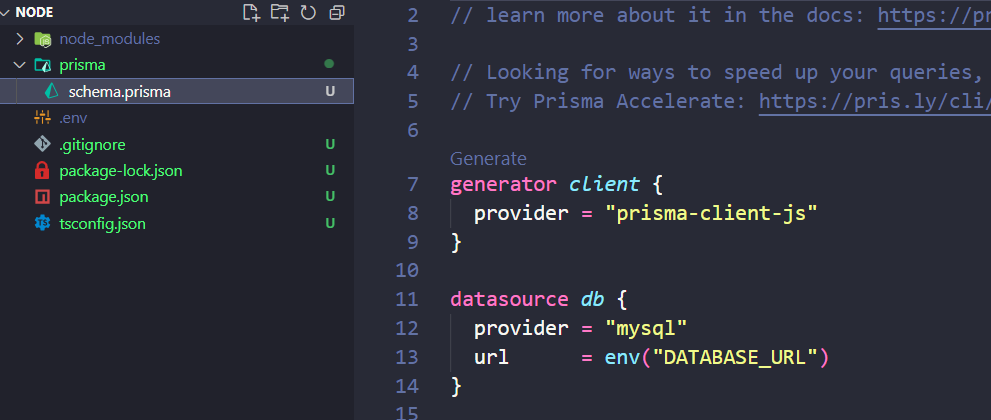
在 prisma/schema.prisma 文件中编写表结构
generator client {provider = "prisma-client-js"
}datasource db {provider = "mysql"url      = env("DATABASE_URL")
}// 用户表
model User {id       Int    @id @default(autoincrement())userName String
}// 消息表
model Message {id         Int      @id @default(autoincrement())text       StringuserId     IntcreateTime DateTime @default(now())userName   String
}
然后修改 .env 文件的数据库连接地址
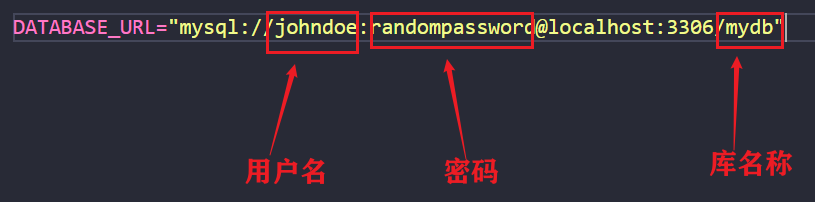
DATABASE_URL="mysql://root:abc123@localhost:3306/hichat"
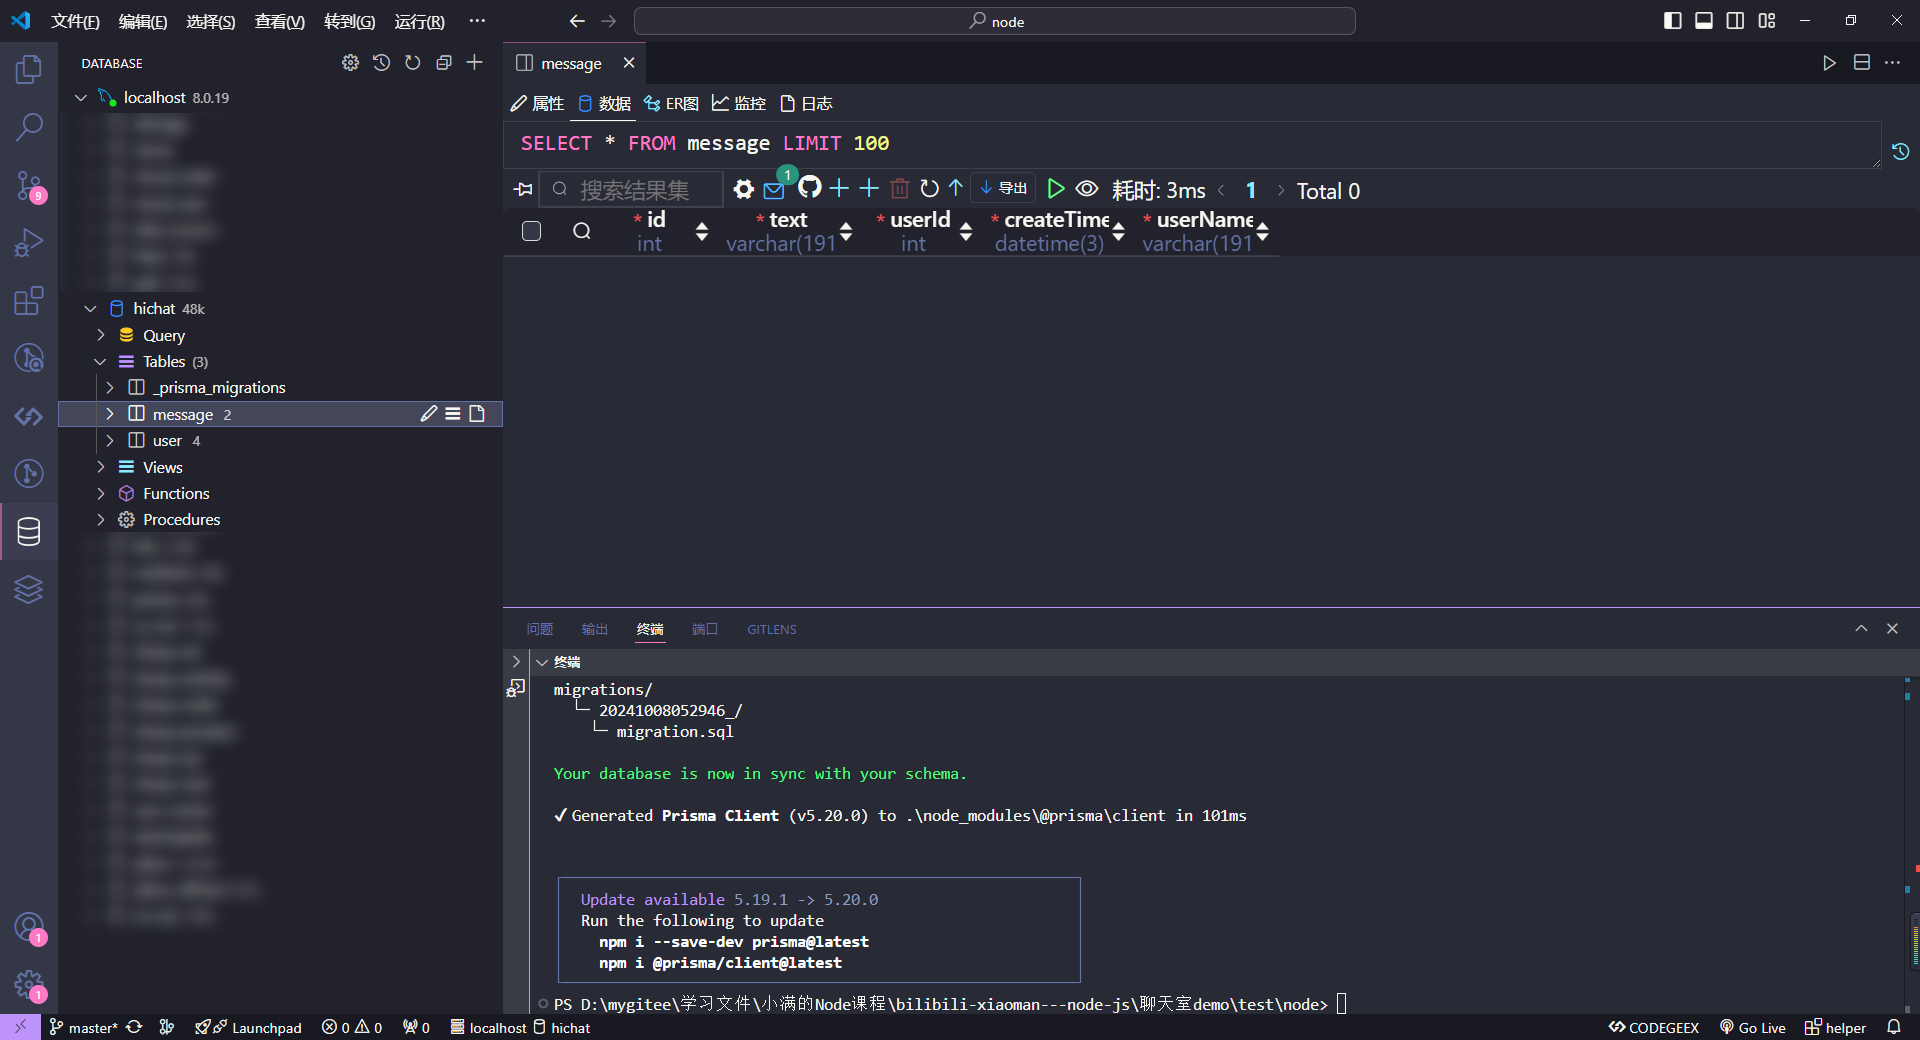
然后执行下面命令执行SQL语句创建表
prisma migrate dev
执行完成后,打开数据库就会发现自动帮我们创建好了表
编写DB
db/index.ts
用于全局共用一个PrismaClient实例
import { injectable, inject } from "inversify";
import { PrismaClient } from "@prisma/client";@injectable()
export class PrismaDB {prisma: PrismaClient;// 自动注入constructor(@inject("PrismaClient") prisma: () => PrismaClient) {this.prisma = prisma();}
}
统一结果返回类
utils/Result.ts
export default class Result<T> {code: number | 200;data: T | null;msg: string;constructor(code: number | 200, data: T | null, msg?: string) {this.code = code;this.data = data;this.msg = msg;}static ok<T>(data?: T | null): Result<T> {return new Result<T>(200, data, "成功");}static err<T>(data?: T | null): Result<T> {return new Result<T>(500, data, "失败");}public setCode(code: number | 200) {this.code = code;return this;}public setData(data: T | null) {this.data = data;return this;}public setMsg(msg: string) {this.msg = msg;return this;}
}
User模块业务实现
service层
src/user/service.ts
import {injectable,inject} from "inversify"
import { PrismaDB } from "../../db"@injectable()
export class UserService {// 自动注入prismaconstructor(@inject(PrismaDB) private PrismaDB: PrismaDB) {}/*** 注册新用户*/public async add(userName:string) {return await this.PrismaDB.prisma.user.create({data:{userName:userName}})}/*** 根据userName查询用户*/public async getUserByUserName(userName:string) {return await this.PrismaDB.prisma.user.findFirst({where:{userName:userName}})}/*** 查询用户数量*/public async getUserCount() {return await this.PrismaDB.prisma.user.count()}
}
controller层
src/user/controller.ts
import { inject } from "inversify";
import { controller, httpGet, httpPost } from "inversify-express-utils";
import { UserService } from "./service";
import { Request, Response } from "express";
import Result from "../../utils/Result";@controller("/user")
export class UserController {constructor(@inject(UserService) private readonly server: UserService) {}/*** 添加用户* @param req * @param res */@httpPost("/add")public async addUser(req: Request, res: Response) {let { userName } = req.body;let result = await this.server.add(userName);res.send(Result.ok(result));}/*** 根据用户名获取用户*/@httpGet("/getUser")public async getUser(req: Request, res: Response) {let { userName } = req.query;let result = await this.server.getUserByUserName(userName as string);res.send(Result.ok(result));}/*** 查询用户数量*/@httpGet("/getUserCount")public async getUserCount(req: Request, res: Response) {let result = await this.server.getUserCount();res.send(Result.ok(result));}
}
Message模块业务实现
dto层
src/message/message.dto.ts
export class MessageDto {id?: number;text: string;userId: number;userName: string;createTime?: Date;
}
server层
src/message/service.ts
import { injectable, inject } from "inversify";
import { PrismaDB } from "../../db";
import { MessageDto } from "./message.dto";@injectable()
export class MessageService {// 自动注入prismaconstructor(@inject(PrismaDB) private PrismaDB: PrismaDB) {}/*** 添加消息*/public async send(message: MessageDto) {return await this.PrismaDB.prisma.message.create({data: {text: message.text,userId: message.userId,userName: message.userName,},});}/*** 获取消息列表*/public async list() {return await this.PrismaDB.prisma.message.findMany();}
}
controller层
src/message/controller.ts
import { inject } from "inversify";
import { controller, httpGet, httpPost } from "inversify-express-utils";
import { Request, Response } from "express";
import Result from "../../utils/Result";
import { MessageService } from "./service";
import { MessageDto } from "./message.dto";@controller("/message")
export class MessageController {constructor(@inject(MessageService) private server: MessageService) {}@httpPost("/send")async send(req: Request, res: Response) {const message = req.body as MessageDto;const result = await this.server.send(message);res.json(Result.ok(result));}@httpGet("/list")async list(req: Request, res: Response) {const result = await this.server.list();res.json(Result.ok(result));}
}
socket消息处理
src/message/sockit.ts
import { Server } from "socket.io";
import axios from "axios";
import { createServer } from "http";// 基础URL
axios.defaults.baseURL = "http://localhost:3000";
// 响应拦截器
axios.interceptors.response.use((res) => {return res.data;
});// 创建一个通信服务器
const httpServer = createServer();
const io = new Server(httpServer, {cors: {origin: "*", // 允许跨域的前端域名methods: ["GET", "POST"], // 允许的跨域请求方法credentials: true, // 允许cookies等认证信息一起跨域传递},
});// 维护一个map,key表示房间号,value表示用户列表,value是一个数组,里面存有socketId,用户ID
const groupList = {};// 监听连接
io.on("connection", (socket) => {// 监听连接事件socket.on("join", async ({ roomId, id, userName }) => {console.log(userName, "连接到房间");// 连接到指定的房间号socket.join(roomId);// 维护map信息if (groupList[roomId]) {groupList[roomId].push({id, // 用户IDuserName, // 用户名roomId, // 房间号socketId: socket.id, // socketId});} else {groupList[roomId] = [{ id, userName, roomId, socketId: socket.id }];}// 获取群聊总用户let countRes = await axios.get(`/user/getUserCount`);// 向房间内的所有用户广播消息,更新用户数量io.to(roomId).emit("userCount", {all: countRes.data,online: io.engine.clientsCount, // 获取当前房间的有效连接数});});// 监听发送消息事件socket.on("send", async (data) => {console.log(data, "接收到消息");// 发送消息let res = await axios.post(`/message/send`, data);// 更新消息io.to(data.roomId).emit("message", res.data);});// 监听用户离开事件socket.on("disconnect", async () => {// 遍历房间信息,找到是谁离开了,然后更新这个房间的在线人数for (let key in groupList) {let list = groupList[key];// 根据socketId找到用户let index = list.findIndex((item) => item.socketId === socket.id);if (index !== -1) {let userInfo = list[index];let countRes = await axios.get(`/user/getUserCount`);// 向房间内的所有用户广播消息,更新用户数量io.to(userInfo.roomId).emit("userCount", {all: countRes.data,online: io.engine.clientsCount,});// 删除用户list.splice(index, 1);break;}}});
});httpServer.listen(3001, () => {console.log("sockit服务器已启动 ws://localhost:3001");
});
业务代码整合
index.ts
import "reflect-metadata"; // 装饰器的基础,放在顶层
import "./src/message/sockit";
import { InversifyExpressServer } from "inversify-express-utils";
import { Container } from "inversify";
import express from "express";
import { PrismaClient } from "@prisma/client";
import { PrismaDB } from "./db";
import { UserController } from "./src/user/controller";
import { UserService } from "./src/user/service";
import { MessageController } from "./src/message/controller";
import { MessageService } from "./src/message/service";const container = new Container();
// 注入工厂注入PrismaClient
container.bind<PrismaClient>("PrismaClient").toFactory(() => {return () => new PrismaClient();
});
// 注入数据库ORM框架PrismaClient
container.bind(PrismaDB).to(PrismaDB);
// 用户模块
container.bind(UserController).to(UserController);
container.bind(UserService).to(UserService);
// 消息模块
container.bind(MessageController).to(MessageController);
container.bind(MessageService).to(MessageService);const server = new InversifyExpressServer(container);server.setConfig((app) => {// 配置中间件,允许post参数app.use(express.json());// 允许跨域app.use(function (req, res, next) {res.setHeader("Access-Control-Allow-Origin", "*");res.setHeader("Access-Control-Allow-Headers", "*");res.setHeader("Access-Control-Allow-Methods", "*");next();});
});const app = server.build();app.listen(3000, () => {console.log("Server is running on port http://localhost:3000");
});
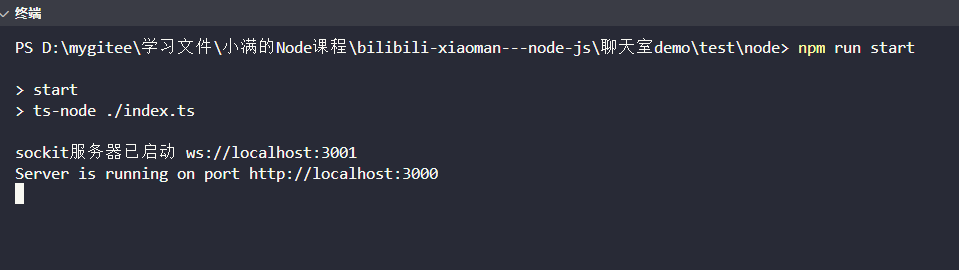
运行 npm run start
前端代码实现
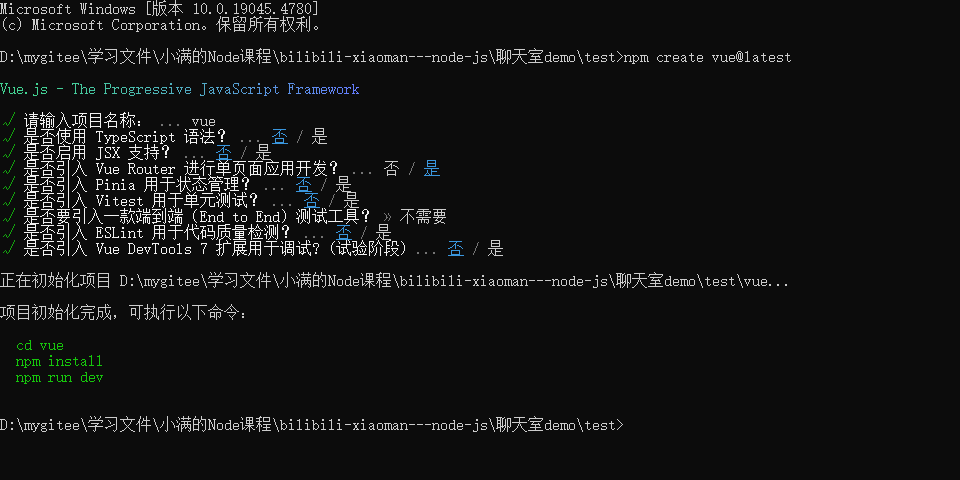
初始化项目
npm create vue@latest
安装依赖
"dependencies": {"axios": "^1.7.7","sass": "^1.79.3","socket.io-client": "^4.8.0"
},
加入群聊
src/views/join.vue
<template><div class="content"><div class="logo"><img src="../assets/logo.webp" /></div><div class="main"><div>请输入您的用户名</div><inputid="userName"type="text"placeholder="请输入内容"autocomplete="off"v-model="userName"/></div><div class="btn"><button @click="join">加入群聊</button></div></div>
</template><script setup>
import { ref } from "vue";
import { useRouter } from "vue-router";
import http from "../../utils/http";const router = useRouter();
const userName = ref("");async function join() {if (!userName.value) {alert("请输入用户名");return;}let userInfo = {};let res = await http.get(`/user/getUser?userName=${userName.value}`);if (res.data) {userInfo = res.data;} else {let res = await http.post(`/user/add`, {userName: userName.value,});userInfo = res.data;}// 进入聊天页面router.push({ path: "/chat", query: userInfo });
}
</script><style scoped lang="scss">
.content {display: flex;flex-direction: column;justify-content: center;align-items: center;.logo {width: 100px;height: 100px;margin-top: 30%;img {width: 100%;height: 100%;}}.main {width: 80%;margin-top: 20%;input {padding: 10px;box-sizing: border-box;border: 1px solid #a18cd1;border-radius: 5px;width: 100%;margin-top: 10px;}}.btn {width: 80%;button {padding: 10px;border: none;border-radius: 5px;color: #ffffff;margin-top: 30px;width: 100%;background-image: linear-gradient(-90deg, #a18cd1 0%, #fbc2eb 100%);}}
}
</style>
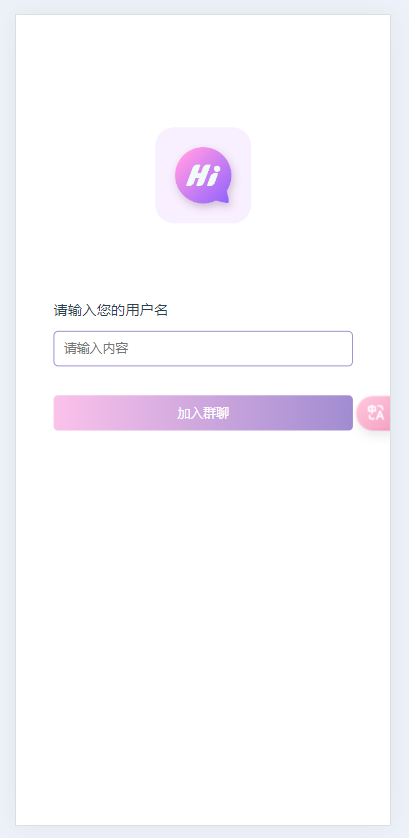
点击加入群聊后会先去查询当前用户名是否在表中存在,如果不存在,则会新建一个用户保存到表中,并返回用户信息,如果存在,则直接返回用户信息跳转到聊天界面
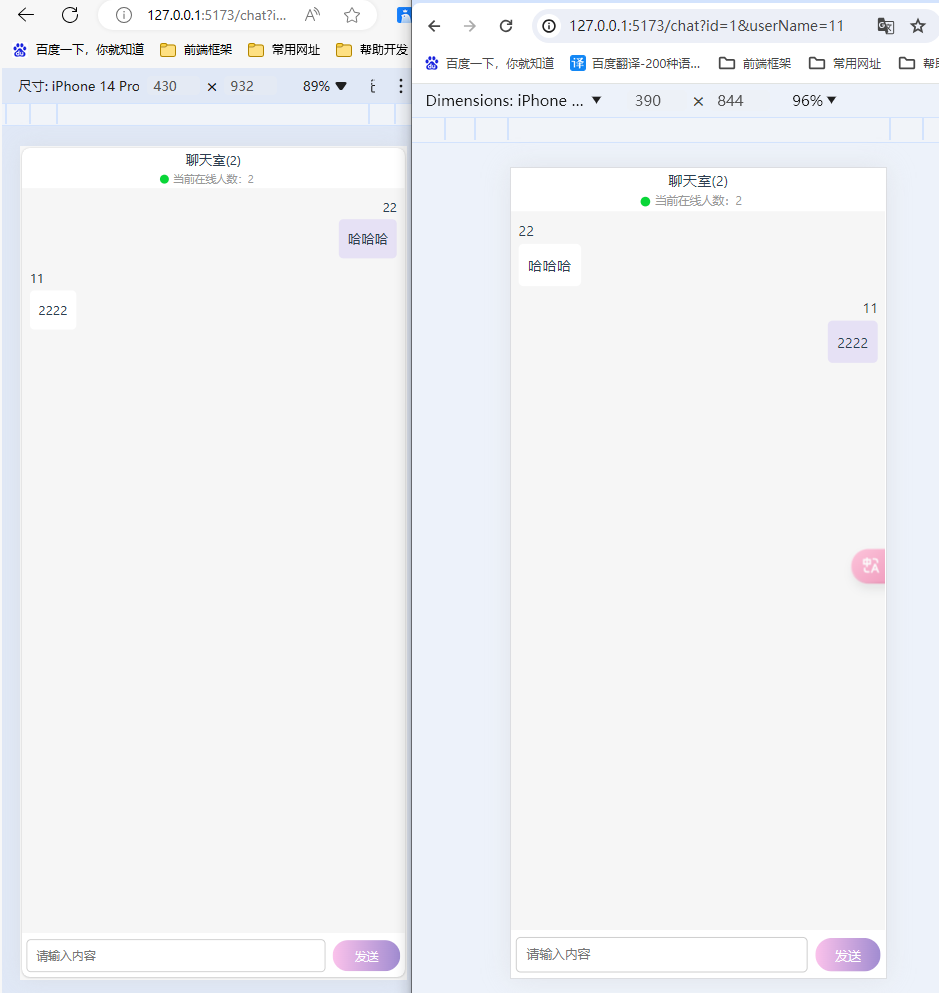
群聊实现
src/views/chat.vue
<template><div class="content"><div class="header"><div>聊天室({{ state.count.all }})</div><div class="online">当前在线人数:{{ state.count.online }}</div></div><div class="main"><div v-for="item in state.msgList" :key="item.id"><div class="item mymsg" v-if="item.userId === state.userInfo.id"><div>{{ item.userName }}</div><div class="msg">{{ item.text }}</div></div><div class="item" v-else><div>{{ item.userName }}</div><div class="msg">{{ item.text }}</div></div></div></div><div class="footer"><inputv-on:keyup.enter="sendMsg"type="text"placeholder="请输入内容"v-model="state.msg"/><button @click="sendMsg">发送</button></div></div>
</template><script setup>
import { nextTick, onMounted, reactive, onUnmounted } from "vue";
import { useRoute } from "vue-router";
import io from "socket.io-client";
import http from "../../utils/http";// 连接到后端
const socket = io("ws://localhost:3001", {transports: ["websocket", "polling"],withCredentials: true,
});const route = useRoute();
const state = reactive({msg: "",msgList: [],count: {all: 0,online: 0,},userInfo: {id: parseInt(route.query.id),userName: route.query.userName,roomId: 1, // 房间号暂时固定为1},
});function sendMsg() {let sendData = {roomId: state.userInfo.roomId,userId: state.userInfo.id,userName: state.userInfo.userName,text: state.msg,};state.msg = "";// 发送消息socket.emit("send", sendData);
}// 获取历史消息
async function getHistoryMsg() {const res = await http.get("/message/list");state.msgList = res.data;
}onMounted(() => {// 监听连接socket.on("connect", async () => {// 获取历史消息await getHistoryMsg();// main 滑动到底部nextTick(() => {const main = document.querySelector(".main");main.scrollTop = main.scrollHeight;});// 连接到房间socket.emit("join", state.userInfo);// 更新数量socket.on("userCount", (count) => {state.count = count;});// 监听消息socket.on("message", (data) => {// 将消息添加到列表state.msgList.push(data);// main 滑动到底部nextTick(() => {const main = document.querySelector(".main");main.scrollTop = main.scrollHeight;});});});
});// 组件销毁时关闭连接
onUnmounted(() => {socket.close();
});
</script><style scoped lang="scss">
.content {position: absolute;left: 0;right: 0;top: 0;bottom: 0;height: 100%;
}
.header {height: 45px;display: flex;flex-direction: column;align-items: center;justify-content: center;text-align: center;.online {font-size: 12px;color: #999;position: relative;}.online::before {content: "";position: absolute;width: 10px;height: 10px;background-color: #09d638;border-radius: 50%;left: -15px;top: 5px;}
}.main {height: calc(100% - 95px);background-color: #f6f6f6;padding: 2%;overflow: auto;.item {margin-bottom: 10px;.msg {max-width: 80%;padding: 10px;border-radius: 5px;display: inline-block;text-align: left;margin-top: 2px;background-color: #ffffff;}}.mymsg {text-align: right;.msg{background-color: #e6e1f5;}}
}.footer {height: 50px;background-color: #ffffff;padding: 5px;display: flex;box-sizing: border-box;align-items: center;input {flex: 1;padding: 10px;border: 1px solid #ccc;border-radius: 5px;}button {width: 18%;padding: 10px;border: none;border-radius: 50px;background-image: linear-gradient(-90deg, #a18cd1 0%, #fbc2eb 100%);color: #ffffff;margin-left: 2%;height: 35px;}
}
</style>
使用lottie实现入场动画
我们就简单的根据用户名中是否以vip开头,如果是VIP开头的用户加入群聊后,就播放一个入场动画,主要目的是为了学习 lottie 动画
lottie官网: https://airbnb.io/lottie/#/web
免费动画库:https://lottiefiles.com/free-animation
安装
npm install lottie-web
在chat.vue代码中添加下面的代码
<!-- 动画播放器 -->
<div class="lottie-view" v-if="isPlaying"><div id="lottie"></div><div>欢迎 {{ currJoinUser }} 加入群聊</div>
</div>
添加样式
.lottie-view {position: absolute;top: 10%;left: 0;text-align: center;
}
编写动画逻辑
import lottie from "lottie-web";
import vipJoin from "../assets/vipjoin.json";// 动画逻辑
const animation = ref(null);
const isPlaying = ref(false);
const currJoinUser = ref(null);const toggleAnimation = () => {if (isPlaying.value) return;isPlaying.value = true;nextTick(() => {animation.value = lottie.loadAnimation({container: document.getElementById("lottie"),renderer: "canvas",loop: false,autoplay: true,animationData: vipJoin,});animation.value.addEventListener("complete", () => {isPlaying.value = false;});});
};
案例中对应的json地址:https://lottiefiles.com/free-animation/success-celebration-Sn1bJRj6pz
然后在 userCount 监听方法中,判断最新加入的用户名是否是vip开头的,如果是就播放动画
// 更新数量
socket.on("userCount", (data) => {state.count.all = data.all;state.count.online = data.online;currJoinUser.value = data.userName;// 判断用户名称是否包含vipif (data.userName && data.userName.startsWith("vip")) {toggleAnimation();}
});
同时后端代码中的 src/message/sockit.ts 文件,下面的代码需要修改一下,多传递一个用户名称
// 向房间内的所有用户广播消息,更新用户数量
io.to(roomId).emit("userCount", {all: countRes.data,online: io.engine.clientsCount,userName // 广播最新加入的用户
});
效果展示
完整代码
仓库地址


![[Halcon矩阵] 通过手眼标定矩阵计算相机旋转角度](https://i-blog.csdnimg.cn/blog_migrate/6ea5c89da2fed45d39fe648fd677a8f9.png)