导入需要使用的包包括
from tensorflow       import keras
from tensorflow.keras import layers,models
import os, PIL, pathlib  #加载文件使用的
import matplotlib.pyplot as plt
import tensorflow        as tf
data_dir = "第四周"data_dir = pathlib.Path(data_dir)image_count = len(list(data_dir.glob('*/*.jpg'))) #读取多少张的图片print(image_count)
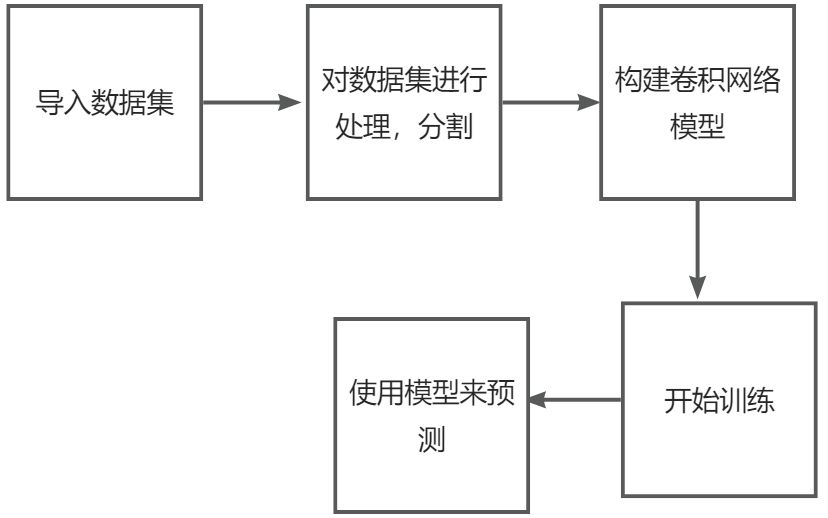
设置图片统一的高度和宽度,还有每一轮训练的大小。
batch_size = 32
img_height = 224
img_width = 224
构建两个集,一个是训练集,一个是验证集
train_ds = tf.keras.preprocessing.image_dataset_from_directory(data_dir,validation_split=0.2,subset="training",seed=123,image_size=(img_height, img_width),batch_size=batch_size)
构建验证集 ,分割的比例都是8:2
val_ds = tf.keras.preprocessing.image_dataset_from_directory(data_dir,validation_split=0.2,subset="validation",seed=123,image_size=(img_height, img_width),batch_size=batch_size)
构建CNN网络

model = models.Sequential([layers.experimental.preprocessing.Rescaling(1./255, input_shape=(img_height, img_width, 3)),layers.Conv2D(16, (3, 3), activation='relu', input_shape=(img_height, img_width, 3)), # 卷积层1,卷积核3*3  layers.AveragePooling2D((2, 2)),               # 池化层1,2*2采样layers.Conv2D(32, (3, 3), activation='relu'),  # 卷积层2,卷积核3*3layers.AveragePooling2D((2, 2)),               # 池化层2,2*2采样layers.Dropout(0.3),  layers.Conv2D(64, (3, 3), activation='relu'),  # 卷积层3,卷积核3*3layers.Dropout(0.3),  layers.Flatten(),                       # Flatten层,连接卷积层与全连接层layers.Dense(128, activation='relu'),   # 全连接层,特征进一步提取layers.Dense(num_classes)               # 输出层,输出预期结果
])model.summary()  # 打印网络结构
’
设置优化器
opt = tf.keras.optimizers.Adam(learning_rate=1e-4)model.compile(optimizer=opt,loss=tf.keras.losses.SparseCategoricalCrossentropy(from_logits=True),metrics=['accuracy'])
将训练效果最好的模型保存下来
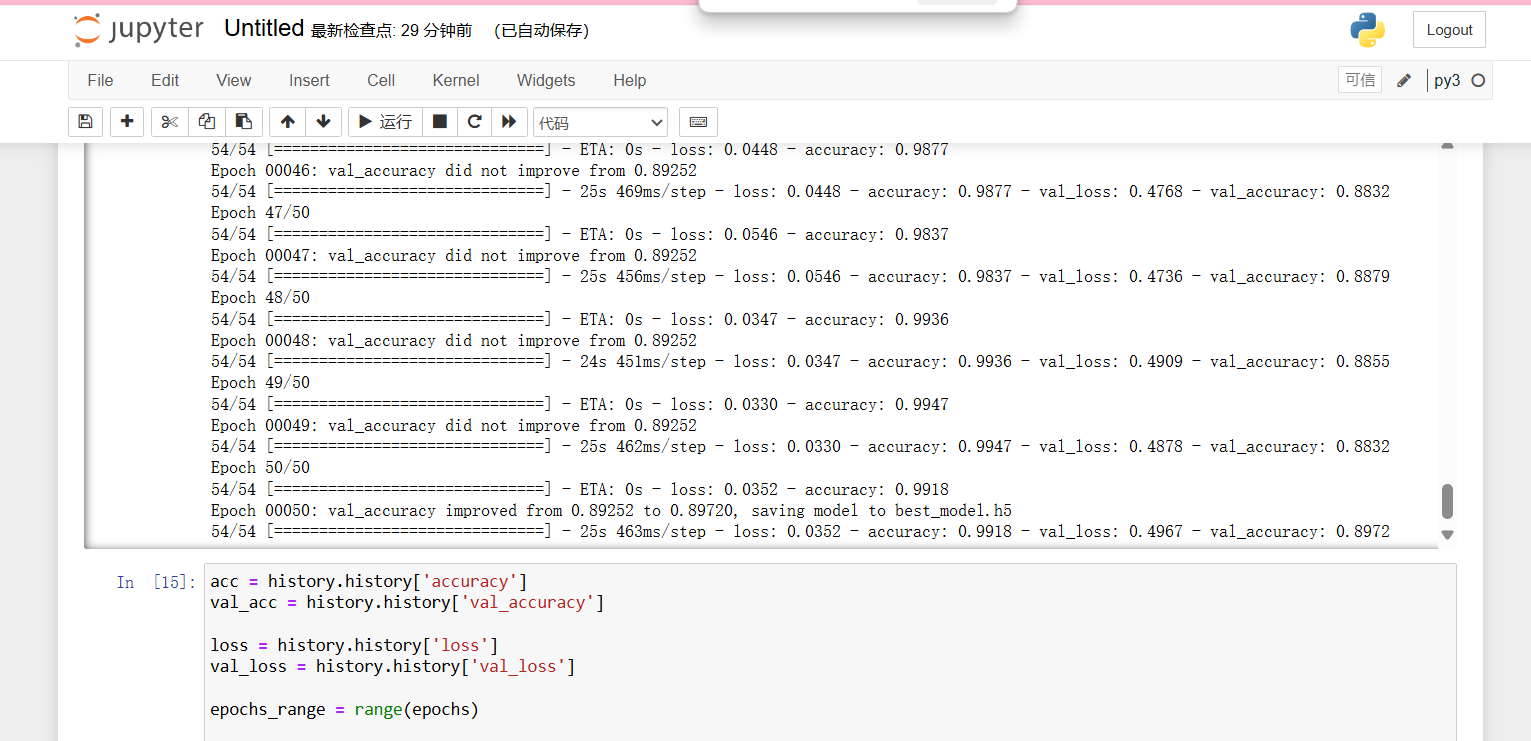
from tensorflow.keras.callbacks import ModelCheckpointepochs = 50checkpointer = ModelCheckpoint('best_model.h5',monitor='val_accuracy',verbose=1,save_best_only=True,save_weights_only=True)history = model.fit(train_ds,validation_data=val_ds,epochs=epochs,callbacks=[checkpointer])
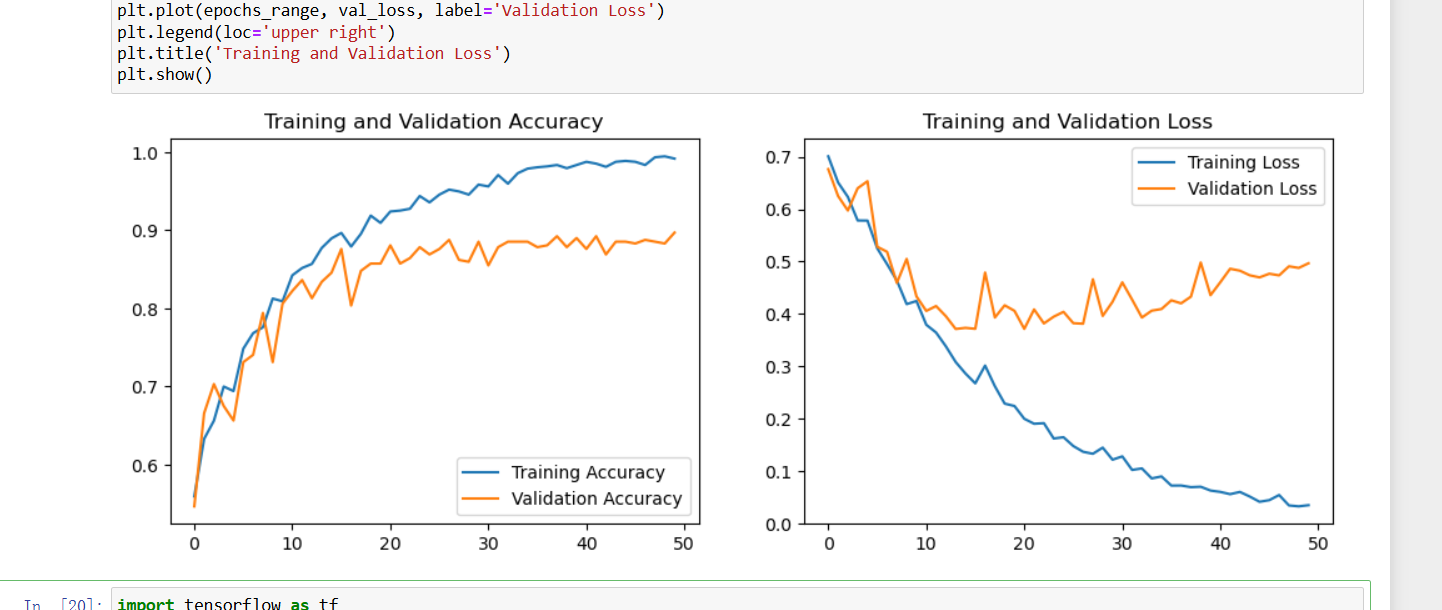
进行模型的评估
acc = history.history['accuracy']
val_acc = history.history['val_accuracy']loss = history.history['loss']
val_loss = history.history['val_loss']epochs_range = range(epochs)plt.figure(figsize=(12, 4))
plt.subplot(1, 2, 1)
plt.plot(epochs_range, acc, label='Training Accuracy')
plt.plot(epochs_range, val_acc, label='Validation Accuracy')
plt.legend(loc='lower right')
plt.title('Training and Validation Accuracy')plt.subplot(1, 2, 2)
plt.plot(epochs_range, loss, label='Training Loss')
plt.plot(epochs_range, val_loss, label='Validation Loss')
plt.legend(loc='upper right')
plt.title('Training and Validation Loss')
plt.show()
加载图片进行模型
# 加载效果最好的模型权重
model.load_weights('best_model.h5')
画出精确和丢失率的图像。
acc = history.history['accuracy']
val_acc = history.history['val_accuracy']loss = history.history['loss']
val_loss = history.history['val_loss']epochs_range = range(epochs)plt.figure(figsize=(12, 4))
plt.subplot(1, 2, 1)
plt.plot(epochs_range, acc, label='Training Accuracy')
plt.plot(epochs_range, val_acc, label='Validation Accuracy')
plt.legend(loc='lower right')
plt.title('Training and Validation Accuracy')plt.subplot(1, 2, 2)
plt.plot(epochs_range, loss, label='Training Loss')
plt.plot(epochs_range, val_loss, label='Validation Loss')
plt.legend(loc='upper right')
plt.title('Training and Validation Loss')
plt.show()
这边需要注意 训练的时候 图片的大小是怎么样的,对于预测的图片需要同样进行操作。
from PIL import Image
import numpy as npimg = Image.open("./45-data/Others/NM15_02_11.jpg")  #这里选择你需要预测的图片
image = tf.image.resize(img, [img_height, img_width]) img_array = tf.expand_dims(image, 0) predictions = model.predict(img_array) # 这里选用你已经训练好的模型
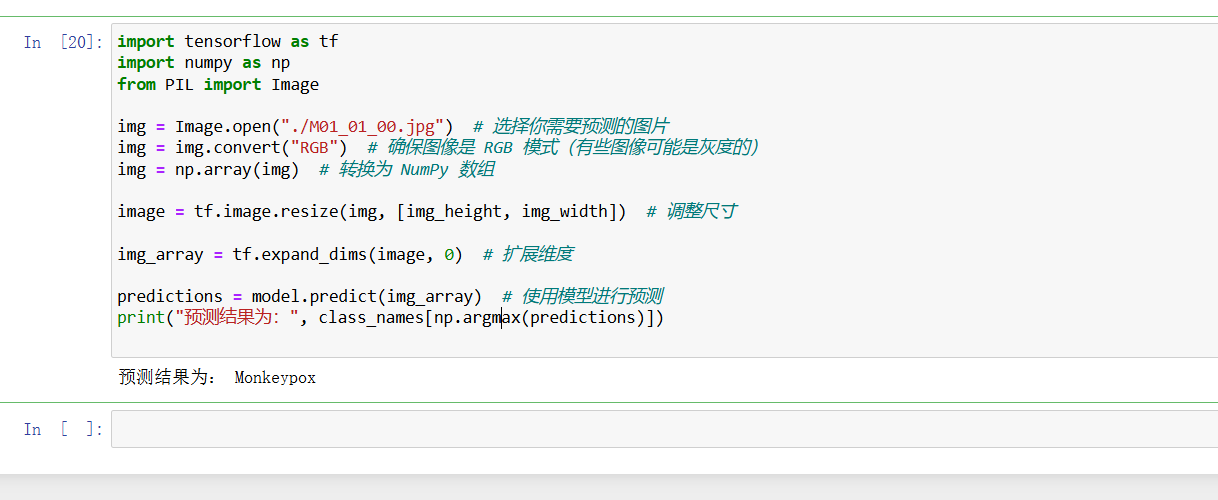
print("预测结果为:",class_names[np.argmax(predictions)])
运行的结果
