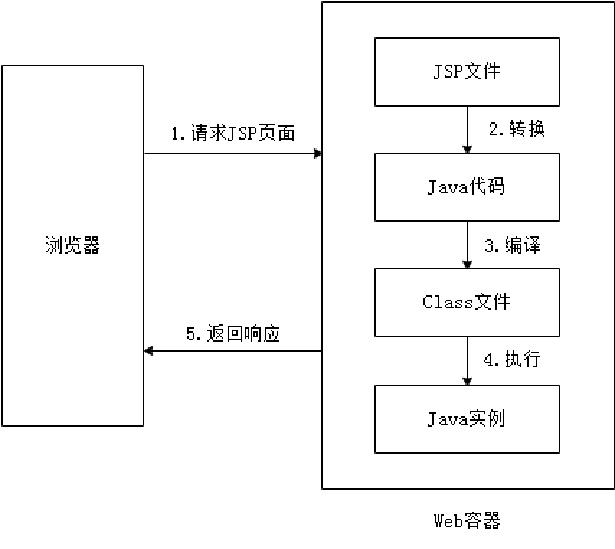
一、Vue3+Springboot 的前后端简单部署 (在win下面部署)
1、前端实现部署
思想: 前端打包项目后、放到nginx中进行部署
1、nginx 安装 和 解压
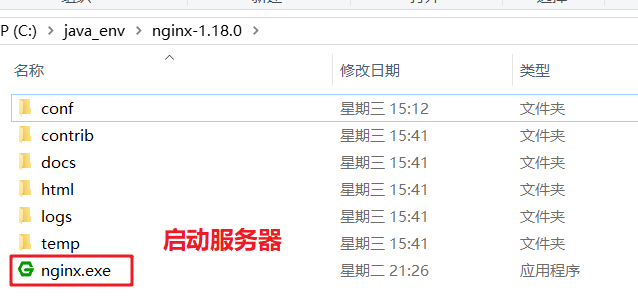
1、下载 nginx.zip win版本 解压就可以
2、解压后、启动程序
3、访问 nginx 欢迎页面
http://localhost/
80 端口 可以省略 直接访问
4、配置文件说明
1、conf 下面 nginx.conf 文件
worker_processes  1;events {worker_connections  1024;
}http {include       mime.types;default_type  application/json;sendfile        on;keepalive_timeout  65;server {listen       80;                # 端口监听 server_name  localhost;   # 指定前端项目所在的位置 location / {                    # 指定项目地址  root   html;index  index.html index.htm;}error_page   500 502 503 504  /50x.html;location = /50x.html {root   html;}}
}
5、前端 vue3 进行打包操作
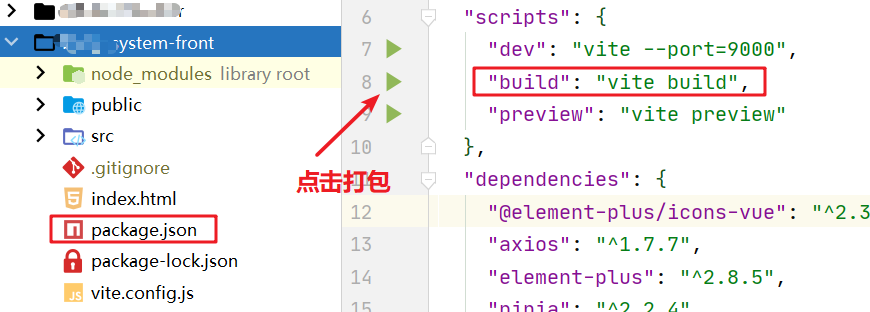
或者通过 npm 命令打包 、进入到 项目的当前路劲下面 执行命令:
npm run build
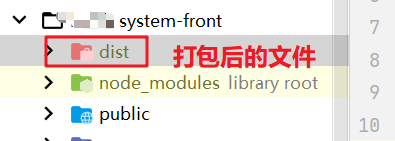
6、把打包后的 dist 放到 、nginx 目录下面
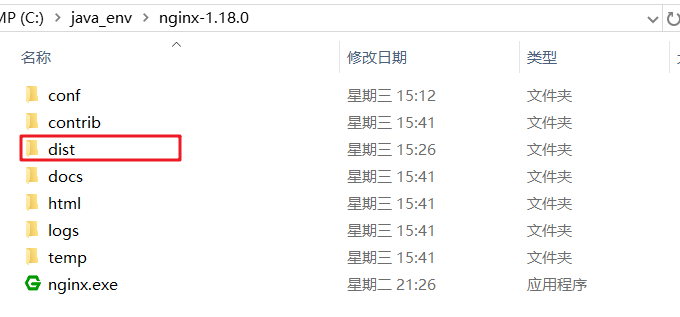
修改 nginx 的配置文件:
#user  nobody;
worker_processes  1;events {worker_connections  1024;
}http {include       mime.types;default_type  application/octet-stream;sendfile        on;server {listen       9000;        # 端口监听 server_name  localhost;location / {root   dist;           # 指定项目地址 index  index.html index.htm;}error_page   500 502 503 504  /50x.html;location = /50x.html {root   html;}}
}
不要启动多个nginx 不然可以找不到、页面
补充 操作 nginx的一些命令
1、查看nginx 是否启动成功的命令:
tasklist /fi "imagename eq nginx.exe"2、快速停止或关闭nginx:
nginx -s stop3、完整有序的停止nginx:
nginx -s quit4、使用taskkill停止或关闭nginx:
taskkill /f /t /im nginx.exe
2、后端实现部署
思想: maven打包项目后、准备好数据库、启动jar 项目包
1、准备好数据库文件、这里是win下面的数据库、路劲可以直接不用修改、如果是其他地方的数据库、需要修改数据库IP
2、打包命令
pom.xml 文件需要有打包插件
<!-- Spring Boot的Maven插件,打包插件 -->
<plugin><groupId>org.springframework.boot</groupId><artifactId>spring-boot-maven-plugin</artifactId>
</plugin>
打包命令
mvn clean package
3、启动 打包后的命令
java -jar xxx.jar


