📒 博客首页:✎﹏ℳ๓敬坤的博客 🎈
😊 我只是一个代码的搬运工 🎃
🎉 欢迎来访的读者关注、点赞和收藏 🤞
😉 有问题可以私信交流 😆
📃 文章标题:圣诞节都到了,快使用代码画棵圣诞树吧 🖍
目录
- 用Vue项目教你做出圣诞节的场景
- 效果
- 准备几个雪花图片,以及圣诞树图片
- 制作雪花点,以及随机生成雪花,雪花点
- 总结
用Vue项目教你做出圣诞节的场景
使用Vue3.0完成一个圣诞节雪花纷飞的场景,本篇文章会讲解如何完成这个功能
效果
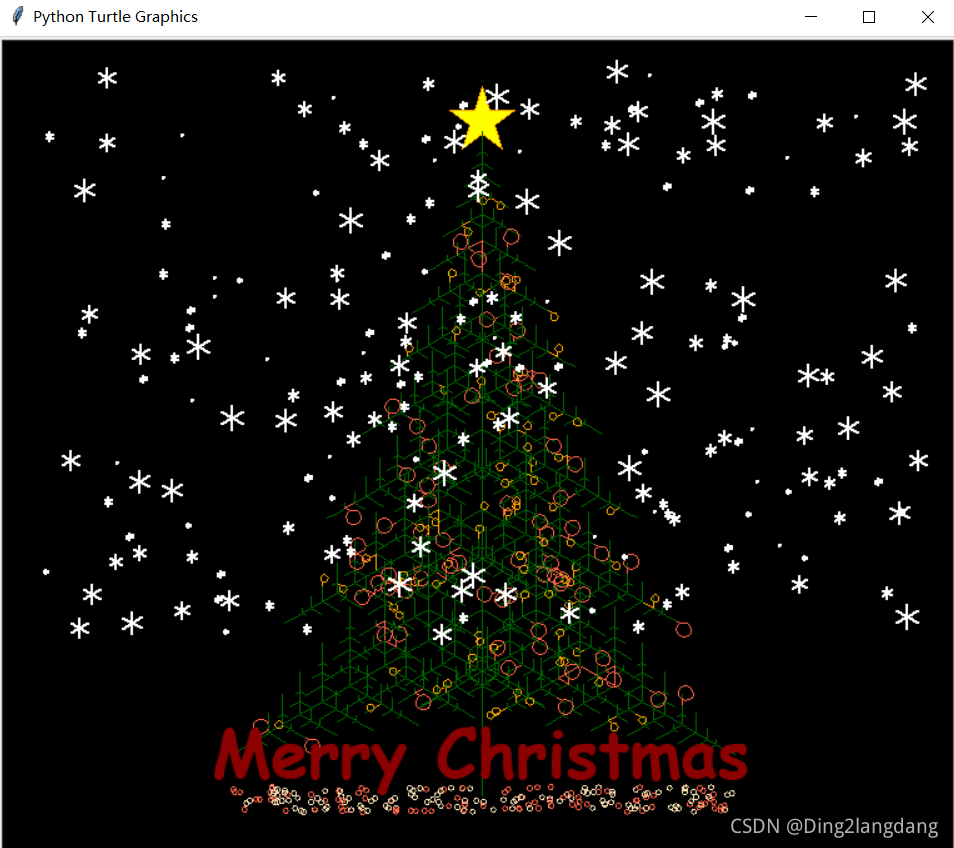
如下,就是我们做完之后展示的效果,会出现雪花在屏幕上飘落,点击查看:

准备几个雪花图片,以及圣诞树图片
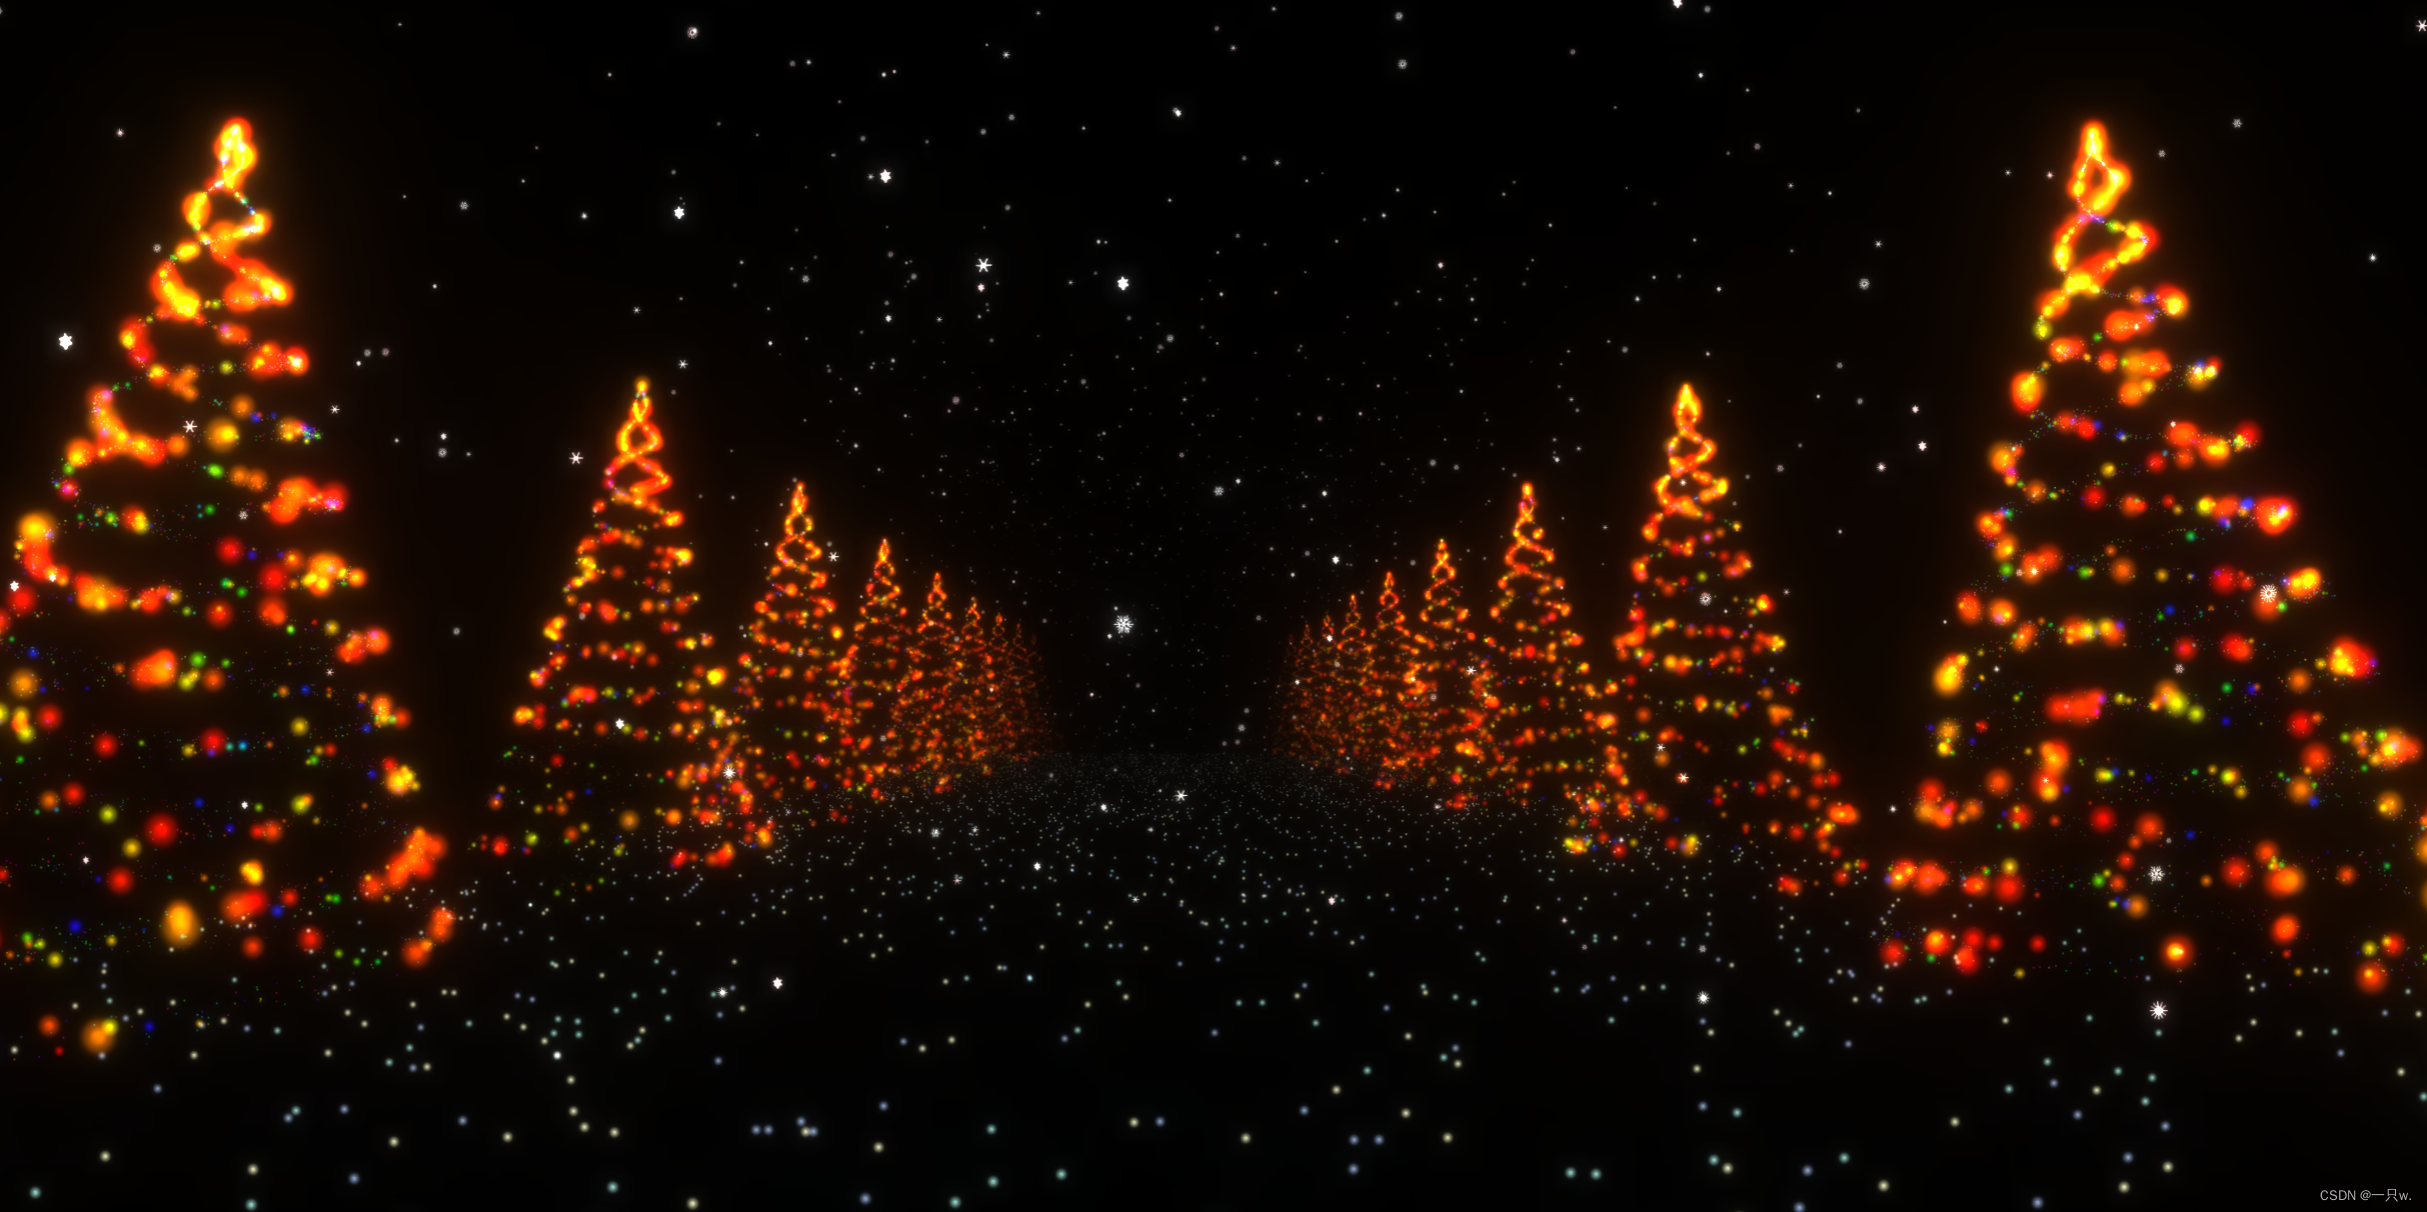
在制作之前,我们需要准备雪花的图片和圣诞树的图片,如下:


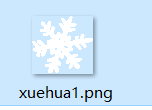
上面就是我们所需要的素材啦😋

制作雪花点,以及随机生成雪花,雪花点
话不多说,直接上代码,在分析:
<template><div class="flex flex-align flex-column"><!-- 区域范围 --><div ref="snowflake" id="snowflake" class="snowflake-bg"><!-- 雪花点标签 --><div class="small-circle" v-for="(item,index) in smallCircle" :key="'smallCircle'+index" :style="{'bottom':`${item.bottom}px`,'left':`${item.left}px`,'transition':`all ${item.timeStamp}`}"></div><!-- 雪花标签 --><img src="../../assets/image/xuehua1.png" class="snowflake-img"v-for="(item,index) in snowflakeList" :key="'snowflakeImg'+index":style="{'bottom':`${item.bottom}px`,'left':`${item.left}px`,'transition':`all ${item.timeStamp}`,'width':`${item.size}px`,'height':`${item.size}px`}"><!-- 圣诞树标签 --><img src="../../assets/image/christmas-tree.png" class="christmas-tree"><img src="../../assets/image/christmas-tree.png" class="christmas-tree1"><img src="../../assets/image/christmas-tree.png" class="christmas-tree2"></div></div>
</template><script>let _thatexport default {data() {return {smallCircle:[],//保存雪花点数组snowflakeList:[],//保存雪花数组visualAreaWidth:0,//获取雪花x轴的范围visualAreaHeight:0,//获取雪花降落的高度randomlyGeneratedDotsTimes:null//保存我们的定时器}},created() {_that=this},mounted(){_that.visualAreaWidth=_that.$refs.snowflake.clientWidth_that.visualAreaHeight=_that.$refs.snowflake.clientWidth_that.randomlyGeneratedDots()},methods: {//每隔一秒生成一个雪花点和雪花randomlyGeneratedDots(){let id=0_that.randomlyGeneratedDotsTimes=setInterval(function(){id++//生成雪花点_that.generateSnowflakes(id)//生成雪花_that.getSnowflake(id)},1000)},//雪花点下降generateSnowflakes(id){//当我们雪花点超过1000个,清空数组,避免内存溢出if(_that.smallCircle.length>10000){_that.smallCircle=[]}//保存雪花点的数据 //left 代表生成x轴的位置 bottom 代表初始化位置 top 代表Y轴消失的位置 timeStamp 代表设置我们动画的时间 id当前数据的标识let data={left:Math.ceil(Math.random()*_that.visualAreaWidth),bottom:_that.visualAreaHeight,top:Math.ceil(Math.random()*_that.visualAreaHeight),timeStamp:Math.ceil(Math.random()*10+1)+'s',id:id,}//_that.smallCircle.push(data)let nowIndex=_that.smallCircle.length-1//将我们的雪花降落到底部setTimeout(function(){_that.smallCircle[nowIndex].bottom=0},10)},//生成雪花getSnowflake(id){//当我们雪花超过1000个,清空数组,避免内存溢出if(_that.snowflakeList.length>10000){_that.snowflakeList=[]}//保存雪花的数据//left 代表生成x轴的位置 bottom 代表初始化位置 top 代表Y轴消失的位置 timeStamp 代表设置我们动画的时间 imgSrc代表雪花样式 size代表雪花大小 id当前数据的标识//arr 保存我们雪花样式的路径let arr=['../../assets/image/xuehua.png','../../assets/image/xuehua1.png']let data={left:Math.ceil(Math.random()*_that.visualAreaWidth),bottom:_that.visualAreaHeight,top:Math.ceil(Math.random()*_that.visualAreaHeight),timeStamp:Math.ceil(Math.random()*10+1)+'s',imgSrc:arr[Math.ceil(Math.random()*2)],size:Math.ceil(Math.random()*10+1)*2,id:id,}//_that.snowflakeList.push(data)let nowIndex=_that.snowflakeList.length-1//将我们的雪花降落到底部setTimeout(function(){_that.snowflakeList[nowIndex].bottom=-50},10)}}}
</script><style ></style>
<style scoped="scoped">/*****************  flex布局文件 *******************/@import url("../../assets/css/public.css");/*****************  背景区域  *******************/.snowflake-bg{width: 1000px;background-color: black;height: 100vh;position: relative;overflow: hidden;}/*****************  雪花点样式  *******************/.small-circle{background-color: #FFFFFF;border-radius: 50%;width: 5px;height: 5px;position: absolute;z-index: 999;}/*****************  雪花样式  *******************/.snowflake-img{position: absolute;z-index: 999;}/*****************  三棵圣诞树样式  *******************/.christmas-tree,.christmas-tree1,.christmas-tree2{position: absolute;bottom: 0;}.christmas-tree{width: 400px;left: 300px;}.christmas-tree1{width: 300px;left: 200px;}.christmas-tree2{width: 300px;right: 200px;}
</style>
总结
- 在我们使用v-for时,需要注意key值时唯一的不能都定义成index,:key="‘name’+index"
- 数组不能使用定时器一个劲的添加,需要达到一定数量,然后清除,不然会造成内存溢出
