chatglm+tesla m40部署
- tesla m40安装
- BIOS设置
- 驱动下载并安装
- 验证安装并切换WDDM模式
- chatglm安装
- 环境安装
- 加载模型
- CUDA安装
- Torch安装
- 源码修改
- 成功结果展示
- 常见问题
本机配置 i5 13600k ,主板是微星760 bomer
tesla m40安装
Tesla M40 24G实际上是计算卡,不是显卡,所以必须有核显或亮机卡
注意安装M40等大于4G显存显卡前,一定要去BIOS里打开大于4G选项,不然无法正确识别显卡。
(微星760 bomer 在BIOS里setting里)
BIOS设置
我们对Markdown编辑器进行了一些功能拓展与语法支持,除了标准的Markdown编辑器功能,我们增加了如下几点新功能,帮助你用它写博客:
- Above 4G memory/Crypto Currency mining 功能开启 ;
需要在BIOS中将这一项开启,目的是获得对4G以上显存卡的支持。
Above 4G memory/Crypto Currency mining [允许] - BIOS UEFI 模式开启 ;
使用该显卡需要开启主板BIOS的UEFI模式
BIOS UEFI/CSM Mode [UEFI]
驱动下载并安装
安装前检查是否"设备管理器"中是否己经识别出tesla m40 ,如下图

https://www.nvidia.cn/Download/index.aspx?lang=cn

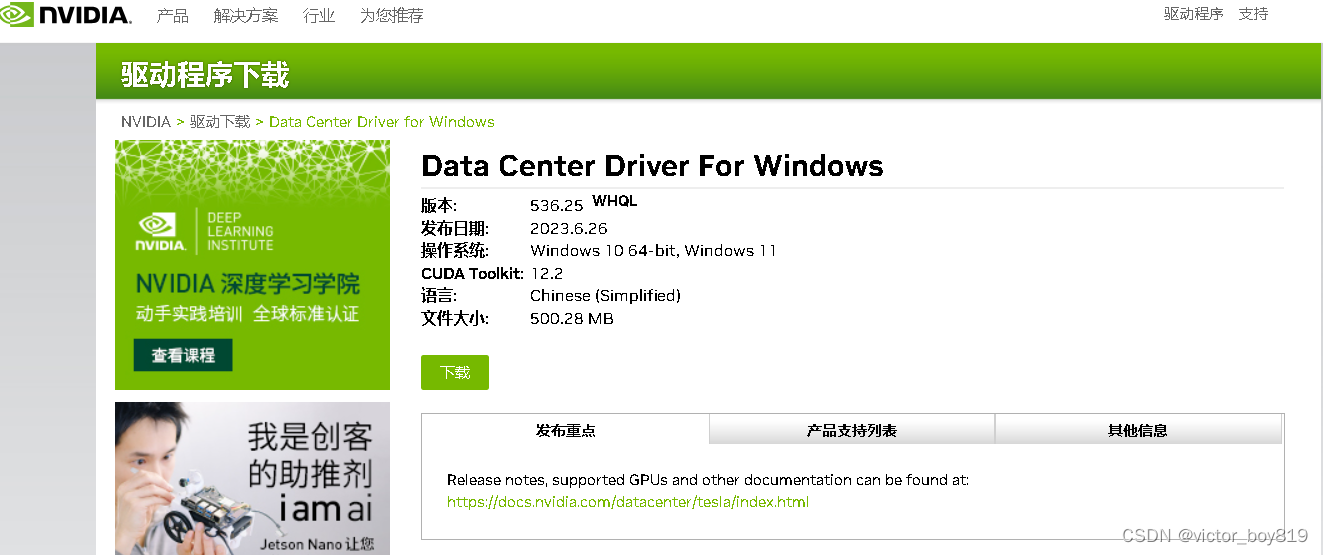 选择最新的驱动程序下载并安装。
验证安装并切换WDDM模式
验证安装
“CMD命令提示符”工具中,输入nvidia-smi,查看现有显卡信息,如图所示
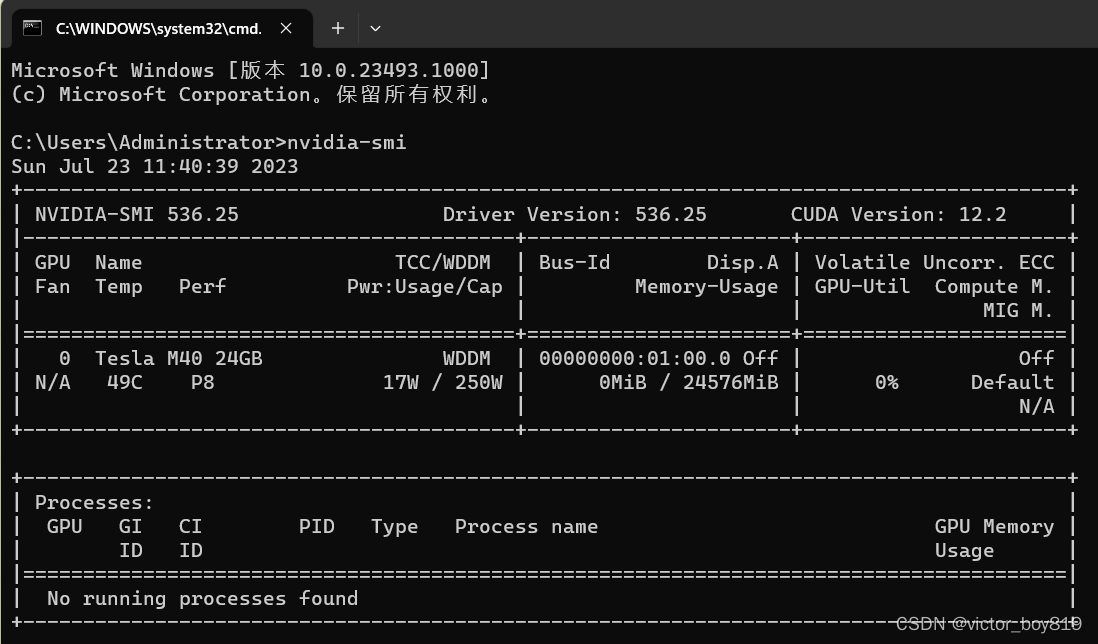
切换WDDM模式
使用“以管理员身份运行”的模式打开“CMD命令提示符”工具,输入 nvidia-smi -dm 0

chatglm安装
ChatGLM2-6B 是开源中英双语对话模型 ChatGLM-6B 的第二代版本,在保留了初代模型对话流畅、部署门槛较低等众多优秀特性的基础之上.
环境安装
1、下载本仓库:
git clone https://github.com/THUDM/ChatGLM2-6B
cd ChatGLM2-6B
2、pip 安装依赖:
pip install -r requirements.txt
加载模型
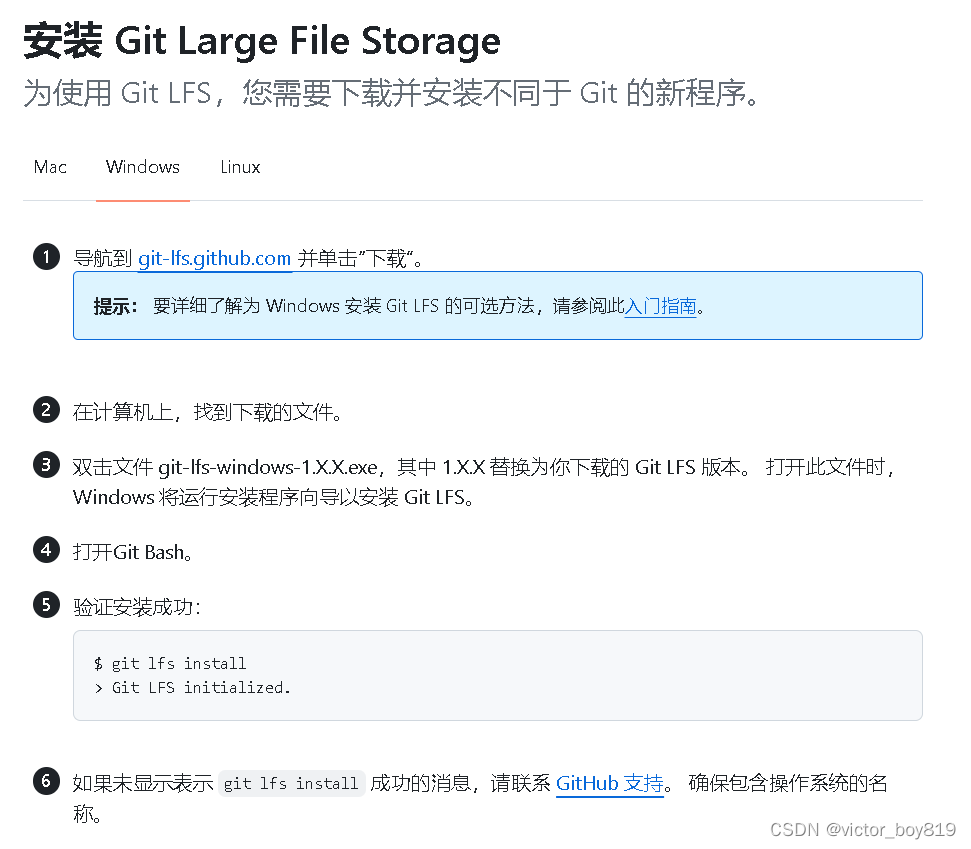
1、安装Git LFS
https://docs.github.com/zh/repositories/working-with-files/managing-large-files/installing-git-large-file-storage
CUDA安装
查询显卡驱动程序版本

CUDA具体的版本,如下
https://docs.nvidia.com/cuda/cuda-toolkit-release-notes/index.html

Windows下安装CUDA,参考如下(一个是cuda安装,另一个是CuDNN安装)
https://blog.csdn.net/weixin_34409703/article/details/93226830
Torch安装
如果出现 torch的安装报错,可能与操作系统及 CUDA 的版本相关。直接上pytorch 的官网
https://pytorch.org/get-started/locally/
注意,tesla m40驱动可以安装最新版本,而CUDA只选11.8(CUDA 12版本以上会报错)
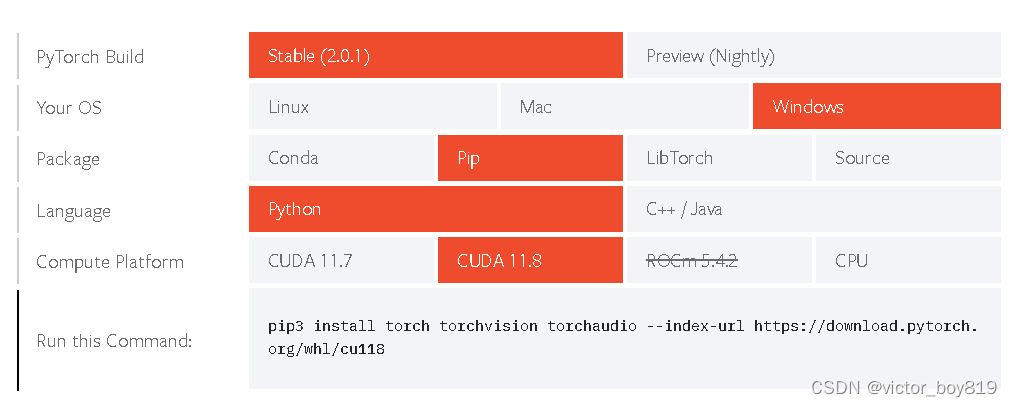
复制并执行以下指令
pip3 install torch torchvision torchaudio --index-url https://download.pytorch.org/whl/cu118
源码修改
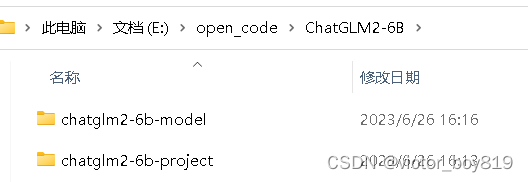
在E:\open_code\ChatGLM2-6B\chatglm2-6b-project\web_demo.py
tokenizer = AutoTokenizer.from_pretrained(“THUDM/chatglm2-6b”, trust_remote_code=True)
model = AutoModel.from_pretrained(“THUDM/chatglm2-6b”, trust_remote_code=True).cuda()
修改为如下相对地址:
toenizer = AutoTokenizer.from_pretrained(“…\…\chatglm2-6b-model\chatglm2-6b”, trust_remote_code=True)
model = AutoModel.from_pretrained(“…\…\chatglm2-6b-model\chatglm2-6b”, trust_remote_code=True).quantize(8).half().cuda()
或修改成绝对地址:
toenizer = AutoTokenizer.from_pretrained(“E:\open_code\ChatGLM2-6B\chatglm2-6b-model\chatglm2-6b”, trust_remote_code=True)
model = AutoModel.from_pretrained(“E:\open_code\ChatGLM2-6B\chatglm2-6b-model\chatglm2-6b”, trust_remote_code=True).quantize(8).half().cuda()
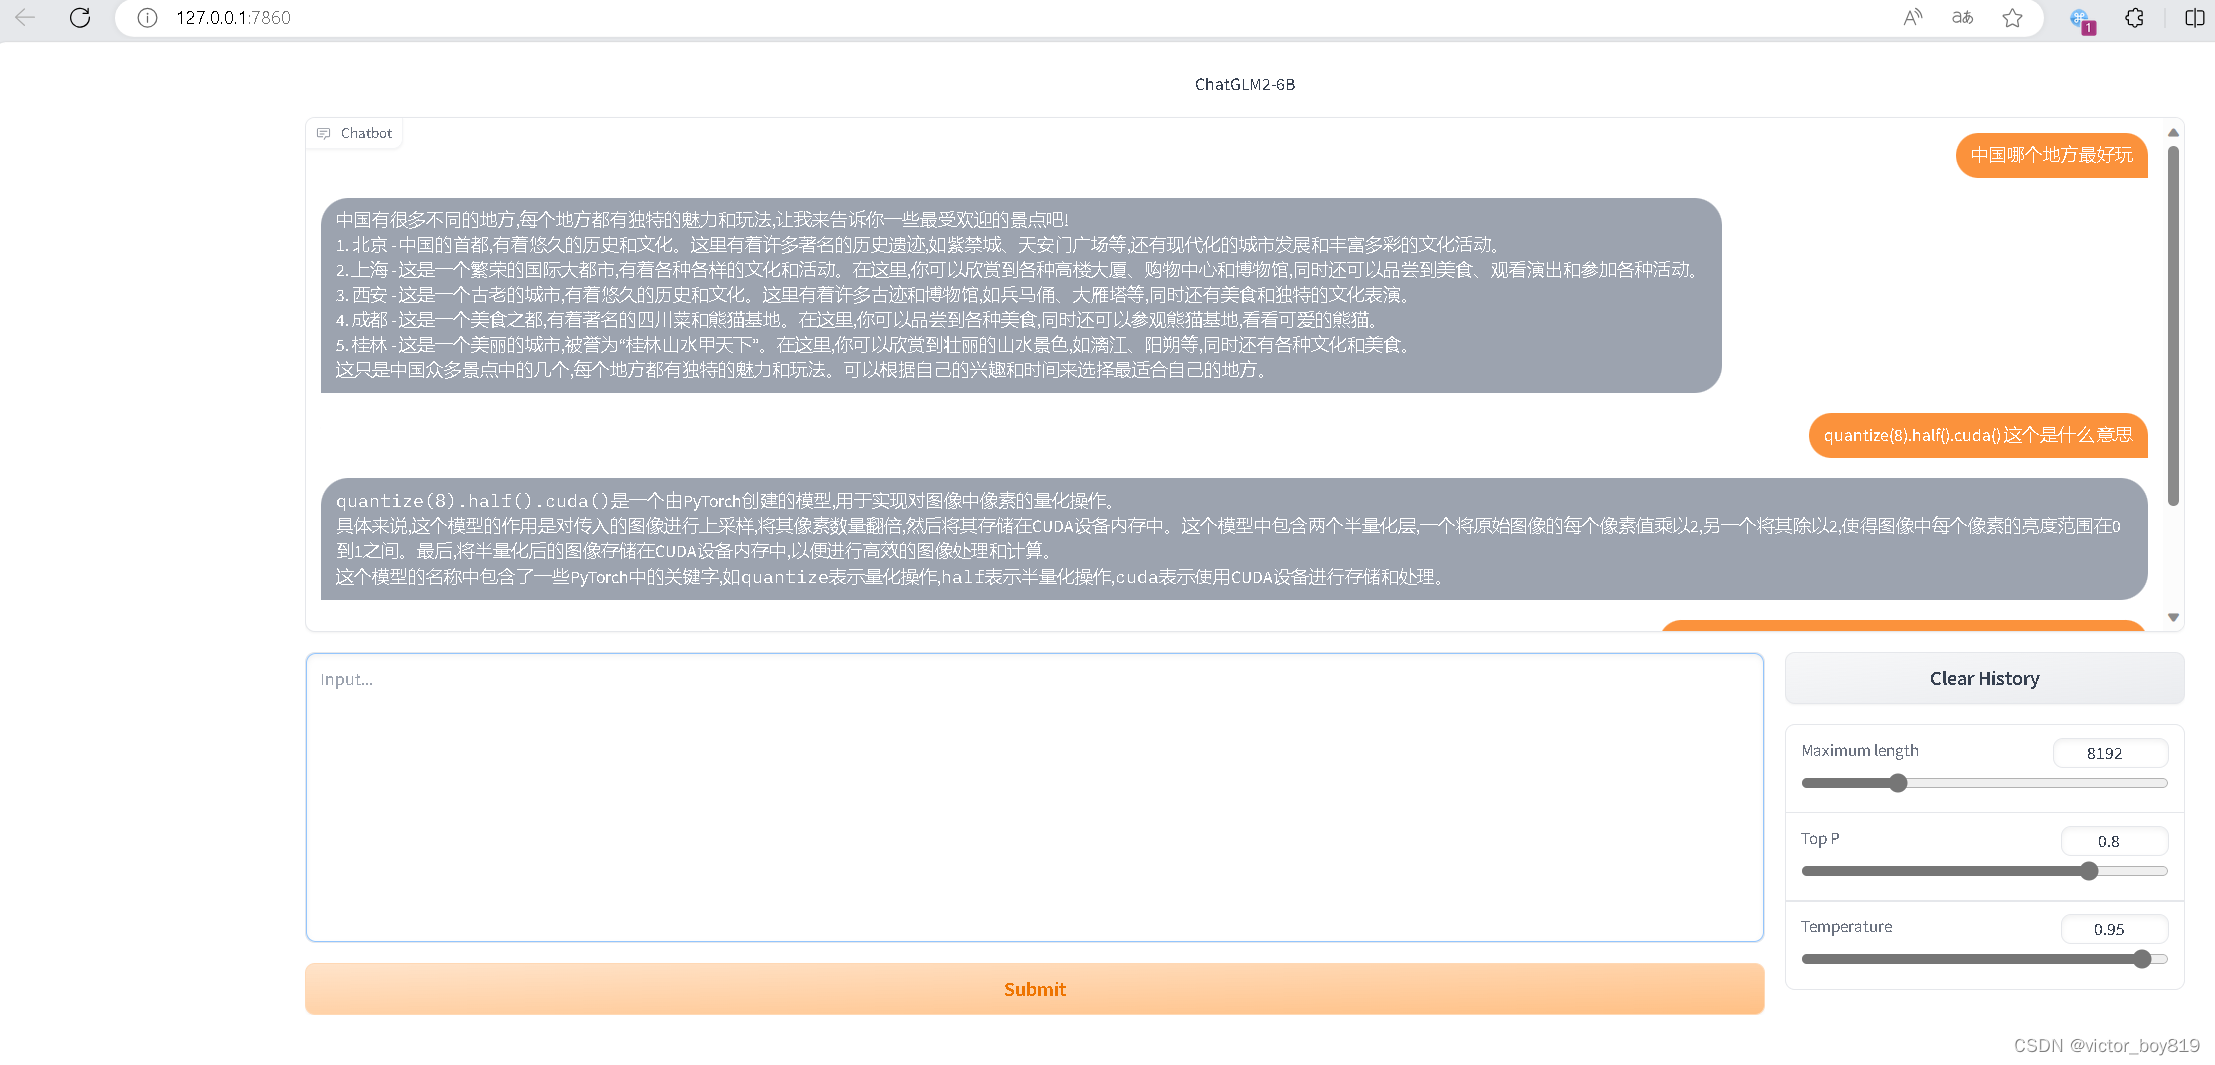
成功结果展示
python web_demo.py
常见问题
1、错误Torch not compiled with CUDA enabled解决

把以下代码运行一下
import torch
print(torch.version)
print(torch.cuda.is_available())

如果torch.cuda.is_available()返回False,那就是安装了torch cpu版本或显卡不是Nvidia英伟达的


