目录
前言
1. 使用全景相机拍摄
2.手机app拍摄
3.使用爬虫爬取
二、全景图显示
总结
前言
随着前端技术的不断发展,图像的展示越来越重要,本文就介绍了全景图获取与显示的基础内容。
一、全景图片获取方法
1. 使用全景相机拍摄
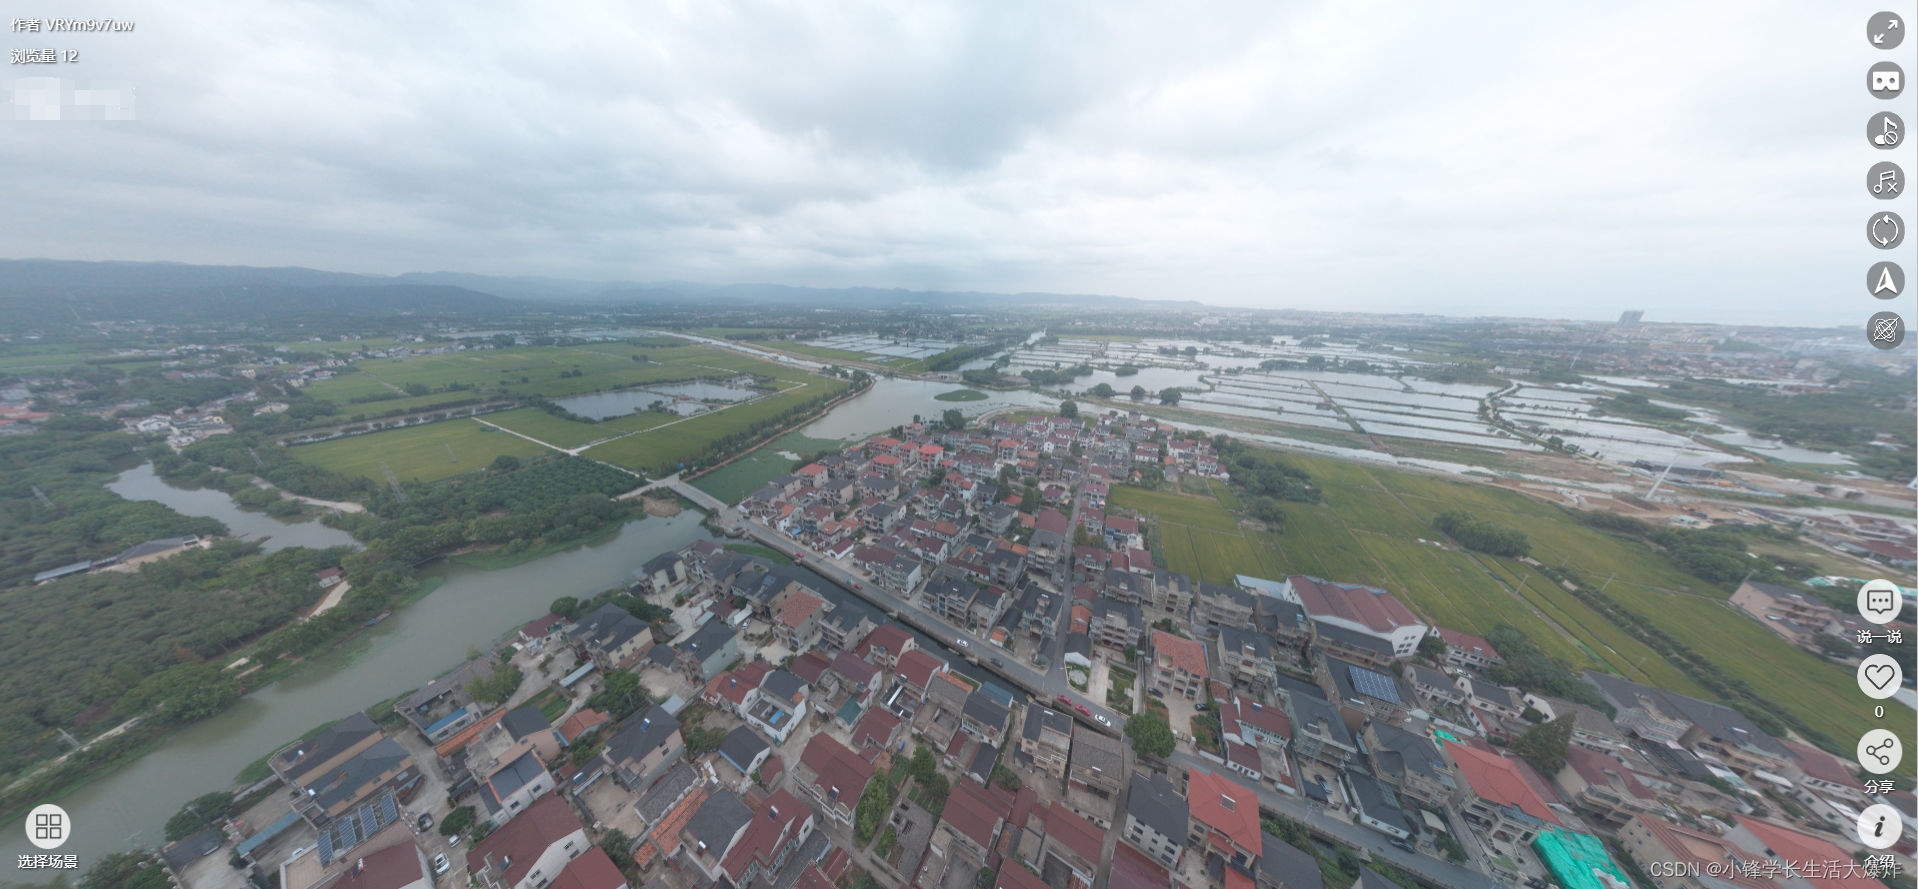
拍摄的图片在2维显示下会变形,但是不影响全景图的显示

2.手机app拍摄
一般是通过拍摄多张图片通过算法合成,无法获得完整的全景图,全景图展示的时候缺失的部分无法显示。拍摄全景图的app有很多(部分手机自带,但是不一定能达到要求,因为全景图片必须首尾相连),在这里介绍一款《广角相机》app,感觉并不是很稳定,有更好推荐的童鞋可以评论区补充,具体操作步骤如下:
- 打开相机,水平拍摄20张图片,注意每张照片的衔接,下一张图片尽量包含上一张图片的30%,方便算法拼接,保证正确度
- 点击合成图片,最终效果如下

3.使用爬虫爬取
- 进入百度地图界面(网址https://map.baidu.com/),选择街景地图,进入街景
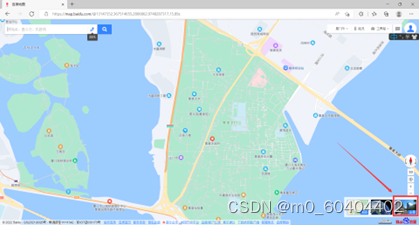

2.复制panoid的值

3. 将复制的值粘贴到写好的代码(后面会给出)

4. 运行代码,当前目录下名为output.jpg的照片即为全景图,生成的img_frag目录为图片碎片目录


5. 爬虫代码
import requests
import base64
import numpy as np
from PIL import Image
import os
from tqdm import tqdm# panoid 这个值决定爬取的位置
panoid = "09001900011610281321007255F"# 全局图网址
url = "https://mapsv1.bdimg.com/?qt=pdata&sid="+ panoid +"&pos={}_{}&z=4"# 请求头
headers = {"User-Agent": "Mozilla/5.0 (Windows NT 10.0; Win64; x64) AppleWebKit/537.36 (KHTML, like Gecko) Chrome/102.0.5005.63 Safari/537.36 Edg/102.0.1245.39"
}def base64_to_img(bstr, file_path):   # base64编码成图片imgdata = base64.b64decode(bstr)file = open(file_path, 'wb')file.write(imgdata)file.close()def image_stitch():imgdict = {}for i in os.listdir("./img_frag"):if i.split(".jpg")[0].split("_")[0] not in imgdict.keys():imgdict[i.split(".jpg")[0].split("_")[0]] = []for j in imgdict.keys():if i.split(".jpg")[0].split("_")[0] == j:imgdict[j].append(i)print(imgdict)isfirst = 0imglist = []tempimg = Image.Image()for i in imgdict.keys():for j in imgdict[i]:if isfirst == 0:tempimg = Image.open('./img_frag/' + j)isfirst = 1else:img = Image.open('./img_frag/' + j)tempim = np.array(tempimg)  # 转化为ndarray对象im = np.array(img)  # 转化为ndarray对象imstitch = np.concatenate((tempim, im), axis=1)  # 横向拼接tempimg = Image.fromarray(imstitch)imglist.append(tempimg)tempimg = Image.Image()isfirst = 0print(imglist)saveim = imglist[0]for i in imglist[1:]:saveim = np.concatenate((saveim, i), axis=0)  # 纵向拼接saveimage = Image.fromarray(saveim)saveimage.save("output.jpg")print("Image stitching completed!")def img_spide():# 该平台全景图片被分割为32张,全部爬取后保存pbar = tqdm(total=32)   # 进度条for i in range(0,4):for j in range(0,8):response = requests.get(url=url.format(i,j), headers=headers)with open('./img_frag/{}_{}.jpg'.format(i,j),'wb') as f:f.write(response.content)pbar.update(1)print("image collect successful!")if __name__ == '__main__':if not os.path.exists("./img_frag"):os.mkdir("img_frag")img_spide()image_stitch()
二、全景图显示
本文全景图展示基于开源项目Photo Sphere Viewer。
Photo Sphere Viewer是一个JavaScript库,允许您在任何网页上显示360×180度的全景图。全景图必须使用等矩形投影,可以使用Android 4.2 Jelly Bean自带的拍照模式Photo Sphere拍摄。
Photo Sphere Viewer使用了Three.js库,所以你的访问者不需要任何东西,除了一个兼容canvas或者更好的WebGL的浏览器。
Git地址:https://gitee.com/mirrors_JeremyHeleine/Photo-Sphere-Viewer
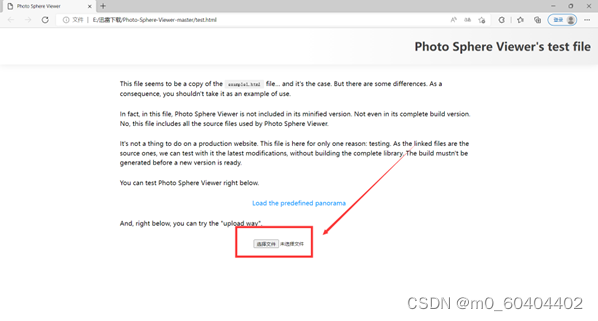
Photo Sphere Viewer中自带案例,使用者无需具备编程知识也可以简单使用,简单使用步骤如下:
- 下载项目源代码
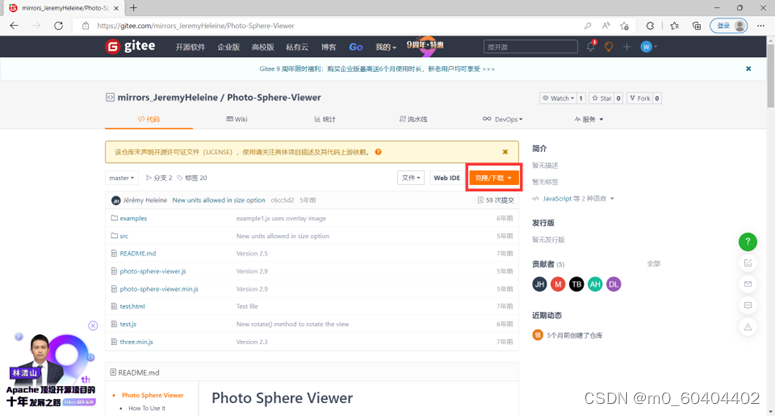
2. 开案例test.html,并打开上述获取到的全景图
3. 即可进行全景图的浏览

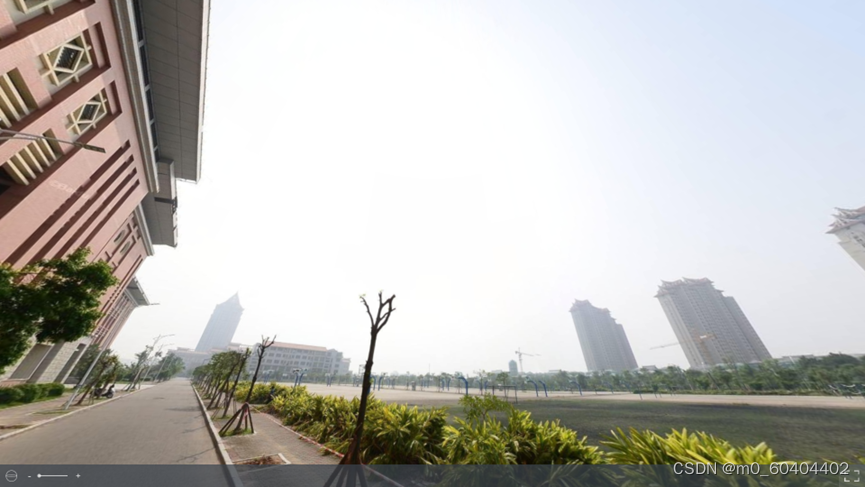
4. 对比全景相机拍摄(爬虫爬取的数据也是全景相机拍的)和手机拍摄,手机拍摄的照片,天空部分有可能会变形或者显示成黑色


全景相机拍摄的效果明显更好
上述的案例是打开本地的全景图片,但在实际开发过程中,需要将该功能加入自己的web应用中,就需要对代码修改
<!DOCTYPE html>
<html><head><meta charset="utf-8" /><title>Photo Sphere Viewer</title><meta name="viewport" content="initial-scale=1.0" /><!-- 引入相应的js文件 --><script src="../three.min.js"></script><script src="../photo-sphere-viewer.min.js"></script><style>html, body {margin: 0;width: 100%;height: 100%;overflow: hidden;}#container {width: 100%;height: 100%;}</style></head><body><!-- 存放全景图的容器div --><div id="container"></div><script>var div = document.getElementById('container');// 初始化全景图显示对象var PSV = new PhotoSphereViewer({// 全景图地址,这里需要特别注意,需要使用网络上的图片,如果使用本地的文件,会报CORS跨域请求错误,当然如果你的网络Web应用已经部署在服务器上,可以忽略这个问题panorama: 'http://tassedecafe.org/wp-content/uploads/2013/01/parc-saint-pierre-amiens.jpg',container: div,time_anim: 3000,navbar: true,navbar_style: {backgroundColor: 'rgba(58, 67, 77, 0.7)'},});</script></body></html>
其中需要注意的是,这个例子不能本地的文件,会报CORS跨域请求错误,当然如果你的网络Web应用已经部署在服务器上,可以忽略这个问题

总结
以上就是今天要讲的内容,本文仅仅简单介绍了全景图片的获取以及利用Photo Sphere Viewer简单显示全景图。感谢大家的支持,你的支持是我进步的动力!


