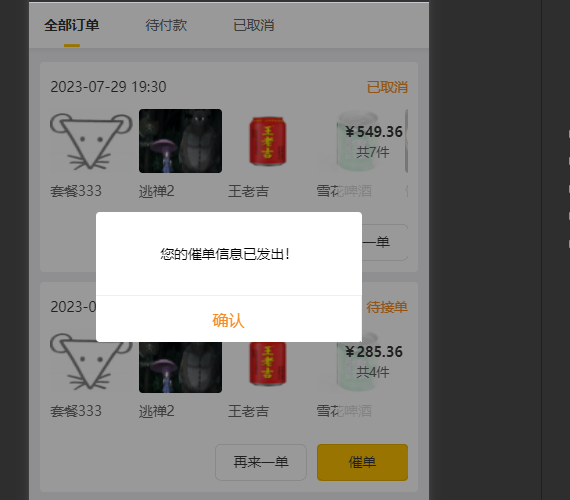
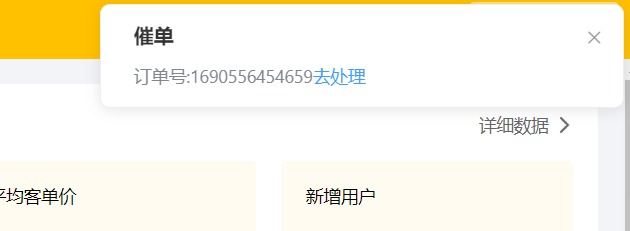
预期效果
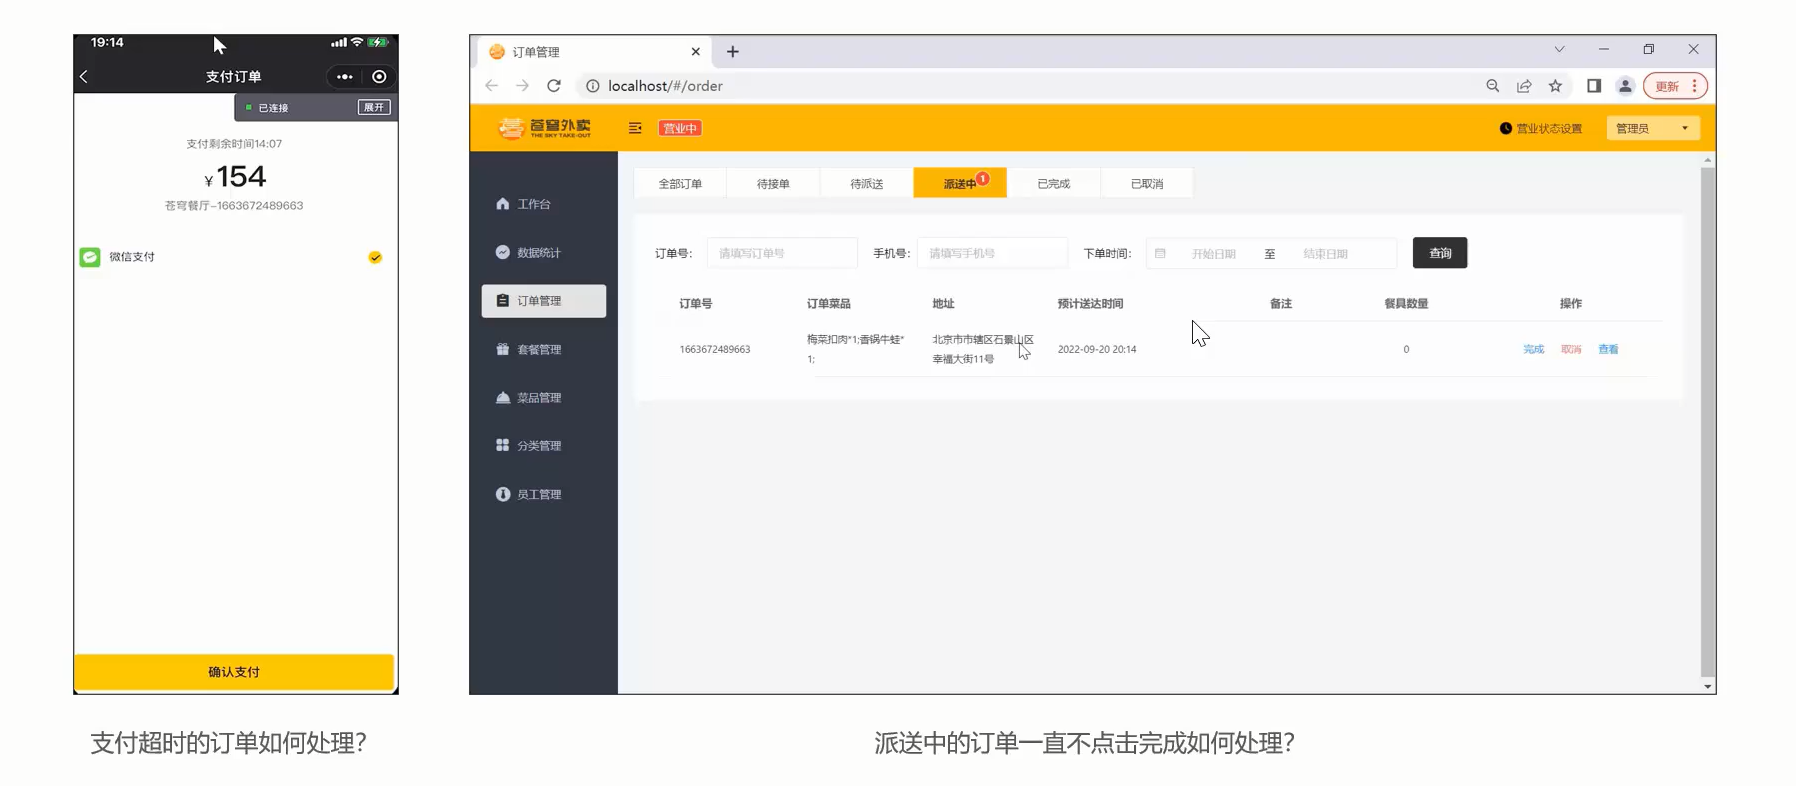
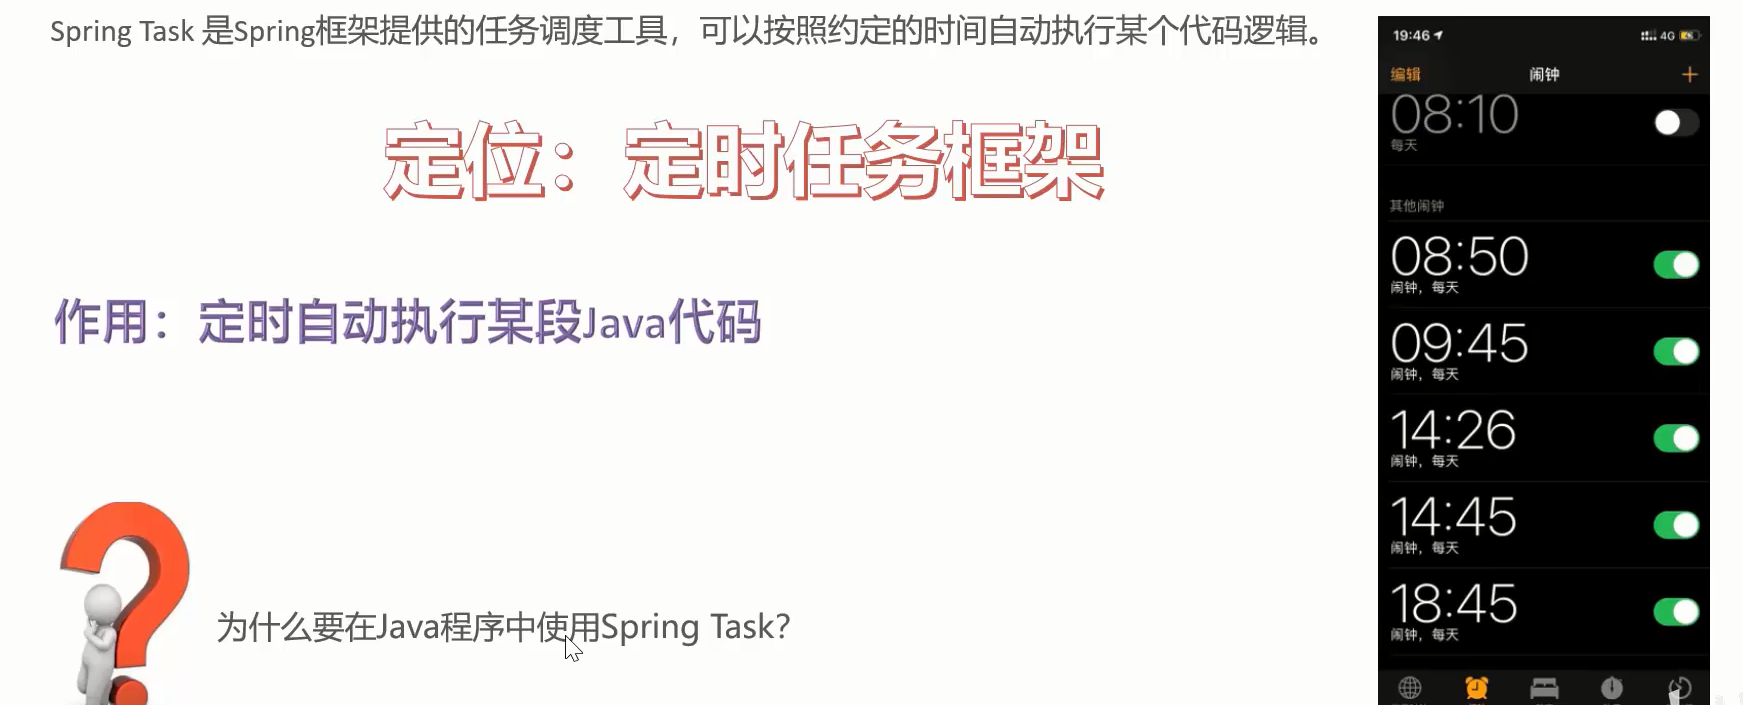
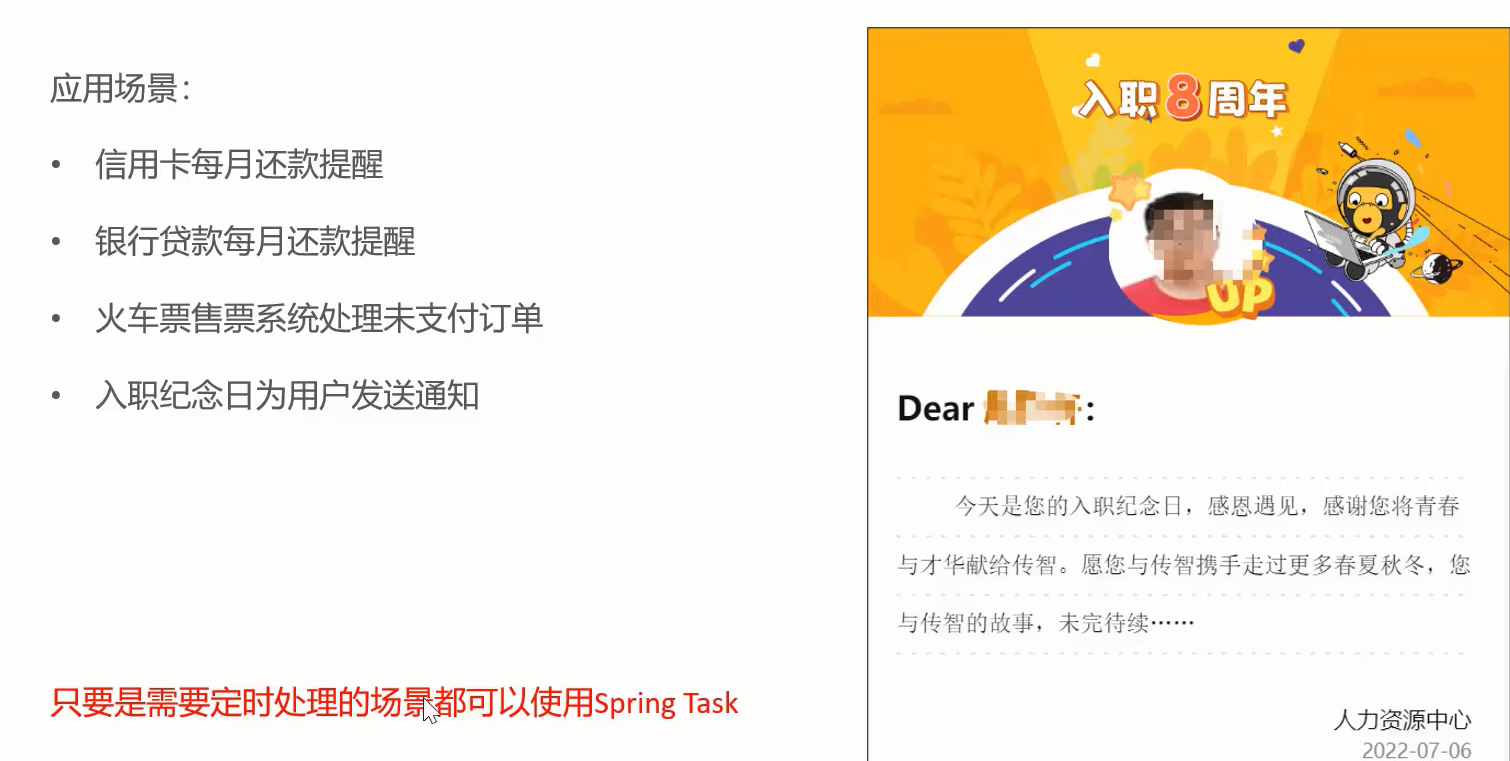
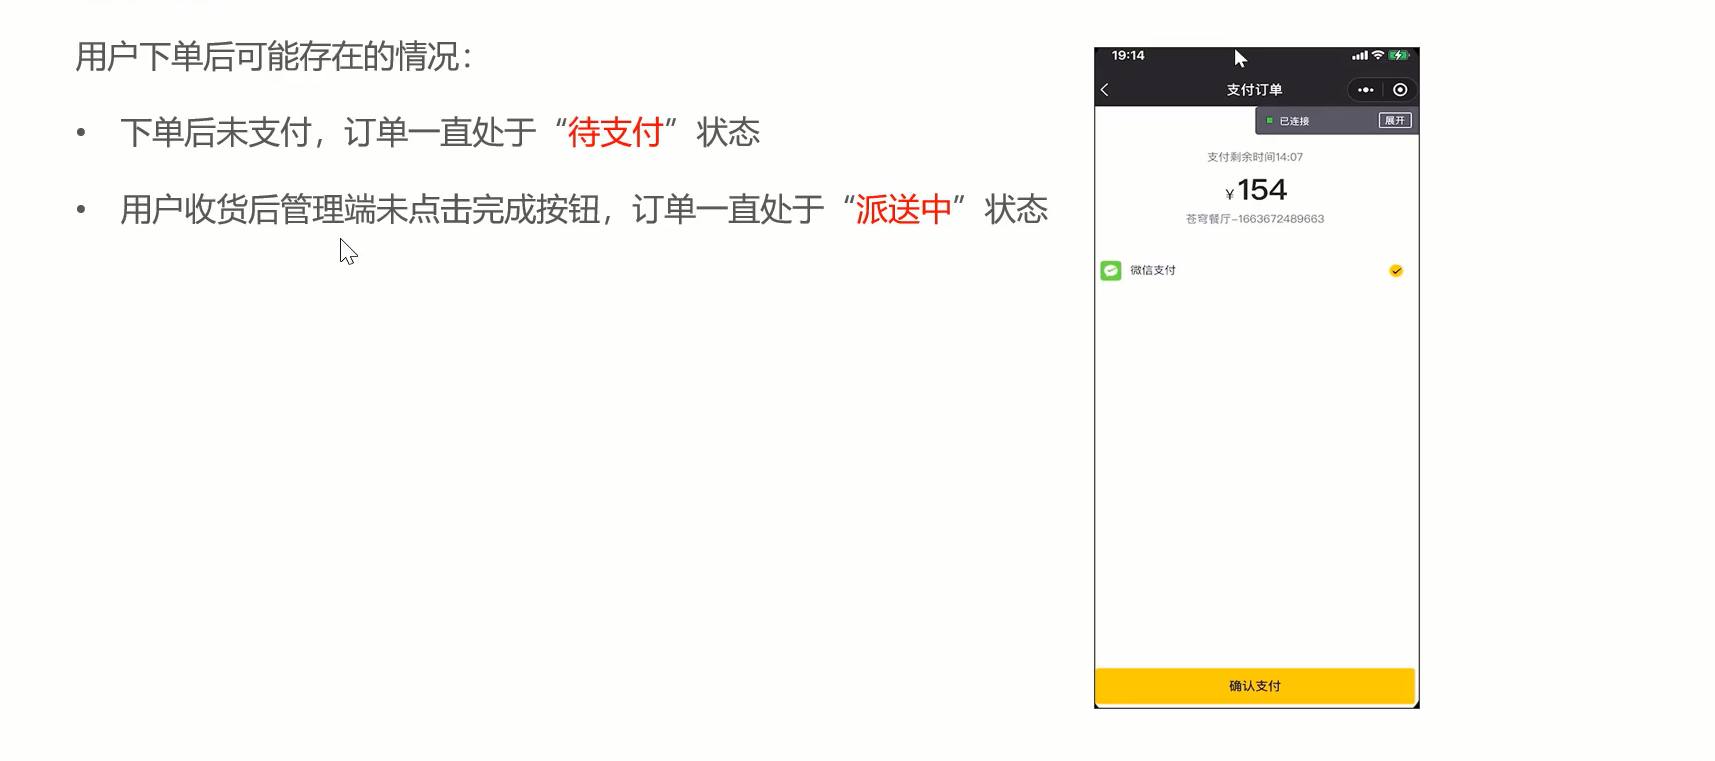
对于超时没处理的需要定时程序处理。基于SpringTask实现。
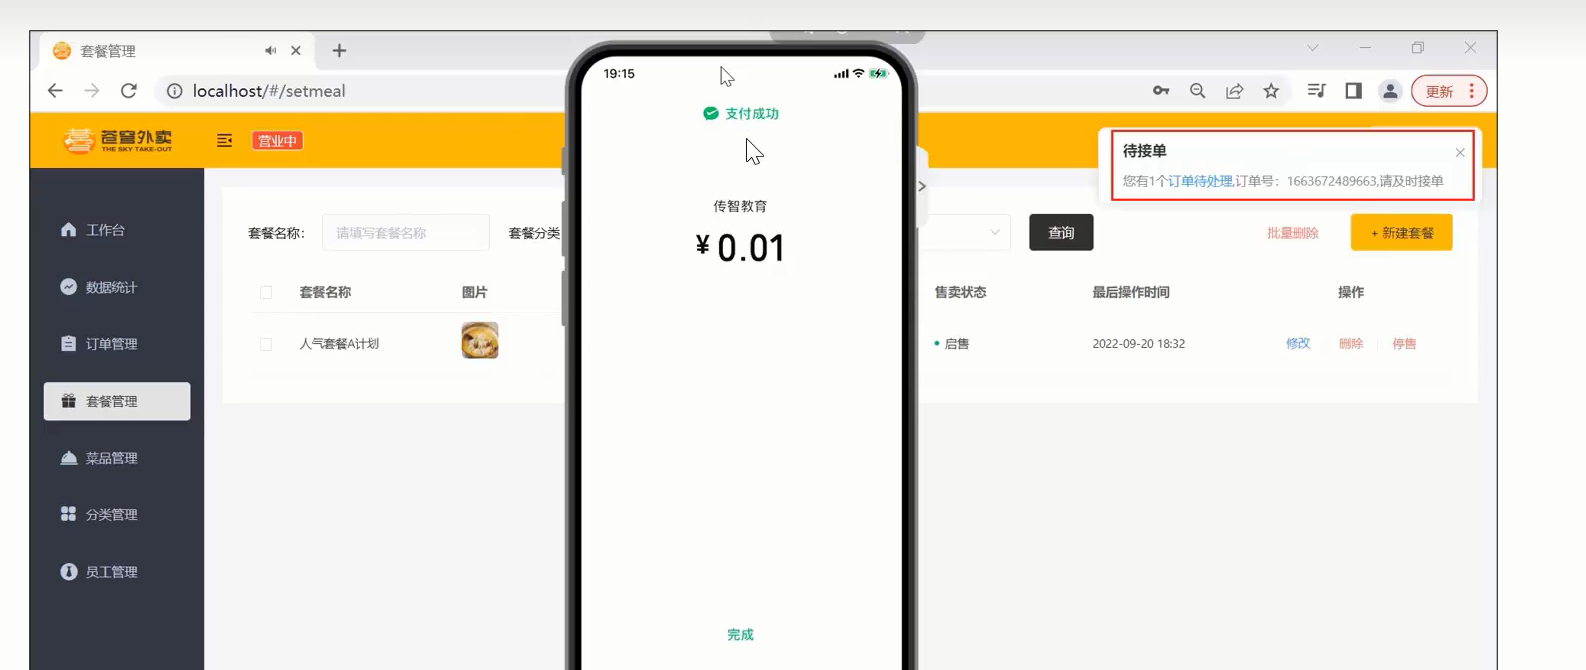
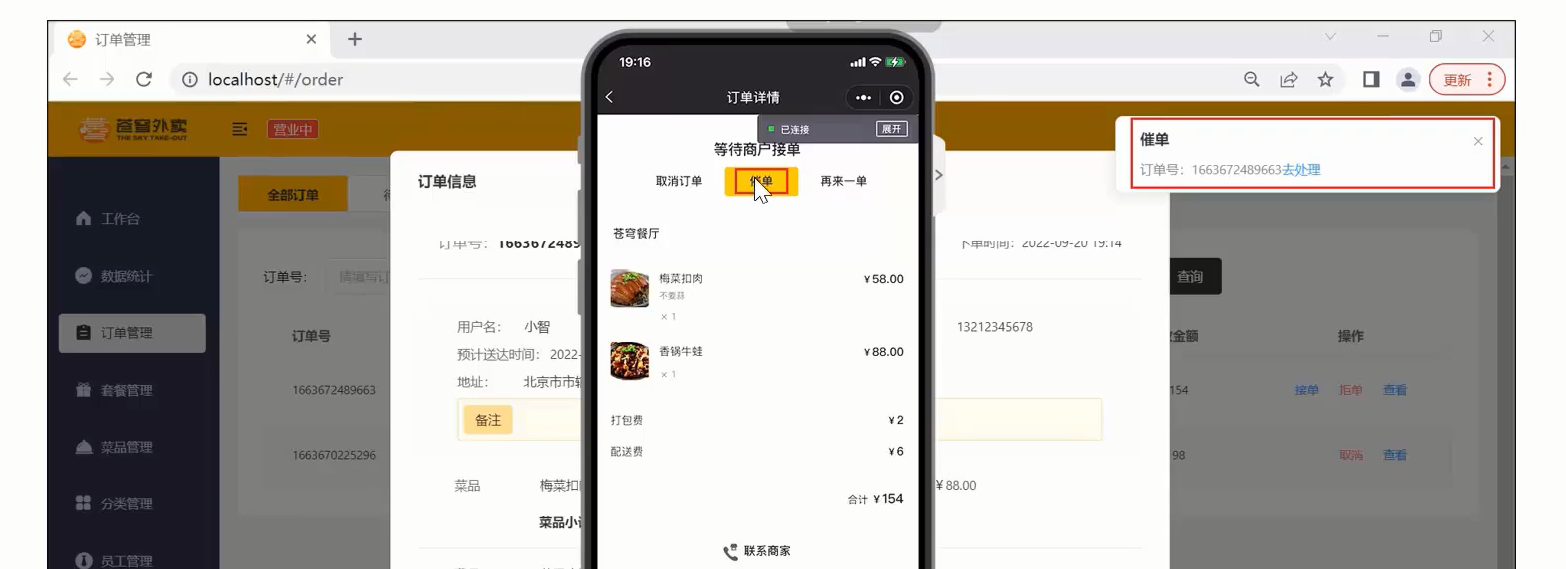
来单提醒和客户催单。基于WebSocket实现。
Spring Task
介绍
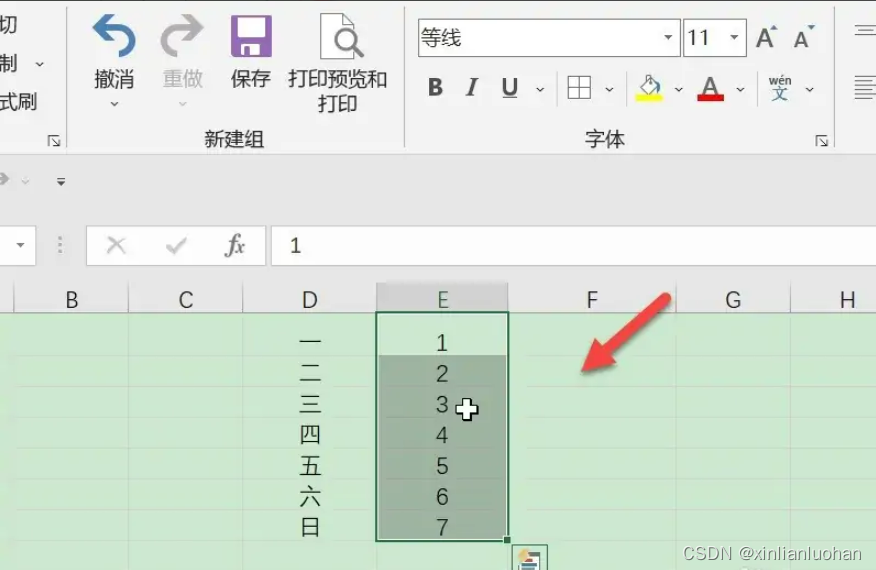
Cron表达式
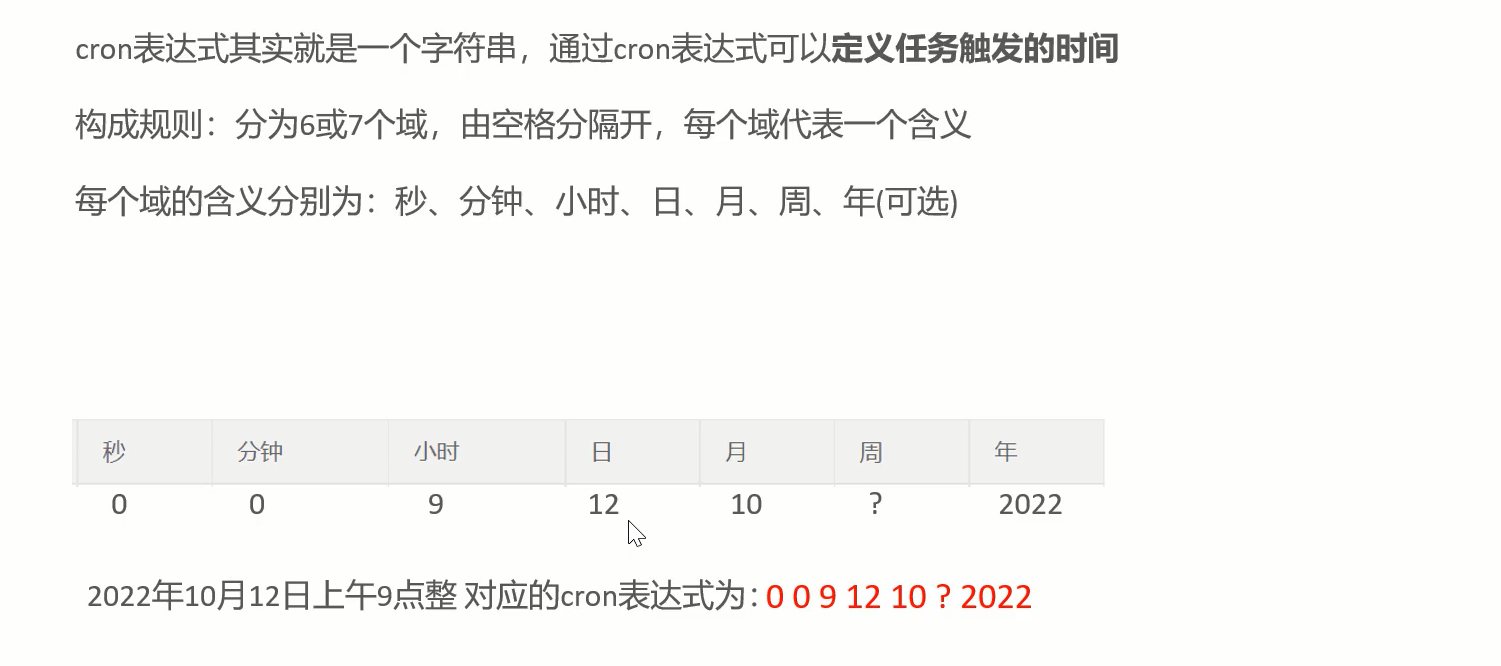
周几通常不能和日一起指定。
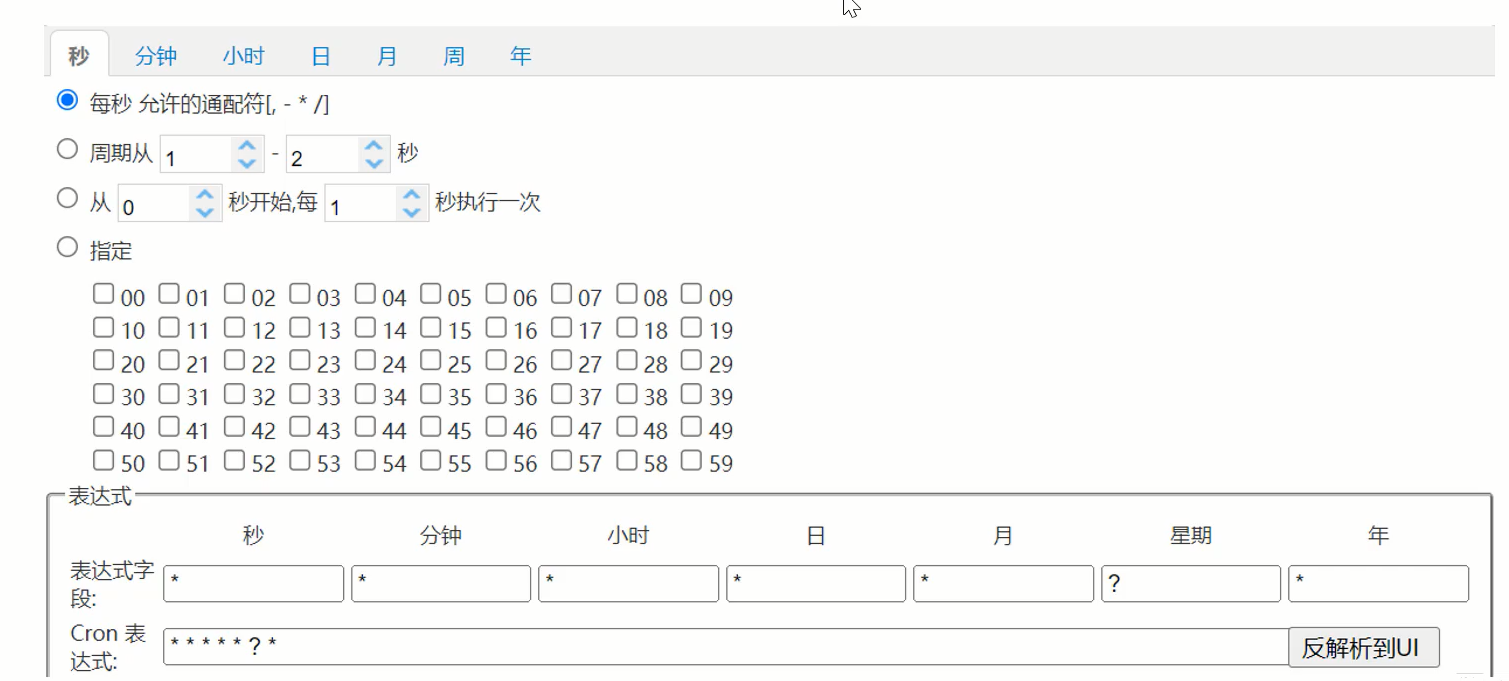
cron表达式在线生成器
在线Cron表达式生成器
入门案例

创建定时任务类
/*** 定义定时任务类*/
@Slf4j
@Component
public class MyTask {/*** 定时任务,每隔5秒触发一次*/@Scheduled(cron = "0/5 * * * * ?")public void executeTask(){log.info("定时任务开始执行:{}",new Date());}
}
订单状态定时处理——需求分析与设计

订单状态定时处理——代码开发
新建一个task包中一个类如下
/*** 定时任务类,定时处理订单状态*/
@Component
@Slf4j
public class OrderTask {@Autowiredprivate OrderMapper orderMapper;/*** 处理超时订单*/@Scheduled(cron = "0 * * * * ? ")//每分钟触发一次public void processTimeoutOrder(){log.info("定时处理超时订单:{}",LocalDateTime.now());LocalDateTime time = LocalDateTime.now().plusMinutes(-15);// select * from orders where status = ? and order_time < (当前时间-15分钟)List<Orders> list = orderMapper.getByStatusAndOrderTimeLT(Orders.PENDING_PAYMENT, time);if(list!=null&&list.size()>0){for (Orders orders : list) {orders.setStatus(Orders.CANCELLED);orders.setCancelReason("订单超时,自动取消");orders.setCancelTime(LocalDateTime.now()); //取消时间orderMapper.update(orders);}}}/*** 处理一直派送中的订单*/@Scheduled(cron = "0 0 1 * * ?")//每天凌晨一点public void processDeliveryOrder(){log.info("定时处理派送中的订单:{}",LocalDateTime.now());LocalDateTime time = LocalDateTime.now().plusMinutes(-60);List<Orders> list = orderMapper.getByStatusAndOrderTimeLT(Orders.DELIVERY_IN_PROGRESS, time);if(list!=null&&list.size()>0){for (Orders orders : list) {orders.setStatus(Orders.COMPLETED);orderMapper.update(orders);}}}
}
在OrderMapper中
/*** 根据订单状态和下单时间查询订单* @param status* @param orderTime* @return*/@Select("select * from orders where status = #{status} and order_time < #{orderTime}")List<Orders> getByStatusAndOrderTimeLT(Integer status, LocalDateTime orderTime);
订单状态定时处理——功能测试
运行测试无误。
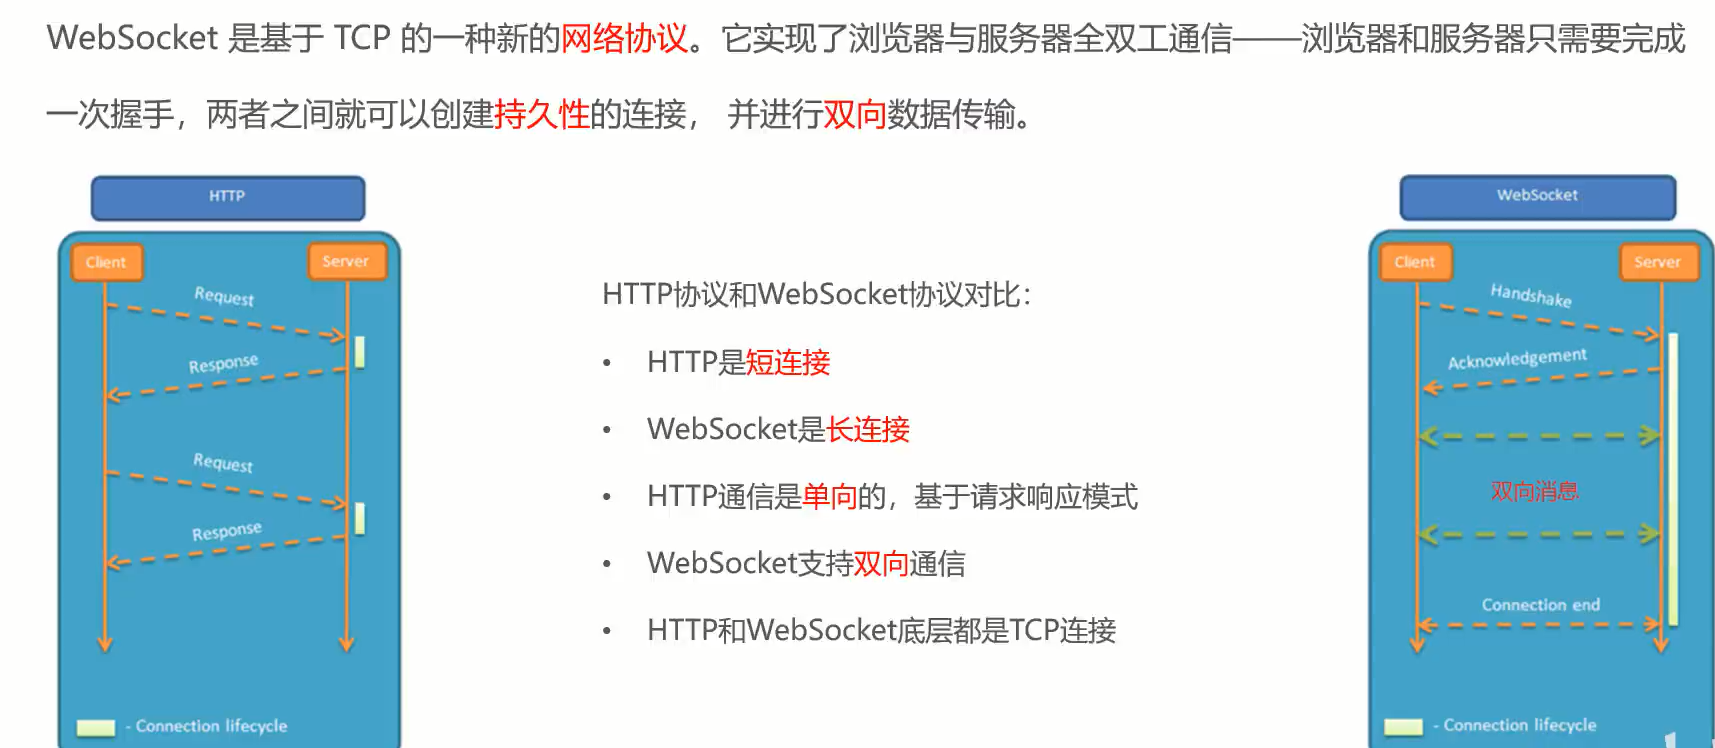
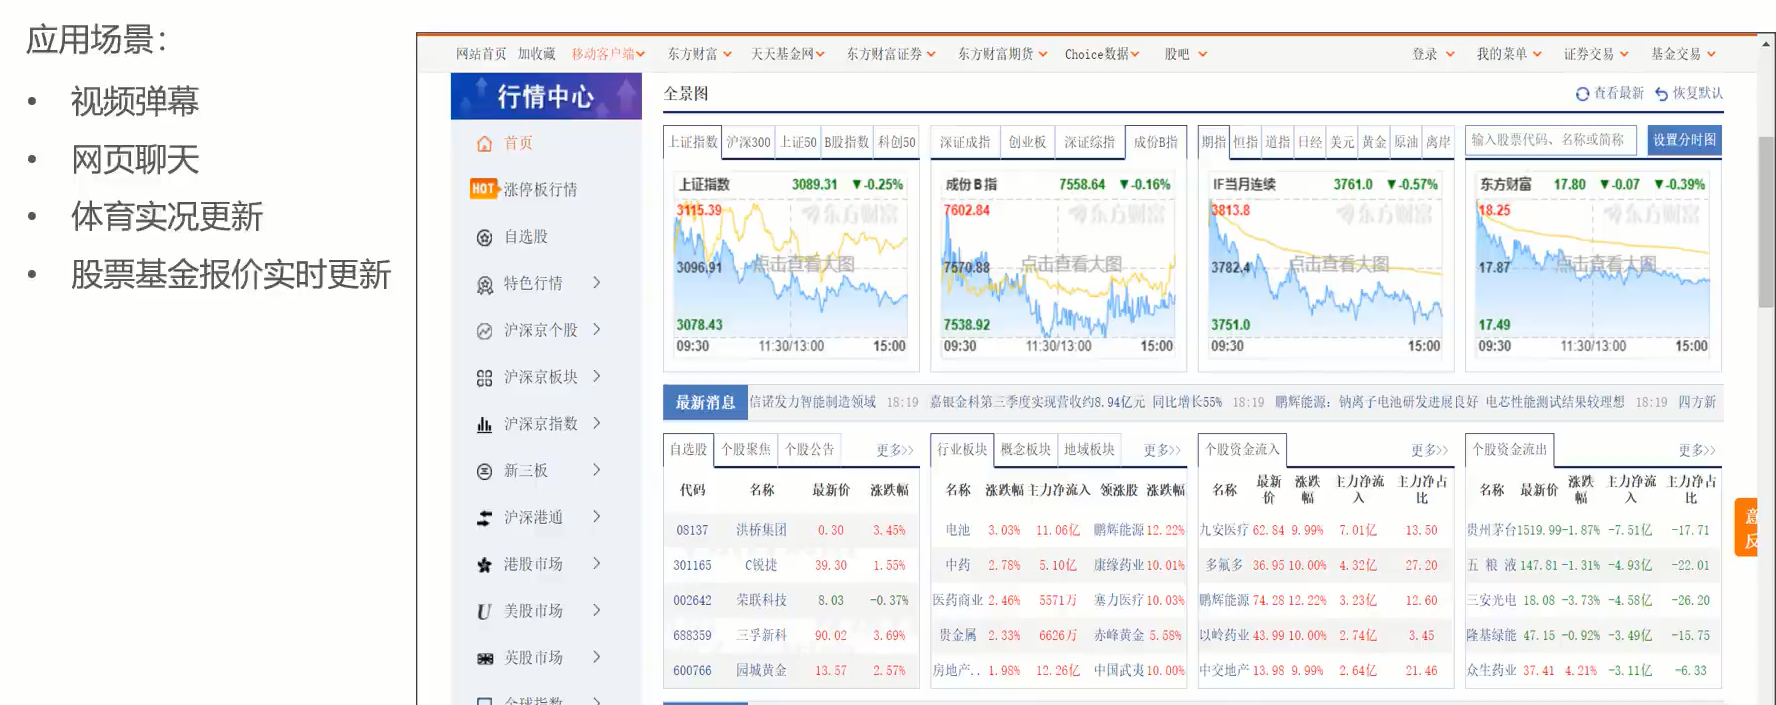
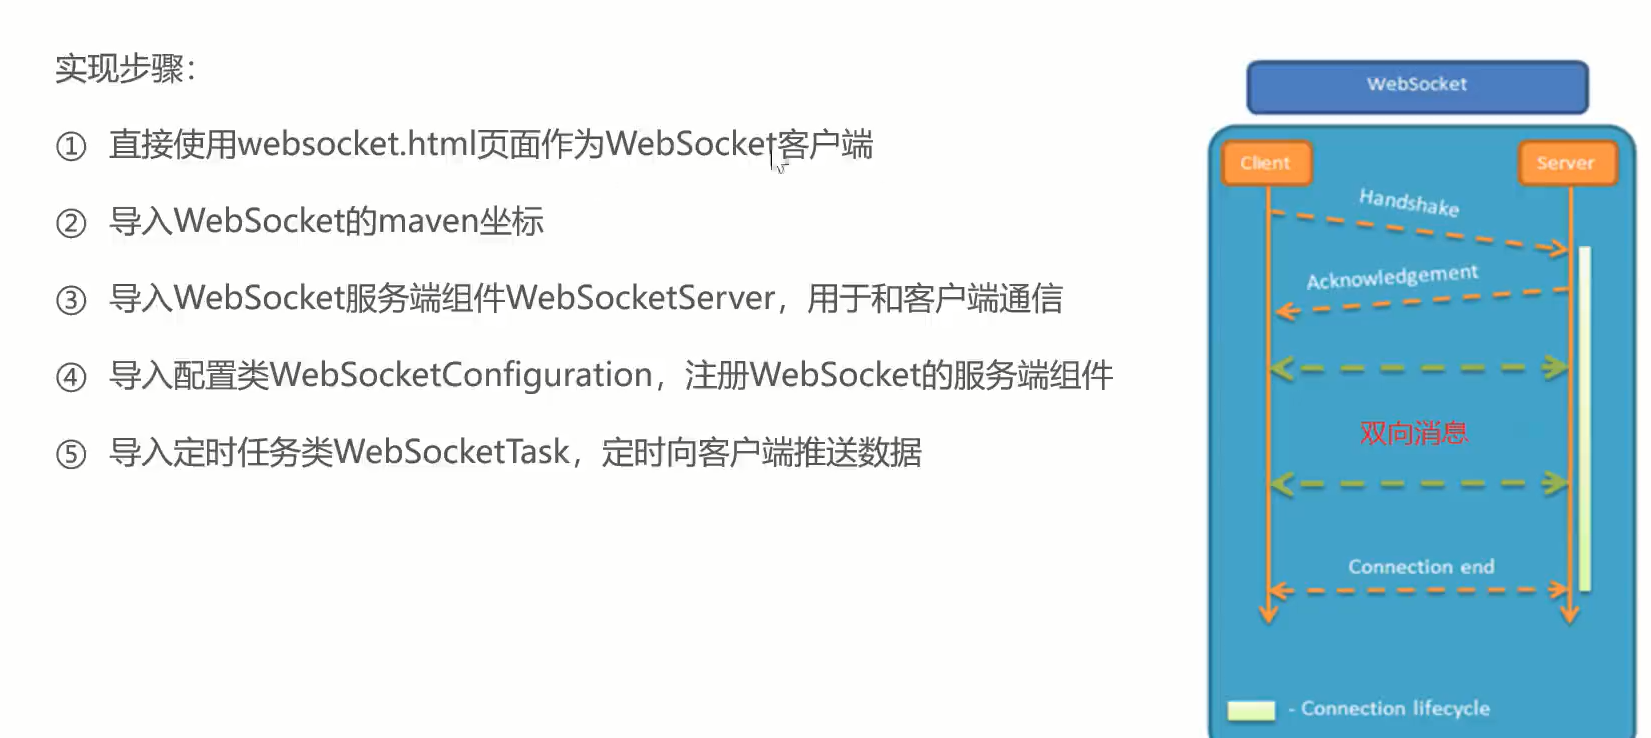
WebSocket——介绍
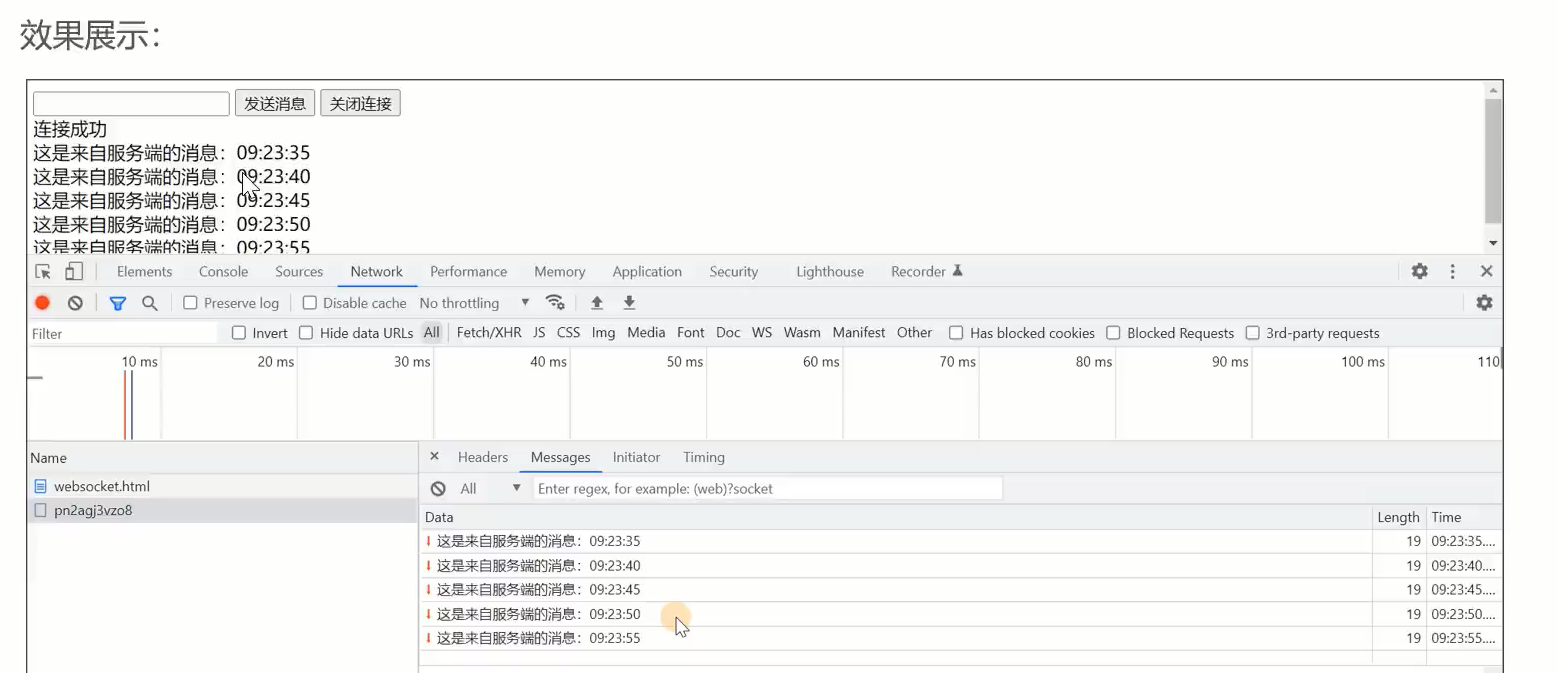
WebSocket——入门案例
导入提供的代码资料。
<!DOCTYPE HTML>
<html>
<head><meta charset="UTF-8"><title>WebSocket Demo</title>
</head>
<body><input id="text" type="text" /><button onclick="send()">发送消息</button><button onclick="closeWebSocket()">关闭连接</button><div id="message"></div>
</body>
<script type="text/javascript">var websocket = null;var clientId = Math.random().toString(36).substr(2);//判断当前浏览器是否支持WebSocketif('WebSocket' in window){//连接WebSocket节点websocket = new WebSocket("ws://localhost:8080/ws/"+clientId);}else{alert('Not support websocket')}//连接发生错误的回调方法websocket.onerror = function(){setMessageInnerHTML("error");};//连接成功建立的回调方法websocket.onopen = function(){setMessageInnerHTML("连接成功");}//接收到消息的回调方法websocket.onmessage = function(event){setMessageInnerHTML(event.data);}//连接关闭的回调方法websocket.onclose = function(){setMessageInnerHTML("close");}//监听窗口关闭事件,当窗口关闭时,主动去关闭websocket连接,防止连接还没断开就关闭窗口,server端会抛异常。window.onbeforeunload = function(){websocket.close();}//将消息显示在网页上function setMessageInnerHTML(innerHTML){document.getElementById('message').innerHTML += innerHTML + '<br/>';}//发送消息function send(){var message = document.getElementById('text').value;websocket.send(message);}//关闭连接function closeWebSocket() {websocket.close();}
</script>
</html>
导入坐标
<dependency><groupId>org.springframework.boot</groupId><artifactId>spring-boot-starter-websocket</artifactId></dependency>准备一个新的包创建如下的类
与Controller相似,通过路径进行匹配。
/*** WebSocket服务*/
@Component
@ServerEndpoint("/ws/{sid}")
public class WebSocketServer {//存放会话对象private static Map<String, Session> sessionMap = new HashMap();/*** 连接建立成功调用的方法*/@OnOpenpublic void onOpen(Session session, @PathParam("sid") String sid) {System.out.println("客户端:" + sid + "建立连接");sessionMap.put(sid, session);}/*** 收到客户端消息后调用的方法** @param message 客户端发送过来的消息*/@OnMessagepublic void onMessage(String message, @PathParam("sid") String sid) {System.out.println("收到来自客户端:" + sid + "的信息:" + message);}/*** 连接关闭调用的方法** @param sid*/@OnClosepublic void onClose(@PathParam("sid") String sid) {System.out.println("连接断开:" + sid);sessionMap.remove(sid);}/*** 群发** @param message*/public void sendToAllClient(String message) {Collection<Session> sessions = sessionMap.values();for (Session session : sessions) {try {//服务器向客户端发送消息session.getBasicRemote().sendText(message);} catch (Exception e) {e.printStackTrace();}}}}
准备一个配置类
/*** WebSocket配置类,用于注册WebSocket的Bean*/
@Configuration
public class WebSocketConfiguration {@Beanpublic ServerEndpointExporter serverEndpointExporter() {return new ServerEndpointExporter();}}
准备一个定时任务类
@Component
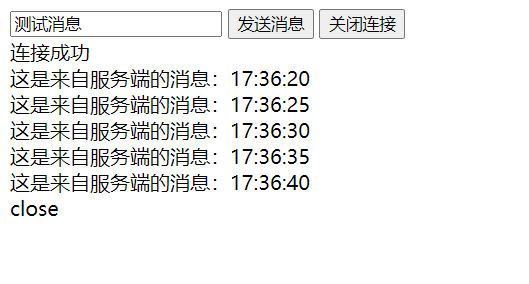
public class WebSocketTask {@Autowiredprivate WebSocketServer webSocketServer;/*** 通过WebSocket每隔5秒向客户端发送消息*/@Scheduled(cron = "0/5 * * * * ?")public void sendMessageToClient() {webSocketServer.sendToAllClient("这是来自服务端的消息:" + DateTimeFormatter.ofPattern("HH:mm:ss").format(LocalDateTime.now()));}
}

来单提醒——需求分析与设计
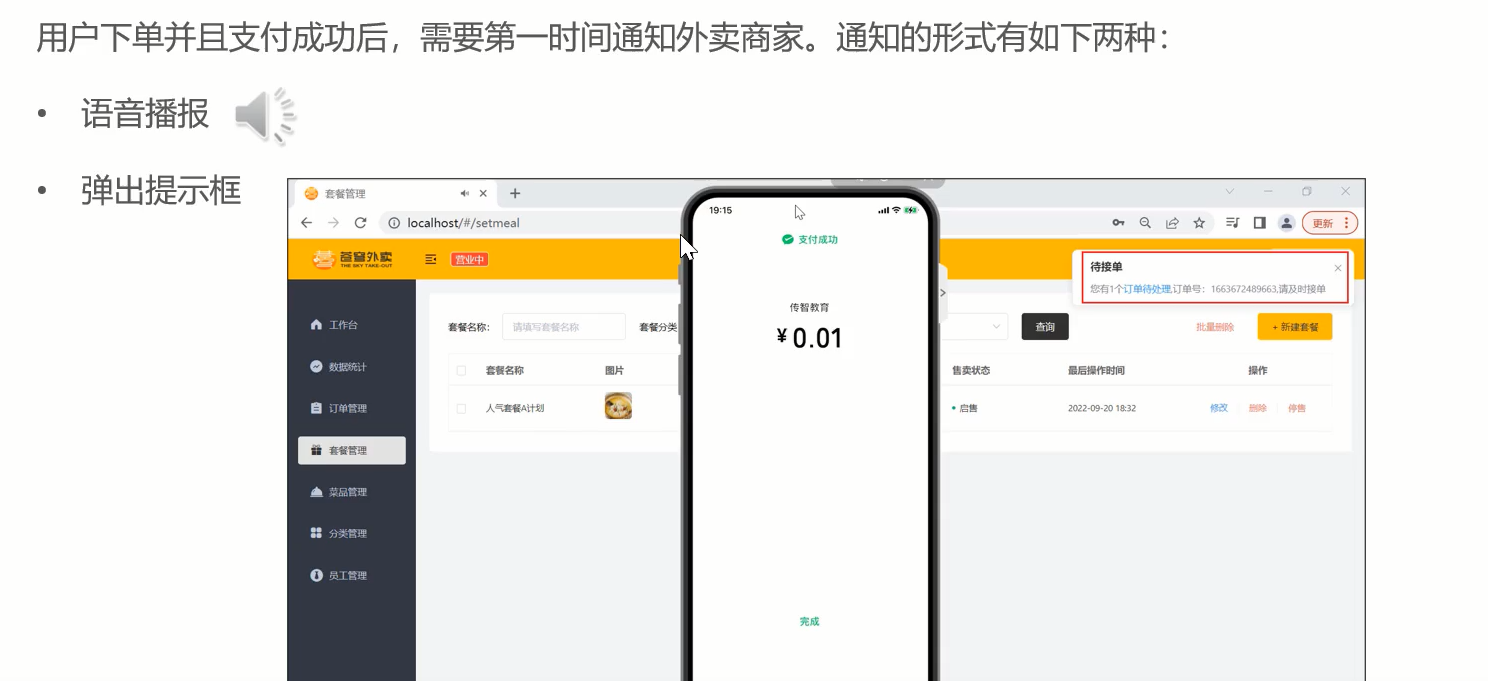
设计

来单提醒——代码开发
这里不该资料的源码的话连接不上,加上:8080之后直接请求到后端了,没有走nginx去。

使用上面的代码
在OrderServiceImpl中
@Autowiredprivate WebSocketServer webSocketServer;/*** 支付成功,修改订单状态** @param outTradeNo*/public void paySuccess(String outTradeNo) {XXXXXXXXXX//通过webSocket向客户端浏览器推送消息 type orderId contentMap map=new HashMap();map.put("type",1);//1表示来单提醒map.put("orderId",ordersDB.getId());map.put("content","订单号:"+outTradeNo);String json = JSON.toJSONString(map);webSocketServer.sendToAllClient(json);}来单提醒——功能测试
懒得模拟支付,就这样吧
客户催单——需求分析与设计
 设计
设计
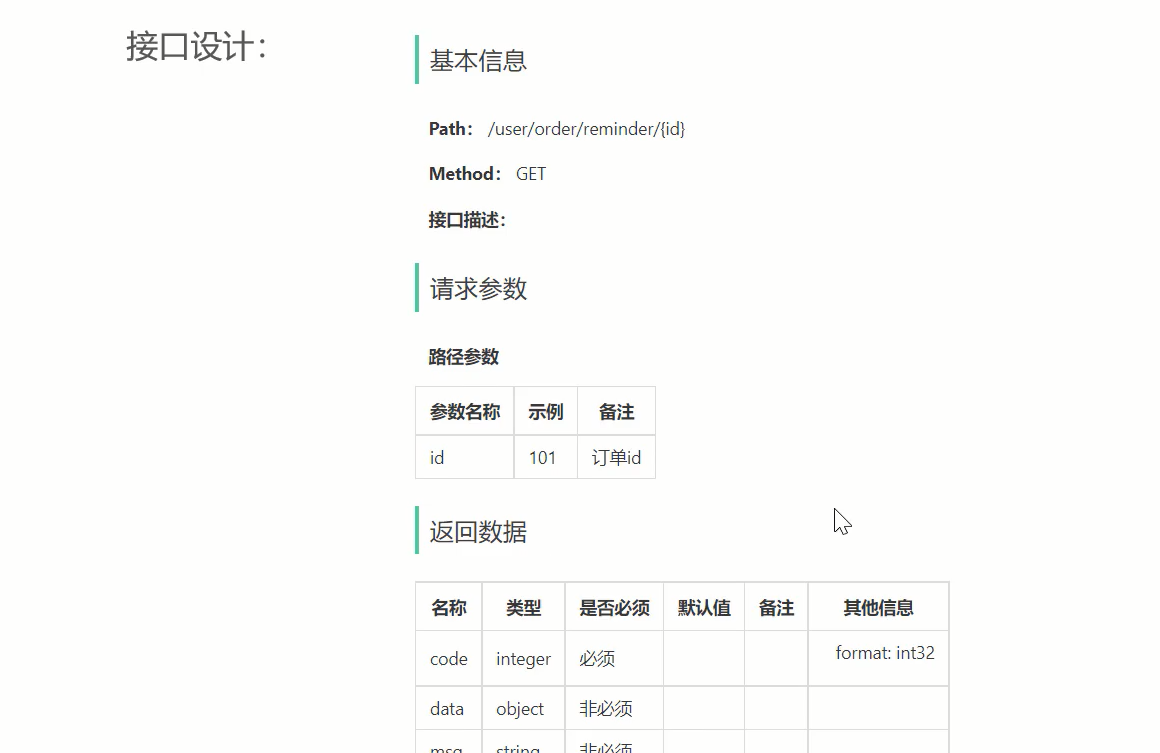
 接口设计
接口设计
客户催单——代码开发
Controller中
/*** 客户催单* @param id* @return*/@GetMapping("/reminder/{id}")@ApiOperation("客户催单")public Result reminder(@PathVariable("id") Long id){orderService.reminder(id);return Result.success();}Service中
/*** 客户催单* @param id*/@Overridepublic void reminder(Long id) {// 根据id查询订单Orders ordersDB = orderMapper.getById(id);// 校验订单是否存在if (ordersDB == null ) {throw new OrderBusinessException(MessageConstant.ORDER_STATUS_ERROR);}Map map=new HashMap();map.put("type",2);//1.表示来单提醒,2表示客户催单map.put("orderId",id);map.put("content","订单号:"+ordersDB.getNumber());String json = JSON.toJSONString(map);webSocketServer.sendToAllClient(json);}客户催单——功能测试
成功催单
