目录
Ubuntu自带python
Debian安装python
安装 pip
库列表
安装第三方库
使用国内镜像站
实装 tkinter 库
编写运行代码
测试代码1
1. 创建项目
2. 创建源码文件
3. 写入源代码
4. 修改权限
5. 运行代码
测试代码2
本文的使用环境是Windows的Linux 子系统,详见:Windows 使用 Linux 子系统-CSDN
Ubuntu自带python
20.04版本中包含了Python3.8.10,但不包含pip安装工具。
hann@HannYang:~$ python
Command 'python' not found, did you mean:
command 'python3' from deb python3
command 'python' from deb python-is-python3hann@HannYang:~$ python3
Python 3.8.10 (default, May 26 2023, 14:05:08)
[GCC 9.4.0] on linux
Type "help", "copyright", "credits" or "license" for more information.
>>>
Debian安装python
不所有linux都自带python,比如Debian就不带python,需要自己安装。
安装命令:$ sudo apt-get install python3
hann@HannYang:~$ sudo apt-get install python3
[sudo] password for hann:
Reading package lists... Done
Building dependency tree... Done
The following additional packages will be installed:
ca-certificates libexpat1 libnsl2 libpython3-stdlib libpython3.11-minimal libpython3.11-stdlib libsqlite3-0
media-types openssl python3-minimal python3.11 python3.11-minimal
Suggested packages:
python3-doc python3-tk python3-venv python3.11-venv python3.11-doc binutils binfmt-support
The following NEW packages will be installed:
ca-certificates libexpat1 libnsl2 libpython3-stdlib libpython3.11-minimal libpython3.11-stdlib libsqlite3-0
media-types openssl python3 python3-minimal python3.11 python3.11-minimal
0 upgraded, 13 newly installed, 0 to remove and 0 not upgraded.
Need to get 7,879 kB of archives.
After this operation, 26.7 MB of additional disk space will be used.
Do you want to continue? [Y/n] Y
Get:1 http://deb.debian.org/debian bookworm/main amd64 libpython3.11-minimal amd64 3.11.2-6 [813 kB]
Get:2 http://deb.debian.org/debian bookworm/main amd64 libexpat1 amd64 2.5.0-1 [99.3 kB]
Get:3 ............略......
Updating certificates in /etc/ssl/certs...
0 added, 0 removed; done.
Running hooks in /etc/ca-certificates/update.d...
done.
hann@HannYang:~$ python3
Python 3.11.2 (main, Mar 13 2023, 12:18:29) [GCC 12.2.0] on linux
Type "help", "copyright", "credits" or "license" for more information.
>>>
安装 pip
安装命令: $ sudo apt install python3-pip
hann@HannYang:~$ sudo apt install python3-pip
Reading package lists... Done
Building dependency tree
Reading state information... Done
The following additional packages will be installed:
binutils binutils-common binutils-x86-64-linux-gnu build-essential dpkg-dev fakeroot g++ g++-9 gcc gcc-9
...... 略 ......
After this operation, 199 MB of additional disk space will be used.
Do you want to continue? [Y/n] y
Get:1 http://archive.ubuntu.com/ubuntu focal-updates/main amd64 binutils-x86-64-linux-gnu amd64 2.34-6ubuntu1.6 [1613 kB]
Get:2 http://archive.ubuntu.com/ubuntu focal-updates/main amd64 binutils amd64 2.34-6ubuntu1.6 [3376 B]
Get:3 ......... 略 ......
Setting up python3-dev (3.8.2-0ubuntu2) ...
Processing triggers for man-db (2.9.1-1) ...
Processing triggers for libc-bin (2.31-0ubuntu9.9) ...
库列表
列表命令: $ pip list
hann@HannYang:~$ pip list
Package Version
---------------------- --------------------
attrs 19.3.0
Automat 0.8.0
blinker 1.4
certifi 2019.11.28
chardet 3.0.4
Click 7.0
cloud-init 23.2.1
colorama 0.4.3
command-not-found 0.3
configobj 5.0.6
constantly 15.1.0
cryptography 2.8
cupshelpers 1.0
dbus-python 1.2.16
defer 1.0.6
distro 1.4.0
distro-info 0.23ubuntu1
entrypoints 0.3
httplib2 0.14.0
hyperlink 19.0.0
idna 2.8
importlib-metadata 1.5.0
incremental 16.10.1
Jinja2 2.10.1
jsonpatch 1.22
jsonpointer 2.0
jsonschema 3.2.0
keyring 18.0.1
language-selector 0.1
launchpadlib 1.10.13
lazr.restfulclient 0.14.2
lazr.uri 1.0.3
macaroonbakery 1.3.1
MarkupSafe 1.1.0
more-itertools 4.2.0
netifaces 0.10.4
oauthlib 3.1.0
pexpect 4.6.0
pip 20.0.2
protobuf 3.6.1
psutil 5.5.1
pyasn1 0.4.2
pyasn1-modules 0.2.1
pycairo 1.16.2
pycups 1.9.73
PyGObject 3.36.0
PyHamcrest 1.9.0
PyJWT 1.7.1
pymacaroons 0.13.0
PyNaCl 1.3.0
pyOpenSSL 19.0.0
pyRFC3339 1.1
pyrsistent 0.15.5
pyserial 3.4
python-apt 2.0.1+ubuntu0.20.4.1
python-debian 0.1.36+ubuntu1.1
pytz 2019.3
pyxdg 0.26
PyYAML 5.3.1
requests 2.22.0
requests-unixsocket 0.2.0
SecretStorage 2.3.1
service-identity 18.1.0
setuptools 45.2.0
simplejson 3.16.0
six 1.14.0
sos 4.4
ssh-import-id 5.10
systemd-python 234
Twisted 18.9.0
ubuntu-advantage-tools 8001
ufw 0.36
unattended-upgrades 0.1
urllib3 1.25.8
wadllib 1.3.3
wheel 0.34.2
zipp 1.0.0
zope.interface 4.7.1
安装第三方库
安装命令: $ pip install numpy
hann@HannYang:~$ pip install numpy
Collecting numpy
Downloading numpy-1.24.4-cp38-cp38-manylinux_2_17_x86_64.manylinux2014_x86_64.whl (17.3 MB)
|████████████████████████████████| 17.3 MB 39 kB/s
Installing collected packages: numpy
Successfully installed numpy-1.24.4
国外服务下载速度极慢,速度显示在30到300 kB/s之间跳动。
使用国内镜像站
比如使用清华镜像,秒装:
$ pip install numpy -i https://pypi.tuna.tsinghua.edu.cn/simple
实装 tkinter 库
不像windows版本的python3已自带tkinter库,ubantu python3需要自己安装。
安装命令:$ sudo apt-get install python-tk
编写运行代码
测试代码1
1. 创建项目
比如在根目录下建一个python子目录
hann@HannYang:~$ mkdir python
hann@HannYang:~$ cd python
2. 创建源码文件
比如test.py
hann@HannYang:~/python$ touch test.py
hann@HannYang:~/python$ ll
total 8
drwxr-xr-x  2 hann hann 4096 Aug  5 13:40 ./
drwxr-xr-x 22 hann hann 4096 Aug  5 13:38 ../
-rw-r--r--  1 hann hann    0 Aug  5 13:40 test.py
3. 写入源代码
注意:一定要在首行标记解释程序的所在位置 #!/usr/bin/python3
hann@HannYang:~/python$ echo "#!/usr/bin/python3" > test.py
hann@HannYang:~/python$ echo "print('Hello, python')" >> test.py
hann@HannYang:~/python$ more ./test.py
#!/usr/bin/python3
print('Hello, python')
hann@HannYang:~/python$ ll
total 12
drwxr-xr-x  2 hann hann 4096 Aug  5 13:40 ./
drwxr-xr-x 22 hann hann 4096 Aug  5 13:38 ../
-rw-r--r--  1 hann hann   43 Aug  5 13:42 test.py
4. 修改权限
把默认的文件权限-rw-r--r--修改为-rwxr-xr-x
hann@HannYang:~/python$ chmod +x test.py
hann@HannYang:~/python$ ll
total 12
drwxr-xr-x  2 hann hann 4096 Aug  5 13:40 ./
drwxr-xr-x 22 hann hann 4096 Aug  5 13:38 ../
-rwxr-xr-x  1 hann hann   43 Aug  5 13:42 test.py*
5. 运行代码
hann@HannYang:~/python$ ./test.py
Hello, python
测试代码2
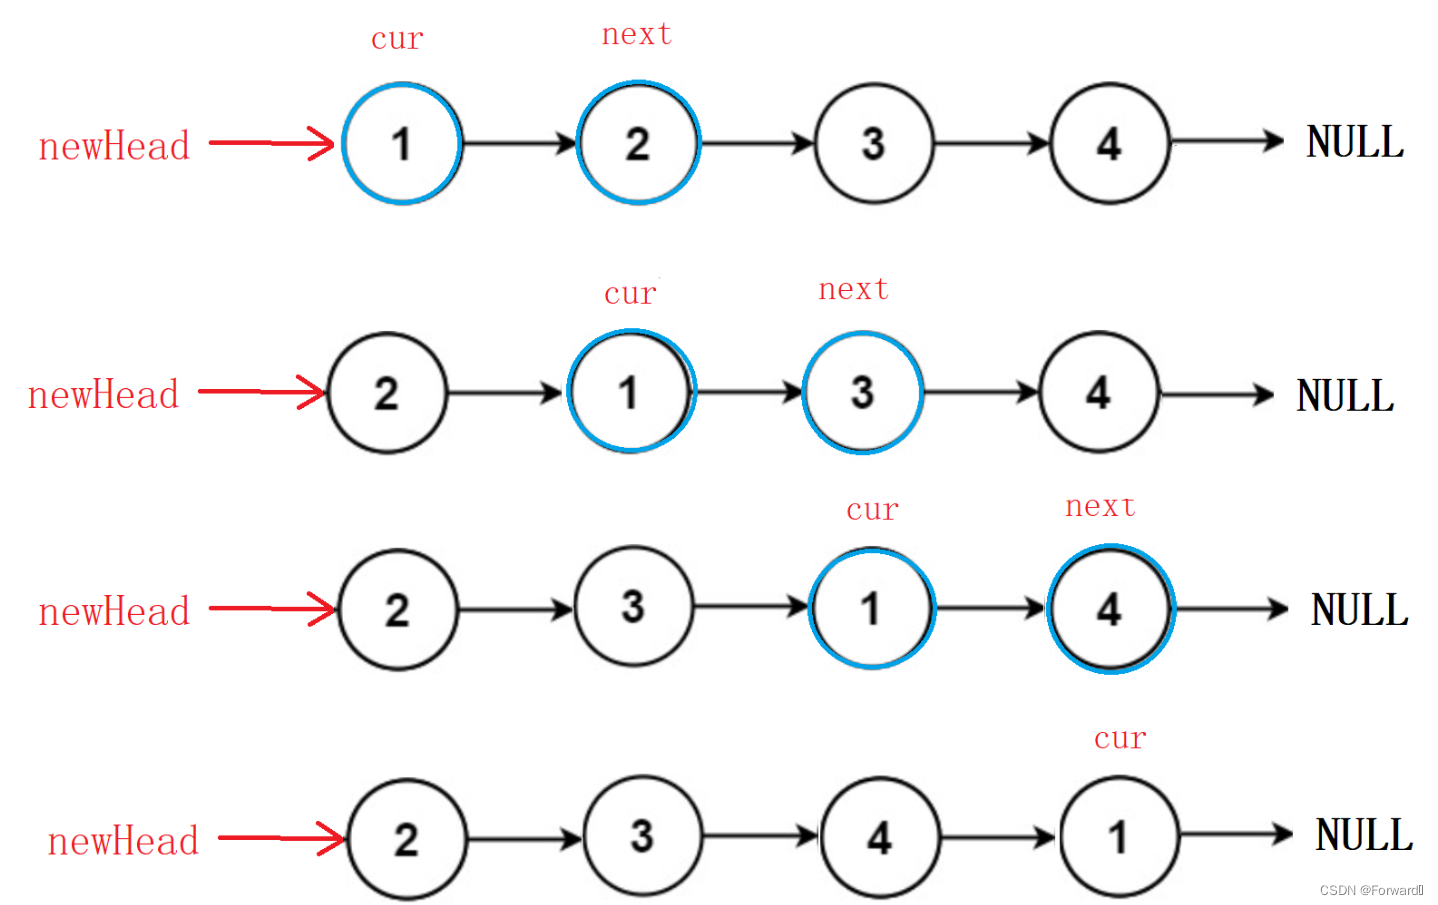
再找一个稍微复杂点进行测试,如对链表进行插入排序:

插入排序的动画演示如上。从第一个元素开始,该链表可以被认为已经部分排序(用黑色表示)。
每次迭代时,从输入数据中移除一个元素(用红色表示),并原地将其插入到已排好序的链表中。
插入排序算法:
插入排序是迭代的,每次只移动一个元素,直到所有元素可以形成一个有序的输出列表。
每次迭代中,插入排序只从输入数据中移除一个待排序的元素,找到它在序列中适当的位置,并将其插入。
重复直到所有输入数据插入完为止。
示例 1:
输入: 4->2->1->3
输出: 1->2->3->4
示例 2:
输入: -1->5->3->4->0
输出: -1->0->3->4->5
操作过程:
hann@HannYang:~/python$ touch test2.py
hann@HannYang:~/python$ chmod +x test2.py
hann@HannYang:~/python$ vi test2.py
hann@HannYang:~/python$ ./test2.py
4->2->1->3->nill
1->2->3->4->nill
-1->5->3->4->0->nill
-1->0->3->4->5->nill
其中,用 vi 编辑test2.py时,直接复制粘贴以下代码:
#!/usr/bin/python3class ListNode:def __init__(self, val=0, next=None):self.val = valself.next = nextdef insertionSortList(head: ListNode) -> ListNode:dummy = ListNode(float('-inf'), head)tail = dummycur = headwhile cur:if tail.val <= cur.val:# 若链表尾节点值小于等于当前节点,不需要移动tail.next = curtail = curcur = cur.nextelse:# 在已排序部分找到插入位置prev = dummywhile prev.next.val < cur.val:prev = prev.next# 插入节点tail.next = cur.nextcur.next = prev.nextprev.next = curcur = tail.nextreturn dummy.nextdef createList(lst):head = ListNode(lst[0])p = headfor i in lst[1:]:node = ListNode(i)p.next = nodep = p.nextreturn headdef traversalList(head):while head:print(head.val, end="->")head = head.nextprint("nill")#%%
lst1 = [4, 2, 1, 3]
lst2 = [-1, 5, 3, 4, 0]head1 = createList(lst1)
traversalList(head1)
sorted_head1 = insertionSortList(head1)
traversalList(sorted_head1)head2 = createList(lst2)
traversalList(head2)
sorted_head2 = insertionSortList(head2)
traversalList(sorted_head2)
exit↙


